DJ3100
Well-known member
that REO is perfect - good work guys!

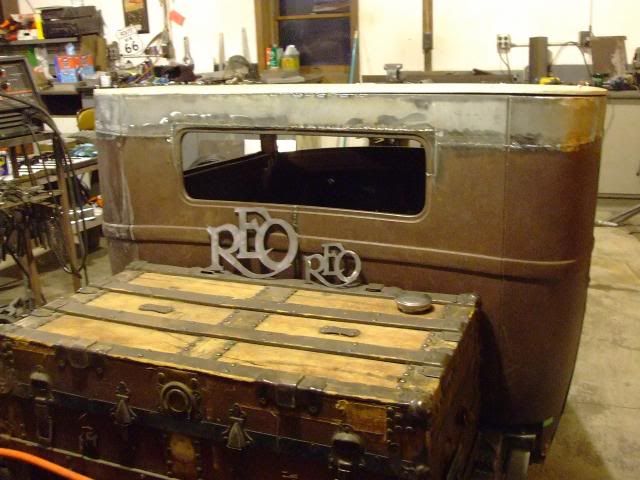
I ...Umm...might have to leave this board. I... ummm ...gold plated (painted) the prototype REO emblem and mounted it to the wall behind my PC that runs the CNC plasma. [cl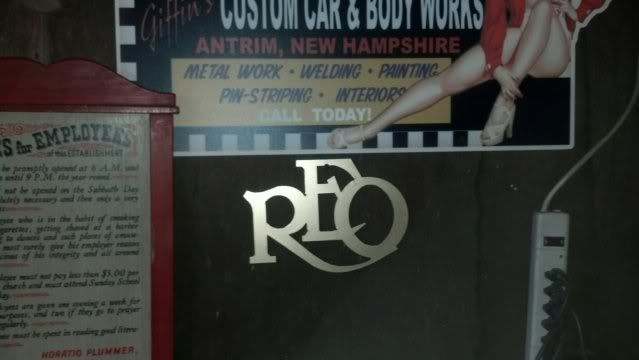
looks really thick in the pic's...(hey it rhymes)...sorry... nice work....think you could do something with SGT?? Thinking there could be a spot on the smoothed out tailgate of mine for something suttle..or not so suttle...maybe?
")
Being a garage door repair man, so am I. Stupid spring got me the other day and I am in a wrist brace. (After 15 years, you stop being so careful I guess.)
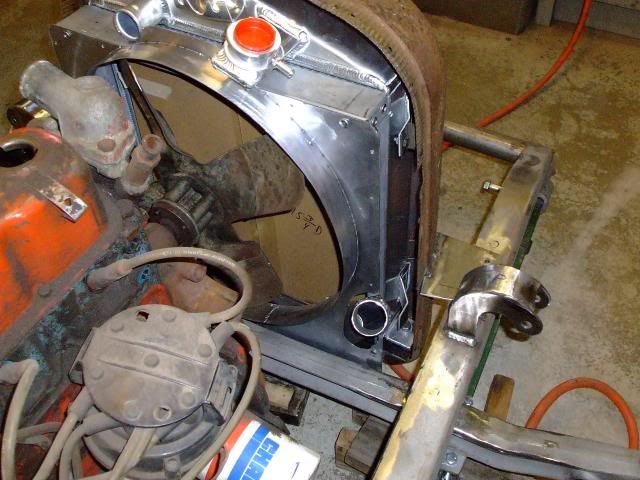
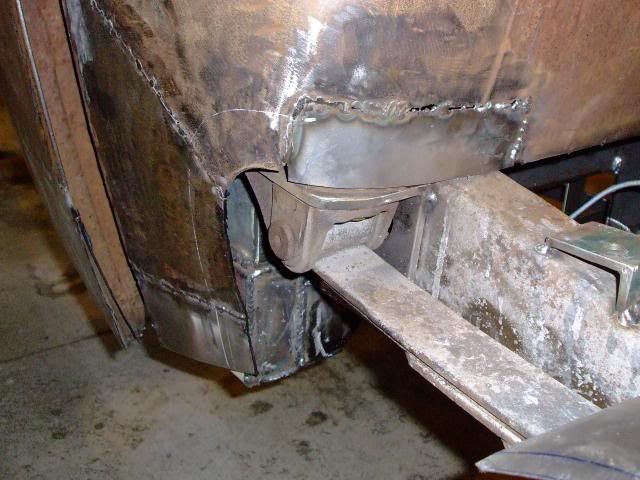
These were 12ga mild steel so they are just a tad under 1/8". I could probably knock something out for you. Just have to give me an overall size EG: hieght and length and a style you are looking for EG: artsy, block letters, curved, script etc. [

Enter your email address to join: