thanks for all the merry wishes, christmas is my favorite holiday aside from the 4th of july, so I was really happy to have the truck in the yard.
I thought I took more pictures, but the following is all I have, it was all asses and elbows in the shop for a couple days. last time I needed to adjust the hinge, I found that the top hinge was level but the bottom hinge had a tilt to it. I persuaded it back into place with a big length of pipe, and it all fit
 IMG_2674
 by
Joe Doh, on Flickr
 IMG_2673
 by
Joe Doh, on Flickr
I debated waiting on the window channel replacement, one reason was the cracked glass, I would need to take it back out to replace it. but I wanted the stainless trim on the door, and that is literally the last thing to come out, it goes
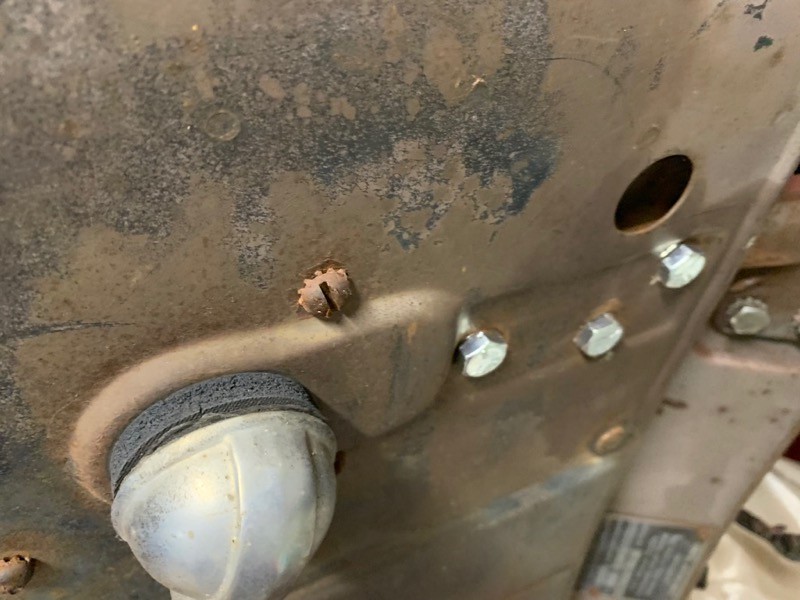
remove inner window trim
remove screws in window frame (drill them out is more likely because the clutch heads dont want to budge after almost 70 years)
turn window sideways in frame and lift out
remove screws in channel and remove channel
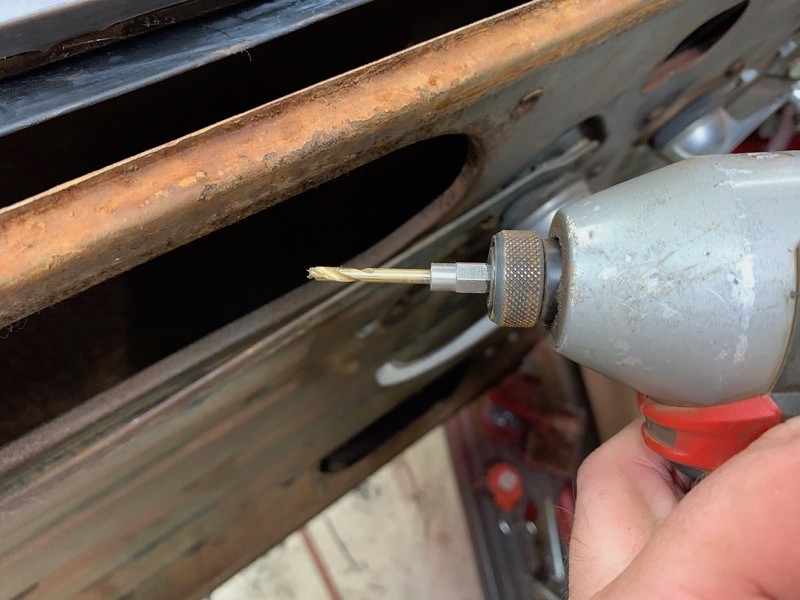
remove old dried wiper from outer side of glass. it will be hard and a pain, best way I found is to use a 1/8" drill bit in a cordless, and hold it at 45 degrees, it will chew up the old rubber and let you remove it.
 IMG_2679
 by
Joe Doh, on Flickr
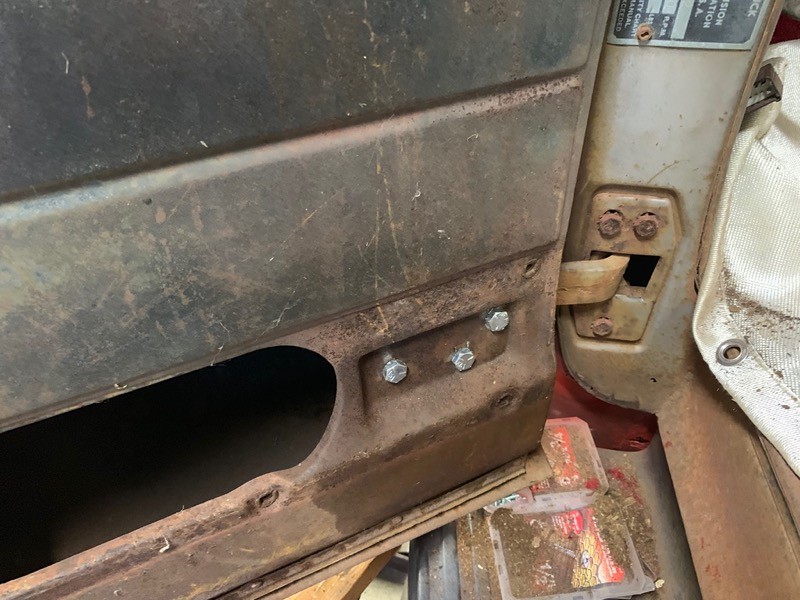
if you are changing to stainless like me, remove outer window trim, there may be a couple additional screws in behind the channel. if you arent changing the outside trim, then just leave the trim installed.
 IMG_2675
 by
Joe Doh, on Flickr
then install is reverse. a few tips.
install the new channel by using the old channel as a length guide to trim the new. this is important because way down in the bottom of the door, there are little clips that hold the bottoms of the channel, so make sure it slides into the clips. and instead of trying to get the screws in the right spot or drilling new holes, I use a dab of fuse-it at the top and sides.
install the new wiper. this is the hardest part, because the channel is roughly a C but the wiper rubber is a T. so you have to put the long side of the T in the C, then use a flat bladed screwdriver to tap the short side of the T in. a mm at a time. it sucks, tap tap tap. tap tap tap.
 IMG_2681
 by
Joe Doh, on Flickr
you put the channel in first because the wiper is longer than it needs to be too, and you dont know the right size till the channel is in.
turn the window front side down at a 45 degree angle and slip it in the new channel. once you have both sides in the channel, use your big boy muscles and rotate the window to straight. its not impossible, it will feel like it doesnt want to go but if you do it the way I say, with the window starting at 45 degrees and the front side down, it will turn and pop and its in.
if you had to drill out the screws like I did, its pretty easy to replace them with new screws and then I always drill an 1/8 hole through the frame and the regulator and put one extra screw in, in case all the machine screws fall out
 IMG_2682
 by
Joe Doh, on Flickr
the new window felts come with new inside wiper pieces that are stapled to the inner trims. I dont even mess with staples, I grind the old staples off with a flap disc and fuse-it the new felts.
so funny story, I was really humping to get things done and sure enough I got both sides "done" and noticed the new wiper for the passenger side still on the hood, after everything was assembled. it was 11pm sunday, surely no one would miss.... ah crud I know what I have to do. I took it all apart and put it in, quietly, tap tap tap. tap tap tap. tap tap tap.
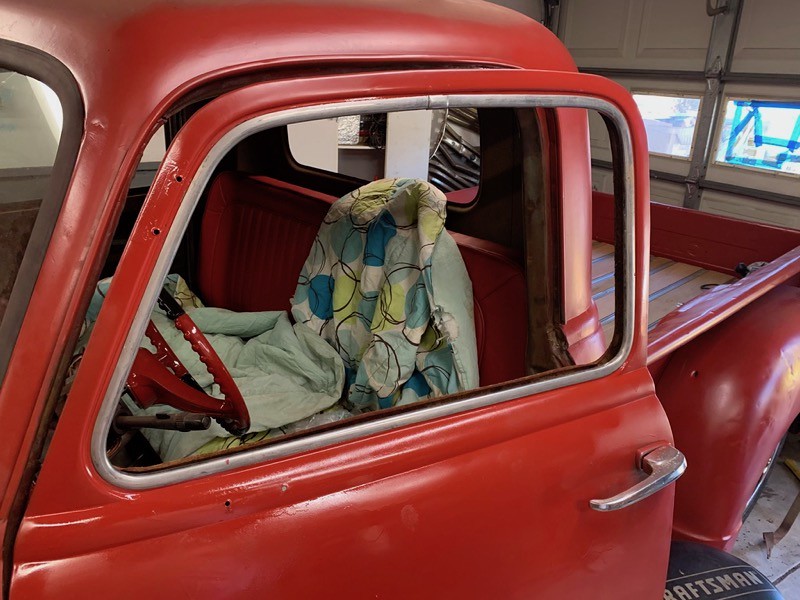
christmas eve I woke up early and bled the brakes, changed out the headllight bulbs (half were green tinted), hooked up the parking lights, and rolled him into the yard.
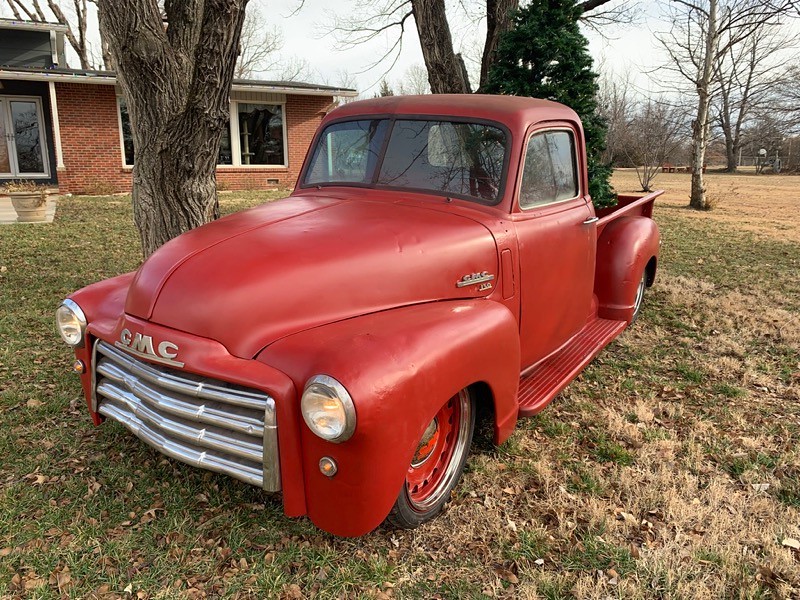 IMG_2690
 by
Joe Doh, on Flickr
my wife thought it needed more lights, on Christmas eve everything was already 66% off, so I hooked it up with a couple LED light sets and even some LED spotlights
 IMG_2742.HEIC
 by
Joe Doh, on Flickr
 IMG_0749
 by
Joe Doh, on Flickr
whats left? most of the interior seals and headliner, the two hubcaps are just double side taped on haha. rear window and bumpers, wipers and mirrors. gauges. *sigh*.
but it was a big hit! a lot of our guests took pictures in the yard with it. and my photographer neice wants to borrow it for some santa shoots

")
 IMG_2601 by Joe Doh, on Flickr
 IMG_2614 by Joe Doh, on Flickr
 IMG_2604 by Joe Doh, on Flickr
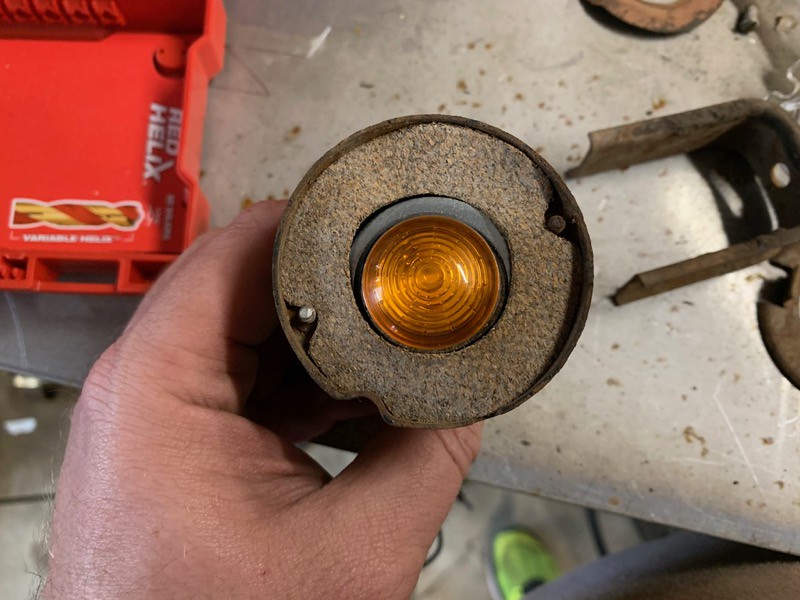 IMG_2606 by Joe Doh, on Flickr
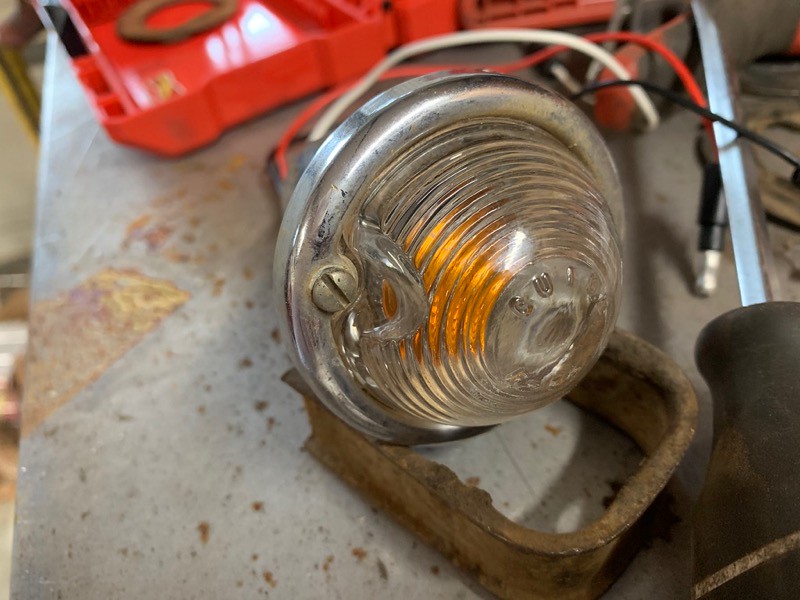 IMG_2607 by Joe Doh, on Flickr
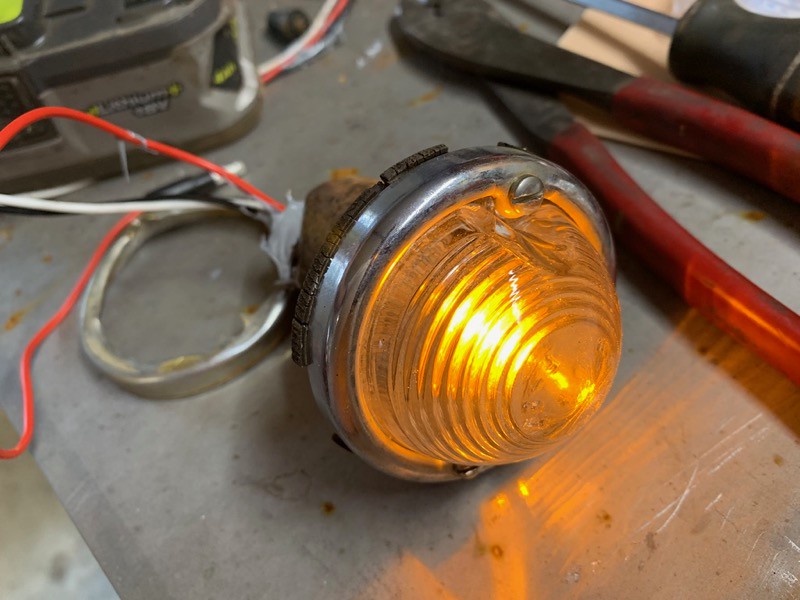 IMG_2612 by Joe Doh, on Flickr
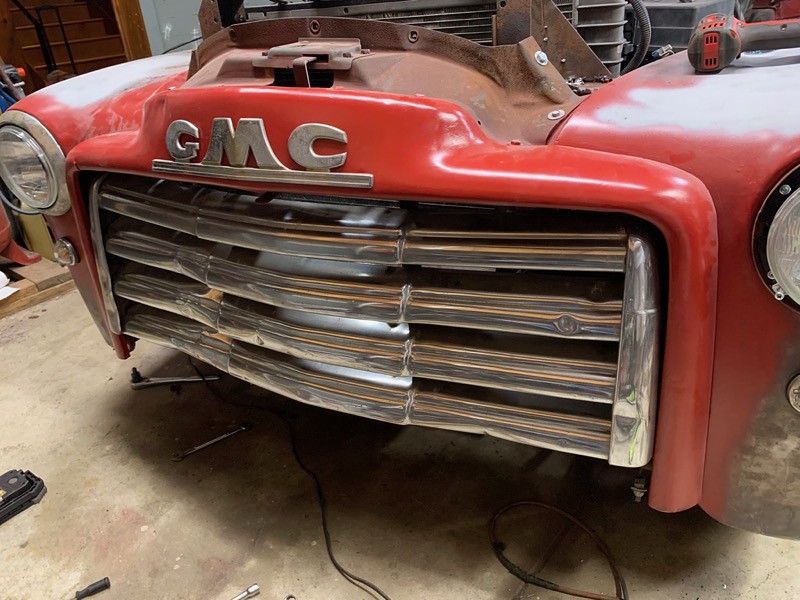 IMG_2616 by Joe Doh, on Flickr
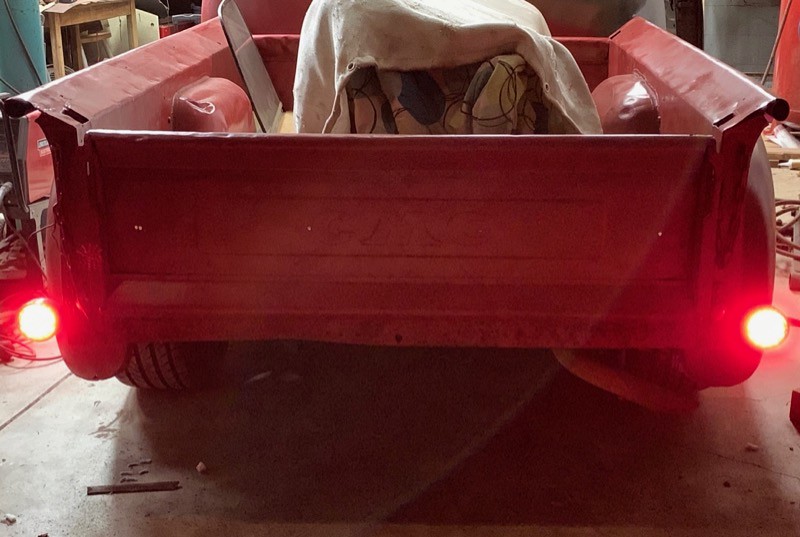 IMG_2646 by Joe Doh, on Flickr
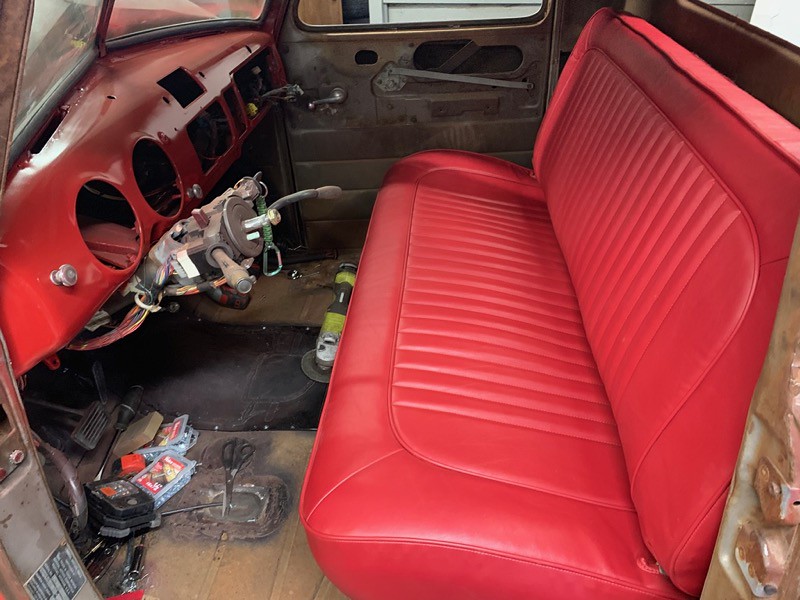 IMG_2652 by Joe Doh, on Flickr
 IMG_2653 by Joe Doh, on Flickr
 IMG_2654 by Joe Doh, on Flickr
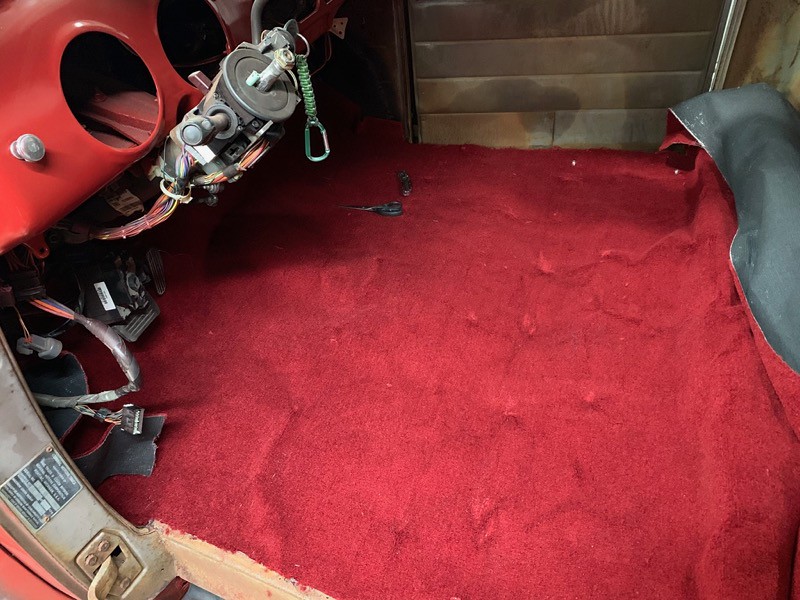 IMG_2657 by Joe Doh, on Flickr
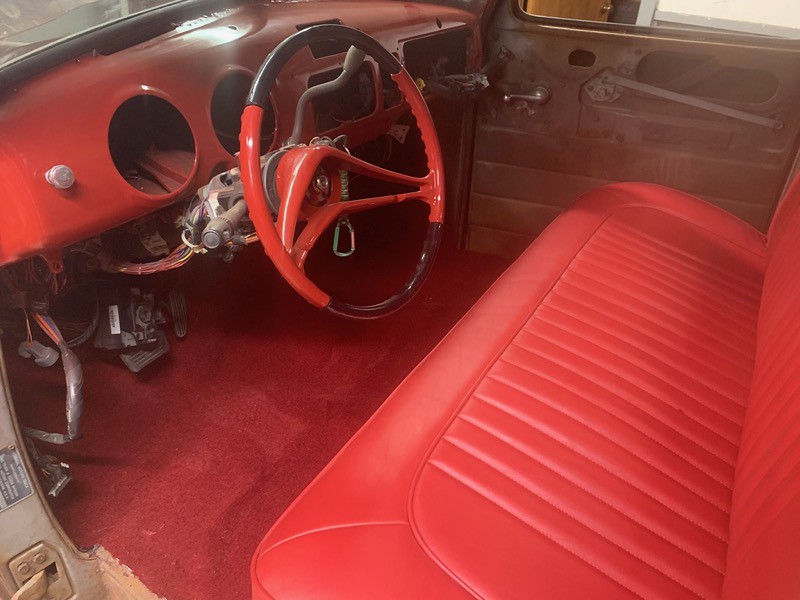 IMG_2661 by Joe Doh, on Flickr
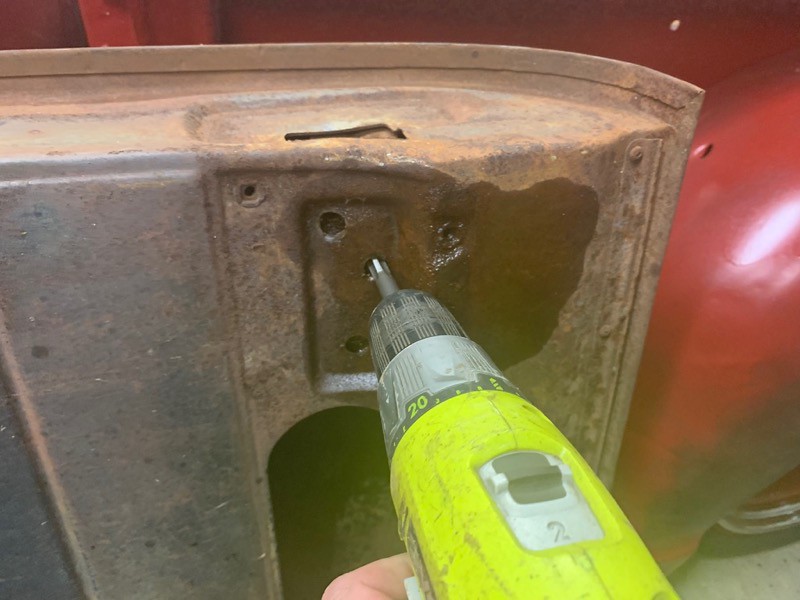 IMG_2662 by Joe Doh, on Flickr
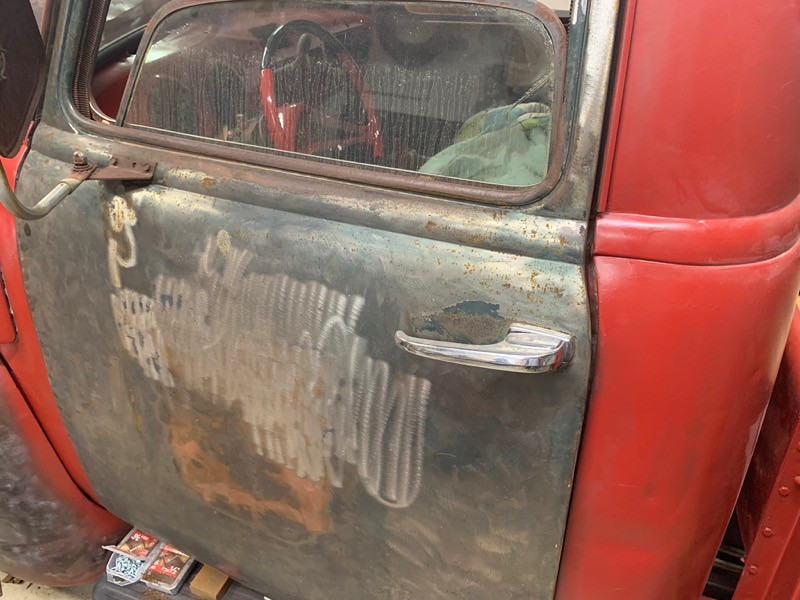 IMG_2663 by Joe Doh, on Flickr
 IMG_2664 by Joe Doh, on Flickr