BlueNorther
Well-known member
DAMN, boy it looks better every day.
loving that red!!!!!!!!!!!!!!!!!!!!!!!!!!!!!!!!!
loving that red!!!!!!!!!!!!!!!!!!!!!!!!!!!!!!!!!


Wow... i'm just now catching up, looks GREAT!
At 1st glance before you put the upper plentum on it looked like an LS1 with that corvette red color[cl...
I love the addition of the logos on the motor!
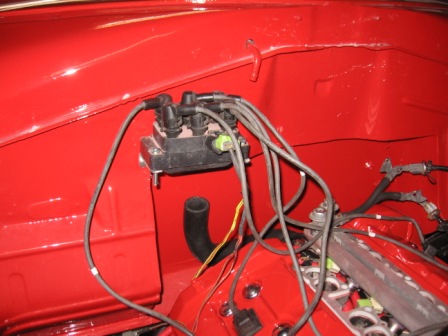
Thanks! These late model emgines look pretty good with a little simple detailing. I decided to build a shelf behind the seat to mount the PCM, ignition module, and the amps for the stereo, plus I'll be putting a bank of relays on it. Here it is mocked up, I'm going to work on the wiring harness and get everything lengthed/shortened to where it needs to go before I neaten it all up. This eats up a ton of time; looks like I may not make my January engine test run. Hopefully it wont take too much longer.
that's a lot of wires!
This area would look awesome with three coil wire bulk heads coming through the firewall on each side of the engine and the coil inside under the dash on the firewall.
Enter your email address to join:


