sorry pookies... Not a whole lot of exciting stuff to report unfortunately ... we did get my dads 57 to fire up on Monday.. hes owned the car since 76... decided to restore it.. it has been apart since 99 i believe.. anyway got the engine rebuilt and in.. sounds good
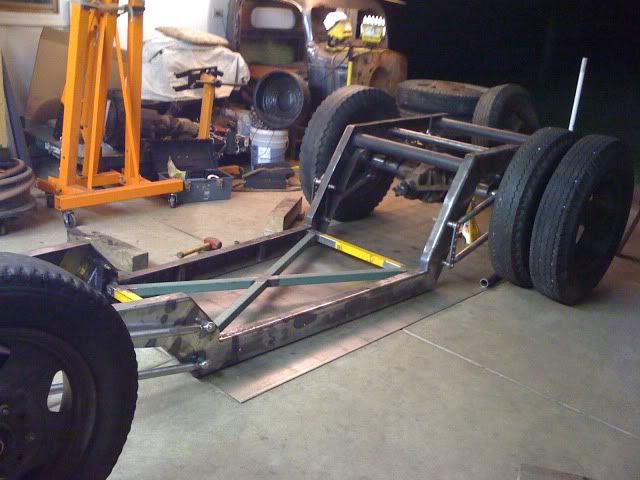
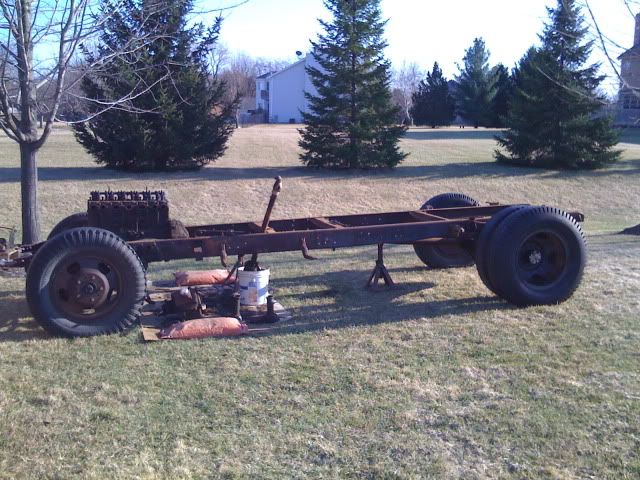
My truck:
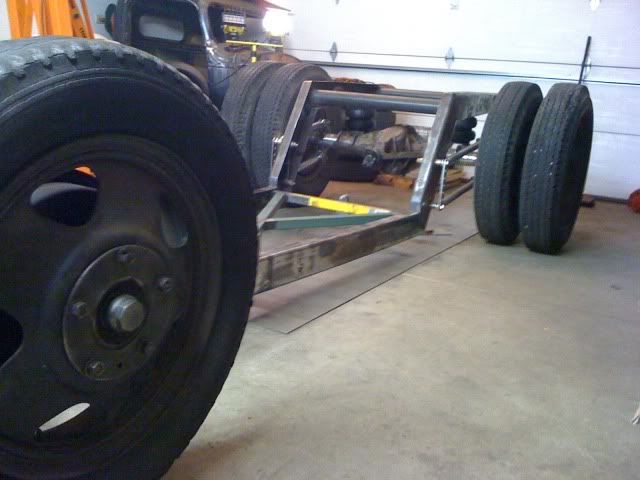
I got the set of rims from the guy over at kb... and just my luck the hole size in the rims are larger, so i have spent a bunch of time changing out the wheel studs.. tons of fun... i also think 2 of the six rims are shot, but i wont know for sure till i clean them up, might be able to repair them, but thats fine, i have 2 from my truck that i can run up front, not that it really matters that they wont match, i don't think you will be able to tell since you wont see the same side of the front as you will see on the rear...
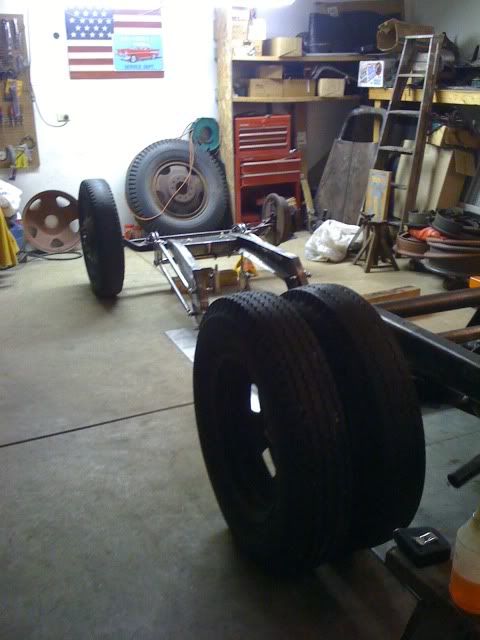
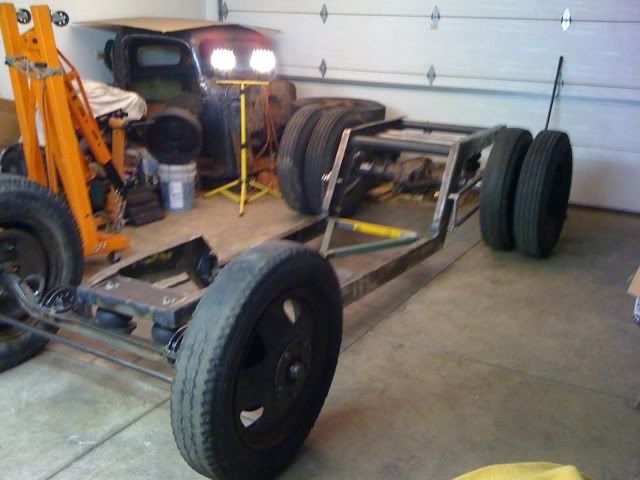
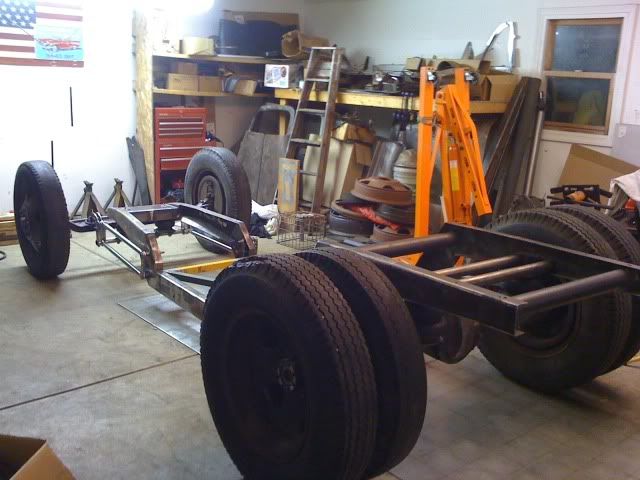
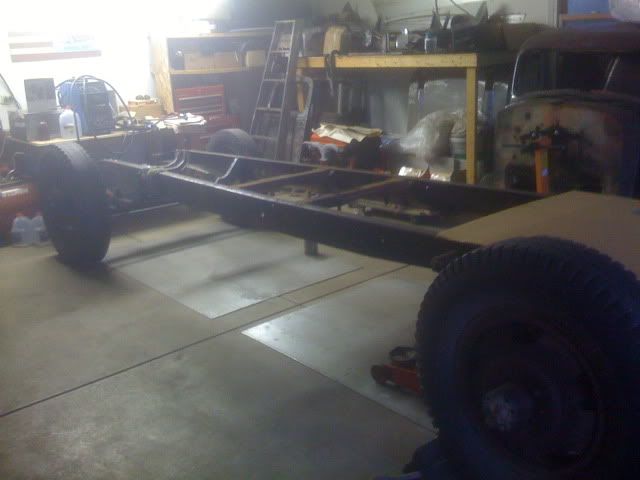
anyway heres a pic with the new old shoes on the back, these rims are slightly narrower than what was on there but weigh a fraction of the weight... less than half
another shot: only had the one side switched over at this point.. but all 4 are on the back now
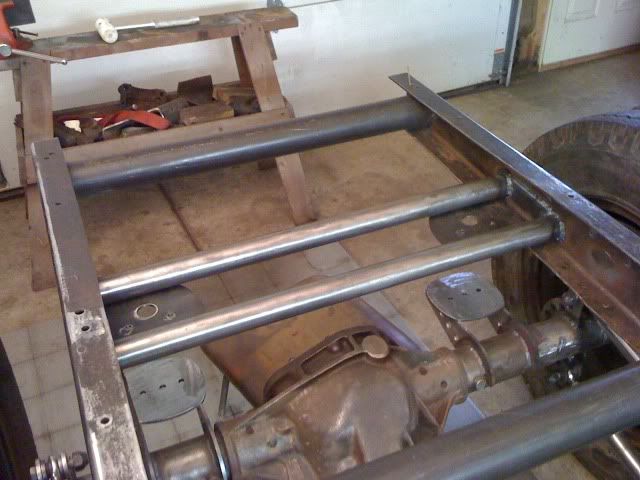
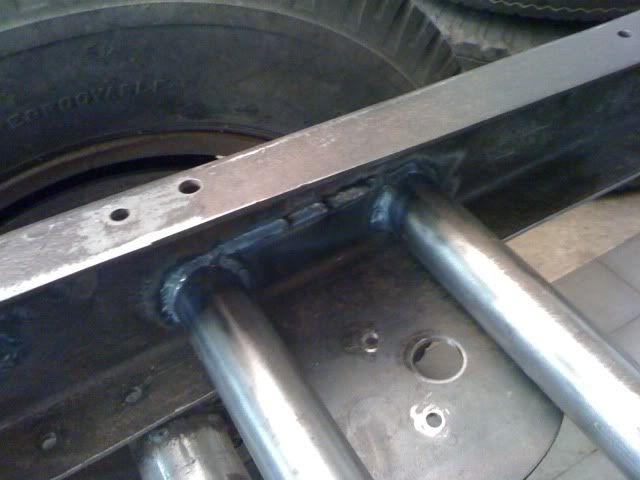
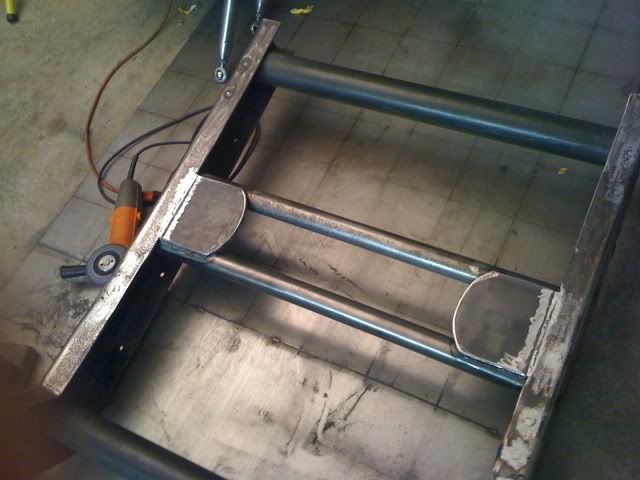
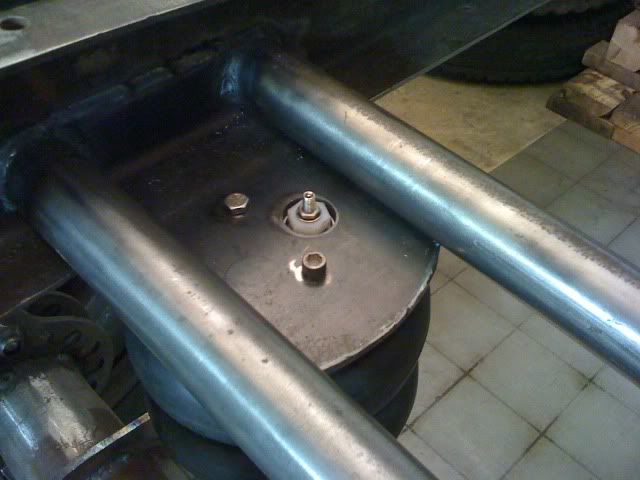
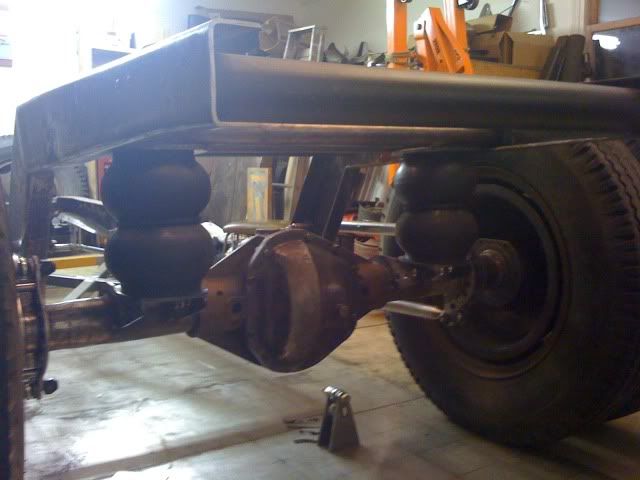
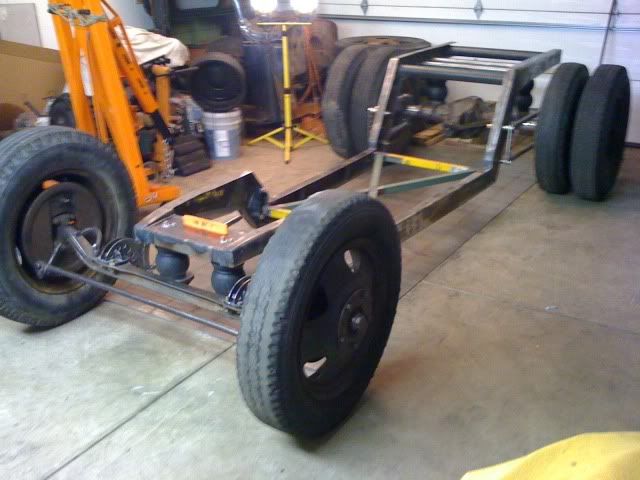
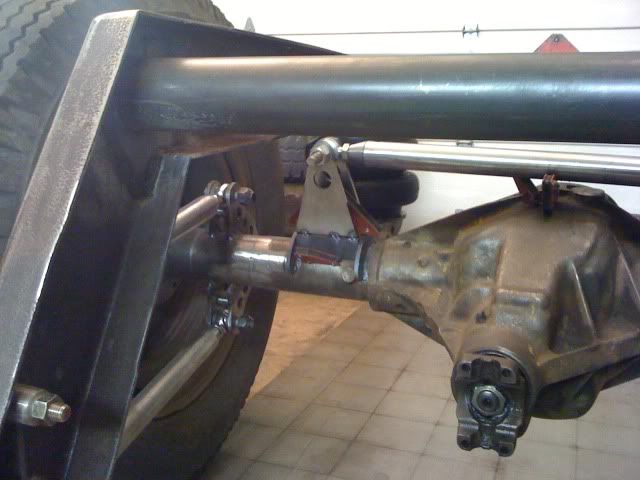
I am on about rev 4 of my rear cross member.. i keep making brackets and parts.. and decide i don't like them.. i have gone with box, tube, sheet, all sorts of different variations.. i have settled on a design now, a nice simple one, a bunch i did looked two heavy and i wasn't happy with it...
so expect it to be holding itself up in a few days, i have also figured out the rear panard placement...
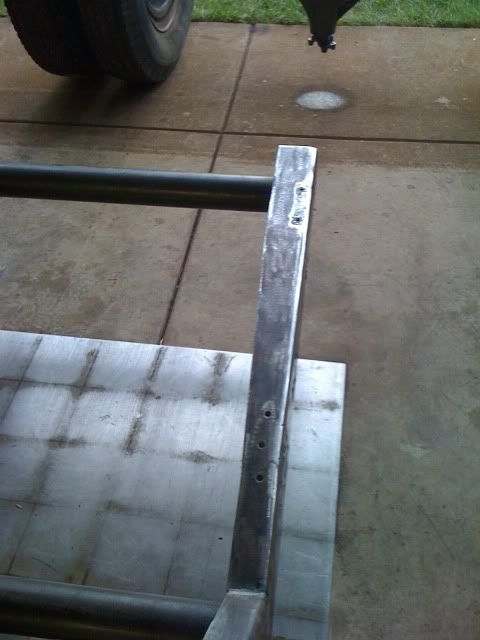
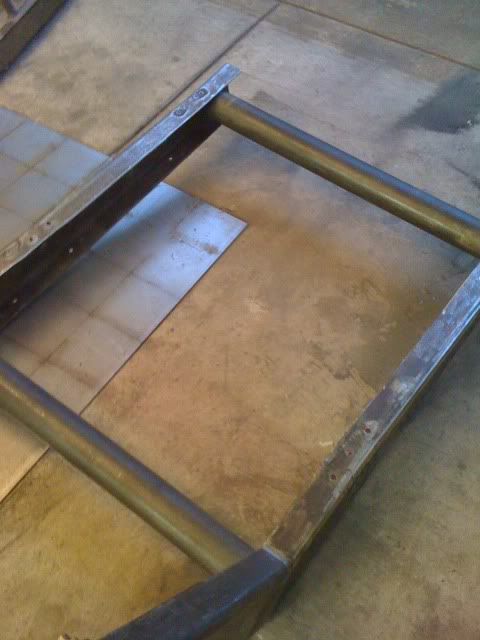
another thing i did was square up the back half of the frame, these old frames were stamped out of strip, and where the frame height narrows, all they did was wrap the material further around the bottom.. so i decided i better square it up before i weld the cross member in
before:
after:
not very exciting but it had to get done