
You are using an out of date browser. It may not display this or other websites correctly.
You should upgrade or use an alternative browser.
You should upgrade or use an alternative browser.
31 chev 5 window
- Thread starter 31chevrod
- Start date
Help Support Rat Rods Rule:
This site may earn a commission from merchant affiliate
links, including eBay, Amazon, and others.


31chevrod
Well-known member


BlueNorther
Well-known member
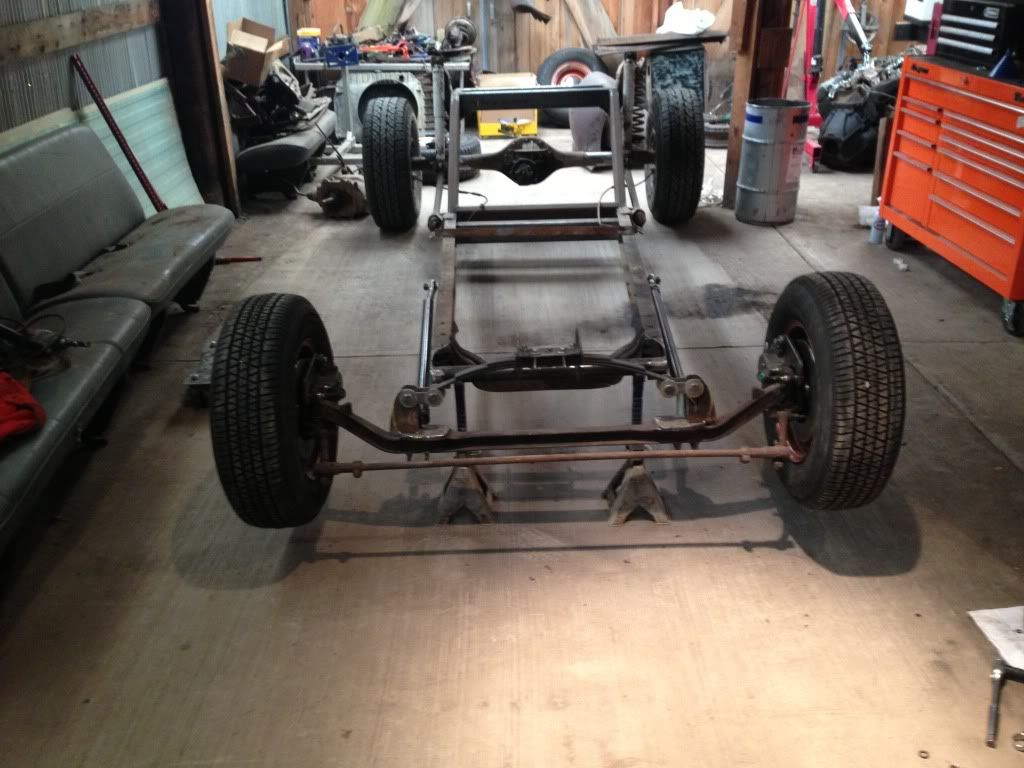
in the photos it looks like you did not tilt the spring mount back 5-7 degrees to allow for caster in the front axle.
31chevrod
Well-known member
In fact I did not angle it  I did not know that so whats the reason? I did a lot of reading but never seen that!!!
I did not know that so whats the reason? I did a lot of reading but never seen that!!!Dirtyrat
Got Fins?
just about every one of the builds on here has mentioned that you need to setup a solid axle with positive caster. Caster provides high speed stability, and has other benefits with bump steer, etc.
I imagine you can angle the bracket itself or weld in an angled shim plate.
I imagine you can angle the bracket itself or weld in an angled shim plate.
christcrusader13
Zip-Tie Mechanic
Good info!
Thanks for the info on this, I should get around to building my frame sometime next year and know I know why this puppy needs a bit of a tilt!
Thanks for the info on this, I should get around to building my frame sometime next year and know I know why this puppy needs a bit of a tilt!
bob w
Still crazy after all these years!
If you use spring pivots to mount the spring there will no be any bind.
31chevrod
Well-known member


Dirtyrat
Got Fins?
Just a quick suggestion, with little to no weight those shackles should end up horizontal.
Fully loaded you should be at about 45 degrees, you want to have room for that spring to extend when compressed, and not bottom against your shackle mount.
Fully loaded you should be at about 45 degrees, you want to have room for that spring to extend when compressed, and not bottom against your shackle mount.
31chevrod
Well-known member
ok cool I will change it I set them at 40 thinking it would flex then stood on it and it flexed but did not bottom out so I was not sure
chevellelovermichael
Well-known member

endicott_jb
Well-known member
As mentioned before, and I learned this from the other guys, you need to have the shackles parallel with the axle unloaded. That way when the weight of the frame and engine is resting on it, it forces the shackles to go to a 45 degree +/- 3 degrees. Both of you need to push your spring perches outwards. This is how I did mine. Mind you, I am also using a Chevy axle. Another thing, flip your drag link around. If you are having clearance issues, you will need to get steering arms that push out past the kingpins. This will require larger wheels(at least 17's.) Otherwise the steering geometry is way off. I have to do some work to mine also so that my geometry is right. If you guys want more pictures or info, check out my build thread.
chevellelovermichael
Well-known member
mine has been fixed. I thought i had a newer picture. I just had my spring re-arched to the right length, ordered some speedway perches, and shackles, and the shackles do sit parallel with the axle unloaded. mine is a 55 chev, 1/2 ton axle.As mentioned before, and I learned this from the other guys, you need to have the shackles parallel with the axle unloaded. That way when the weight of the frame and engine is resting on it, it forces the shackles to go to a 45 degree +/- 3 degrees. Both of you need to push your spring perches outwards. This is how I did mine. Mind you, I am also using a Chevy axle. Another thing, flip your drag link around. If you are having clearance issues, you will need to get steering arms that push out past the kingpins. This will require larger wheels(at least 17's.) Otherwise the steering geometry is way off. I have to do some work to mine also so that my geometry is right. If you guys want more pictures or info, check out my build thread.
31chevrod
Well-known member
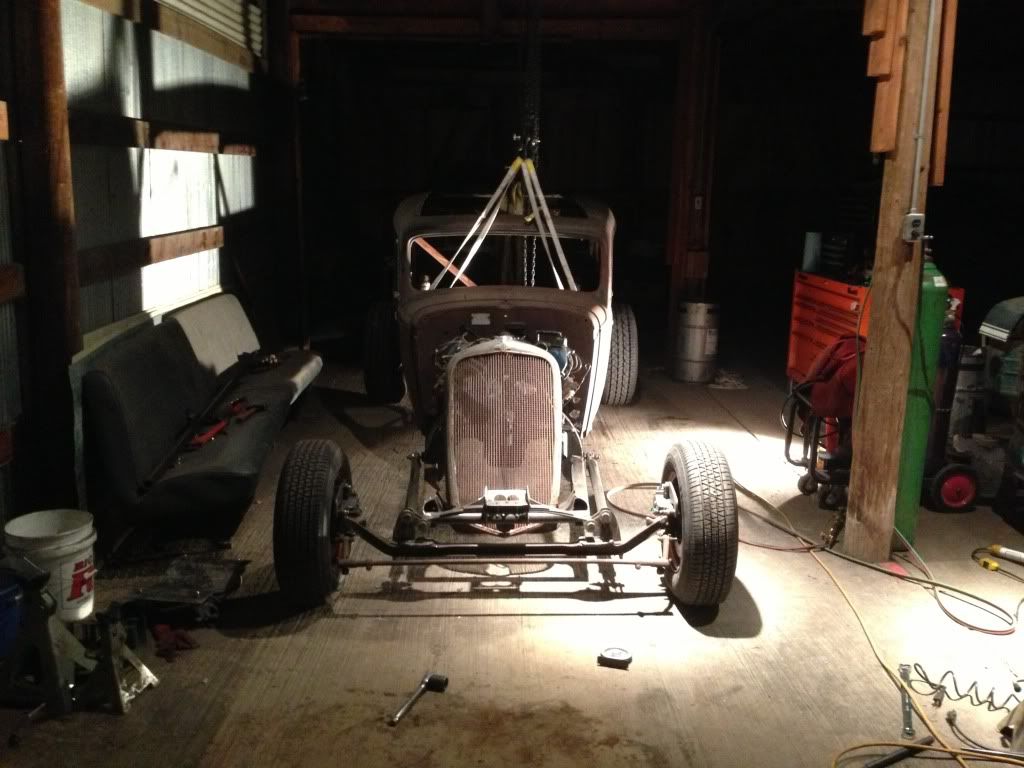
Hey thanks for the great pics, I saw your bulid from the start and its really looking good. I fixed my front shackels as well I will post pics soon, I got my body on the frame Friday channeled 5 inches over frame and slid back about 10inches from original to make sure a big block fits!! Time to start fabbing up the rear frame section to bolt up the jag rear end
31chevrod
Well-known member


Dirtyrat
Got Fins?
Looks like its a good fit so far, nice work!
31chevrod
Well-known member
Ok so I need some advice... I started to full weld my chop job, skipping around putting my hand on the steel and not welding again till it was cold. I still got warpage how do I fix???
chevellelovermichael
Well-known member
they call it hammer welding. weld a little, hammer it back into place, weld some more, more hammering. it should only take light-medium force taps with the hammer. http://www.youtube.com/watch?v=WRqbdKZAzoU
Torchie
Well-known member
The purpose of the hammering is to relax the metal after shrinkage from the heat. Plus with gas welding the weld it's self stays malable longer so you are also flattening the weld as well. Makes for less grinding.
Can't say that hammering flattens the Mig weld but it does help to relax the metal.
Jump around. Take your time. Even with hammering there may still be some warpage. And unless you are planning to only metal finish your roof you will be fine. Your chop is looking great. Nice fit.
Torchie.
Can't say that hammering flattens the Mig weld but it does help to relax the metal.
Jump around. Take your time. Even with hammering there may still be some warpage. And unless you are planning to only metal finish your roof you will be fine. Your chop is looking great. Nice fit.
Torchie.
31chevrod
Well-known member
Ok that's what I thought to do but thought I would pick rodders with more
Experience. It is not that far out just bugs me
I'm going to paint the body so a little filler will be no big deal.
Experience. It is not that far out just bugs me
I'm going to paint the body so a little filler will be no big deal.