BlueJeep
Member
It would be easier to get back on the road.
I agree!

It would be easier to get back on the road.
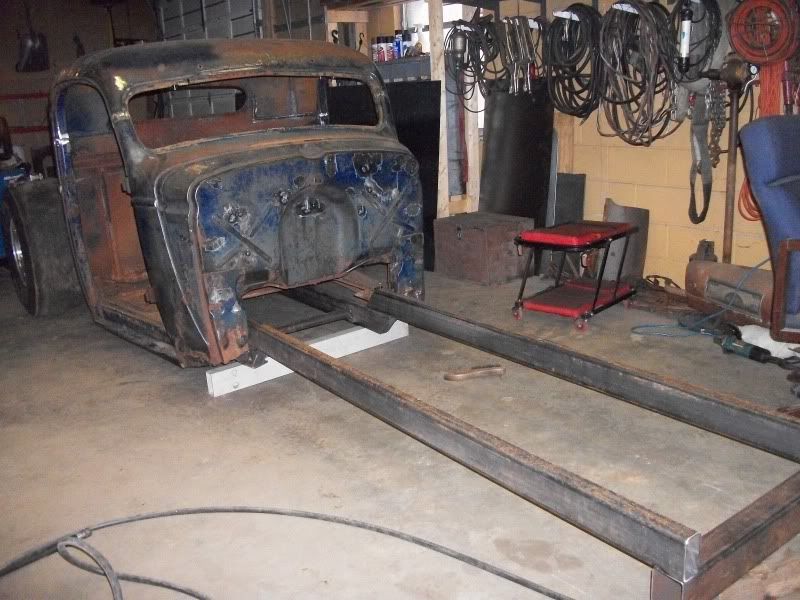

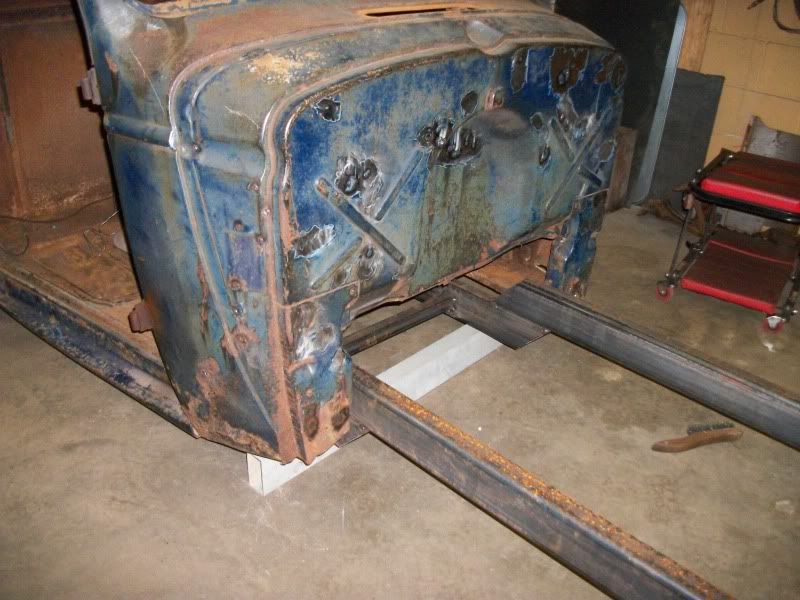
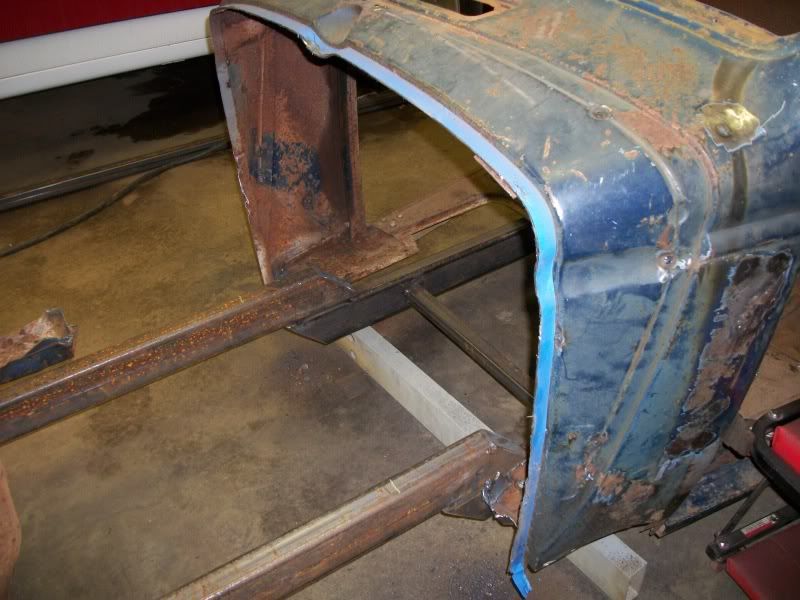
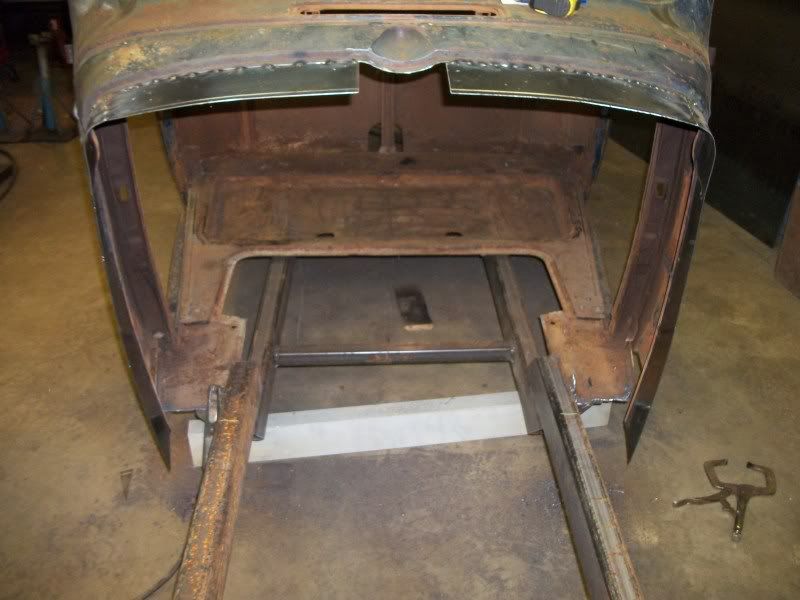
I got the idea from another build thread to cut off the firewall and move it ahead a few inches. The one on here I saw was moved 6". I'm about 6'2" and I was thinking about moving it ahead 4" for a little more leg room. It's hard to tell before a seat is installed, but sure would be a good time to do it while frame is still in mock up.
Good idea you can't have too much leg room . Just some thoughts here . If you cut the cowl and move it forward you will not be able to keep the shape of the cowl unless you narrow the front pc . You could build a box like thing in front of the firewall , it would give you added foot room on your side and would make a great place to put the battery on the pass side . Might look a little odd on a streetrod but on a rat not so odd . Wish I would have done it on mine .

I got the idea from another build thread to cut off the firewall and move it ahead a few inches. The one on here I saw was moved 6". I'm about 6'2" and I was thinking about moving it ahead 4" for a little more leg room. It's hard to tell before a seat is installed, but sure would be a good time to do it while frame is still in mock up.
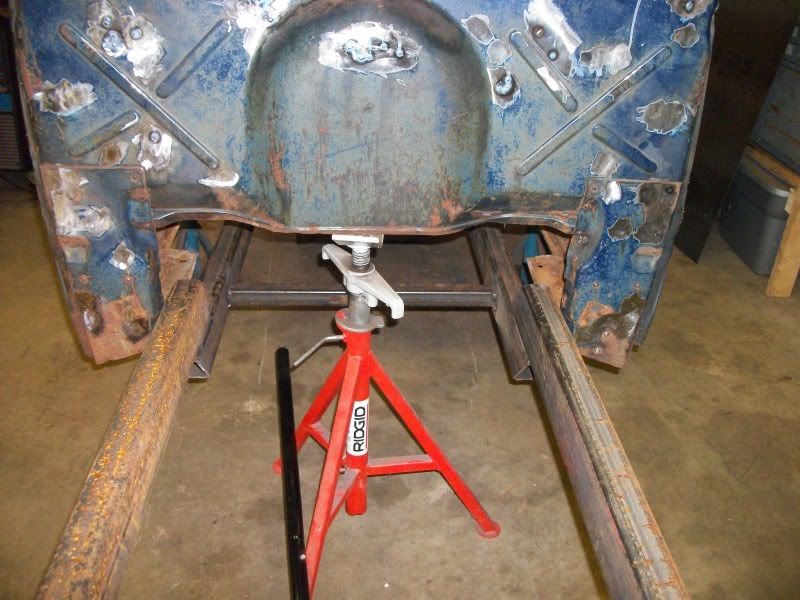
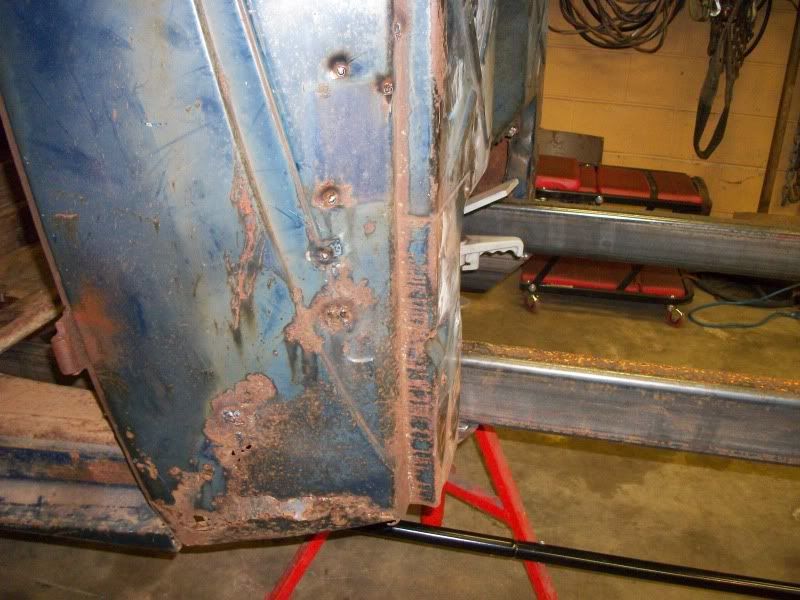
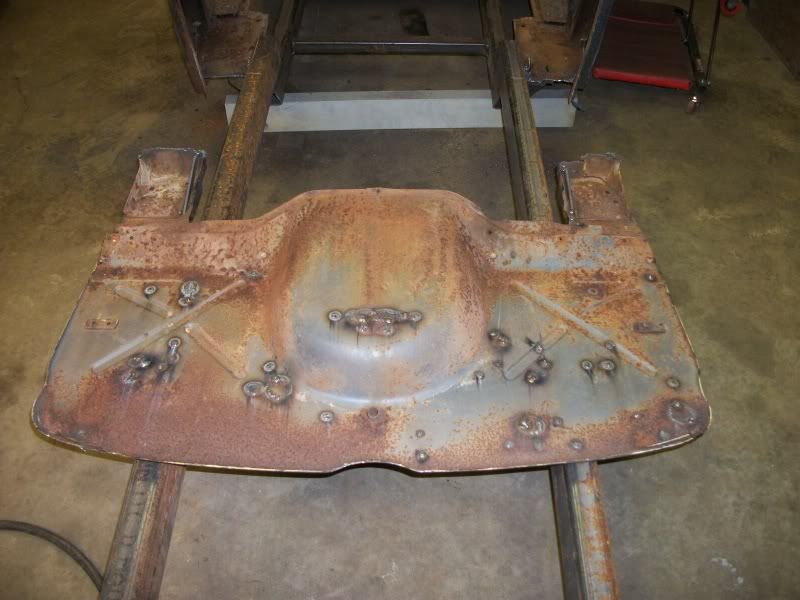
On my body there is a flat spot about 1 1/2" wide at the front. I figured I could cut it there, move it forward and retain the original firewall without to much work and stretch the frame now to fit it. Any thoughts?
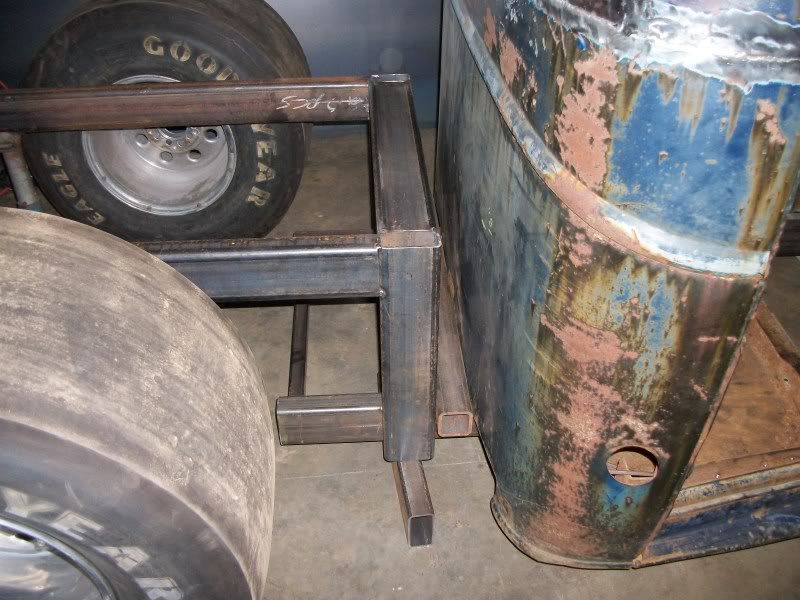
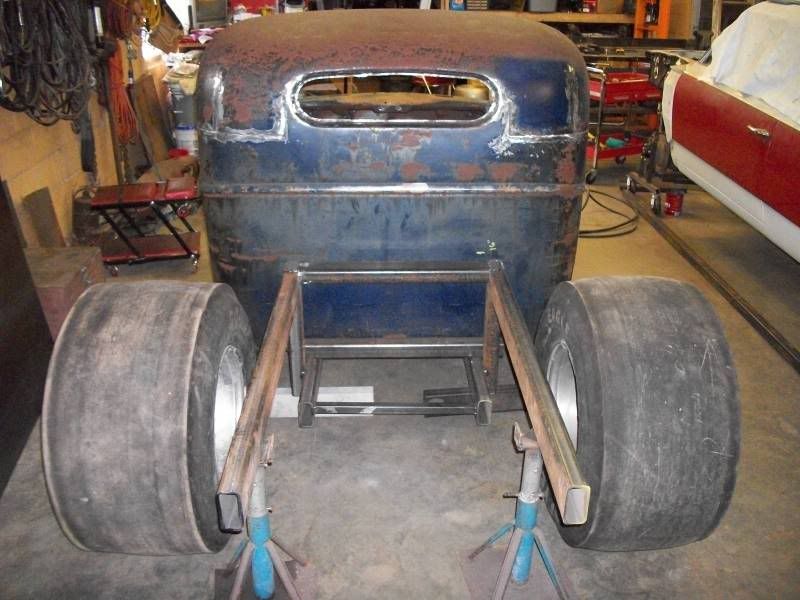
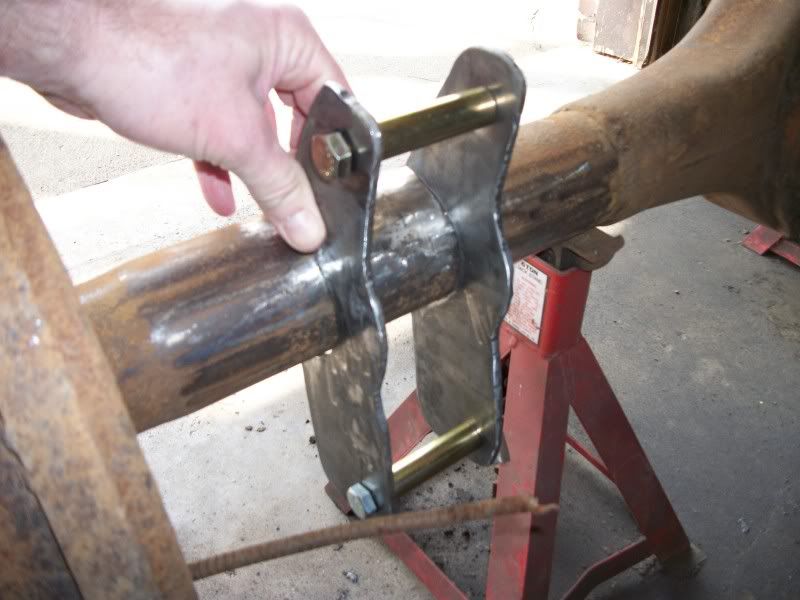
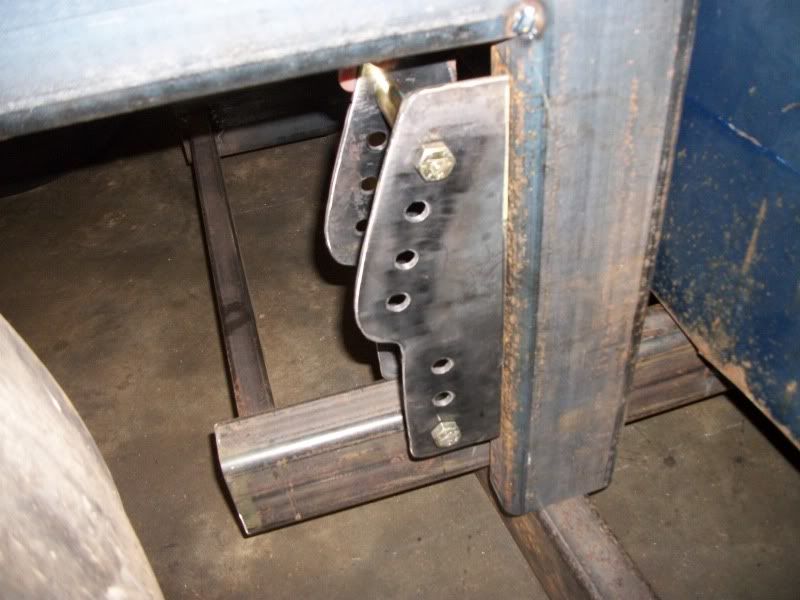
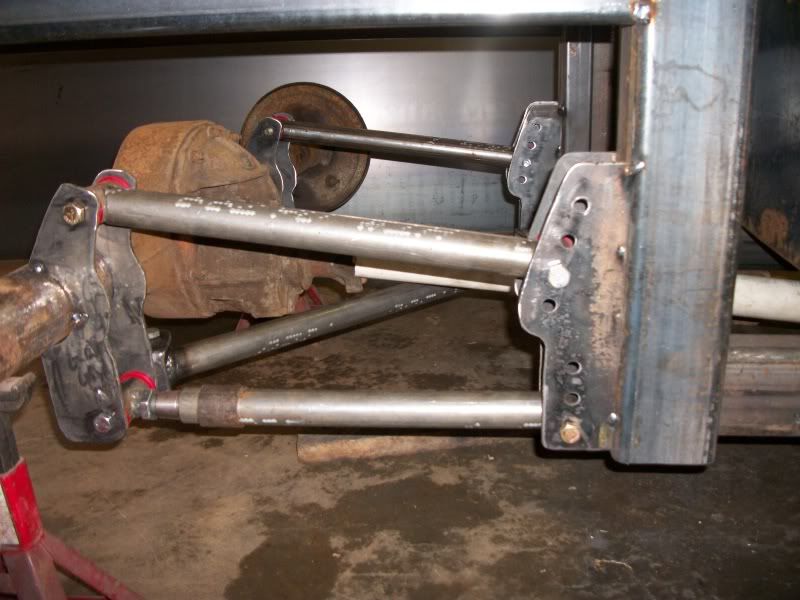
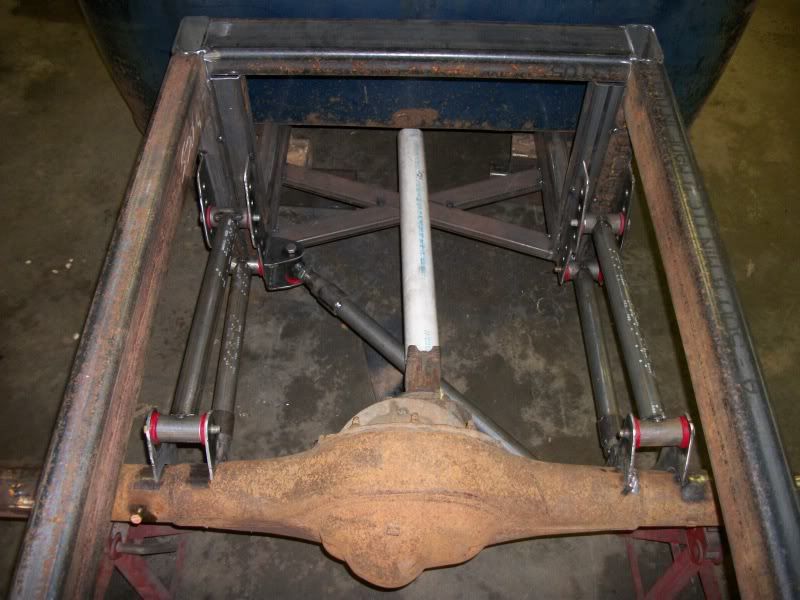
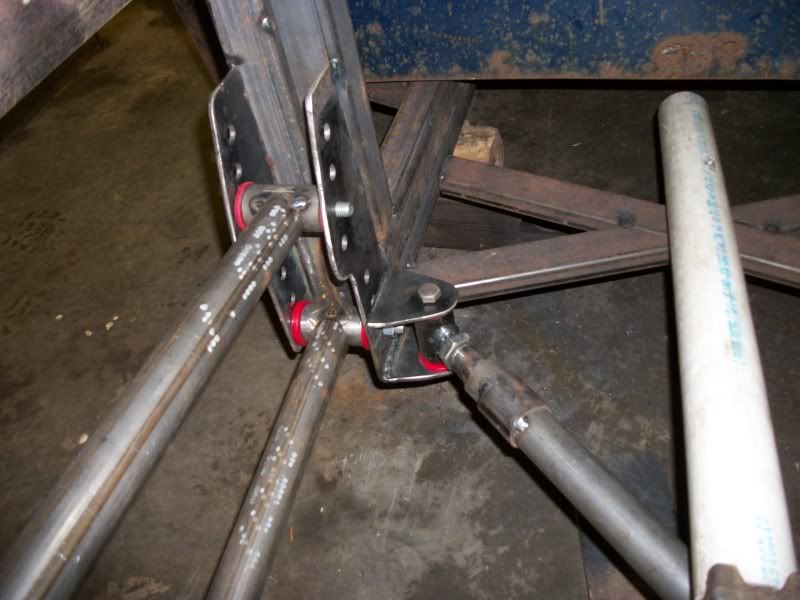
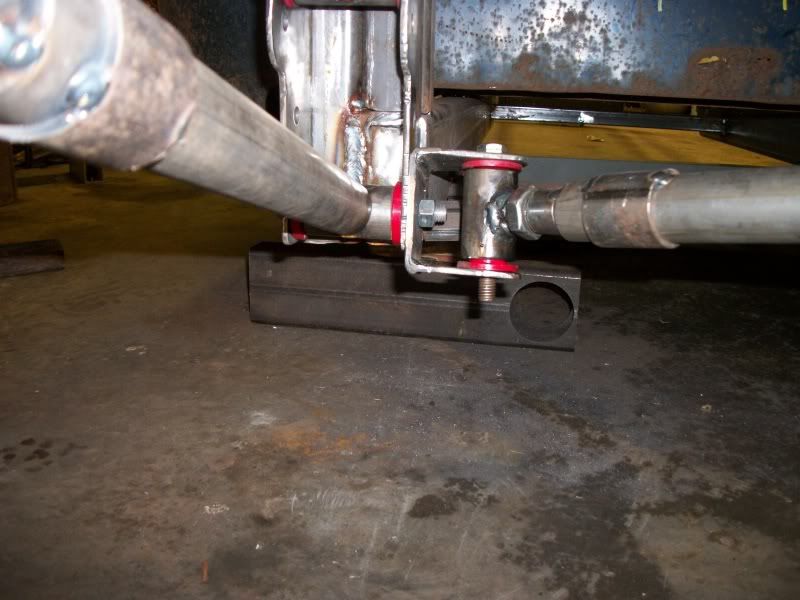
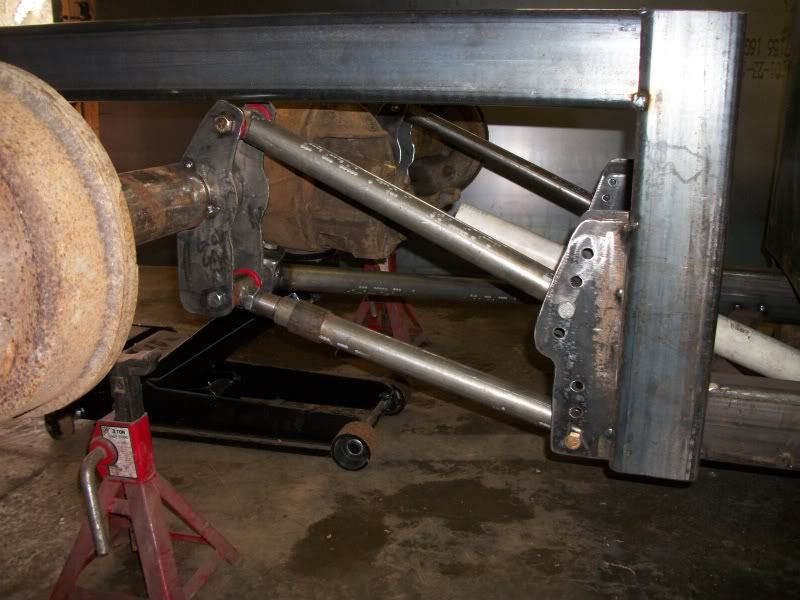
I know you are toying with the idea of useing that independant front suspension sitting on your trailer , PLEASE don't ! That cab has so much potential to be a cool old rod , Find you a good straight axle and give it the look it deserves . You won't be sorry !!
I haven't ever done a chop before. I've done a little body work in my time, but I'm a long way off from being good at it. A Rat Rod Hot Rod Truck Bobber build is perfect for me I figure.
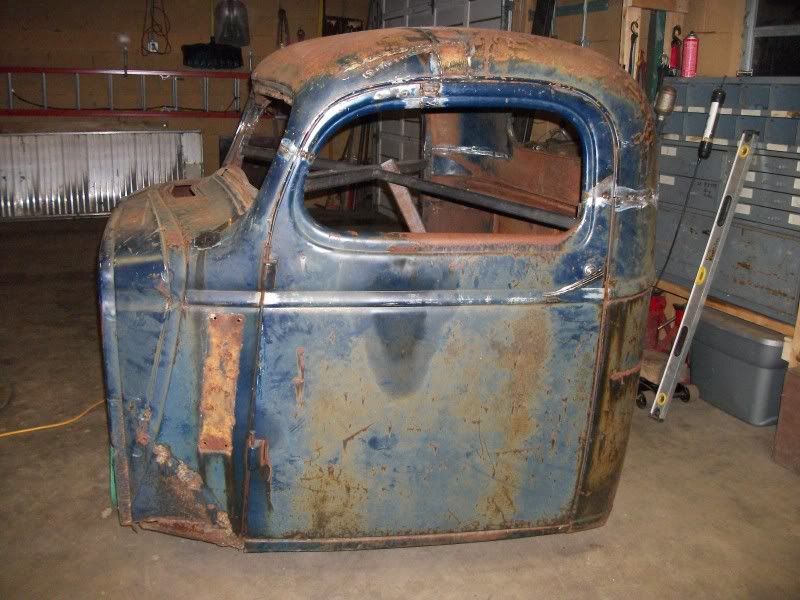
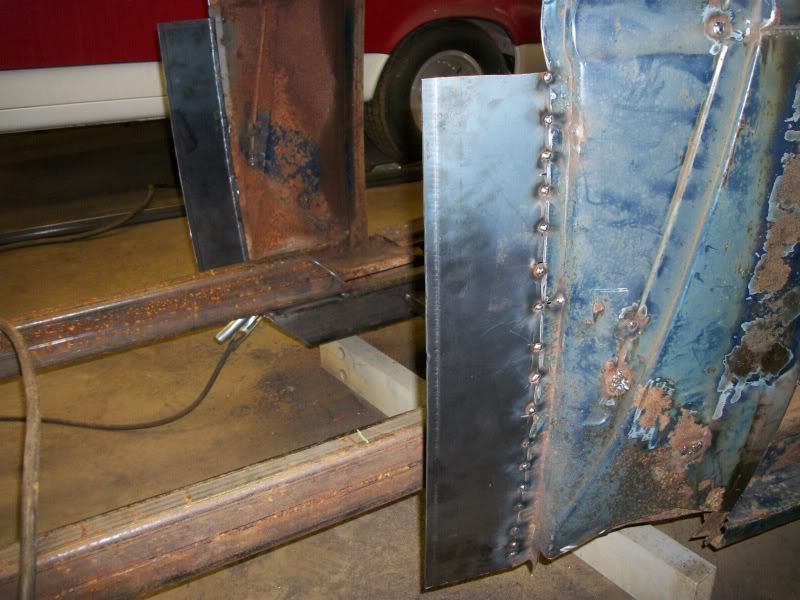
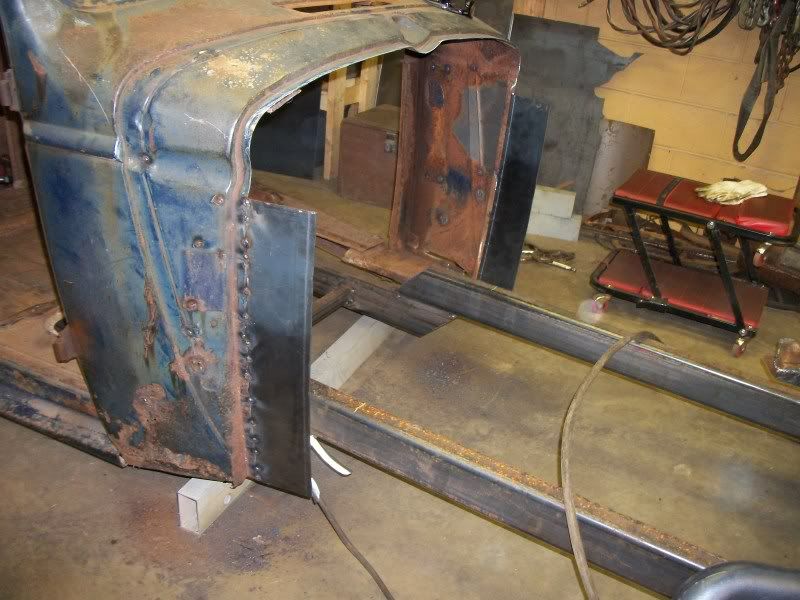
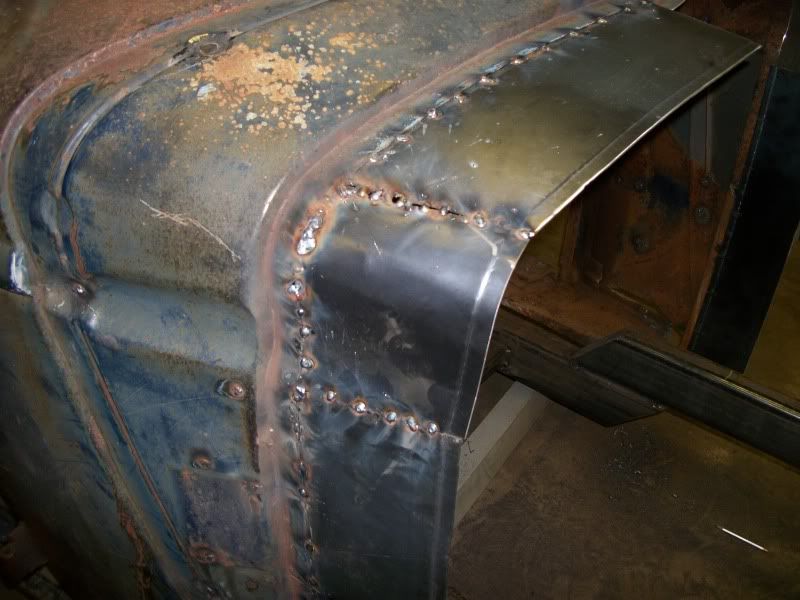
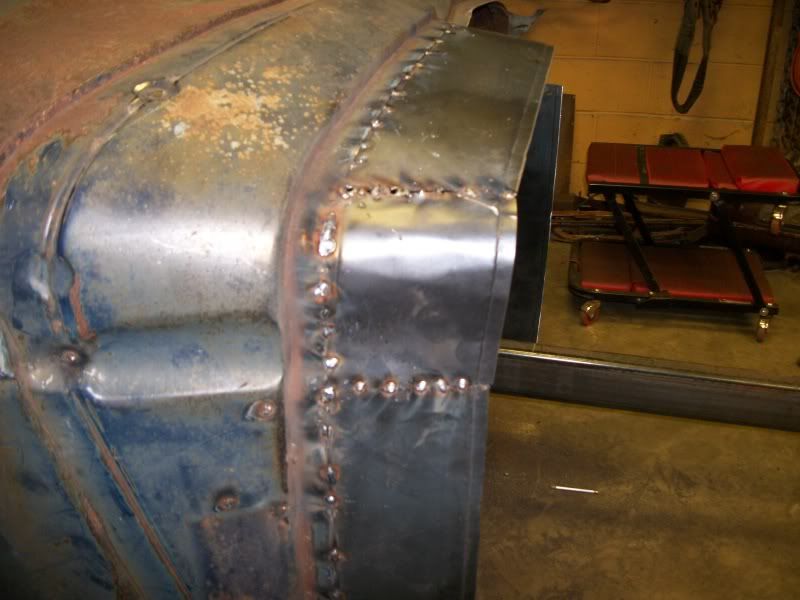
I was a little apprehensive about cutting off the roof before I had my plan gone over by someone else. My buddy Chris didn't see any big hicups in my tapeing job so he helped me get the roof chopped off. From them it was fairly straight forward. The upper roof needed to come in some, so a relief cut or so on each side and it seamed to fit decent. The rear roof fit inside the bottom section so well that I flanged the upper portion and with only one relief cut and a little hammer and dollie both sides there fit good.
The doors weren't so bad either. I did the drivers side first and for some reason the archs didn't line up well. I ground off some of the front and rear radius and rewelded the seams and fixed that problem. I figured it must have been from the tweaking of the winshield area to fit the front roof.
Then went to the passenger side and both radius fit fine. I think I gave up early on the drivers side and could have saved some work. The gap was smaller on the drivers side, but after future bondo etc. you won't be able to tell.
I still have my interior brace welded in place. I had to cut part of it off near each door because the doors would not shut. I plan to leave it there until I weld all the seams up in a week or so. Both door shut very nice right now.
One door I just cut it off with the windo track still in it. The other I bent it out of the way. Both window tracks aren't very good, so not sure what I'm gonna end up doin there. The windows almost fit good enough that I could add some steel to the fronts and never cut the glass down. Doubt if I'll go that way because it may look goofy though.
I am building a '42 chevy and had the same issue with the drivers door not fitting right but the pass door shuts fine...Can you tellme exactly what you did on the drivers door [
To get them to shut ok just line up the door halves and tack weld in place when the door is hung on the truck. Twist or tweak to get them to line up.
To get the radius better, I just ground off where needed and added to another spot and welded back up.
Take a picture of your problem area and post or send me to your build thread so I can take a look.
Enter your email address to join:


