1946 Chevy Bobber Truck Chop Build

Rat Rods Rule

Help Support Rat Rods Rule:

This site may earn a commission from merchant affiliate links, including eBay, Amazon, and others.
This is such a great build and an entertaining thread! I come in here all the time but just realized I've never said anything before :eek: I guess it's hard to contribute sometimes when your skills are so much more advanced than mine :)

You are making awesome progress, keep the pics and commentary coming!
[P[P[P


Thanks for the comments!
My build seems a little boring to some of the others I see on here, but I still hope the vision I have looks good in the end.
 
I think the bed length looks good, nice that you left it as long as you did. Put the keg up there where it'll go so we can visualize what it'll look like, and then you can decide how much more you need to do to the back.

Maybe that other tailgate was off a fleetside rather than a stepside.
 
I think the bed length looks good, nice that you left it as long as you did. Put the keg up there where it'll go so we can visualize what it'll look like, and then you can decide how much more you need to do to the back.

Maybe that other tailgate was off a fleetside rather than a stepside.


I need to get the bed welded up so I can get a shot of primer on it. The YELLOW is wearing me out!
 
Looking good, I think one of the hardest things in building one of these, is making a plan so you have a spot for everything to fit, especially when running airbags. Looks you found good spots to tuck that stuff away and still have enough room for a decent sized cooler! :D
 
With extending the firewall, I had room for the battery under the dash. I run Optimas in the stuff that sits alot, but just thought it would be a headache to get at it there. Ofcourse I buried it worse now...


Here's a few pics of the kegger tank a sittin'.
100_1050.jpg


100_1051.jpg


100_1052.jpg


I threw in a pic with a bigger tar next to it for a little perspective...
100_1053.jpg


Well off to the hardware store today and maybe get some welding done this weekend. No more steering parts showed up, so I will have to wait on that.
 
I was getting ready to type in and say we need a pic of the bigger tires on there. That will make a huge diff in the look. RR[dr
 
401Ton, thank your buddy for me I would of never thought of a built-in cooler :confused: [cl :cool:
Looks like you're making good headway [P

Jim
 
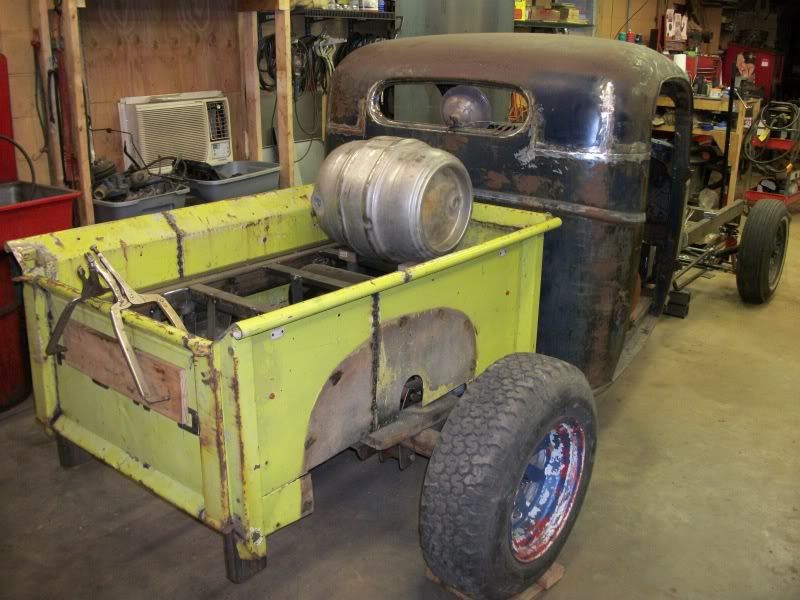
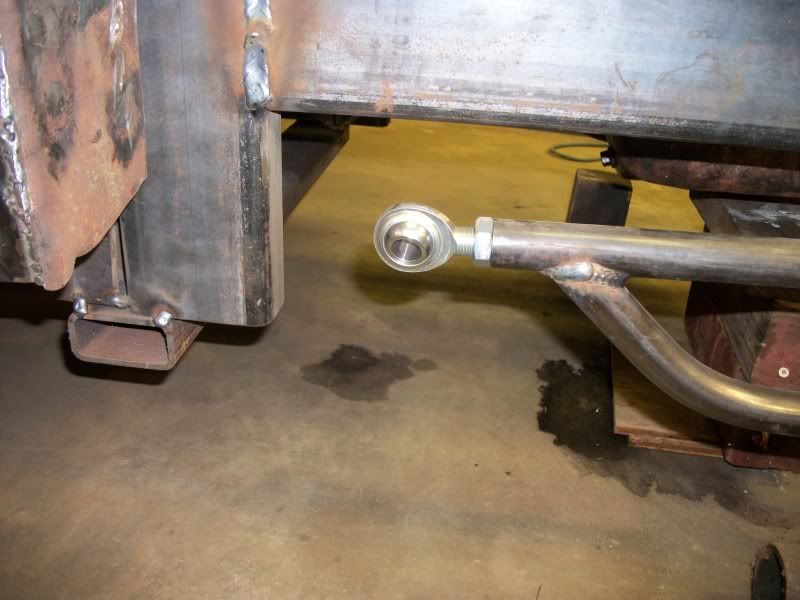
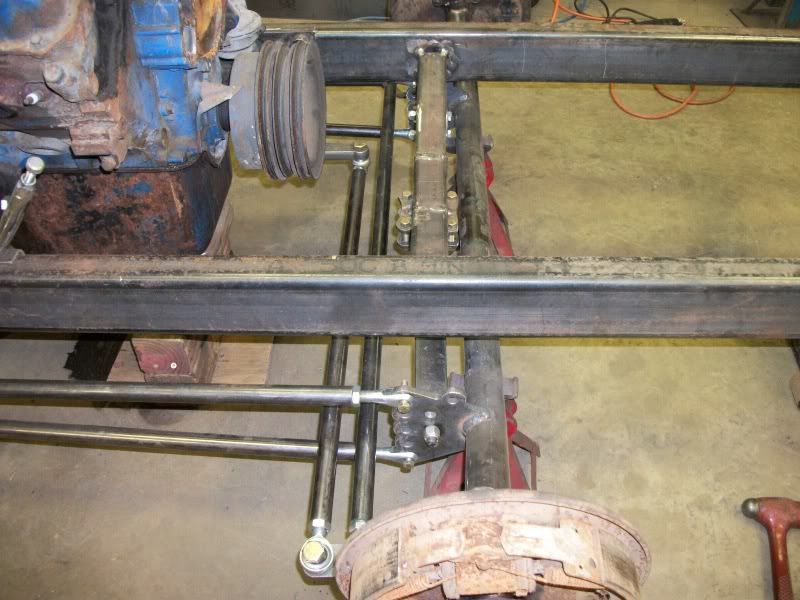
Steering came in last week from EZTBucket.
I installed and tweaked until I got everything to fit.
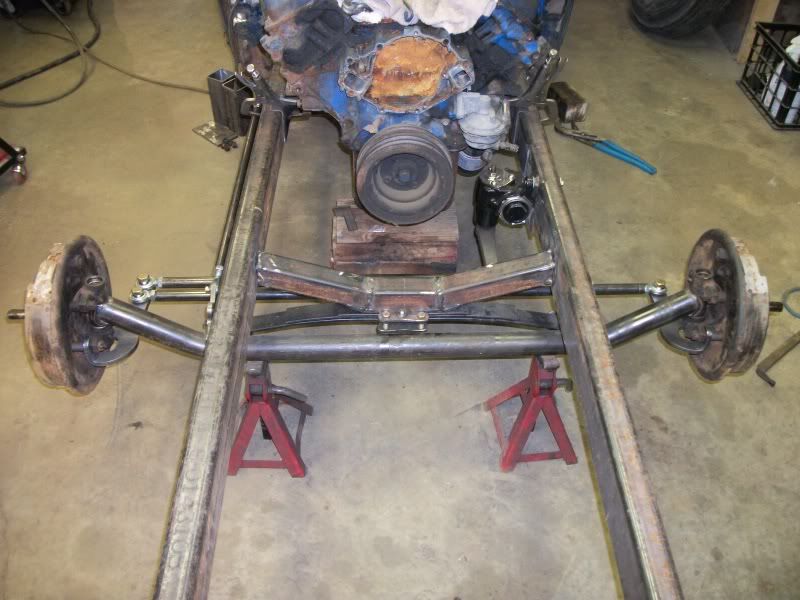
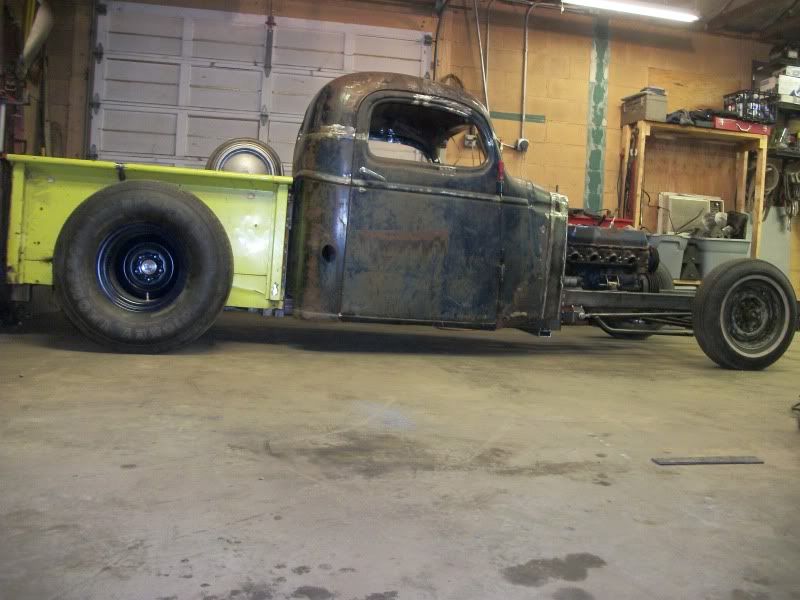
I currently have about 23-24 degrees of steering. My wheel base is gonna end up about 133", so I was hoping for tighter steering, but with spring behind and crossover steering that's about all there is room for.
After I drive it if it's real bad except for parking lots, I could always extend the steering arms 1/4-1/2" to make more room.
What does anyone else have for a turning radius in degrees?
Maybe I should have ordered a 6" drop and spring over? It's hard to tell without an engineering drawing to start with...
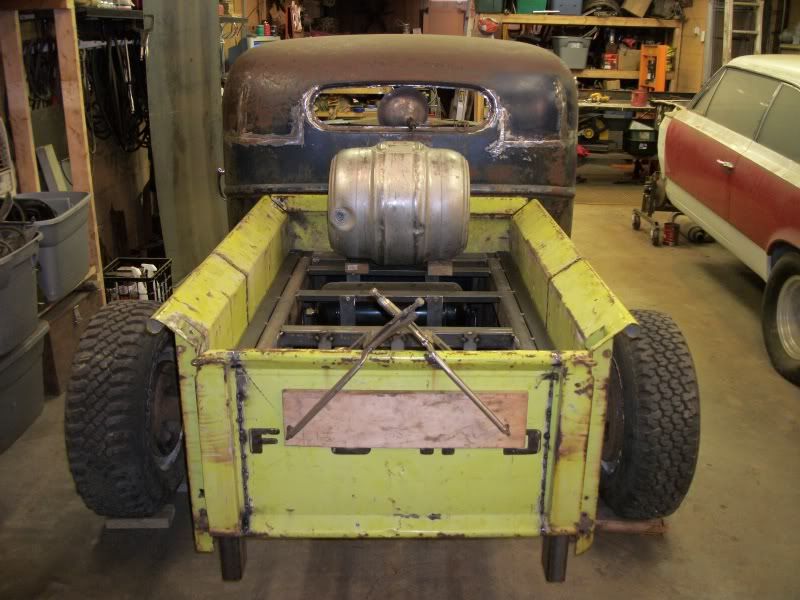
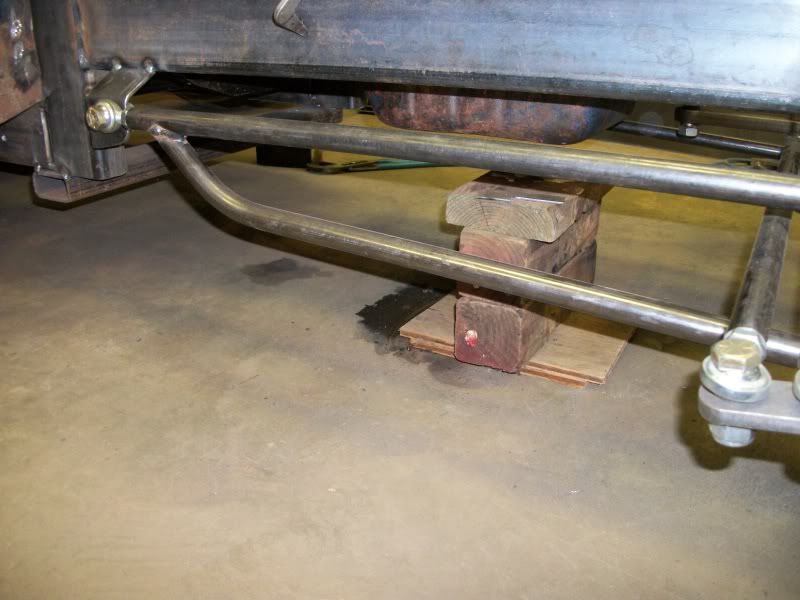
I will have about 3" of suspension travel before the axle hits the frame now. I may "C" notch or curve the frame a little later, but thinking it will be enough.

100_1069.jpg


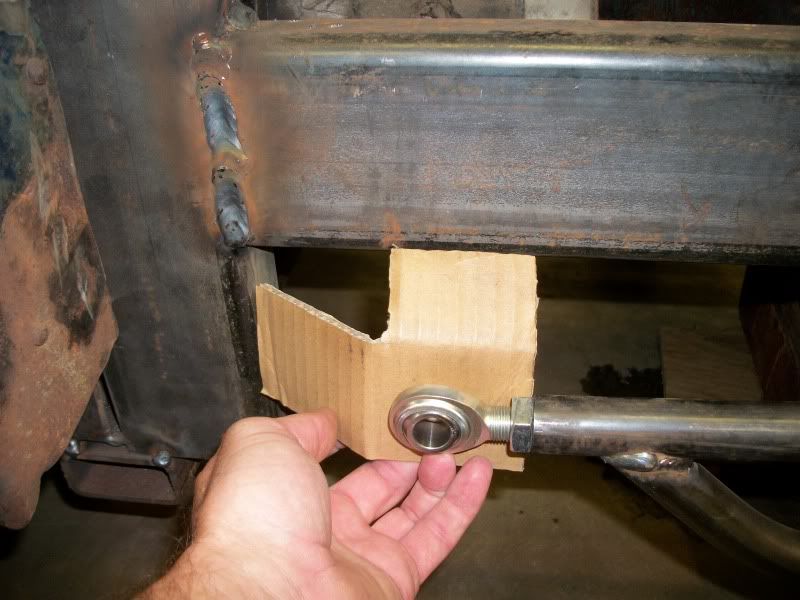
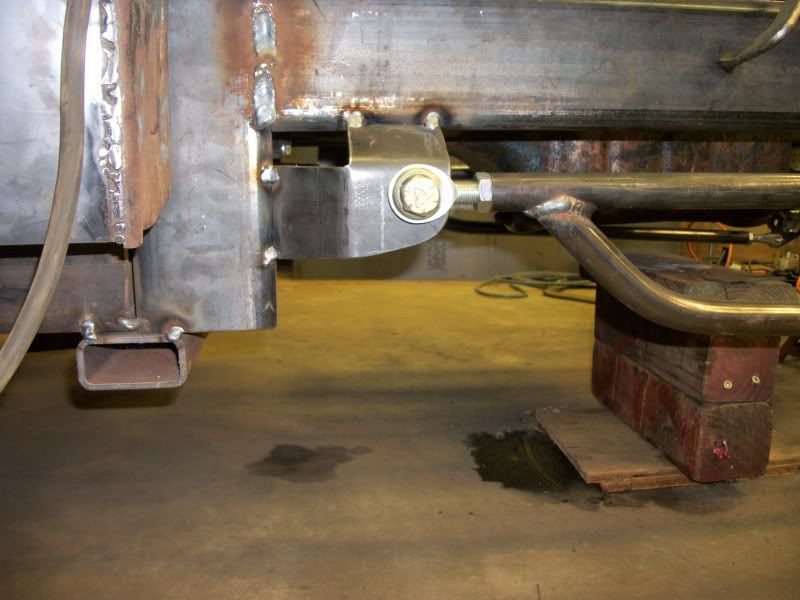
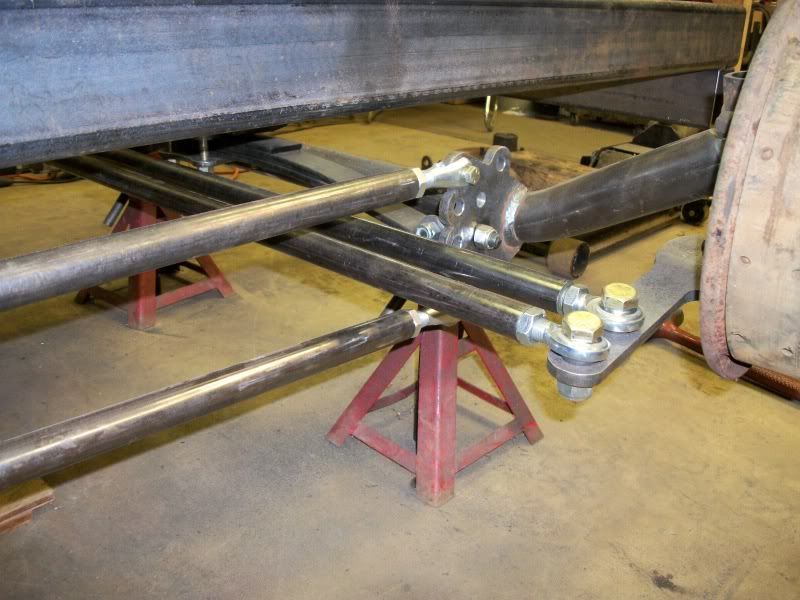
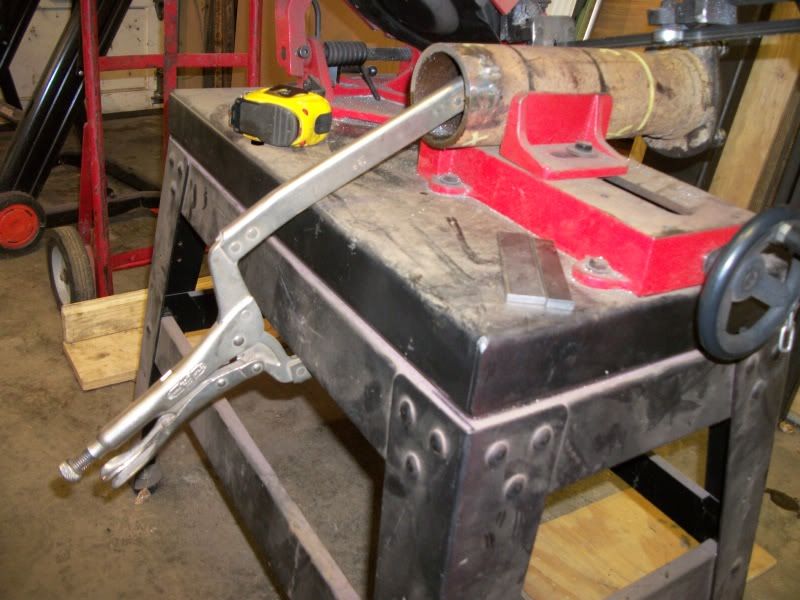
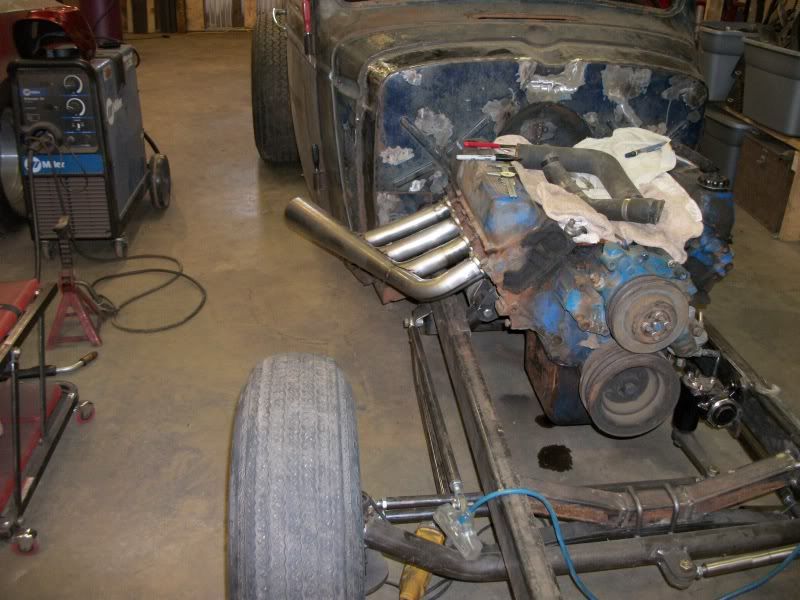
Made some card board templates to start with to save some time. I think I still had a couple hrs. in the first bracket and 15 min. in the second...sigh
100_1070.jpg


100_1078.jpg


100_1072.jpg


100_1075.jpg


100_1072.jpg


100_1076.jpg


100_1077.jpg


I still have ride height adjusting holes where I can go up or down about 1 1/4" if needed.
100_1079.jpg


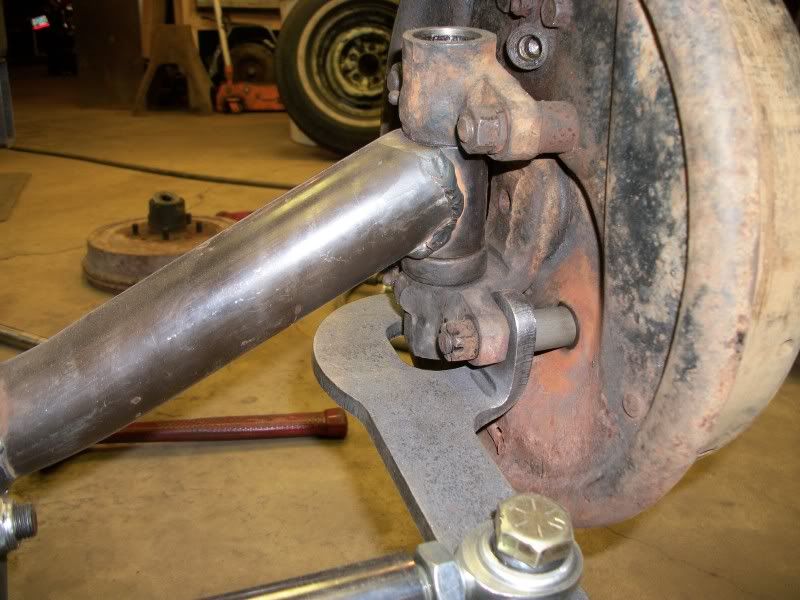
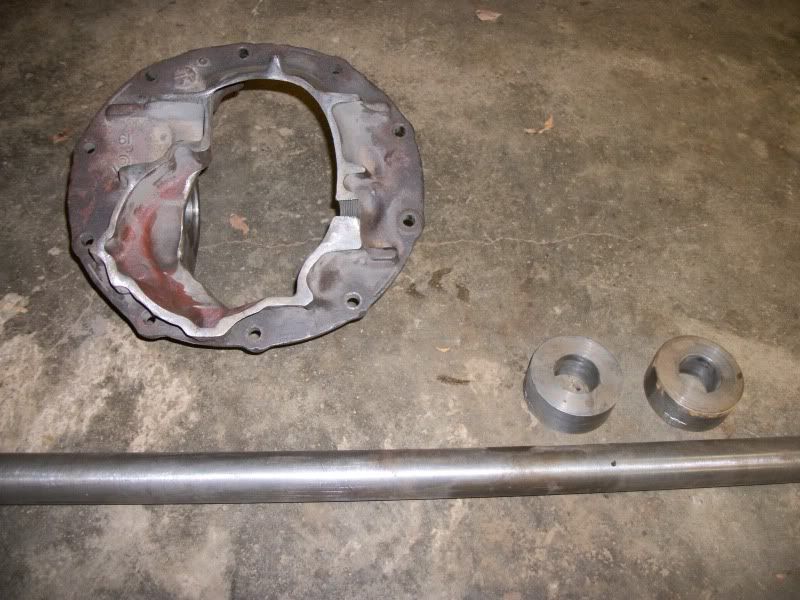
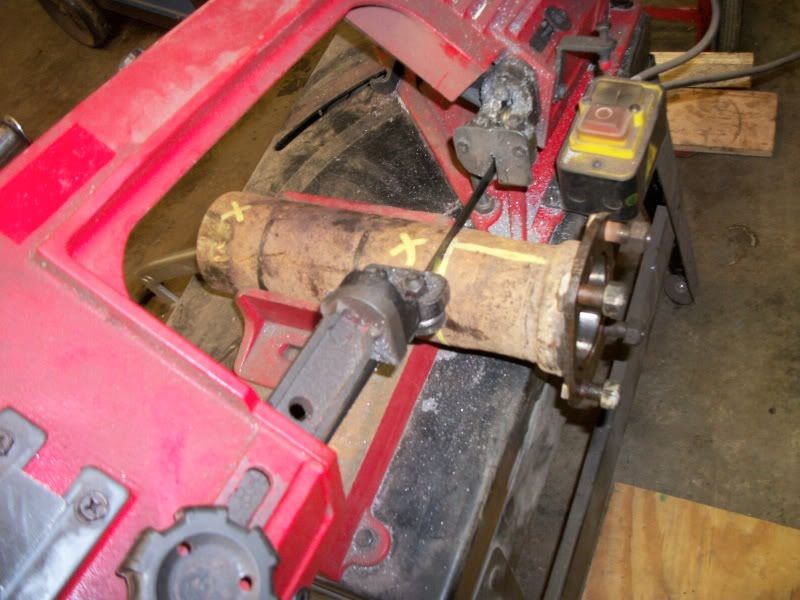
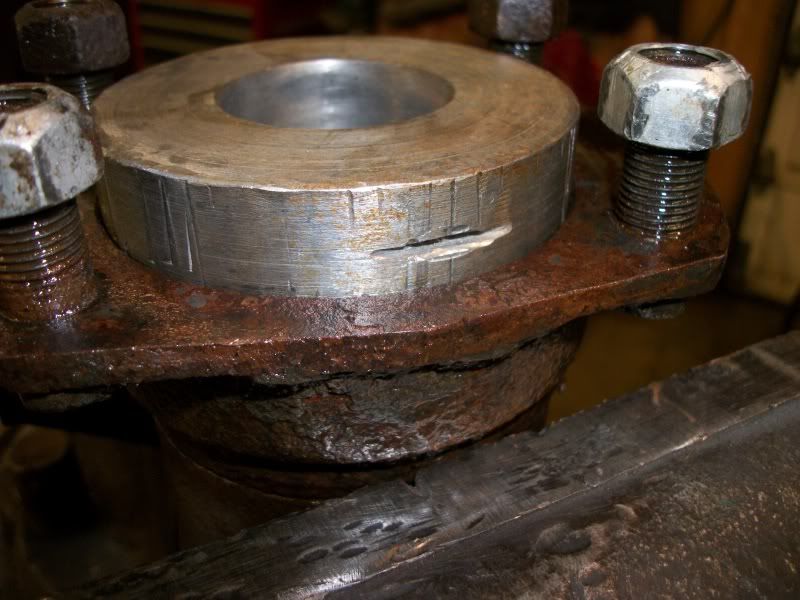
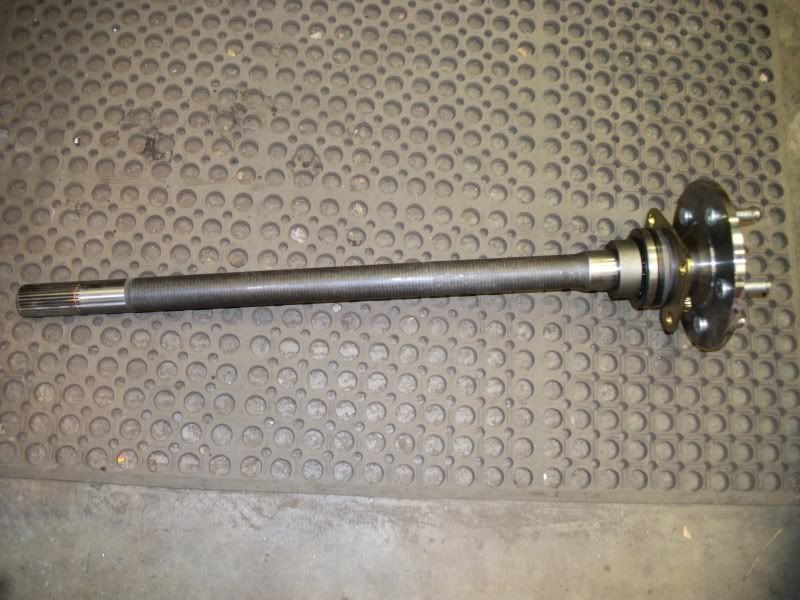
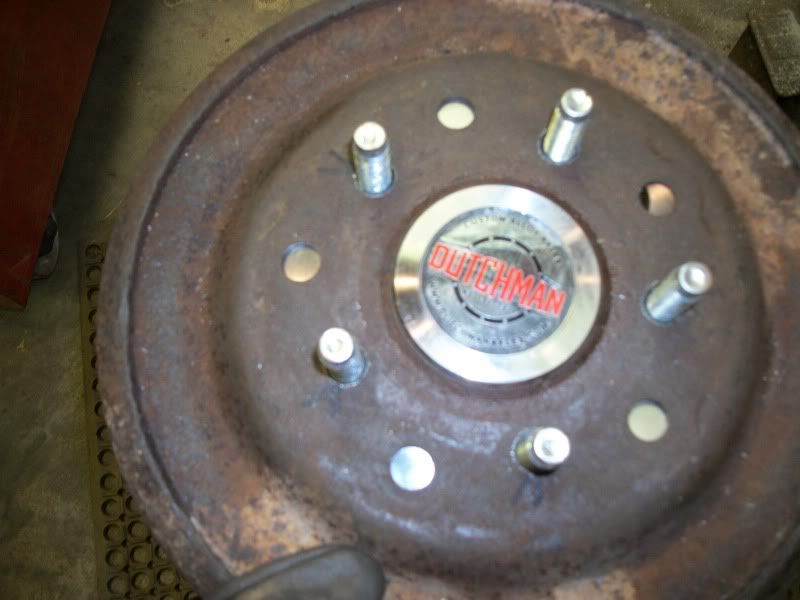
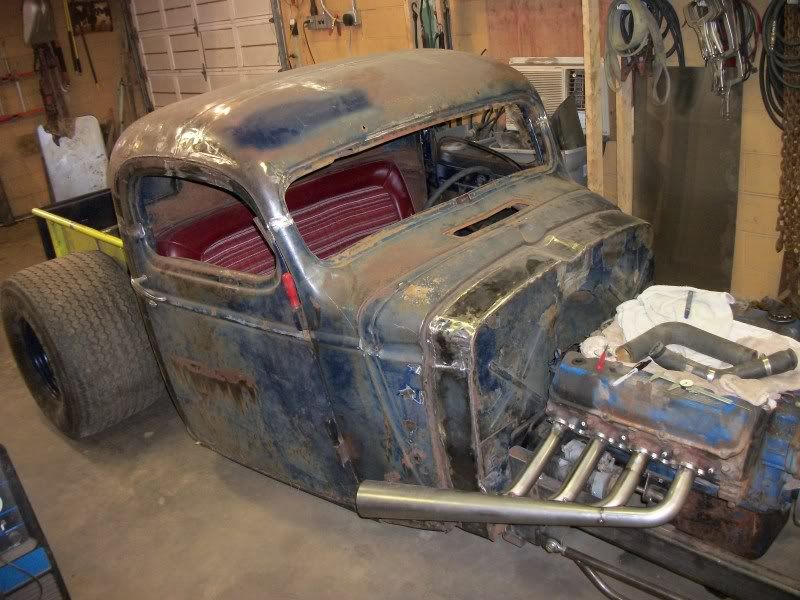
Hade to make some spacers after I removed the old steering arms because I'm still using drum brakes.
100_1080.jpg


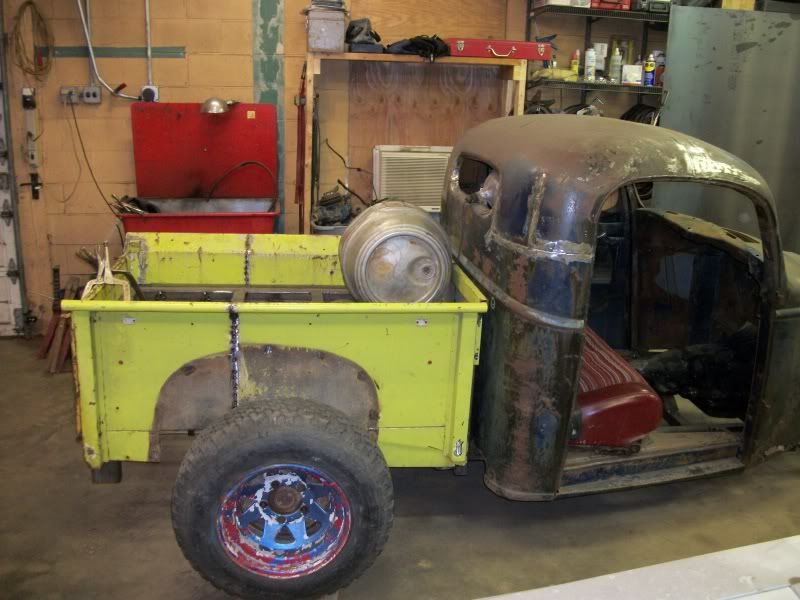
I still need to install and fab brackets for the track bag and the friction shocks. Then I can move on from the front end a bit.
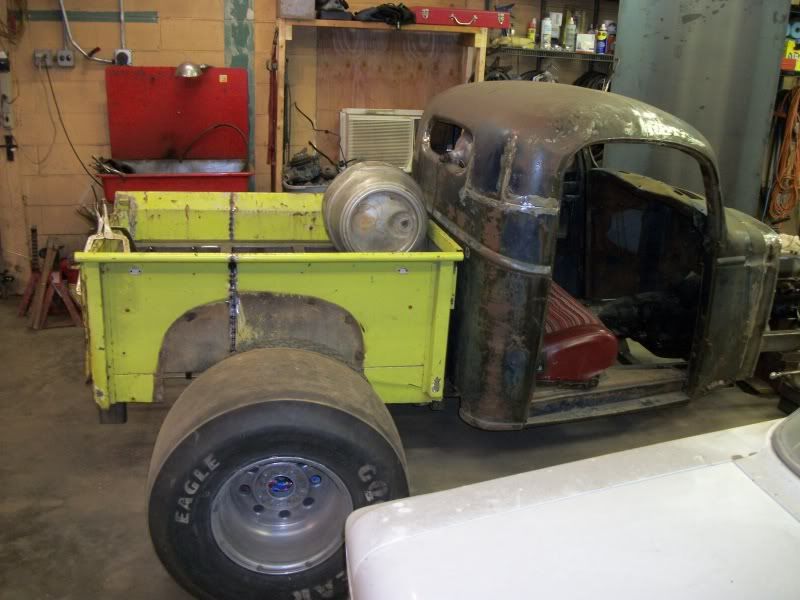
Good news today that I found some used wheels and tires that may fit the bill. I'm gonna see if I can get them stuffed in a rental car if they do...lol
 
Looking good! Is the steering limitation the tie rod hitting the batwing brackets? I think once you get the front tires on there you should know more, but with the front tires on if at full lock they're still a long ways from the frame I'd extend the arms now. Other thing before you do that is to make sure you still have more throw in your steering box....because if that won't turn more longer arms won't help you any.
 
The tie rod does hit the batwing brackets and the spring clamp about the same time. I've had the wheels on and there is lots of room before they hit anything. I ran out of time yesterday, but i think I have plenty of steering left in the box. I'll find out more next weekend.
 
Great Job

Hey, methinks you're doing a real fine job on this project. I wonder what you are using for a welder please? That extended firewall looks like it grew that way! :rolleyes:
And WHY would anyone want to tote a cooler along? [dr perley
 
Hey, methinks you're doing a real fine job on this project. I wonder what you are using for a welder please? That extended firewall looks like it grew that way! :rolleyes:
And WHY would anyone want to tote a cooler along? [dr perley


Thanks!

I'm using a Miller 251 for a welder. It's about 6 years old and works great. I really like the fact that it's inffinately adjustable as opposed to 6 or so set positions. I also like that the fan only turns on when needed as opposd to my last MillerMatic 35 that ran all the time. Lot's quieter!

Cooler is for soda pop and samwiches...lol I was thinking the other day about dragging the Weber along too, so maybe BBQ along with it. Oh, and maybe a beer or two...
 
It's been awhile since I posted, but I had a busy fall and have gotten a few things done this Winter, but haven't posted any pictures.

I did get my 9" narrowed and axles installed.
My buddy had a long steel bar, (4) aligning pucks and an old case that had the front sawed off it for easy removal after welding.
100_2049.jpg


100_2055.jpg


100_2056.jpg


100_2059.jpg


100_2060.jpg


100_2064.jpg


100_2066.jpg


The measuring of a 9" to center the yoke is a pain without a dogbone tool they sell. I didn't buy one so I measured and recut one extra time to get all correct.
I didn't need to lossen the inside bearing caps to remove when I was done, so the axle is probably straighter than the factory one used to be.
I used the old ends as you can see with good success.
The slots in the outside locating cups are for knocking them back out if they are stuck a bit.
 
Rear end pics, etc.
I bought a new trac-loc from Summit and new 31 spline axles from Dutchman.

100_2073.jpg


100_2188.jpg


100_2189.jpg


Needed to redrill the old 5 on 5 1/2" truck brake drums to chevy pattern.
Just used this plastic pattern and drilled them to 9/16" for 1/2" studs.
The brake drum is centered by a pilot on the axle end.
100_2190.jpg


100_2191.jpg


100_2192.jpg


100_2193.jpg
 
The tires have about 1 1/2" clearance on both sides and my track bar only lets it move about 1/4" side to side.
The 4-link doesn't alllow for either side to move unrestricted independently, so I think I have enough cleance for going in and out of drives etc.

100_2200.jpg


100_2198.jpg


100_2199.jpg


100_2222.jpg
 
Started working on headers this weekend.

100_2234.jpg


100_2235.jpg


100_2236.jpg


Next up is the other header, radiator mount, grill, tailgate latches, plumbing air lines etc.
 

Latest posts

Back
Top