
You are using an out of date browser. It may not display this or other websites correctly.
You should upgrade or use an alternative browser.
You should upgrade or use an alternative browser.
My 1941 Dodge Truck Build
- Thread starter Motorhead
- Start date
Help Support Rat Rods Rule:
This site may earn a commission from merchant affiliate
links, including eBay, Amazon, and others.
Yes, shocks are still needed. The airbag only replaces the spring. You still need something top damp out the spring motion
.....
to a smoother ride. The down side is that you sacrifice suspension travel.
I hope it made sense!")
Made sense, and I was was thinking in the right direction - considering the soft/hard ride aspect.
How much lift do you think you'll get?
SugarRay8
Well-known member
WELCOME BACK!
That bag/shock set up looks great, looking forward to seeing it in the truck. [P
That bag/shock set up looks great, looking forward to seeing it in the truck. [P
woodman
Well-known member
This is such a cool build. Everything seems thought out. Are you designing and programing the parts for the water jet? Let me guess? you have your own water jet.
Flying Rat
Active member
Question on the placement of your differential, are you going to center the "pumpkin" for appearence or center the pinion? I like the 8.8 but they have quite an offset. With the back of your Rat open for all to see it will be noticable. Great looking work. I enjoy your updates.
very cool man! cant wait to see it installed
Thanks man!
Made sense, and I was was thinking in the right direction - considering the soft/hard ride aspect.
How much lift do you think you'll get?
I should have about 7" of suspension travel.
WELCOME BACK!
That bag/shock set up looks great, looking forward to seeing it in the truck. [P
Thanks bud!
This is such a cool build. Everything seems thought out. Are you designing and programing the parts for the water jet? Let me guess? you have your own water jet.
Thanks dude!
I wish I had a water jet machine. I use a local shop. They have a $450,000 machine that goes up to 90,000 psi.
I have a master model of the car that I've made in Solidworks (CAD program). I add/change stuff in that model and then I make a .dxf file for the flat patterns so the water jetter could cut them for me.
Question on the placement of your differential, are you going to center the "pumpkin" for appearence or center the pinion? I like the 8.8 but they have quite an offset. With the back of your Rat open for all to see it will be noticable. Great looking work. I enjoy your updates.
Thanks!
The pumpkin will not be centered. The offset is about 2 3/8". Hopefully it wouldn't be too big of an eye sore. I actually would like to upgrade to a Winter's quick change rear axle at some point, but not anytime soon.
----------
Update:
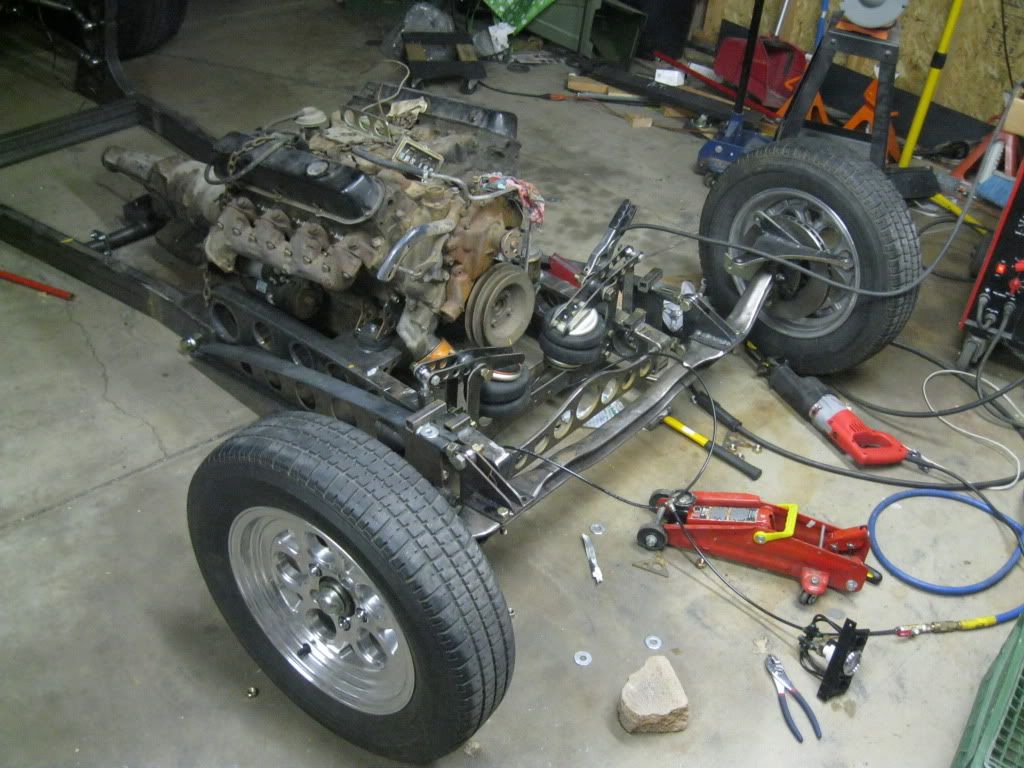
I got the front crossmember mounted. It ended up being a little bit more work than I had anticipated. Some stuff moved after welding, so I ended up having to elongate the mounting holes on one side. I should have had them water jetted with slots on one side and not round holes.
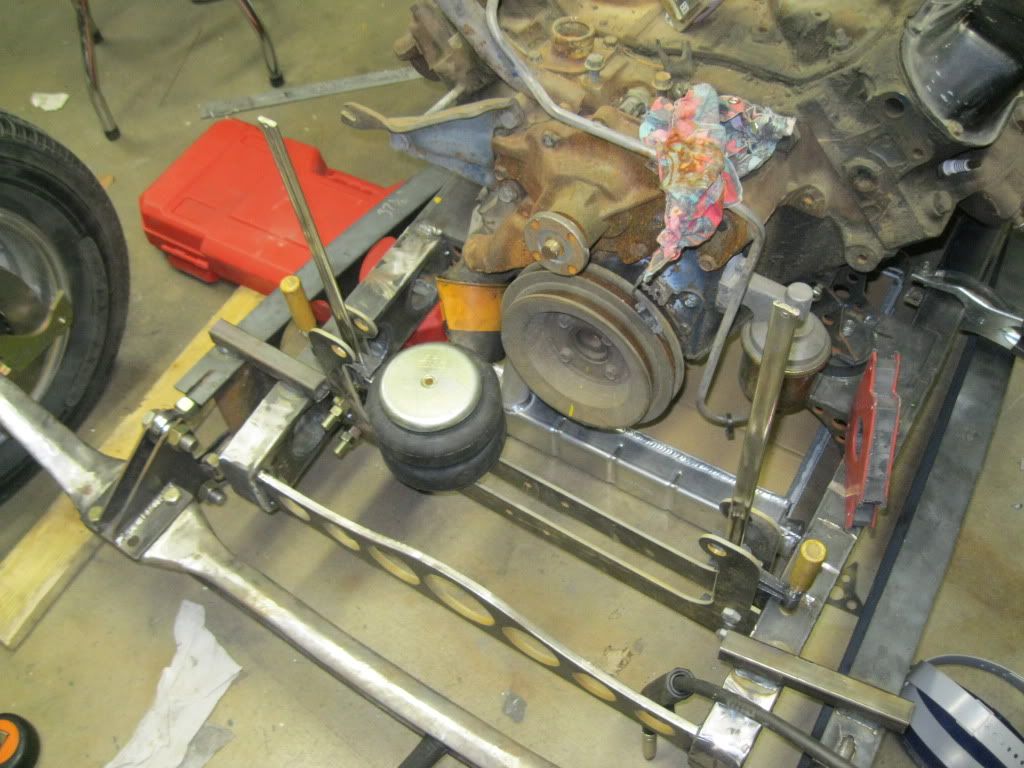
Anyways, the crossmember is in. I threw the airbags on and made a quick video. I still need to make some mock up push rods and cut off the front struts that I welded on. I have this thing rolling on its own in a few days!
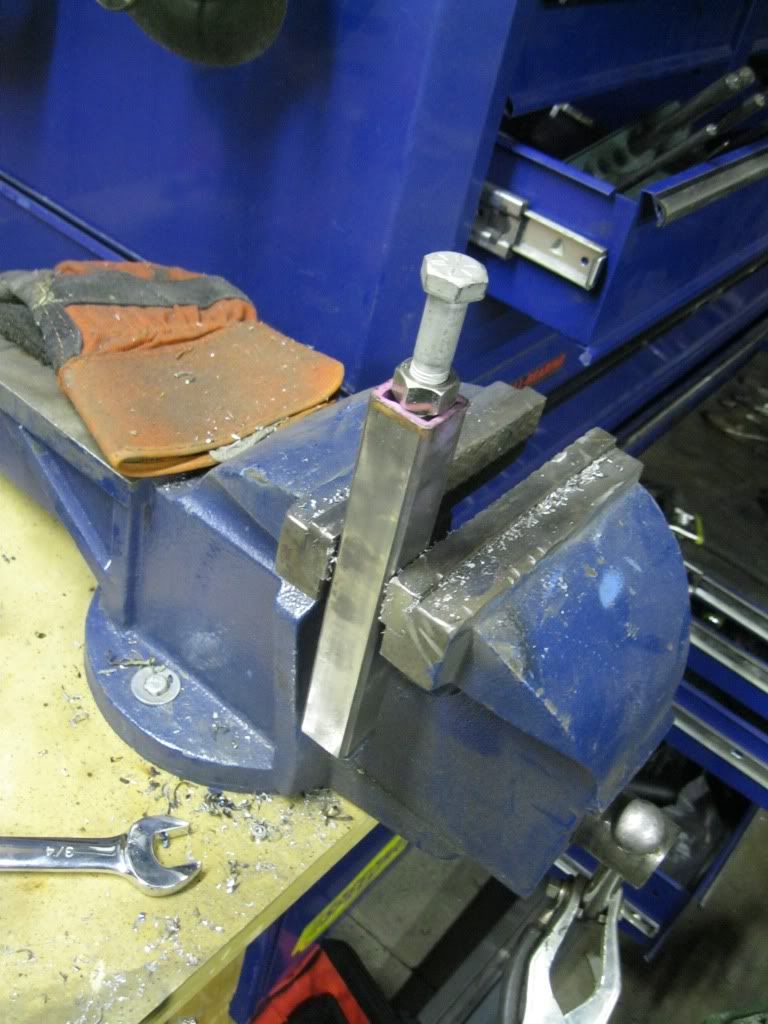
I bolted everything together and clamped the assembly in place.
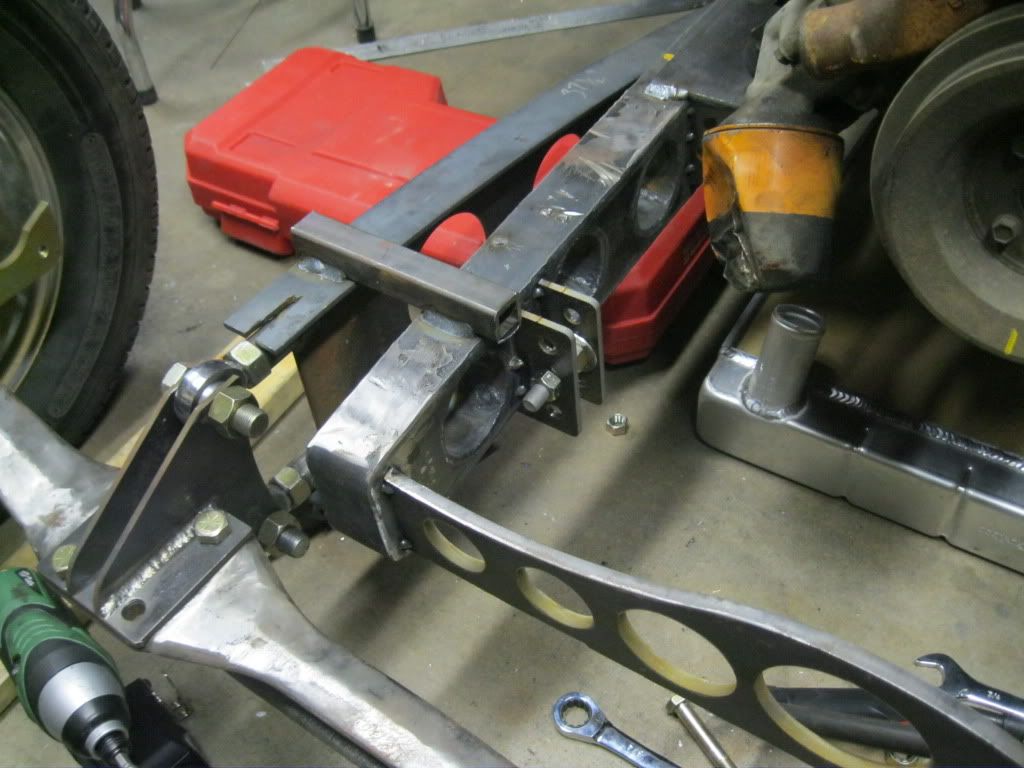
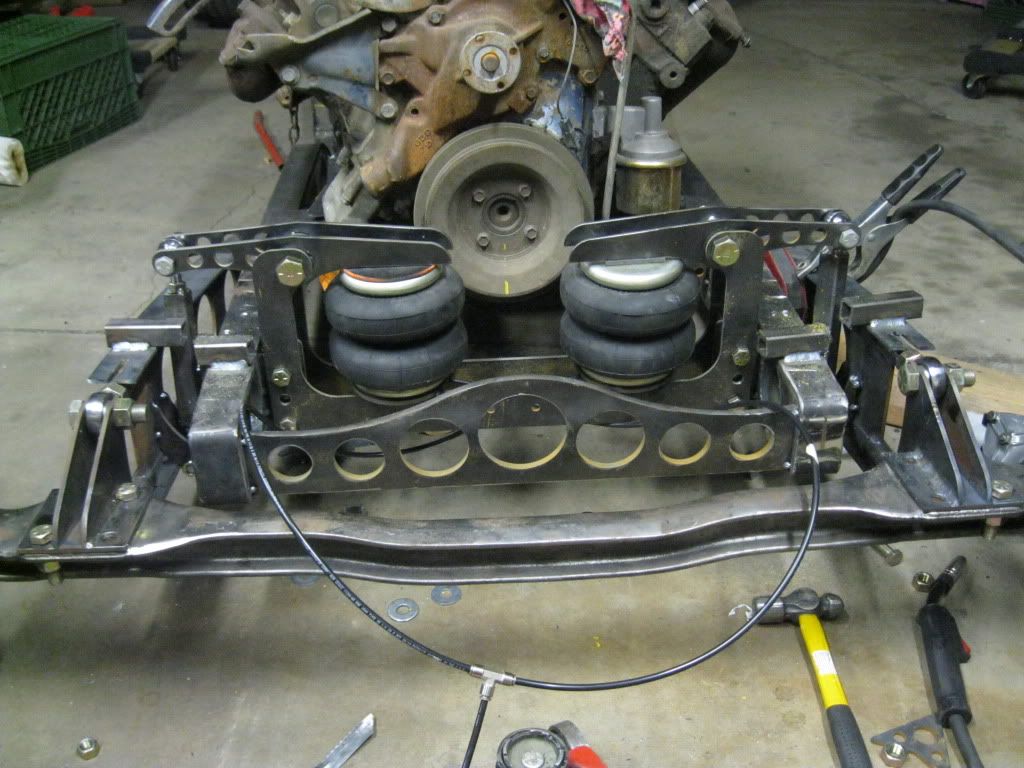
Removed the bags and tacked the frame brackets in place.

Close up view of the frame bracket. I made the crossmember a bolt-on design so I could change it down the road easily.
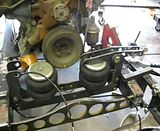
Unbolted the crossmembe and tacked on the airbag seats.
Everything bolted in place.
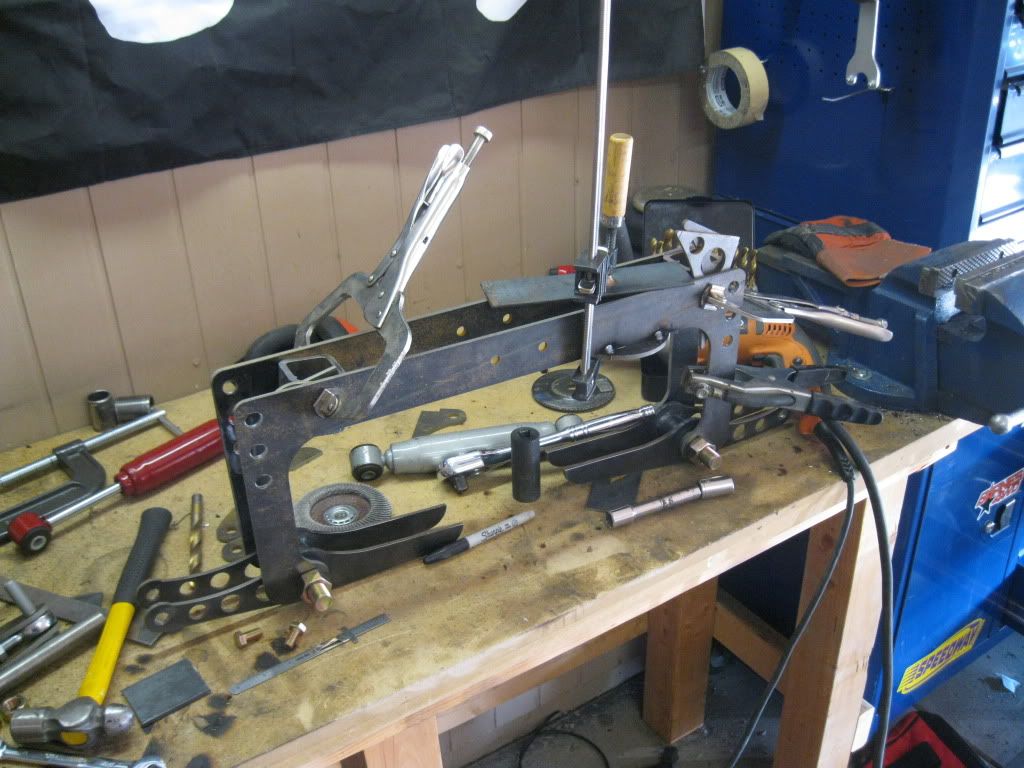
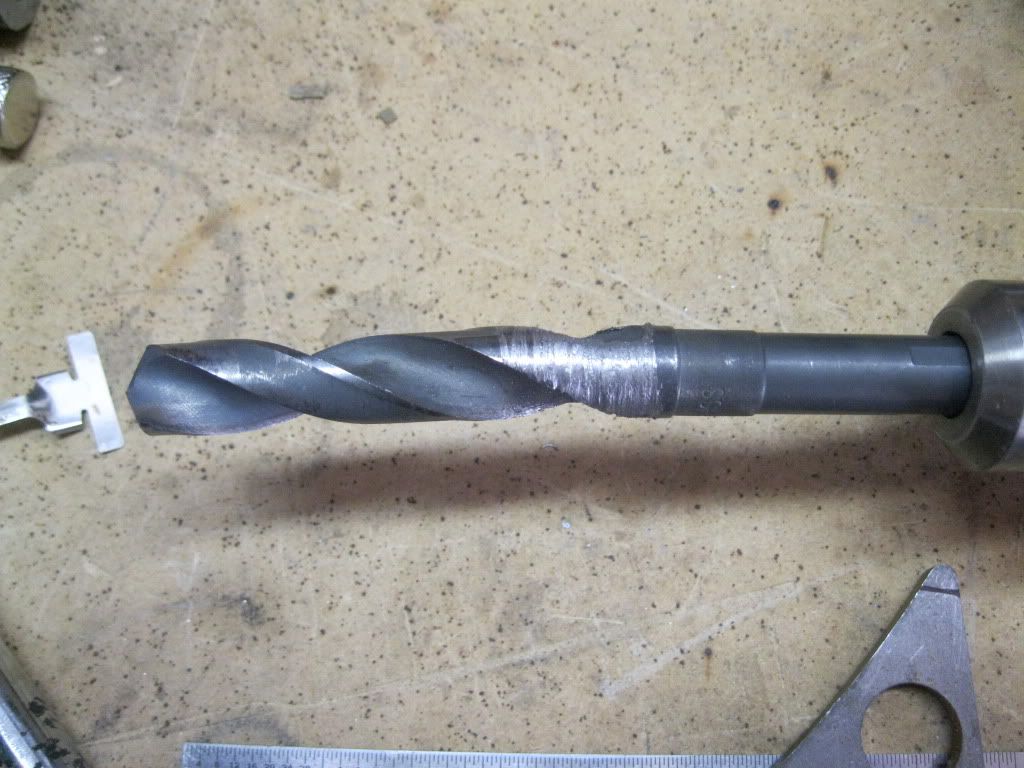
Oh, here's the carnage of the day, LOL.
And a little video of the airbags going up and down, LOL.
Thanks for looking!
deerchooper
Well-known member
- Joined
- Apr 3, 2010
- Messages
- 744
looks good.
do you think a pivot point for the top of the air bag would help?
do you think a pivot point for the top of the air bag would help?
Neverdone
He's not done yet...
I was just thinking the same thing. Seems like it would get rid of some un-needed stress.
Thanks guys!
A pivot on the bellcrank would help, but the suspension would never go as high as it shows in the video, unless the car is going over a big speed bump or something of that nature. At ride height, the bellcrank would be horizontal.
I know it "looks" like the bag might rip apart, but a lot of heavy cars with independent front suspension (Impalas, Silverados, etc...) run these bags and "kink" them without any issues. The bags are rated to 550 psi and I don't think I'm going to need more than 50 psi to lift the front. I don't have any experience with airbags, but the salesman told me I would be fine. Plus, the bags are warrantied for life.
BigIrish
Well-known member
Looks awesome!! You are right about those bags - you would have to try very very hard to blow one, and having it inflate kinked like that is no problem. When bags do blow, its almost always due to them rubbing on something.
SugarRay8
Well-known member
That set up looks great!
I haven’t used any on a vehicle, yet, but I’ve used them many times on machinery and you should have no problems with this set up.
I haven’t used any on a vehicle, yet, but I’ve used them many times on machinery and you should have no problems with this set up.
hotwrench4hire
Well-known member
Subscribed [cl
Looks awesome!! You are right about those bags - you would have to try very very hard to blow one, and having it inflate kinked like that is no problem. When bags do blow, its almost always due to them rubbing on something.
Thanks! I figured, unless there's something rubbing on the bags, they shouldn't pop as long as they stay blow 550 psi.
That set up looks great!
I haven’t used any on a vehicle, yet, but I’ve used them many times on machinery and you should have no problems with this set up.
Thanks man!
hey how much of an off set u hav in the frame from front to back
What do you mean by offset?
The frame width is 26" in the front and it opens up to 34" in the back. Is that what you were asking?
Subscribed [cl
Thanks!
watters1117
Well-known member
LOOKS LIKE YOUR HAVE SOME FUN TRUCK FRAME RAILS GOING 2B AWESOME GREAT START [[cl
[clZ.Z.Rat
Well-known member
Motorhead, Sent you a P.M.
yea thx man
You're welcome!
LOOKS LIKE YOUR HAVE SOME FUN TRUCK FRAME RAILS GOING 2B AWESOME GREAT START
Thanks, bud!
Motorhead, Sent you a P.M.
I replied. Thank you so much!
--------------------------------------------
Update!
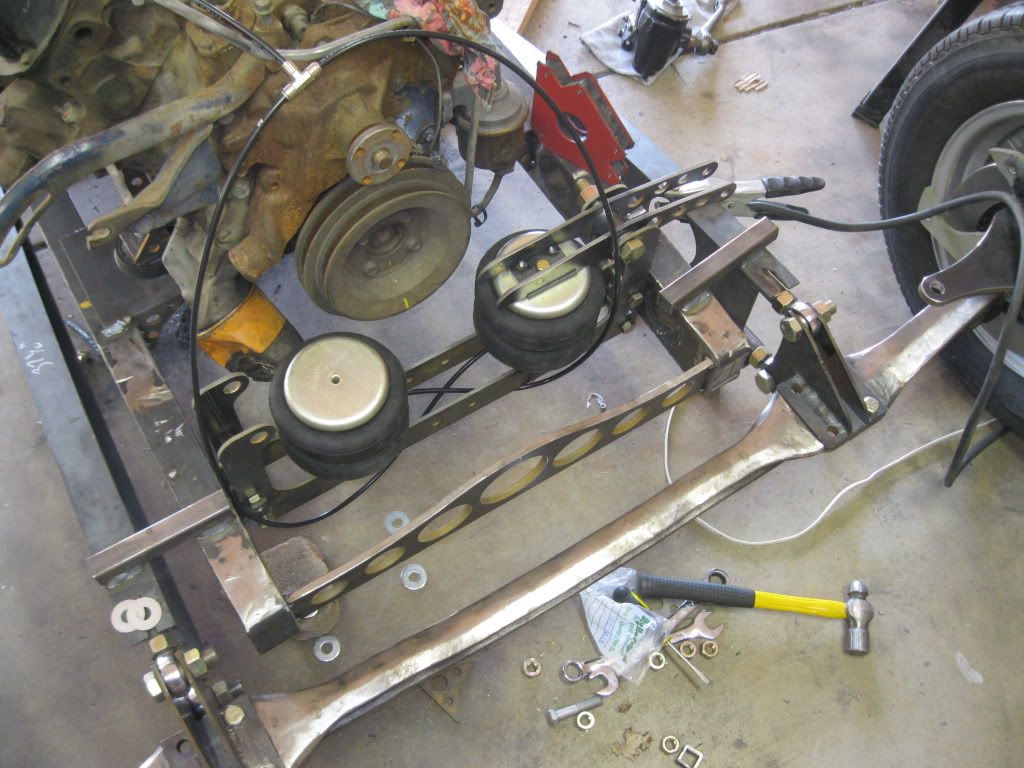
I got the tabs for the pushrods welded on the radius rods. I mocked up some pushrods by welding 2 nuts at each end of a 6.5" section of 1" square tubing. This would help me finalize the overall length of the pushrod before I order the proper tubing/material.
Anyways, I hooked the bags up to air and played with it for an hour, haha! It totally lays on the frame and it lifts up high enough to get over any speed bump or driveway. I'm happy with the way it turned out. I just need to fabricate the system to control the axle laterally. Here are some pictures, and a short video clip!
This is the makeshift pushrod:
Here she is, laying on the frame!
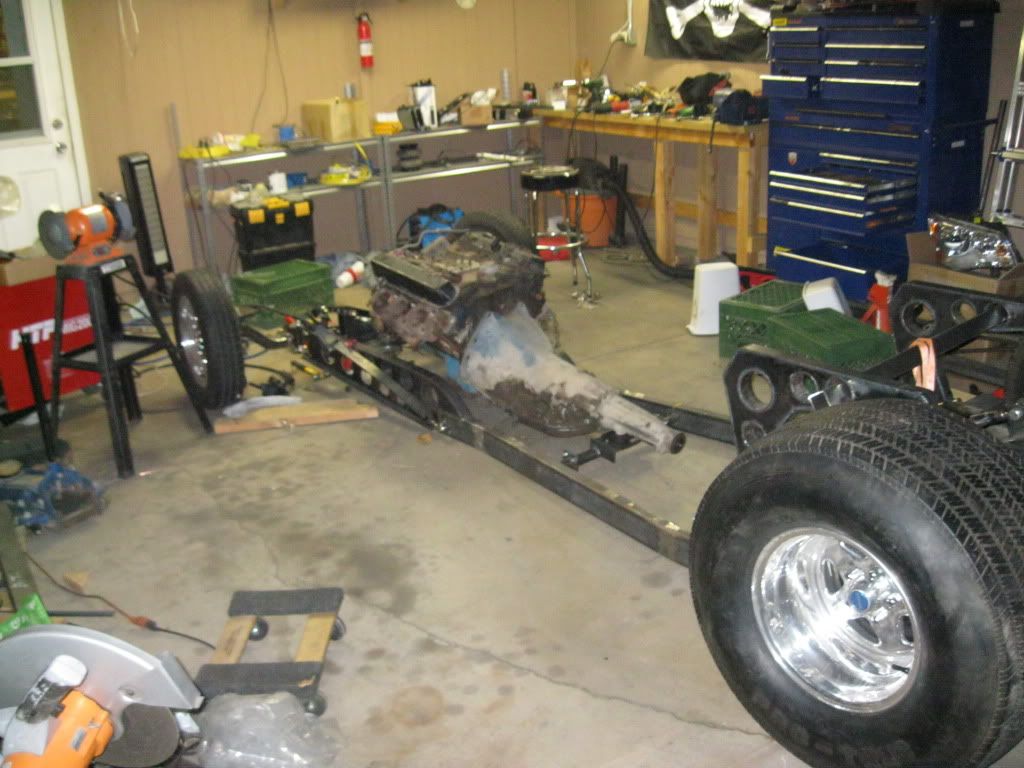
This is how it's going to be at ride height.
And last but not least, the video clip:
Thanks for all the support!