donsrods
Well-known member
The thread Ratrod85 did on the stand he built for his bead roller kicked me in the butt to do something better with ours. For the past 6 or 7 years we have had it clamped to an old Mig cart, and although it worked "ok" it had some drawbacks. It sat too low for one thing, and I felt a table, like a table saw has would support the work better than leaving it hanging loose in space.
Here is how we had it mounted originally:
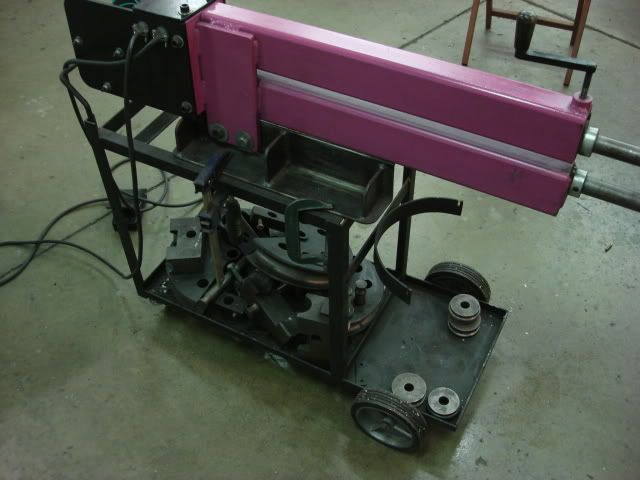
First thing I had to do was build a base for it. Mine wasn't going to be as fancy as Ratrod85's, all I needed was a tall pedestal to bolt it to. Years ago we mounted several 1/2 inch thick steel plates to the floor of our shop with lag bolts to hold tools we don't use often. We would bolt down our tubing notcher and tubing bender to one of these plates and then unbolt it and store it away when done. The base I am making for the bead roller will go on one of those plates.

I scrounged up a piece of big angle iron and cut it in half, then cut a piece of 2 x 2 tubing 35 inches tall for the upright.
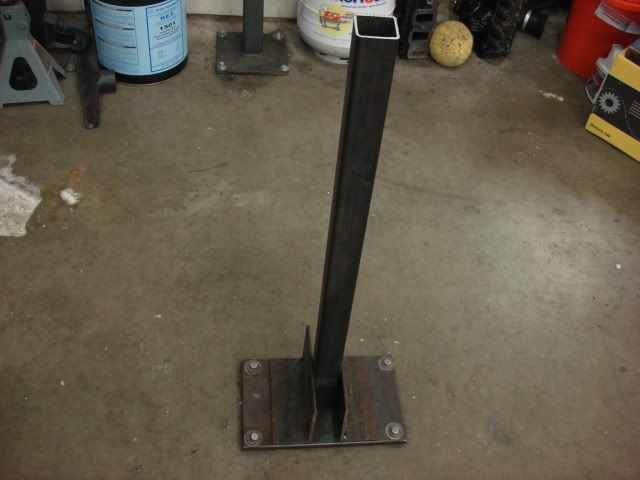
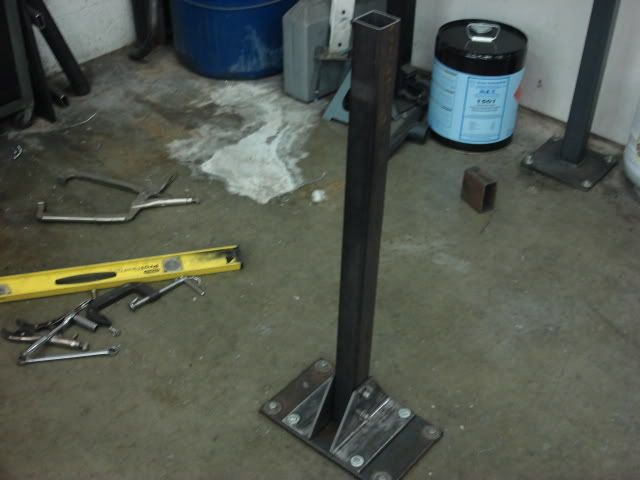
To make the base look a little better I trimmed the corners off of it and bolted the upright to it. I thought it was better to bolt the base to the upright rather than welding, in case we ever want to shorten the upright.
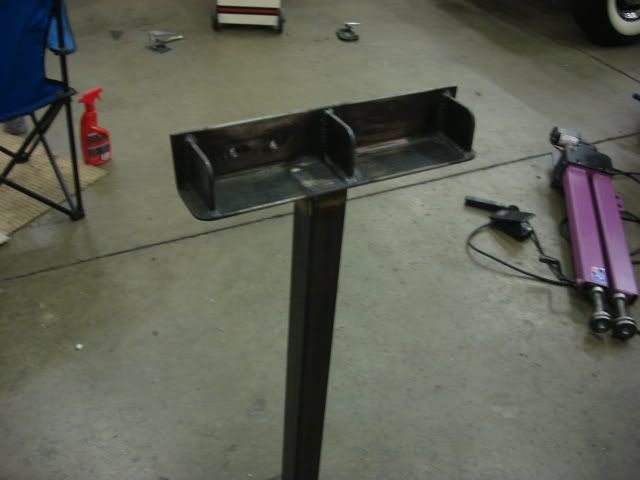
I used the mount that Dan welded up years ago and welded it atop the upright.
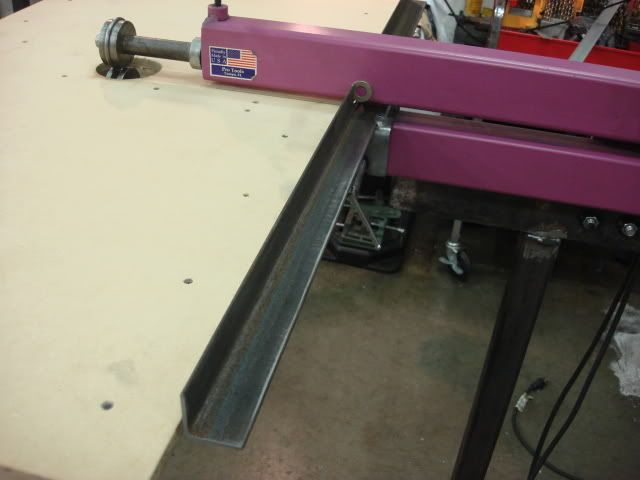
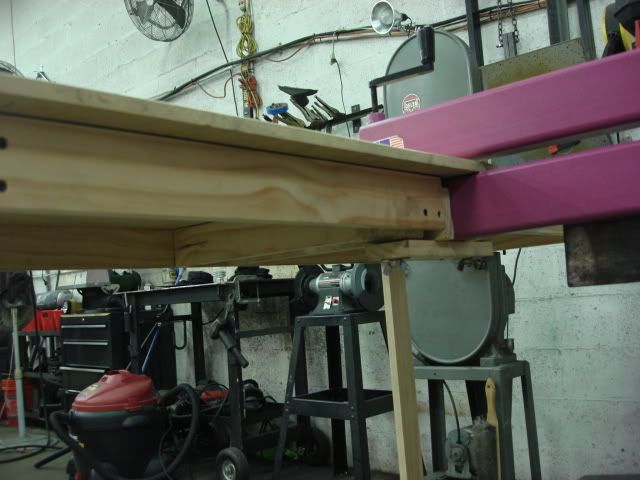
Next step was to build a table to support the sheet metal while rolling it. For that I used 1/2 inch thick MDF and to give it some strength I added a framework of 1 x 3 wood around the perimeter, and then added two legs in the front to keep the table level.

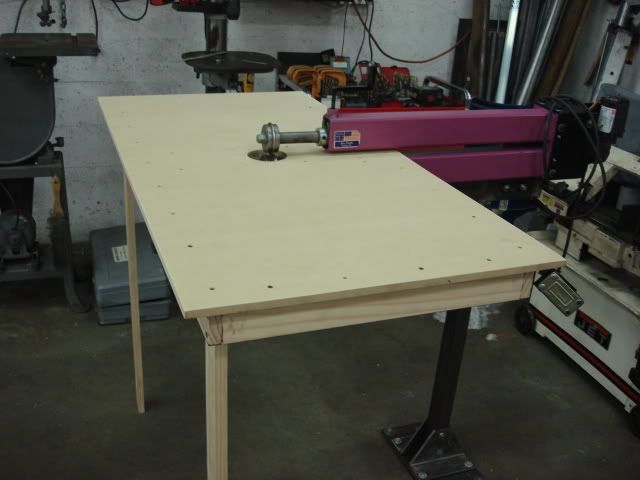
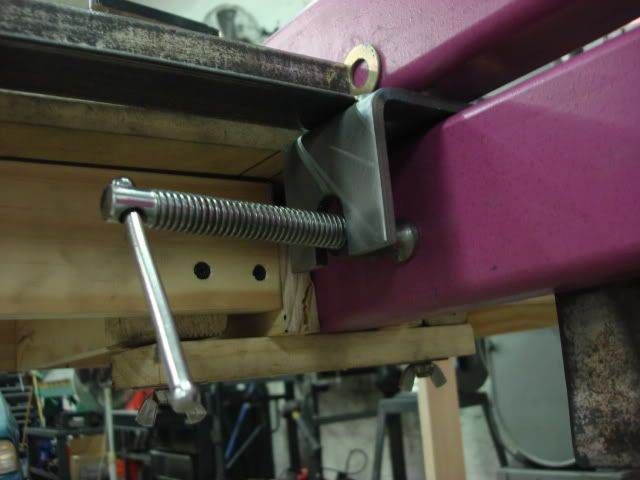
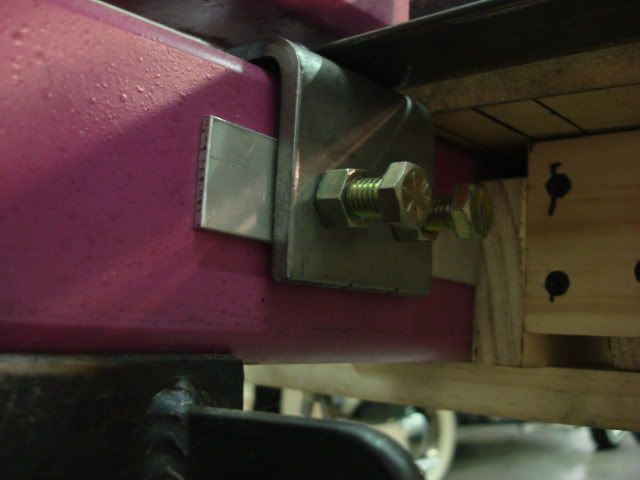
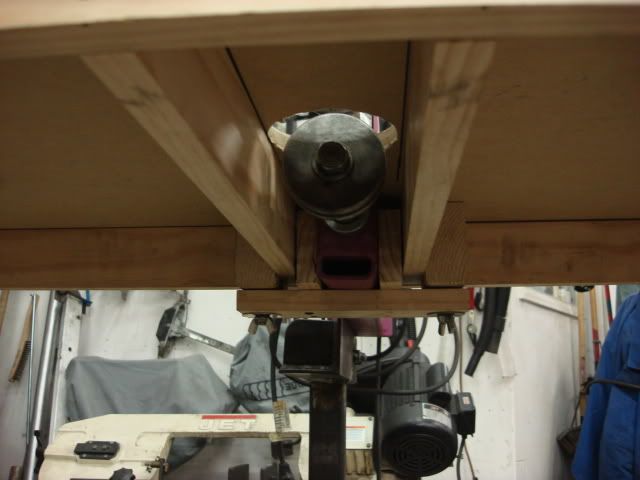
To hold the table to the bead roller I made up a simple clamp arrangement out of wood and used two wing nuts and bolts so I can tighten them up and clamp the table down tight against the bead roller.
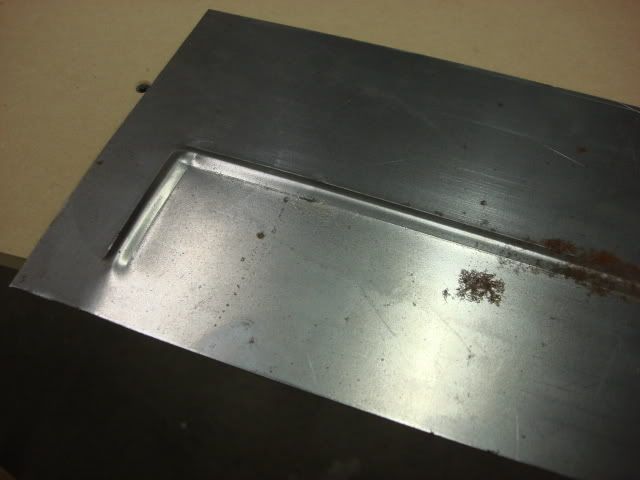
I had to try it out, and rolled a couple of beads in some 18 gauge scrap steel I had. The table made it much easier to do and the bead rolled straight all on it's own.
I still am going to make a movable fence so the sheet metal will ride against it and guide the sheet metal straight. There is still a little figuring to do on that part though.
Don
Here is how we had it mounted originally:
First thing I had to do was build a base for it. Mine wasn't going to be as fancy as Ratrod85's, all I needed was a tall pedestal to bolt it to. Years ago we mounted several 1/2 inch thick steel plates to the floor of our shop with lag bolts to hold tools we don't use often. We would bolt down our tubing notcher and tubing bender to one of these plates and then unbolt it and store it away when done. The base I am making for the bead roller will go on one of those plates.
I scrounged up a piece of big angle iron and cut it in half, then cut a piece of 2 x 2 tubing 35 inches tall for the upright.
To make the base look a little better I trimmed the corners off of it and bolted the upright to it. I thought it was better to bolt the base to the upright rather than welding, in case we ever want to shorten the upright.
I used the mount that Dan welded up years ago and welded it atop the upright.
Next step was to build a table to support the sheet metal while rolling it. For that I used 1/2 inch thick MDF and to give it some strength I added a framework of 1 x 3 wood around the perimeter, and then added two legs in the front to keep the table level.
To hold the table to the bead roller I made up a simple clamp arrangement out of wood and used two wing nuts and bolts so I can tighten them up and clamp the table down tight against the bead roller.
I had to try it out, and rolled a couple of beads in some 18 gauge scrap steel I had. The table made it much easier to do and the bead rolled straight all on it's own.
I still am going to make a movable fence so the sheet metal will ride against it and guide the sheet metal straight. There is still a little figuring to do on that part though.
Don
Last edited:
 guess I don't have to ask that dumb question now[cl