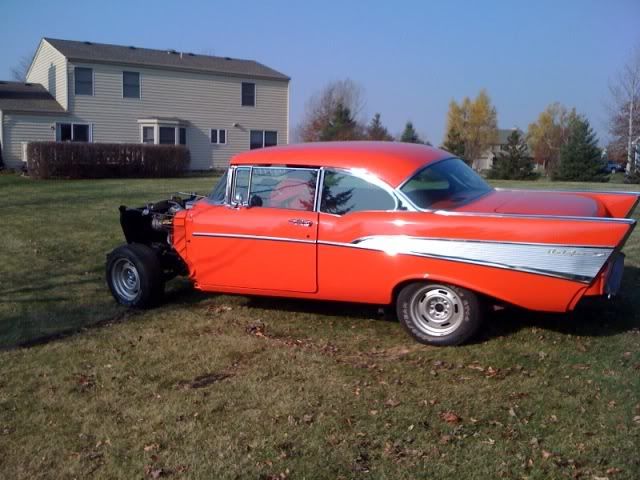
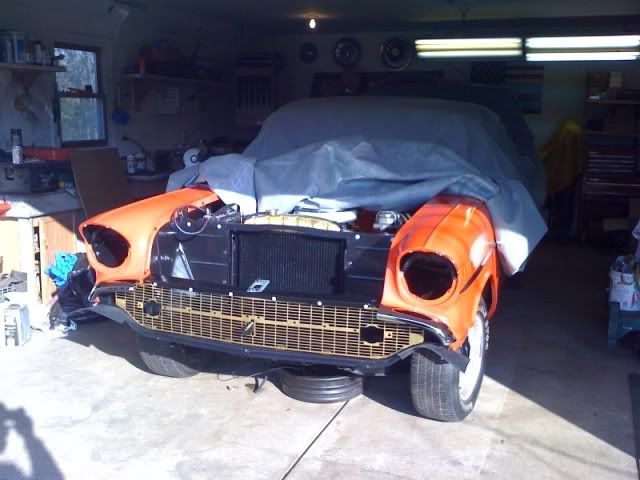
1936 chevy low cab build 1.5T

Rat Rods Rule

Help Support Rat Rods Rule:

This site may earn a commission from merchant affiliate links, including eBay, Amazon, and others.
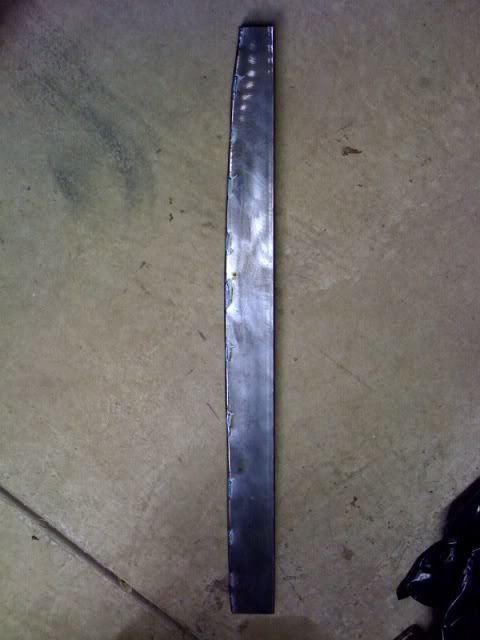
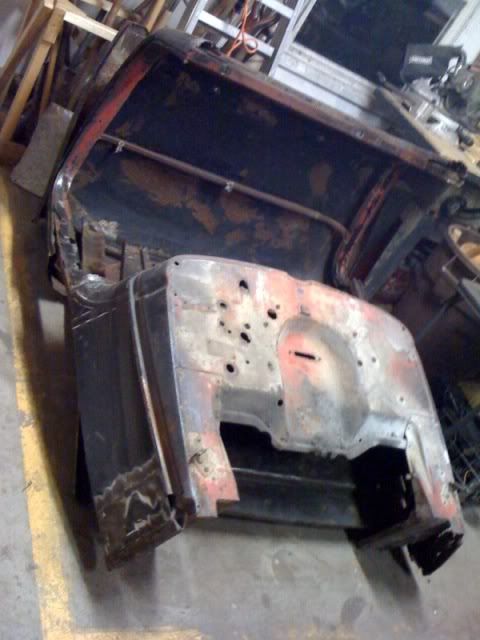
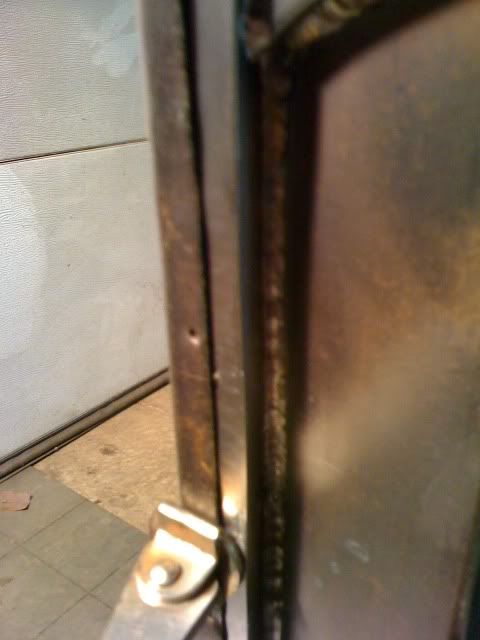
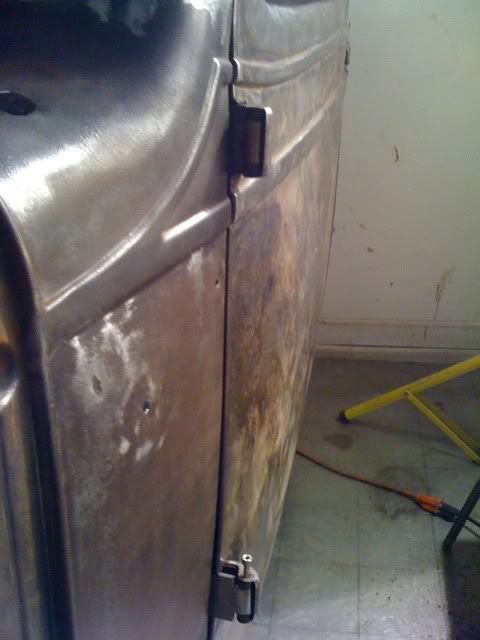
well spent about 6 hours with the wire wheel today.. lots of fun... argggggg

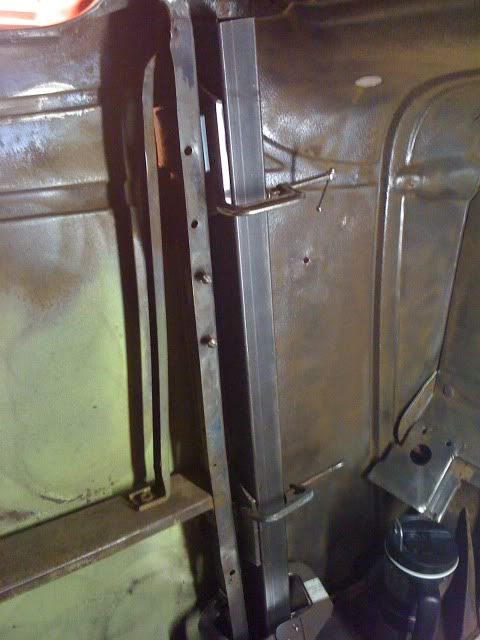
its looking better though, getting cleaner.. soon to start the metal structure... the area where the steel is under the cab is my new workspace for the winter..

cleancab2.jpg


Still need to do the front of the firewall...
 
LOVE the build, man! Haven't checked it in a while and noticed all of the great frame work that was done since I last looked! WOW.

I look forward to more updates! Must be tuff, though. Did I hear you say you have a 45 mile (each way!?) commute!? Geebus. The job must be worth it :)

Anyway, keep it up. I look forward to more updates!

-Andrew

Thanks man.. i wish i could have finished the frame off this year but oh well...

Yes 45 each way.. and is it worth it.. (no comment) haha

will do man.. i was out in the garage.. but didnt take any pictures.. but man oh man.. the black cab is no more.. took it apart.. well it basically fell apart... its kind of scary looking.. i need to get moving on the cab.. i would like to have it basically squared away before spring.. so back together and chopped... so .. we will see
 
Very nice work!!! I can't wait till the snow thaws so we can see that frame come back out!! I just read the whole thread!! Have you decided how you are going to convert the front brakes to disks?

Thanks!!

DG808
 
i have some ideas im tossing around in my head about converting the front to disk.. we will see...

im pretty sure the big ol' drums would stop it just fine.. but i would like the ease of the disks.. at least up front
 
ahhh my thread resurfaced... thanks man

Progress has been slow have been working on my dads 57....I should have an update soon.. i have been making a bunch of the internal structure components.. im curving everything cause i want to be able to weld the skin to the structure to make everything nice and strong...

a few pics
photo.jpg

photo3.jpg


heres one of the pieces of the structure... it the door column.. you can see the curve on the edge.. what i did was use the door to transfer the shape onto some 1.5x3 steel i had.. then cut it and welded it back up...
photo2.jpg


Ohhhhh... and i completely disassembled the black cab.. man there was some scary stuff under bondo.. the a pilers were completly crushed and filled and held together with about 10 large roofing nails... an inch or so of lead... and then bondo.. ..it basically fell apart .. but i need parts of it for the other cab parts of the roof... the rockers.. the floor.. and the back panel and parts of the cowl will all be grafted to the other cab... anyway..

Yikes..
photo4.jpg
 
Very nice build! I love that frame. After seeing the awesome fab work you done on the frame and seats I can't wait to see what you do on the rest of the truck!!
 
allright guys and gals.. if any... i have been slackin.. with my dads car in the garage progress has been slowed to a crawl.. everytime i want to grind or cut something i have to set up outside.. yesterday was around 20 degrees but i wanted to get some stuff done so i set the saw horse up in the snow and had at it.. got some stuff done tonight too... heres what i got for you... some of it is a few weeks old..

i removed the floor from the black cab and added this understructure which is now ready to go back in
IMG_1378.jpg


started work on the cross piece for the cowl.. started with a 1.5x3 and sliced arched and welded it back up
IMG_1368.jpg


then i cut off the corner to mimic the wood.. this was the only piece that resembled wood when i removed it from the cab
IMG_1371.jpg


then i reversed the arch on it and put it back on
IMG_1375.jpg
 
then this is next for that piece... a recess for the windshield mechanism
IMG_1438.jpg


here i am working on the door colums to mount the hinges to as well as strengthen the very flimsy cowl... my pops worked the cowl with the hammer and dolly cause it was all screwed up at the bottom.. and it is still sprung a good 3 inches but i will pull it in to allign it with the door before i weld it all in

photo2.jpg


then i cut some 1/4" plate to reinforce where the hinges are going to mount.. and then added some 3/16" plate to come up with what you see below.. i styled it up a bit
IMG_1433.jpg


its welded in offset from the edge so that the box supports the body of the cowl and the stacked steel supports the edge of the door opening
IMG_1434.jpg


here you can see it in place
IMG_1435.jpg
 
heres the fit.. im pretty pleased with it
IMG_1436.jpg


i notched the upright for the box to slide around the lower cab mount area of the cowl.. you can kinda see it here
IMG_1437.jpg


one with the door in place
IMG_1432.jpg


and one to check the alignment with the door.. pretty close the bottom of the front of the door needs work.. its folded back a bit
IMG_1431.jpg


thats all i got for you right now...
 
haha.. i am trying to stay motovated.. its just so cold out..

winter progress will be slow but steady.. i hope
 
I saw on page 10 that you have 10 lug rims. Im not real smart on this stuff so bear with me, but did you use adaptors to bolt them on? Those were 5 lug rims werent they? Im wanting to use 22.5 semi rims so Im trying to get some ideas. Tnx, RR
 
no.... no adapters... custom axle.. go back through the build you can see how i did it, and no they were not 5 lug... 10 lug rims like all old Chevys were

I personally wouldn't run semi rims it will make the rear end too heavy (mine will be heavy but not even close to the weight of semi rims and tires) and two wide to ride at all decently and make it a bear to keep in the lanes cause if you run a modern axle (with out narrowing) plus adapters plus big rims i bet you will end up close to 100" wide unless you are looking to run singles out back.. then you wont end up that wide... I have seen single semi rims out back on a rat before...
 
i love this build the suspension is exactly how i wanted to do mine on my 52 merc truck so this is def a build i will follow GREAT WORK !! are the brackets all waterjetted ?? or how were they cut they are excellent looking
 
thanks man.. i dont know how well it will perform yet.. but it will definitely work... i still have to figure out the shocks .. thats going to be tricky.. cause i dont want them to be intrusive...

those front brackets were cut out on a cnc plasma.. then i did some late night Bridgeport work (shusssshhhh dont tell the man), and some good ol filing work to make the 90 degree corners in the slots and lots of grinding and 3m wheels to get them all smoothed out.. they photograph a bit nicer then they are in reality.. i think anyway..

oh.. and i used a machine to punch the holes.. (once again.. shushhhhh)
 

Latest posts

Back
Top