assembling a 30-31 roadster project

Rat Rods Rule

Help Support Rat Rods Rule:

This site may earn a commission from merchant affiliate links, including eBay, Amazon, and others.

cornfield customs

Well-known member
Joined
Mar 16, 2008
Messages
1,027
Location
Loveland OH
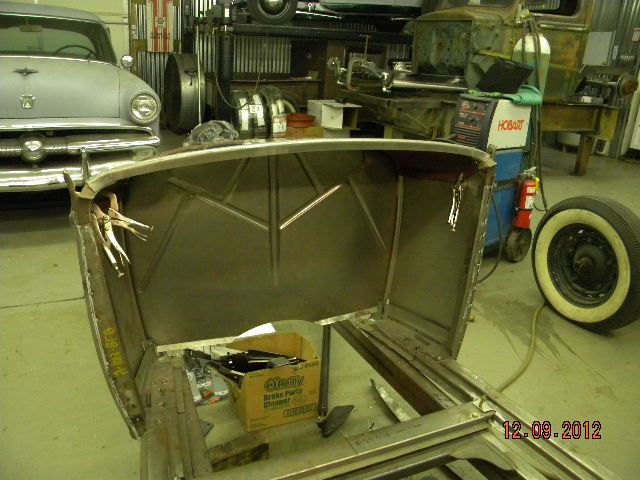
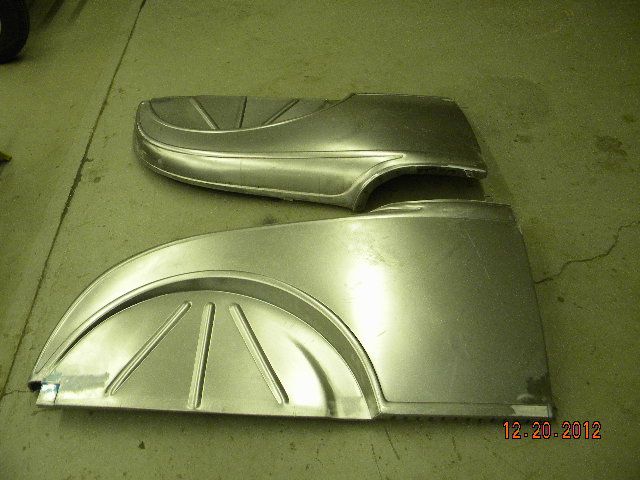
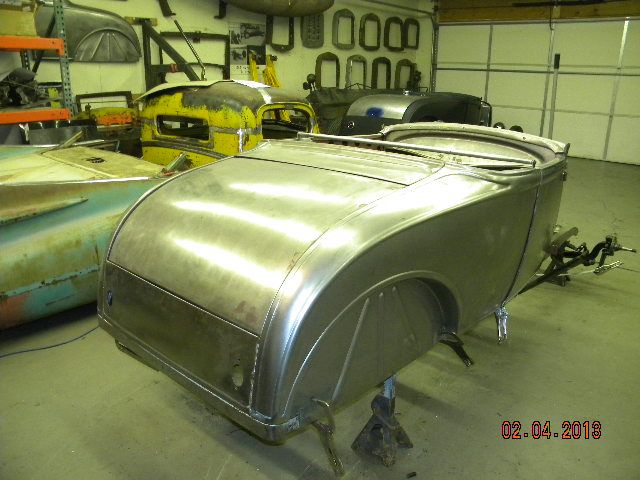
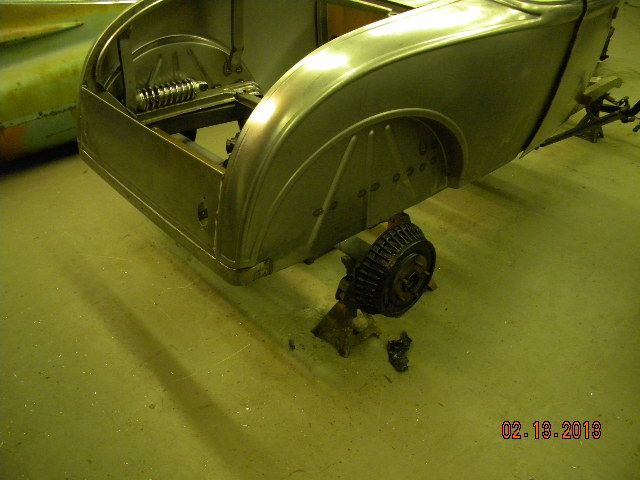
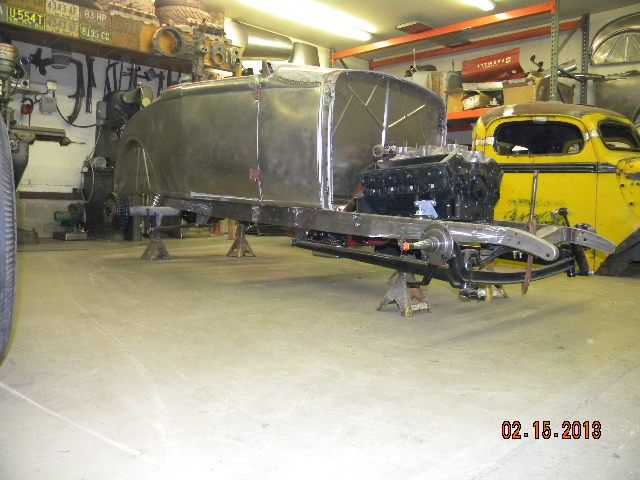
so i had a customer drop this car of that he bought. it was half ass tacked together and needed to be redone as well as some other work he is wanting done.

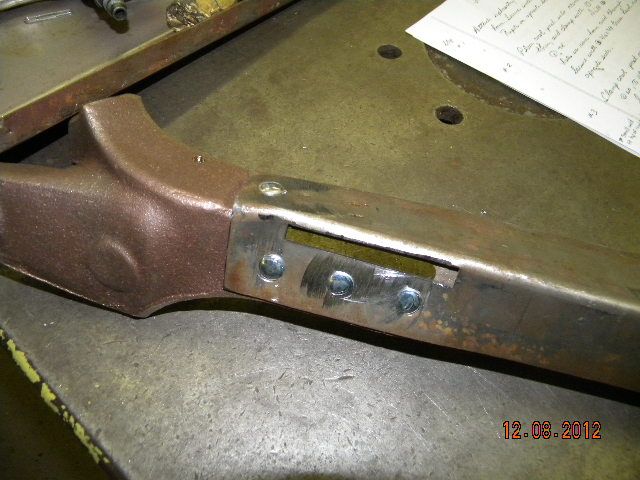
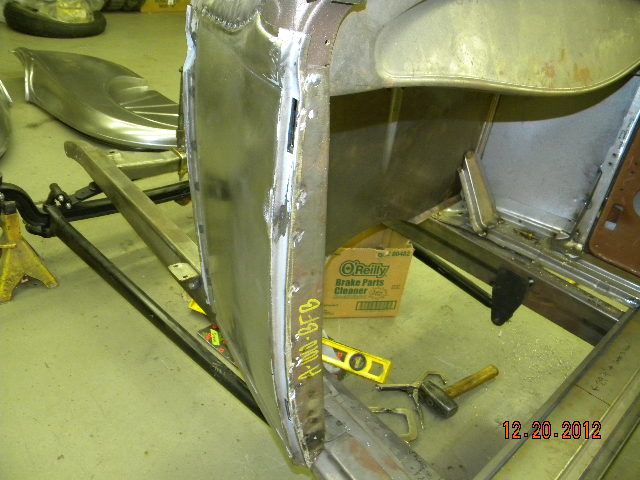
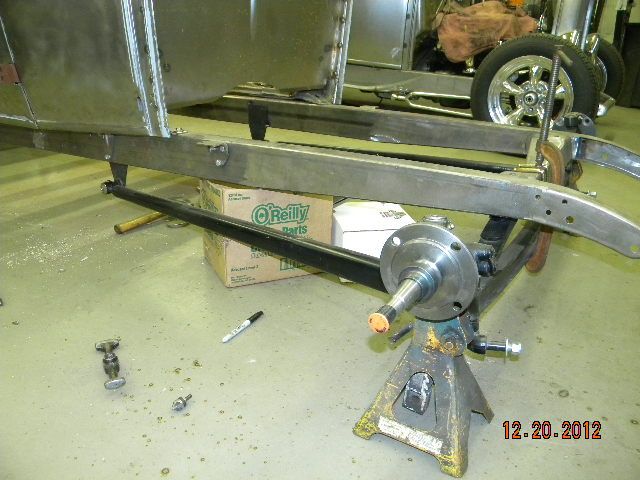
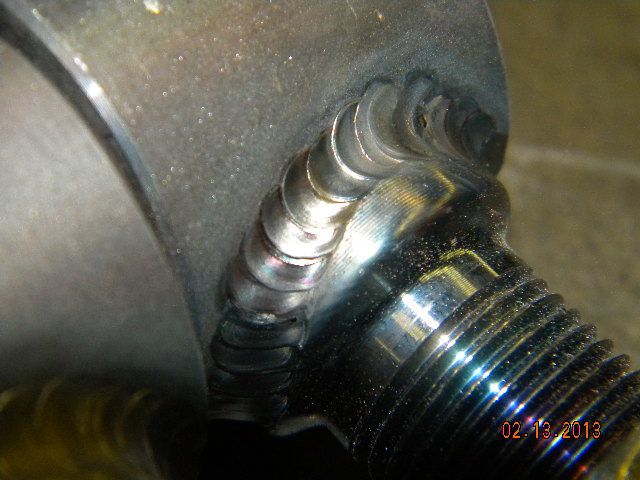
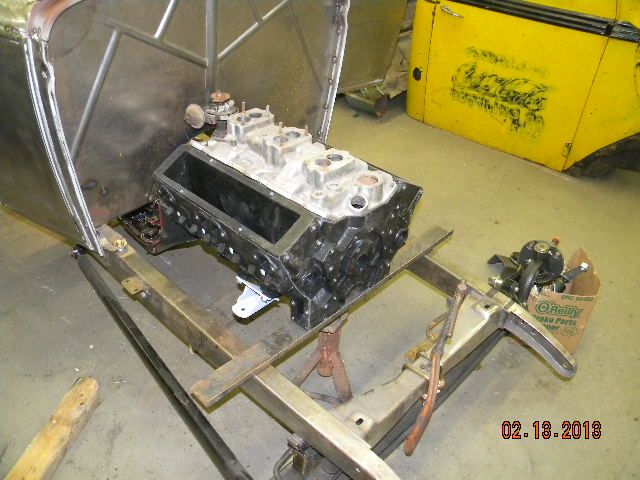
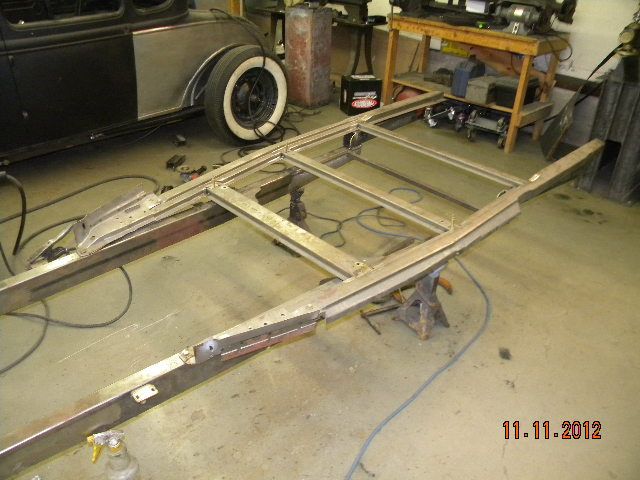
brookville frame that has had the rear x member cut off. going to "Z" it 3 inches in the rear

DSCN6470.jpg


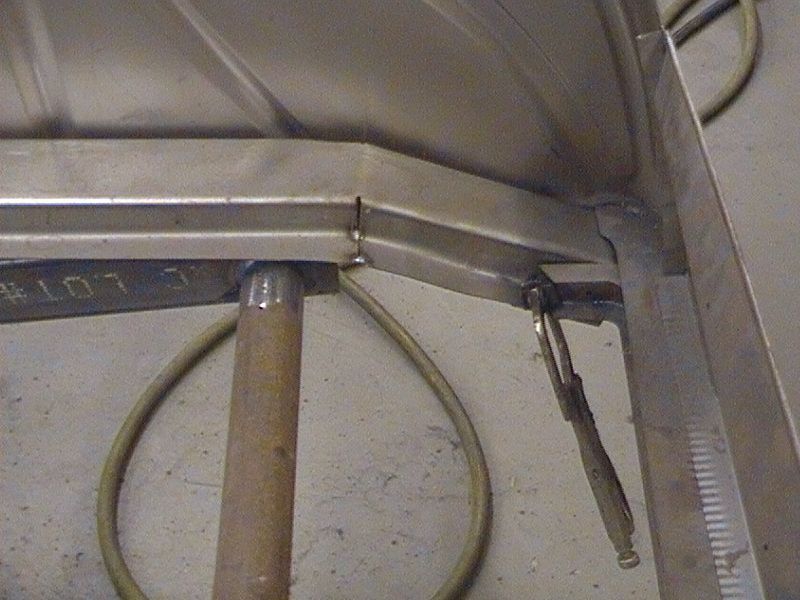
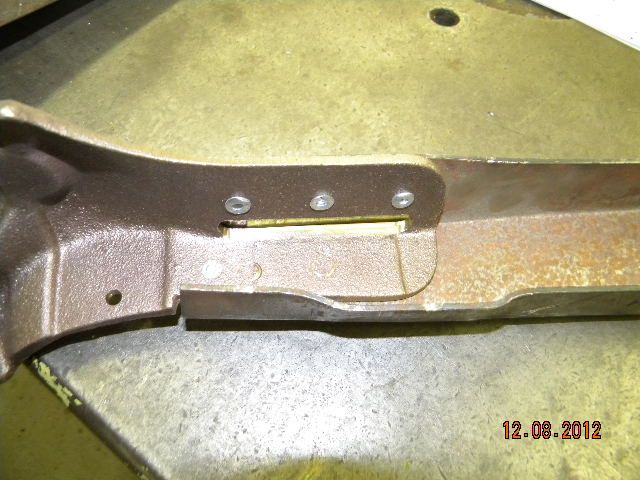
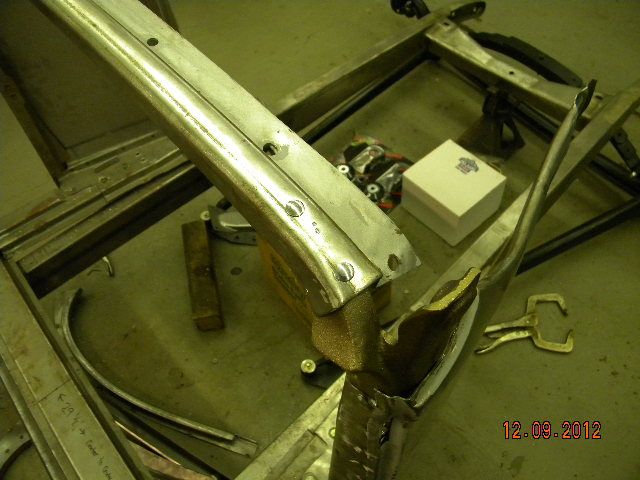
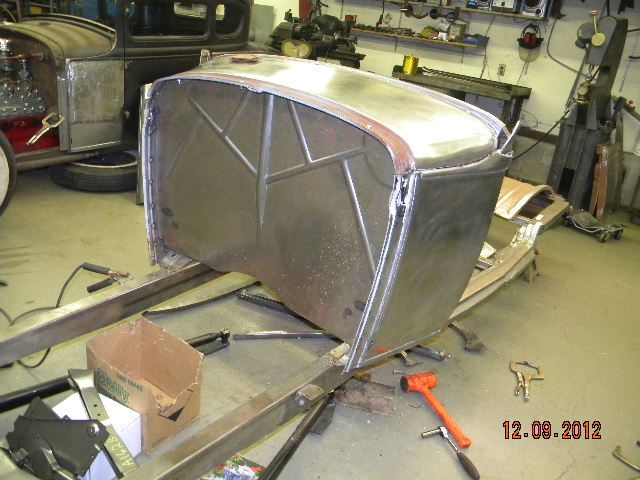
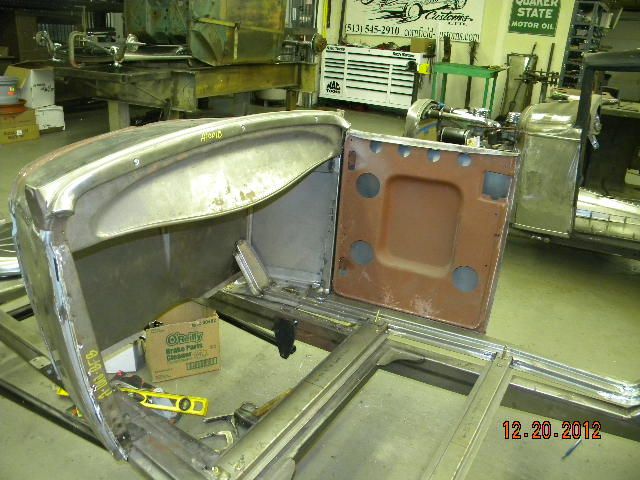
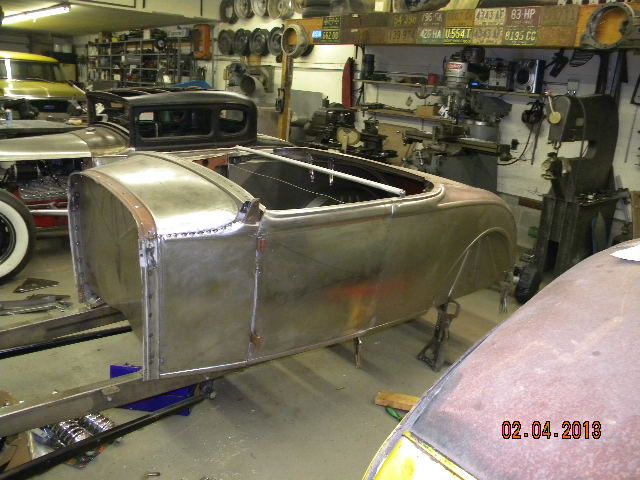
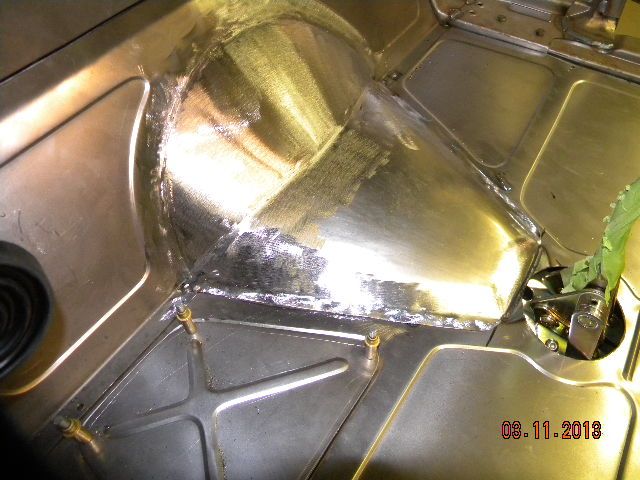
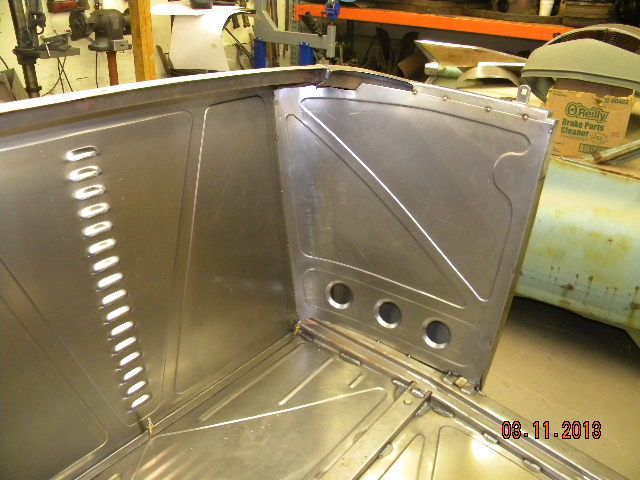
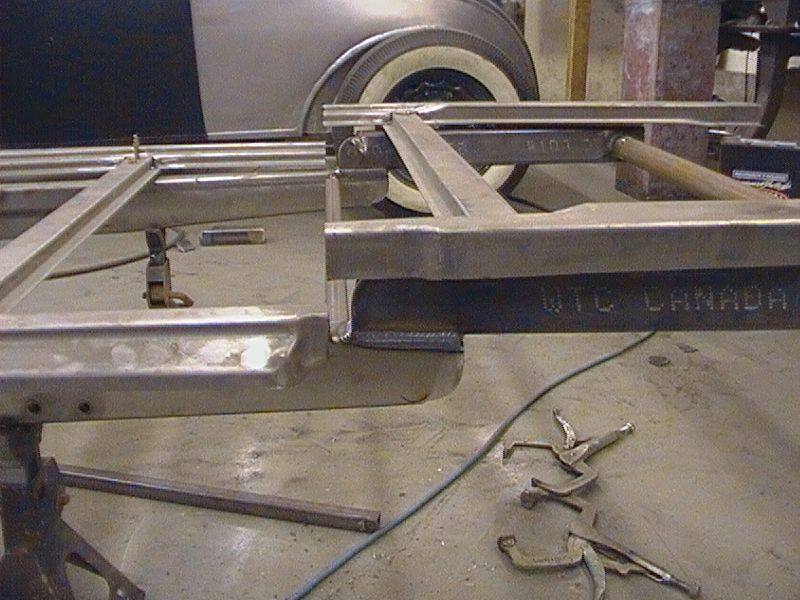
trimmed and rounded the rear section at the point of the new "Z"

DSCN6471.jpg


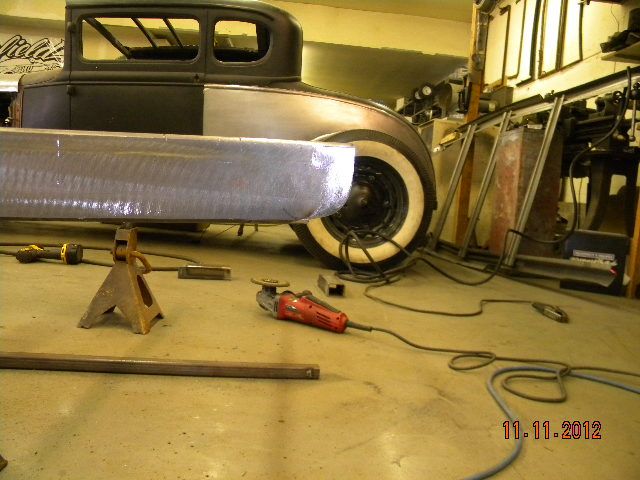
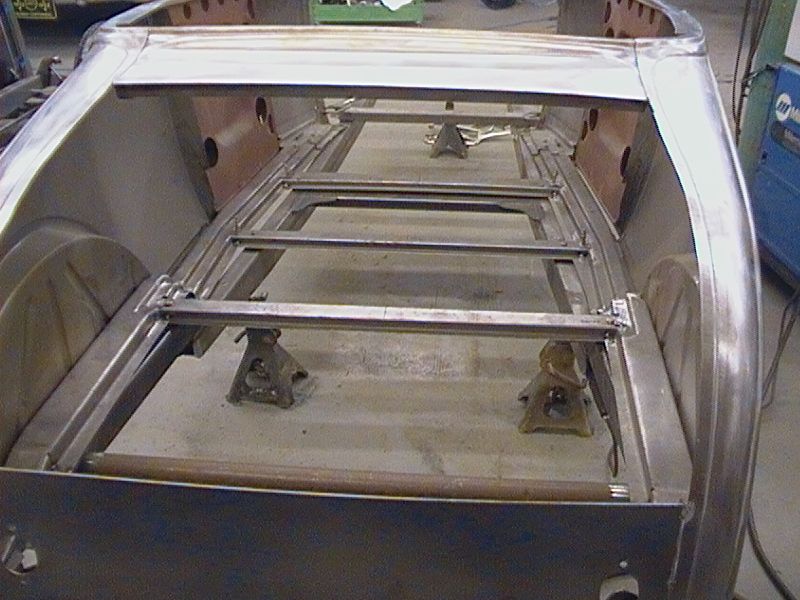
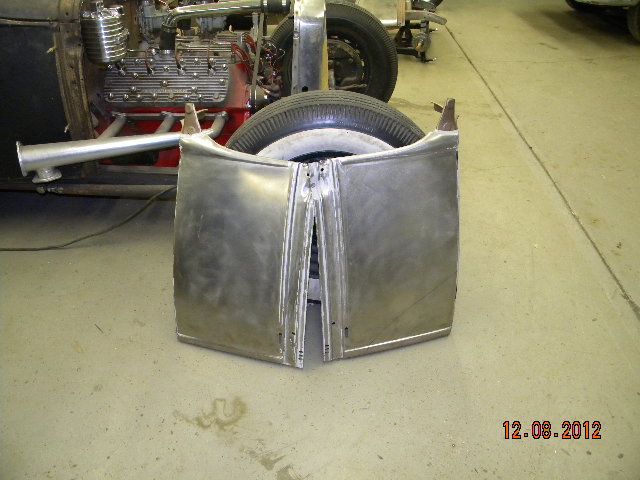
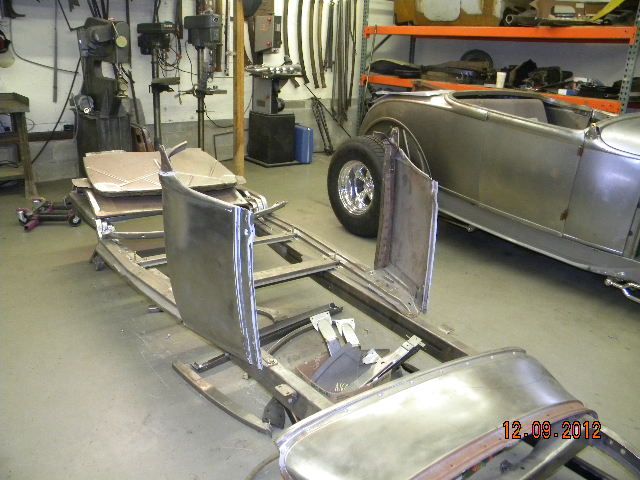
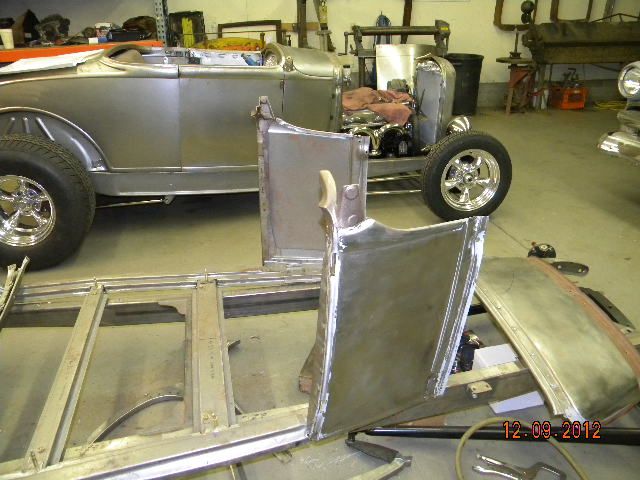
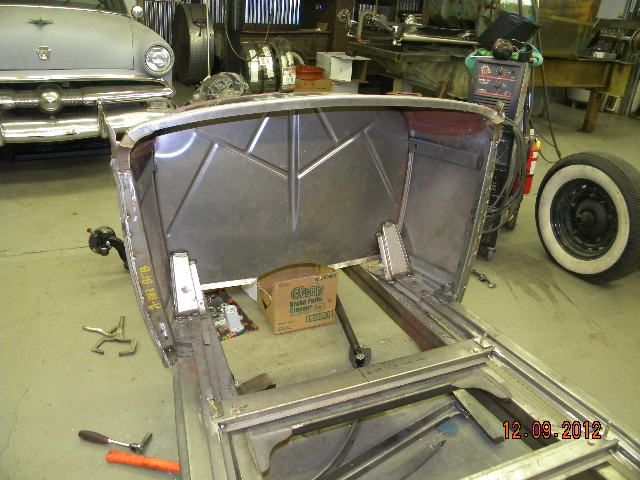
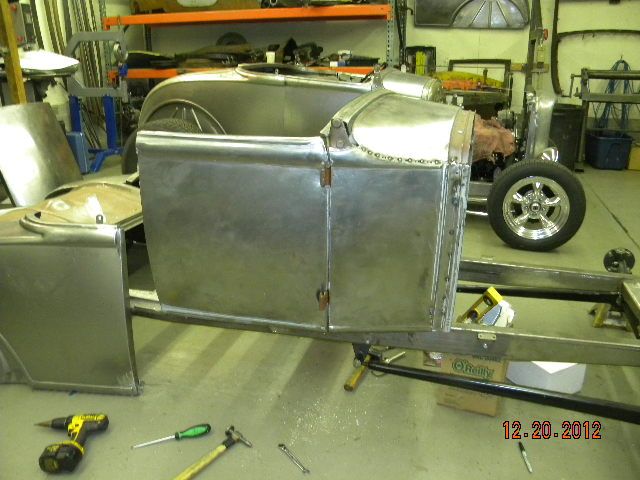
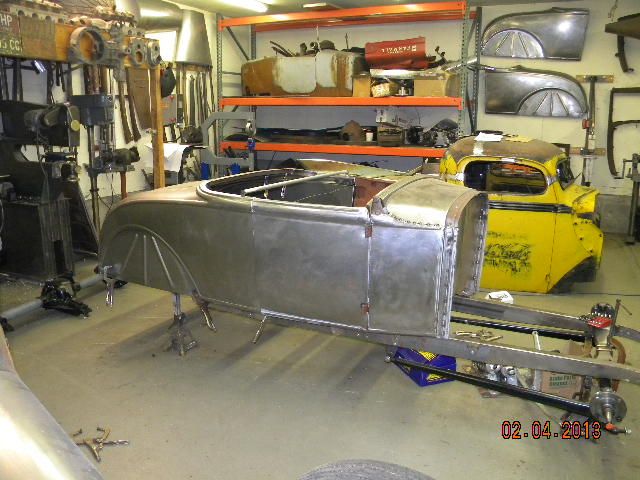
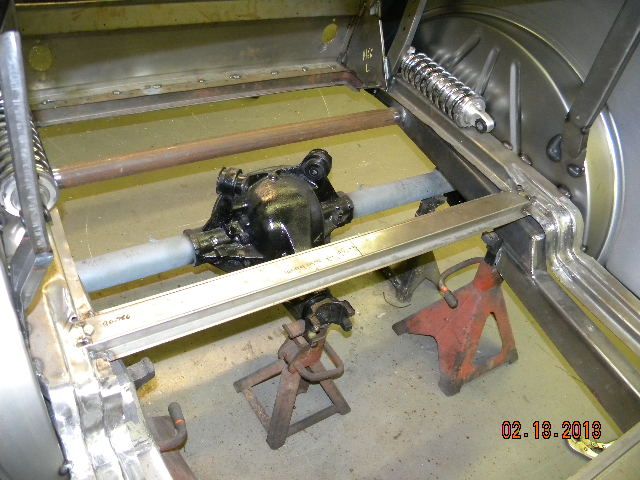
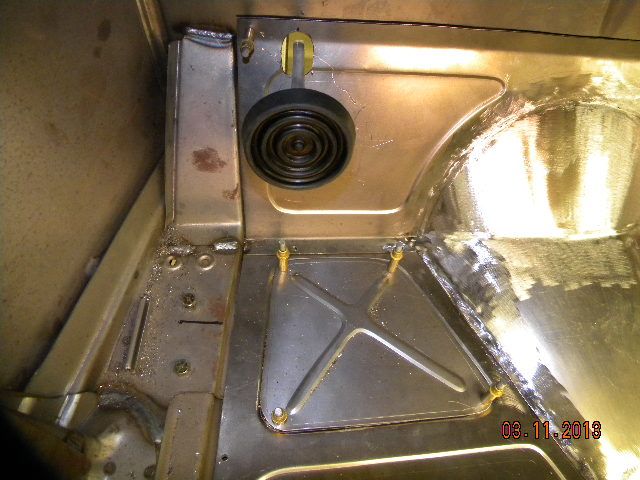
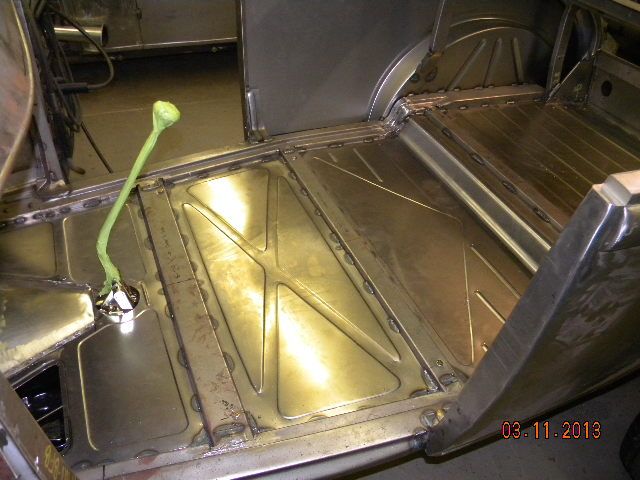
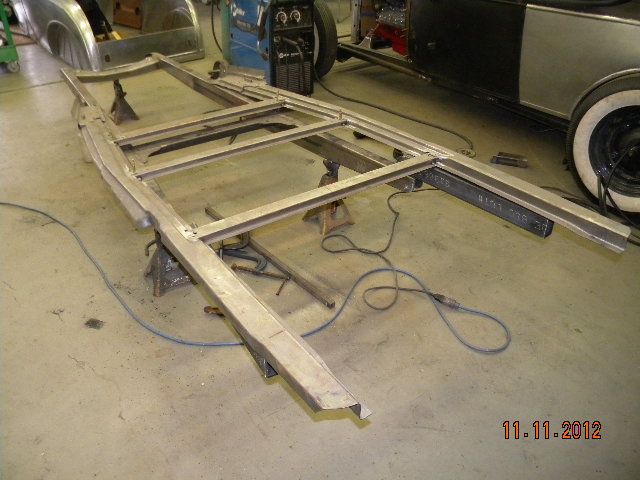
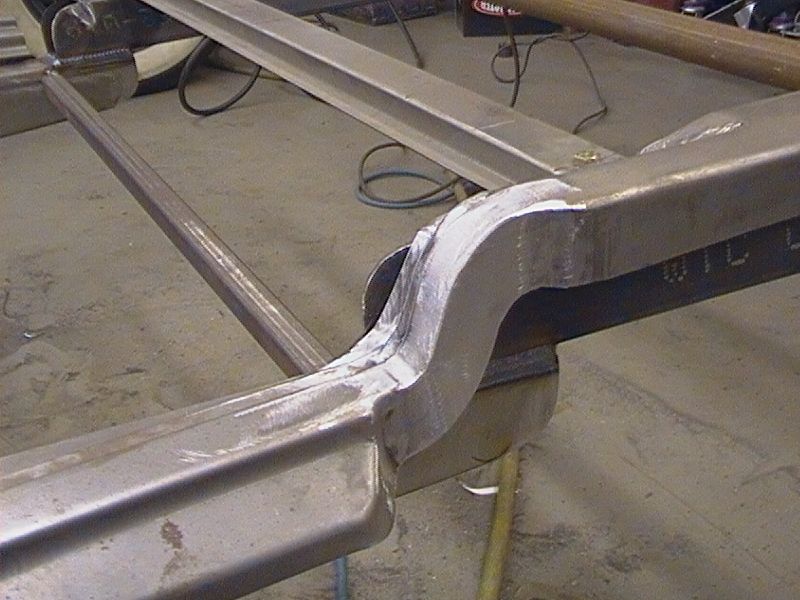
the frame "Z"ed and the sub rails laid on the frame

DSCN6472.jpg


DSCN6473.jpg


DSCN6474.jpg


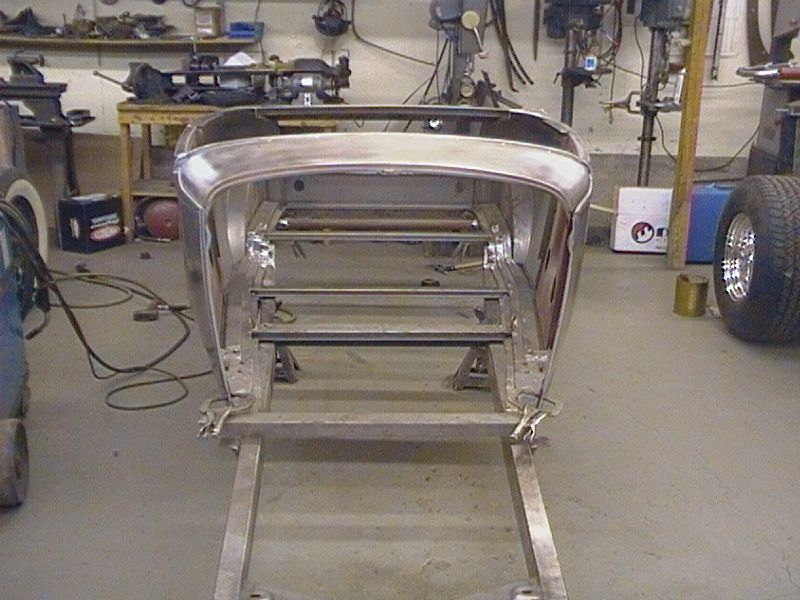
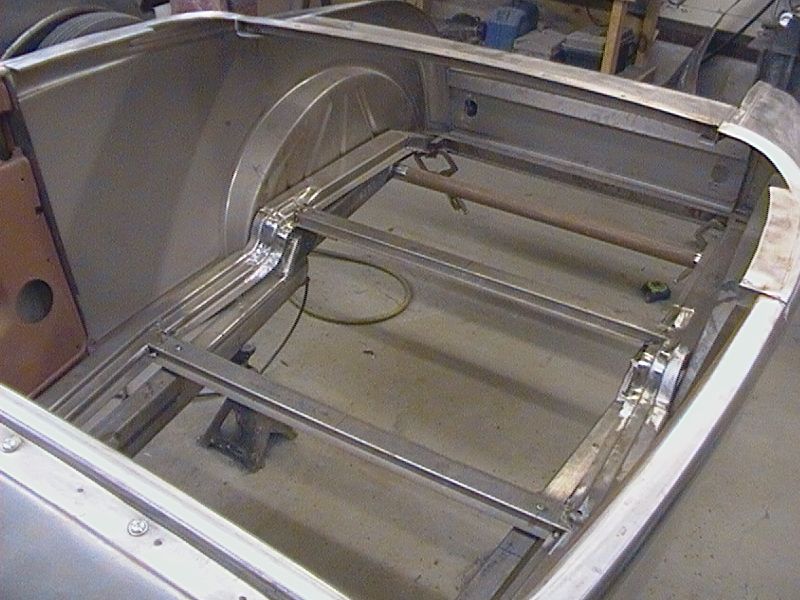
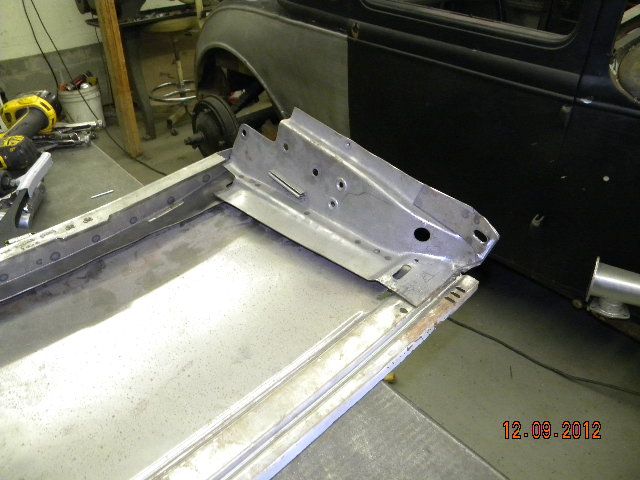
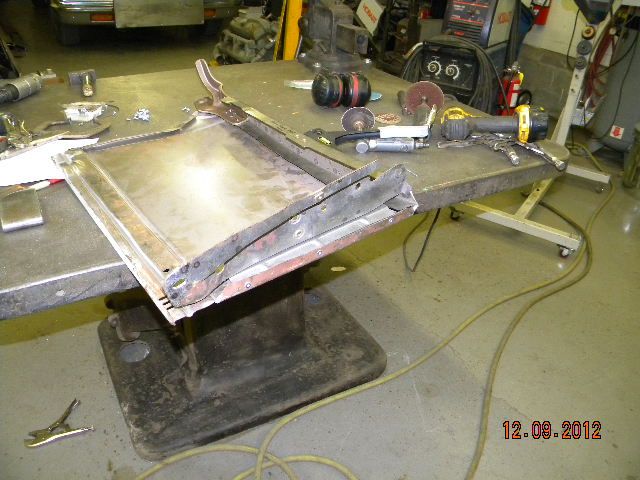
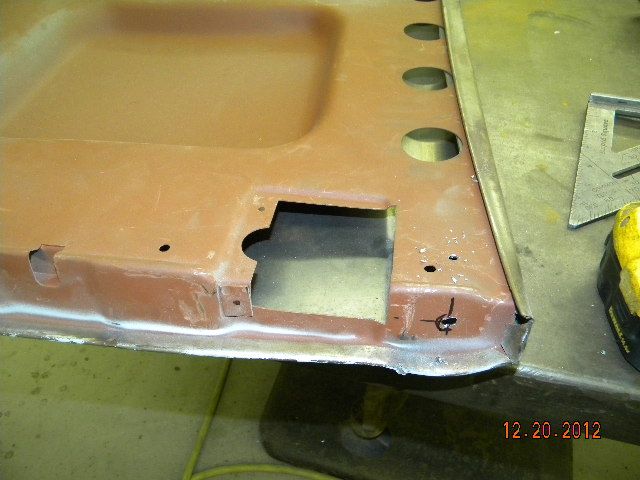
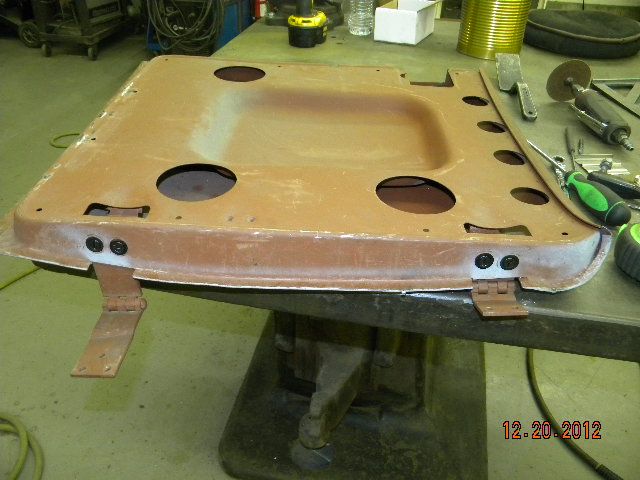
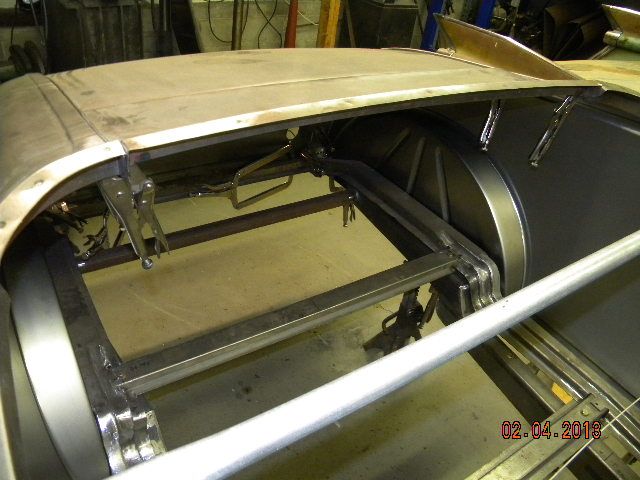
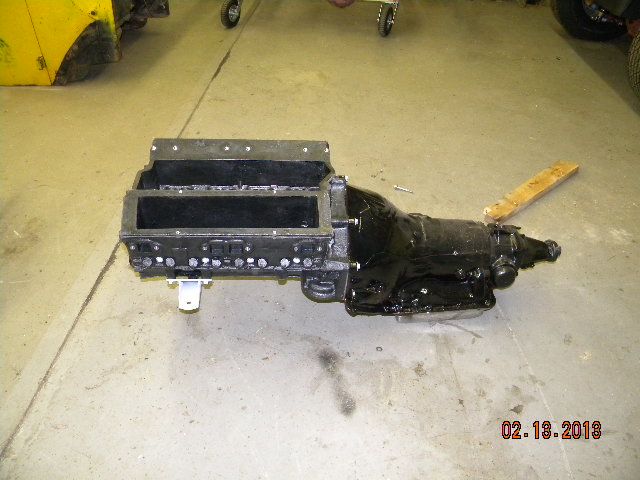
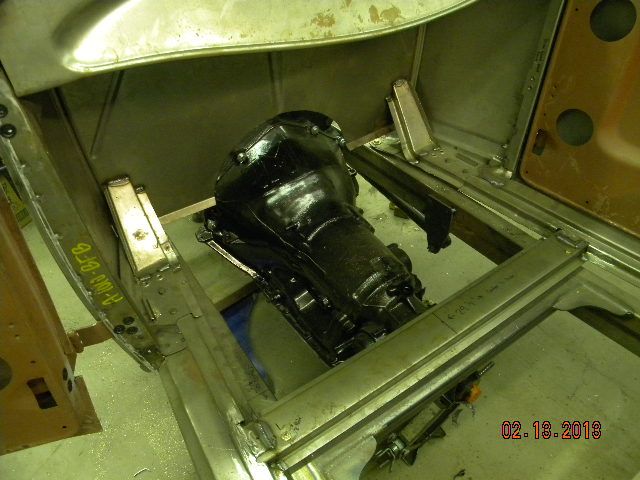
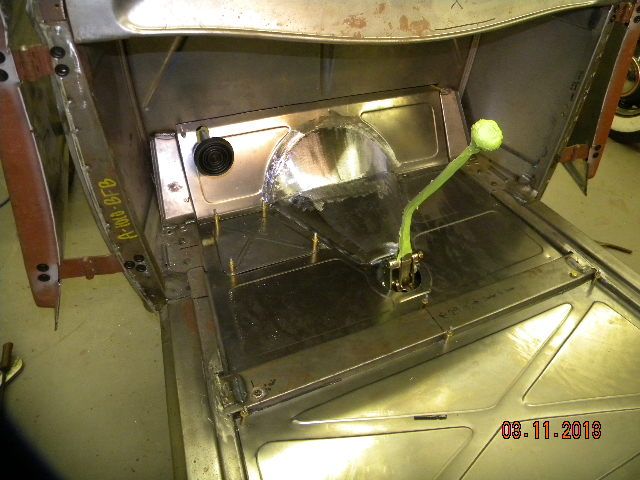
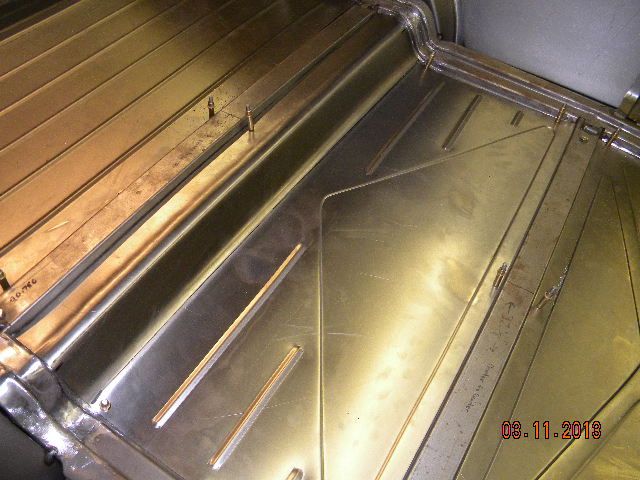
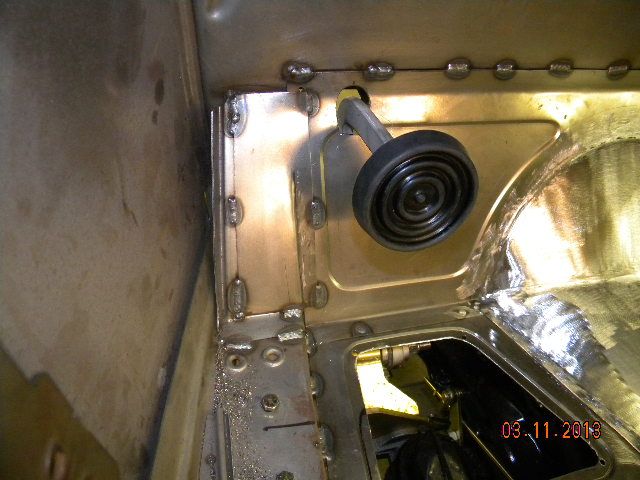
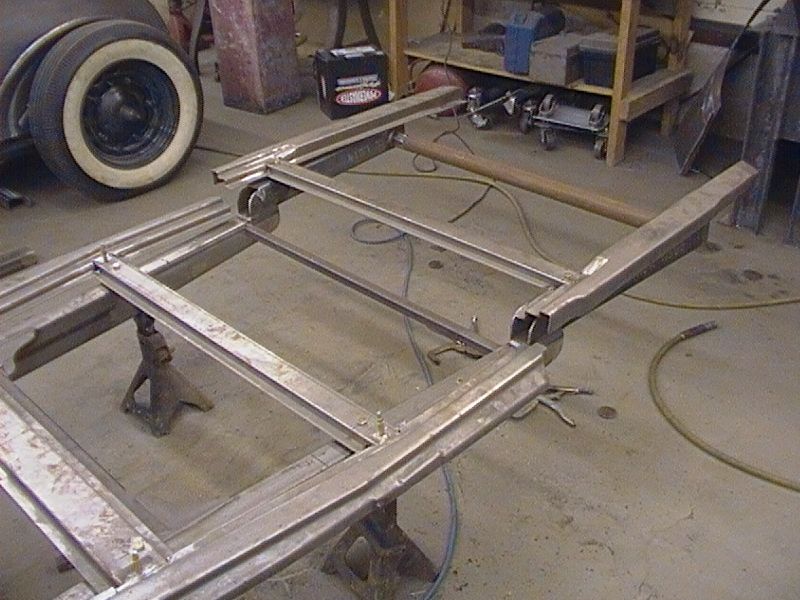
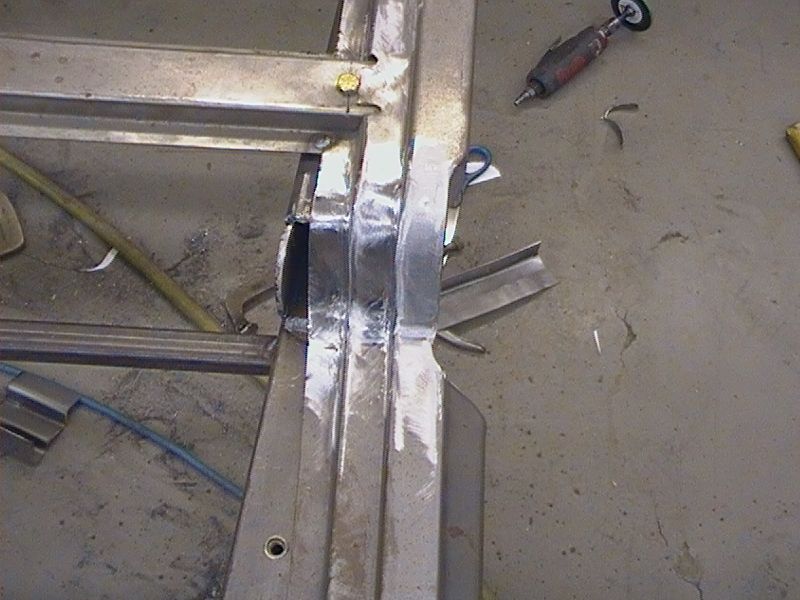
cutting and re working the subframe
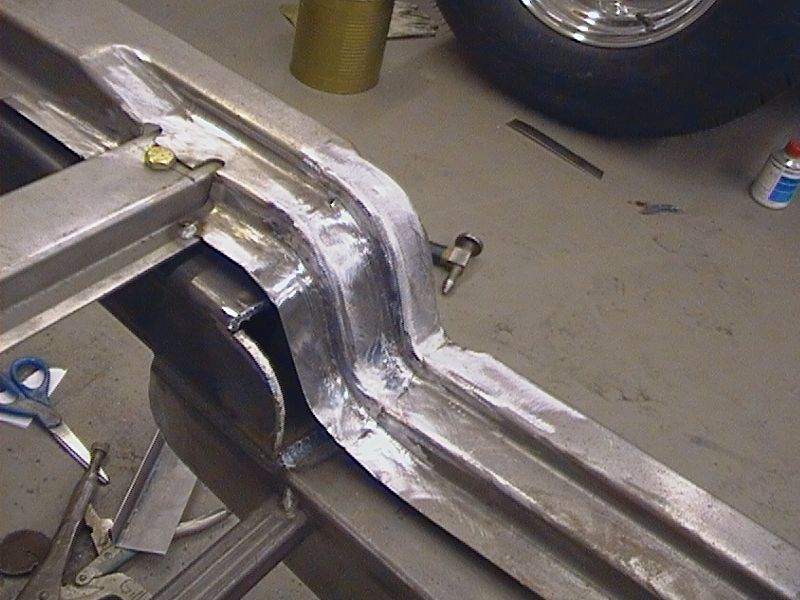
CAM_0010.jpg


CAM_0009.jpg


CAM_0011.jpg


CAM_0013.jpg


CAM_0012.jpg
 
That's some fine Canadian steel there!!!

Dude, you never cease to amaze me at how fantastic your metal working skills are.

I should fly you up here in the spring to help me with my coupe. I'll fill you to the brim with Tim Horton's coffee, back bacon...and real beer. :D
 
so this car is going to take a little longer than anticipated. i was working on the trunk and quarter area and i was having issues getting the measurements to match the other 30 roadster i have in the shop. so i drove up to Brookville roadster to get some of the missing parts, and talk to the guys who assemble the roadster bodies. after talking with them the quarters that are on the cars are junk. Brookville verified that who ever tacked this thing up just got really bad seconds and passed it on as a Brookville built car. so i ended up ordering new quarters with all the bracing already installed and have all the other parts i need now, plus they gave me hand written assembly instructions on how to build the entire car, so that should make things easier, at least i hope so
 
Assembly instructions, what do they do? LOL Your work speaks for itself without instructions. I love the look of the blower motor truck in some of your other pics.
 
i felt i need some directions on how to assemble the body, since i have a pile of braces and the skins, with no holes for the bolt or rivets. i figured if i didnt get it right on it would throw everything else off.
 
got back to this one today, started getting the cowl section put together the right way.

had to rivet the brass ram horns to the front door post

DSCN6596.jpg


DSCN6597.jpg


then fit the front door post into the cowl sheet metal skin and spot welded them together

DSCN6598.jpg


DSCN6599.jpg


tomorrow i am going to start fitting the cowl sides to the sun rails and the dash rail
 
got the sub rail extension attached to the cowl sides

DSCN6600.jpg


DSCN6601.jpg


then both cowl side bolted to the frame and sub rail

DSCN6602.jpg


DSCN6603.jpg


dash support rail was then riveted in

DSCN6604.jpg


DSCN6605.jpg


then clamped the gas tank top and fire wall in place

DSCN6606.jpg


DSCN6607.jpg


DSCN6608.jpg
 
started hanging the doors today, had to drill all the mounting holes for the latches and hinges

DSCN6629_zps1c8aecac.jpg


DSCN6635_zps0b34357f.jpg


after some twisting, hammering, and fitting got the first one hung and fitting decent

DSCN6630_zps341b9d32.jpg


DSCN6634_zpsa8c7f649.jpg


ready to start laying out the holes to be drilled to hang the driver door

DSCN6636_zps0725fce7.jpg


got the new quarters in from Brookville roadster

DSCN6632_zps91709b57.jpg


also got the front suspension mocked up

DSCN6633_zpsead30cc7.jpg
 
its been a little while since i have been able to work on this car, but here is some progress. after a full day of fitting doors, and panels, it is all clamped up ready to start welding the body up solid!!!

DSCN6778_zps630647b1.jpg


DSCN6779_zps66c089f5.jpg


DSCN6780_zps0d8e9ea0.jpg


DSCN6781_zpsc2bea9cd.jpg
 
working on getting this one a full roller with motor and trans installed

tig welded the 4 link links up

DSCN6791_zpsba1a8637.jpg


DSCN6796_zps181ed8ab.jpg


DSCN6797_zpsb0b6b80b.jpg


got the rear axle mocked up on jack stands

DSCN6794_zps0fb4c905.jpg


DSCN6793_zpsc7963961.jpg


bolted the mock up block to the trans, then mocked up in the frame. going to be fully mounted up tomorrow

DSCN6792_zps51999a4f.jpg


DSCN6798_zpsacd8cbc6.jpg


DSCN6799_zpsc452b1fe.jpg
 
over the past couple days i have been working on the floors of this roadster. trying to get my part finished on it in the next month or so, so the owner can finish it up for the summer

made all the floors and cleco'd them in place

DSCN6903_zps420b0446.jpg


DSCN6904_zps591a9ec2.jpg


removable panel to make it easier to fill the brake reservoir

DSCN6905_zps71d81f6a.jpg


DSCN6908_zps6bae4ade.jpg


all welded up

DSCN6909_zpsd95d4572.jpg


DSCN6910_zpsb3615a27.jpg


DSCN6911_zpsb38e5fe8.jpg


DSCN6914_zpsfbaed6ff.jpg


then started on the panels the will separate the passenger compartment from the trunk area

DSCN6915_zps83bc69ce.jpg


DSCN6916_zpse3c06991.jpg
 
great

looks great[dr


now that ya know how the QP's go on, you can salvage the other ones and make a rat rod outta them since tolerances don't have to so close on a RAT:eek: (at least on mine[ddd)

that is a top notch looking job on that roadster[;)

Later :cool:
 
finished up the panels that go behind the seat and separates the passenger compartment and trunk area

DSCN6917_zps82a9b877.jpg


DSCN6918_zpsa71bd226.jpg


moved onto the door panels and kick panels

DSCN6919_zpse0ff3831.jpg


DSCN6920_zps6858b44d.jpg


the before and after

DSCN6921_zpsf94afe06.jpg


after, and before sand blasting and scuffing

DSCN6922_zps6b189a8e.jpg


DSCN6923_zpsf5f8370a.jpg


and the driver side in

DSCN6925_zps900cc514.jpg
 

Latest posts

Back
Top