1937 GMC 1/2 ton rat pickup

Rat Rods Rule

Help Support Rat Rods Rule:

This site may earn a commission from merchant affiliate links, including eBay, Amazon, and others.

some_stephen

Active member
Joined
Jun 18, 2013
Messages
29
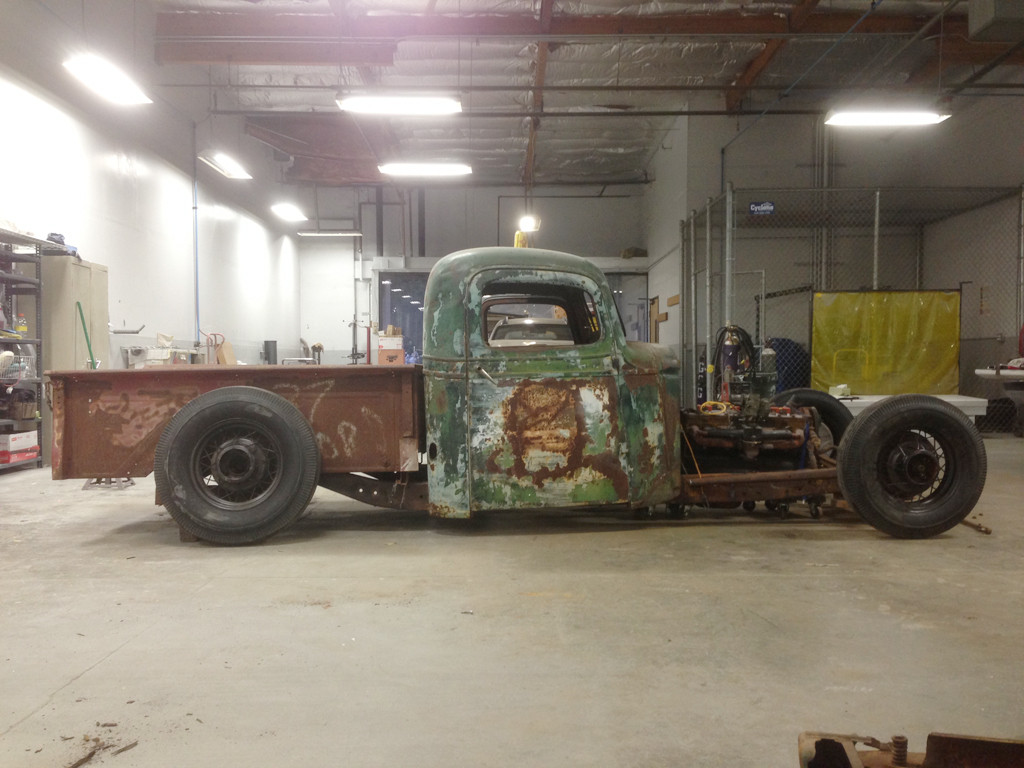
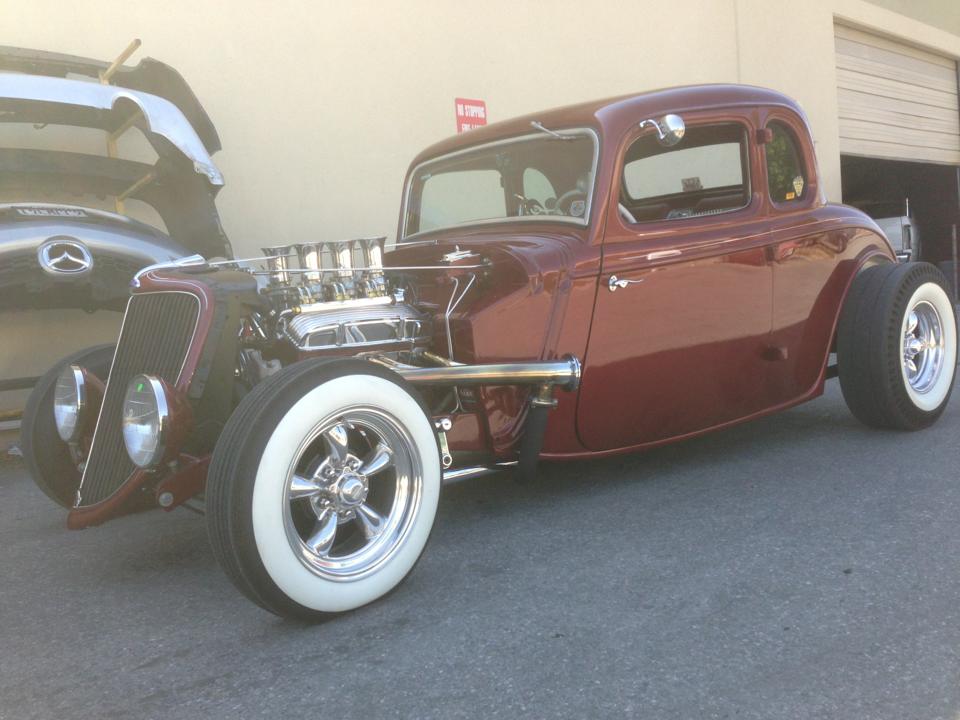
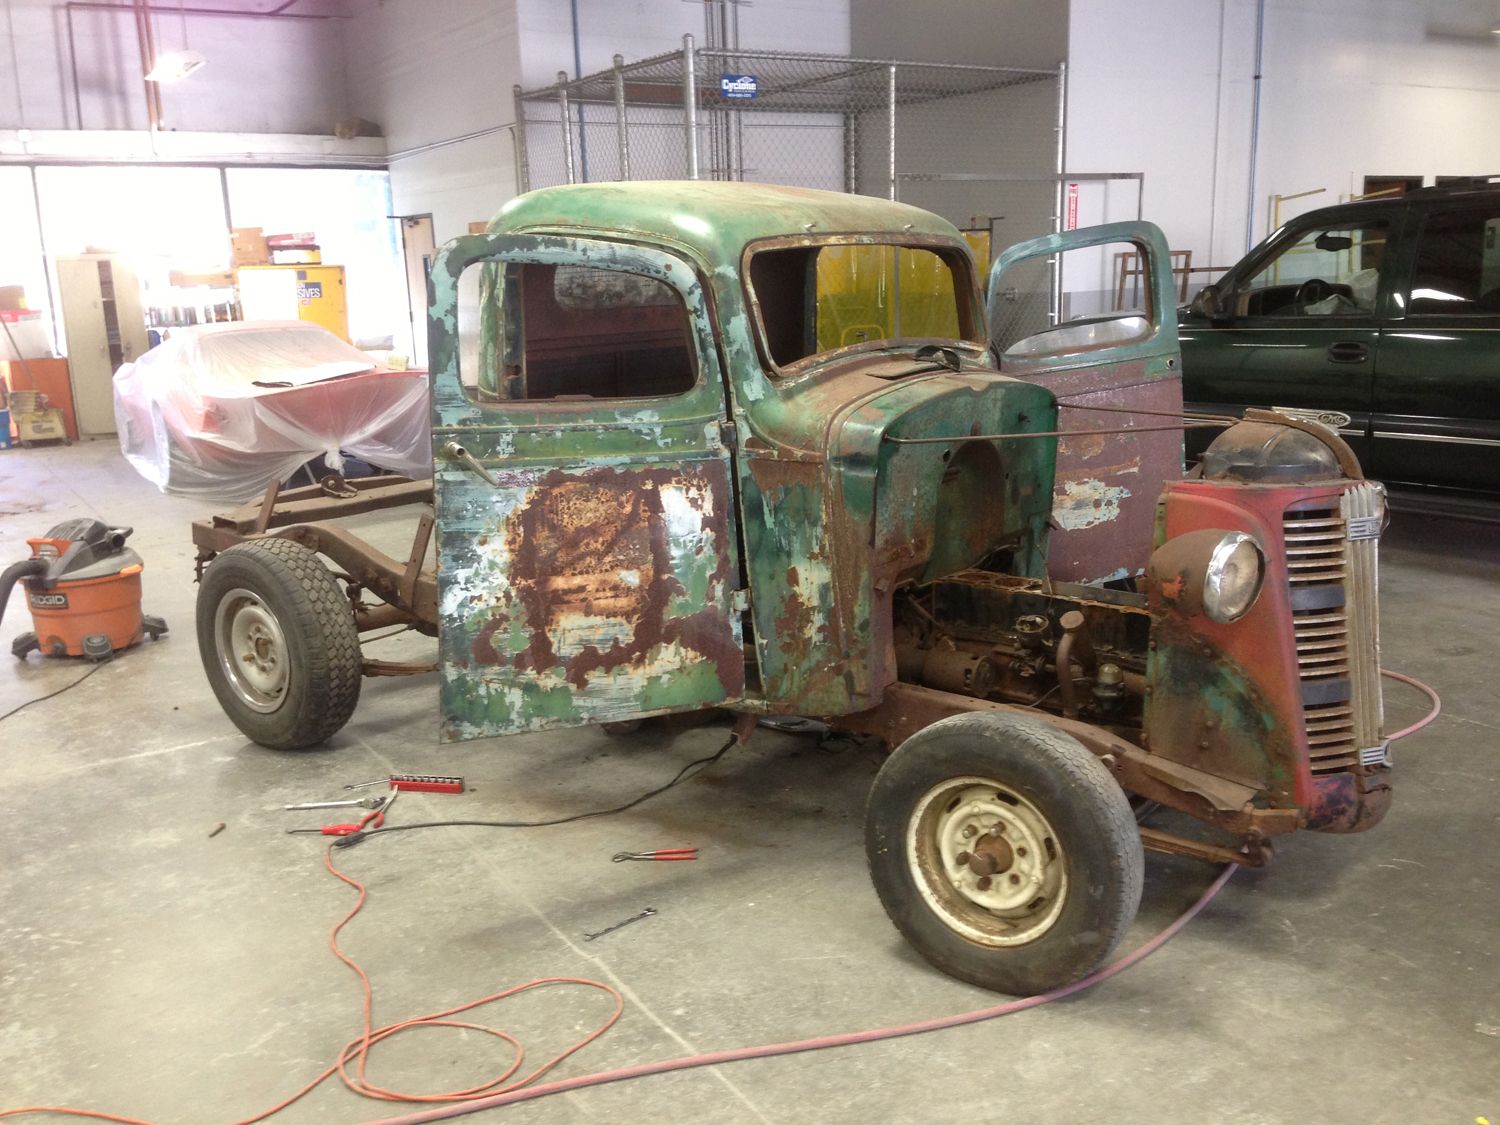
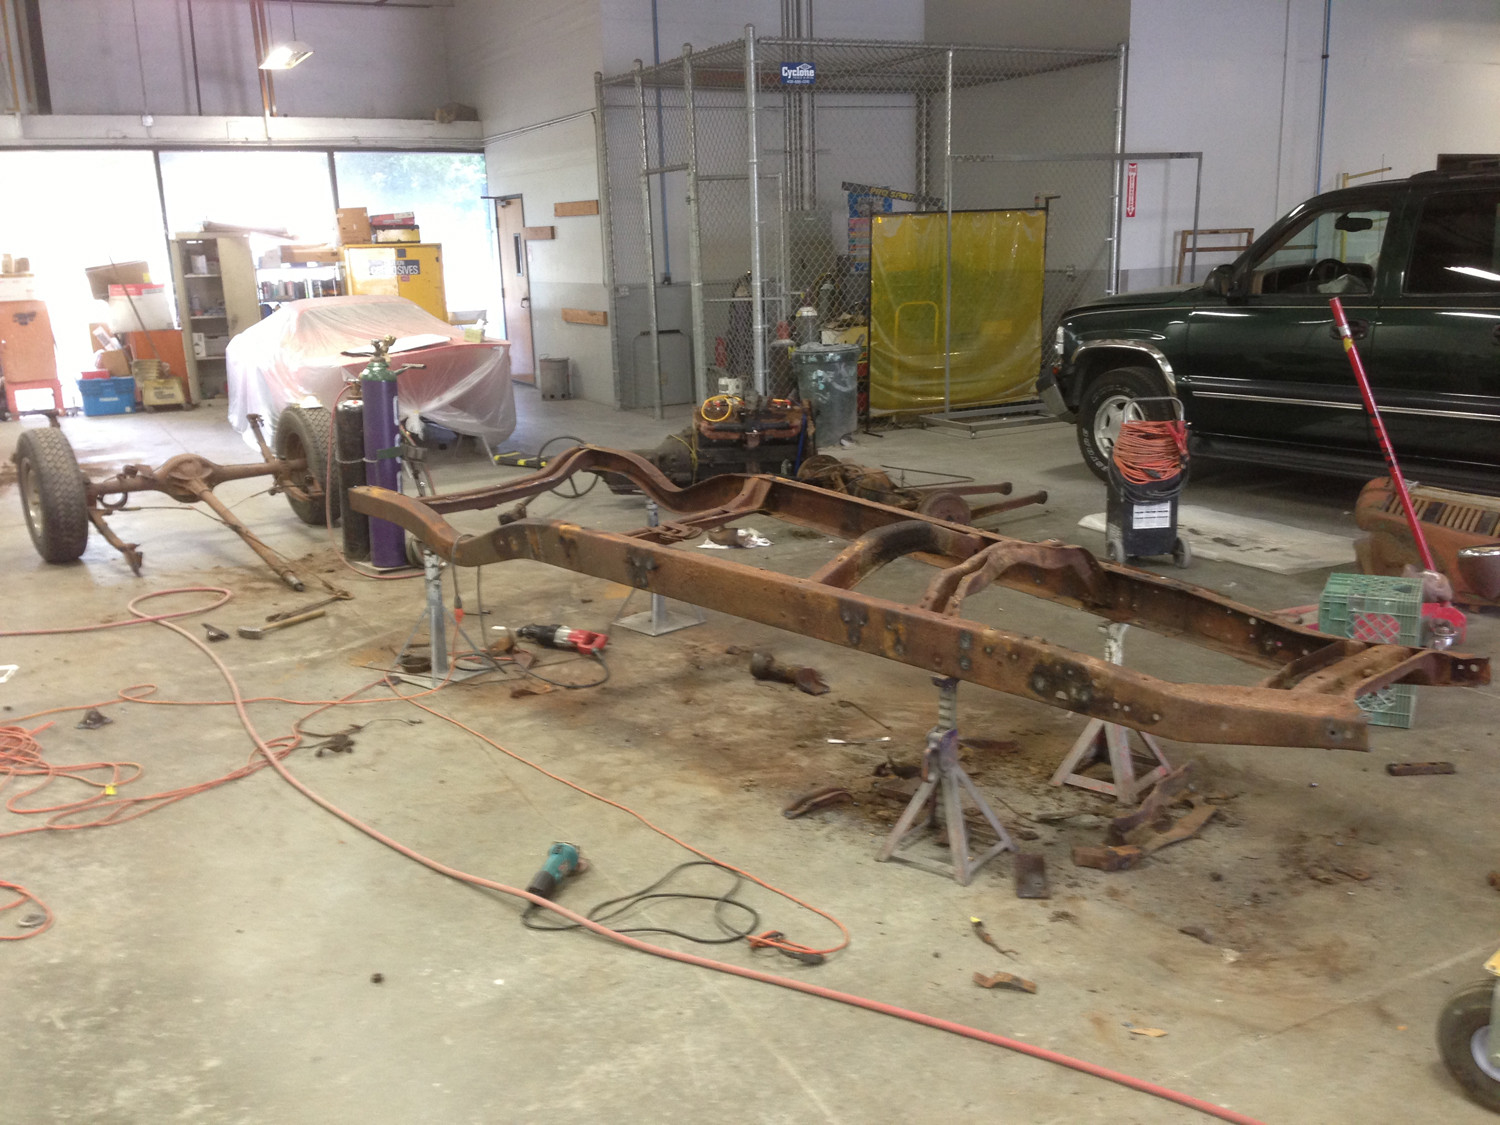
Finally getting around to starting a build thread for this 37' GMC I picked up a few weeks ago. I'll start it off with some photos of it's liberation from where it was stored.

wCNlkIY.jpg


Stored in this guy's "garage", which was this structure. The garage door was a sheet of plywood that was screwed to the frame. Looked like it hadn't been opened in years.

RFnEYjL.jpg


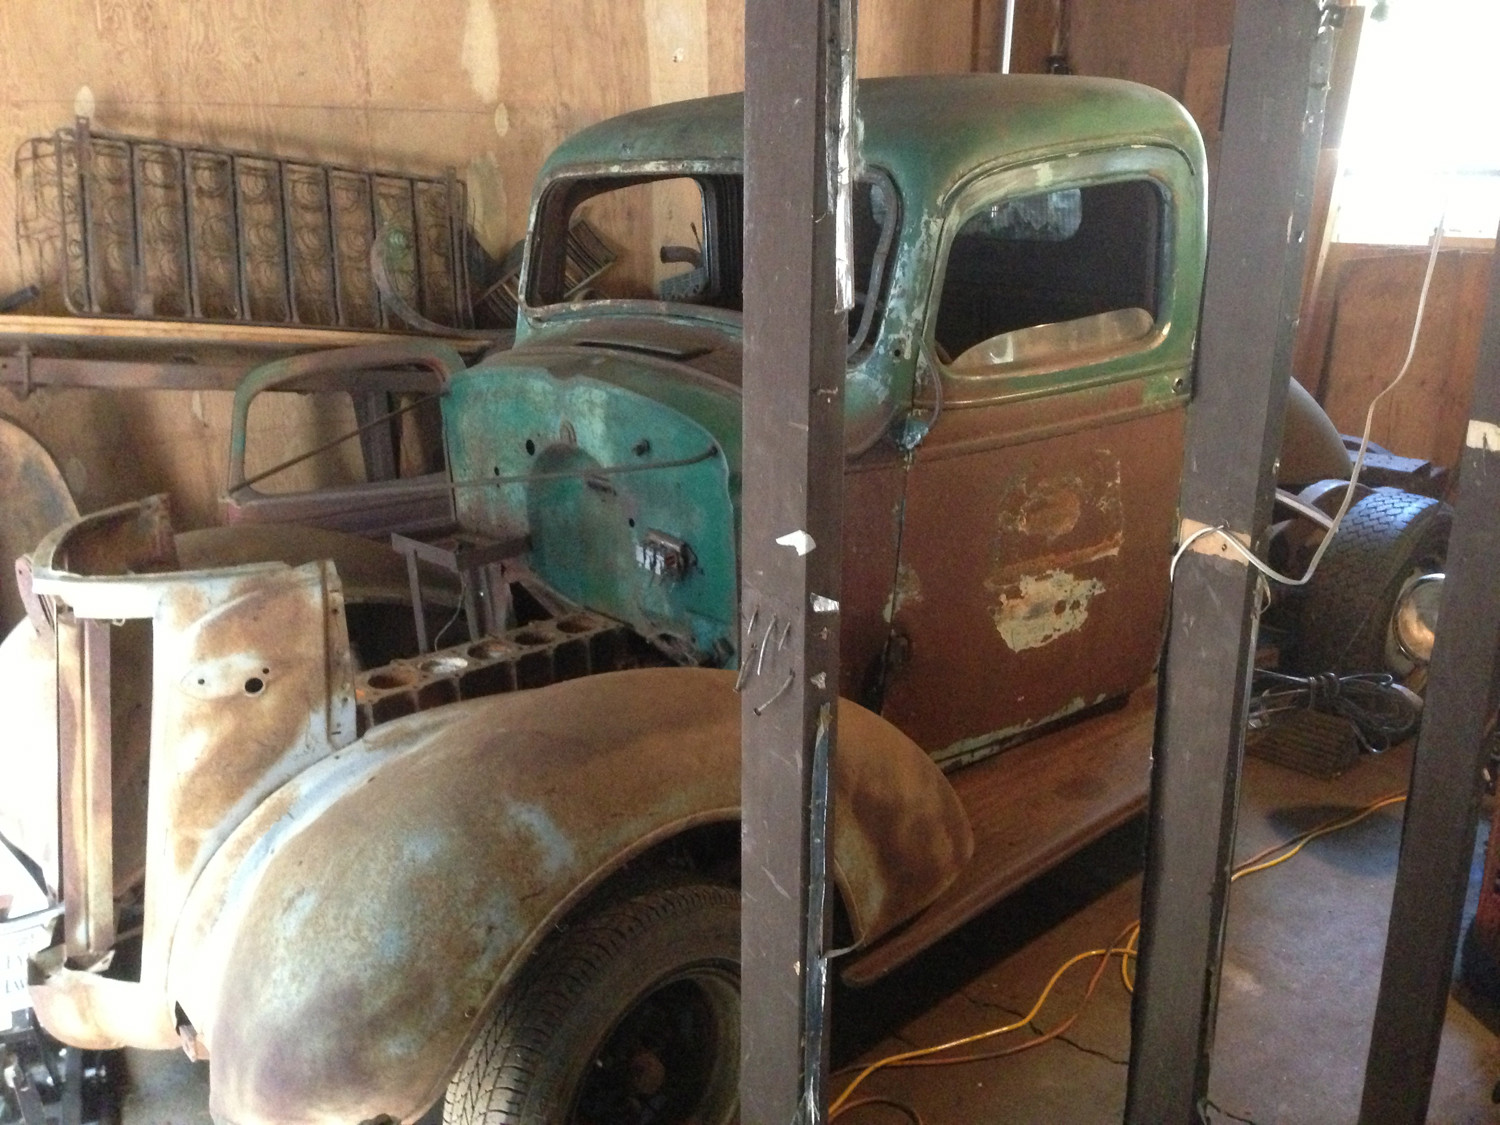
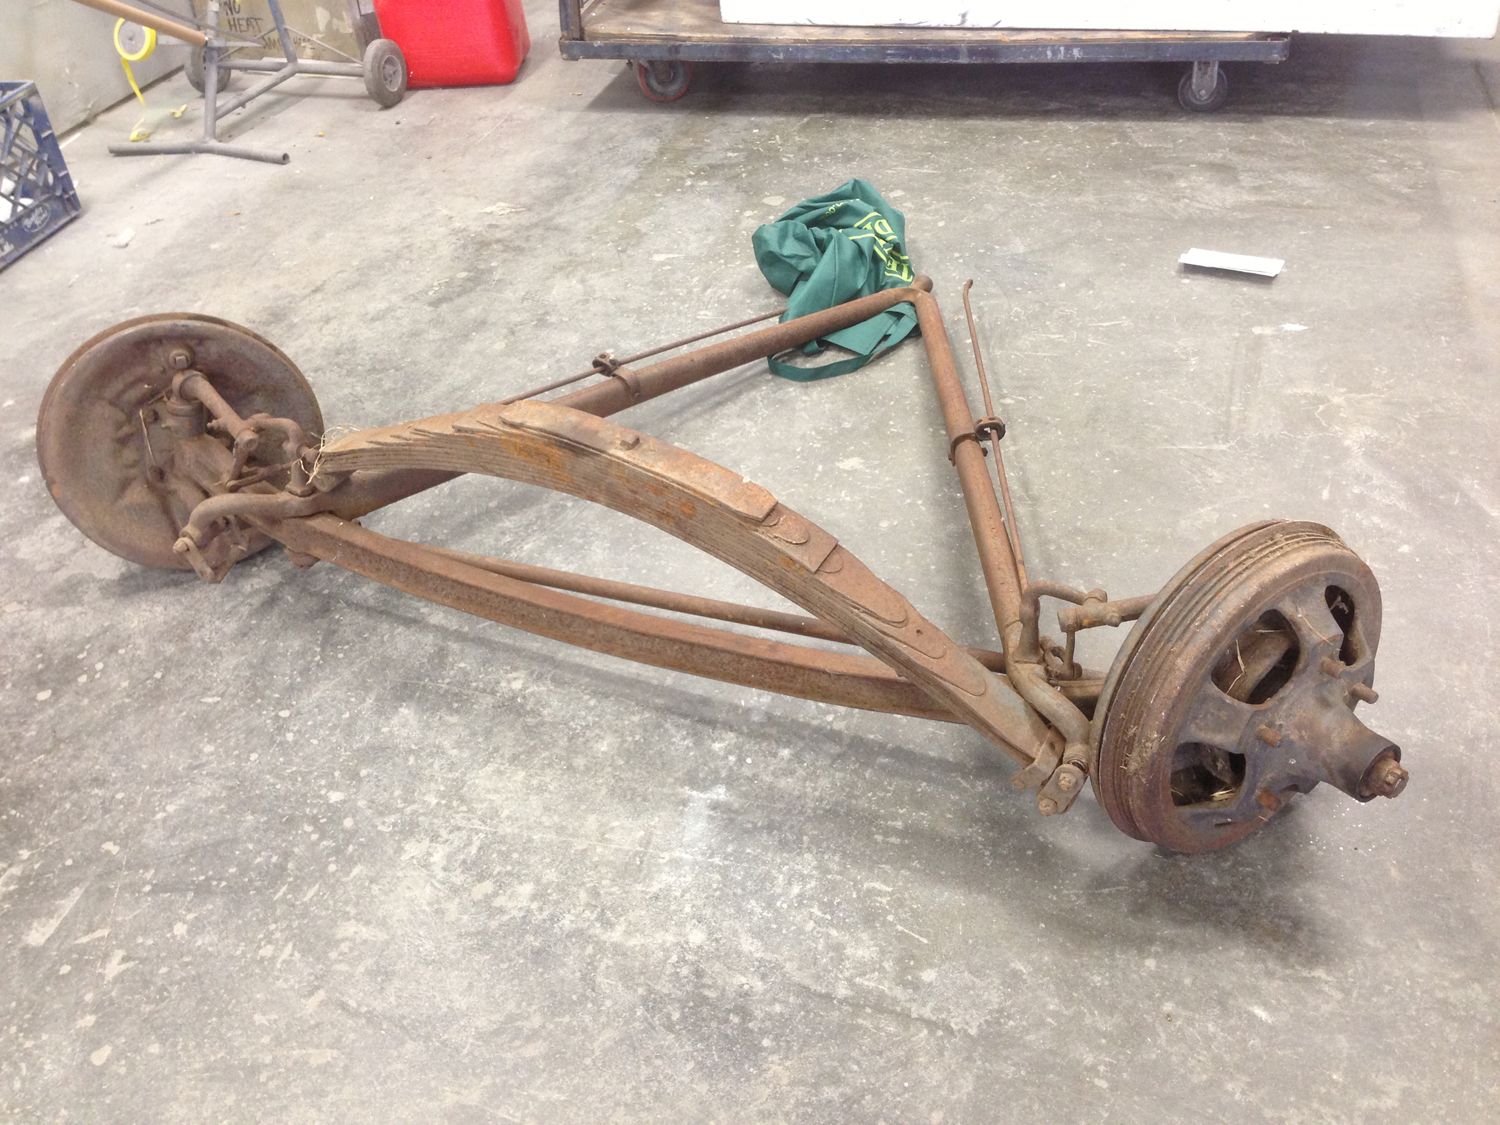
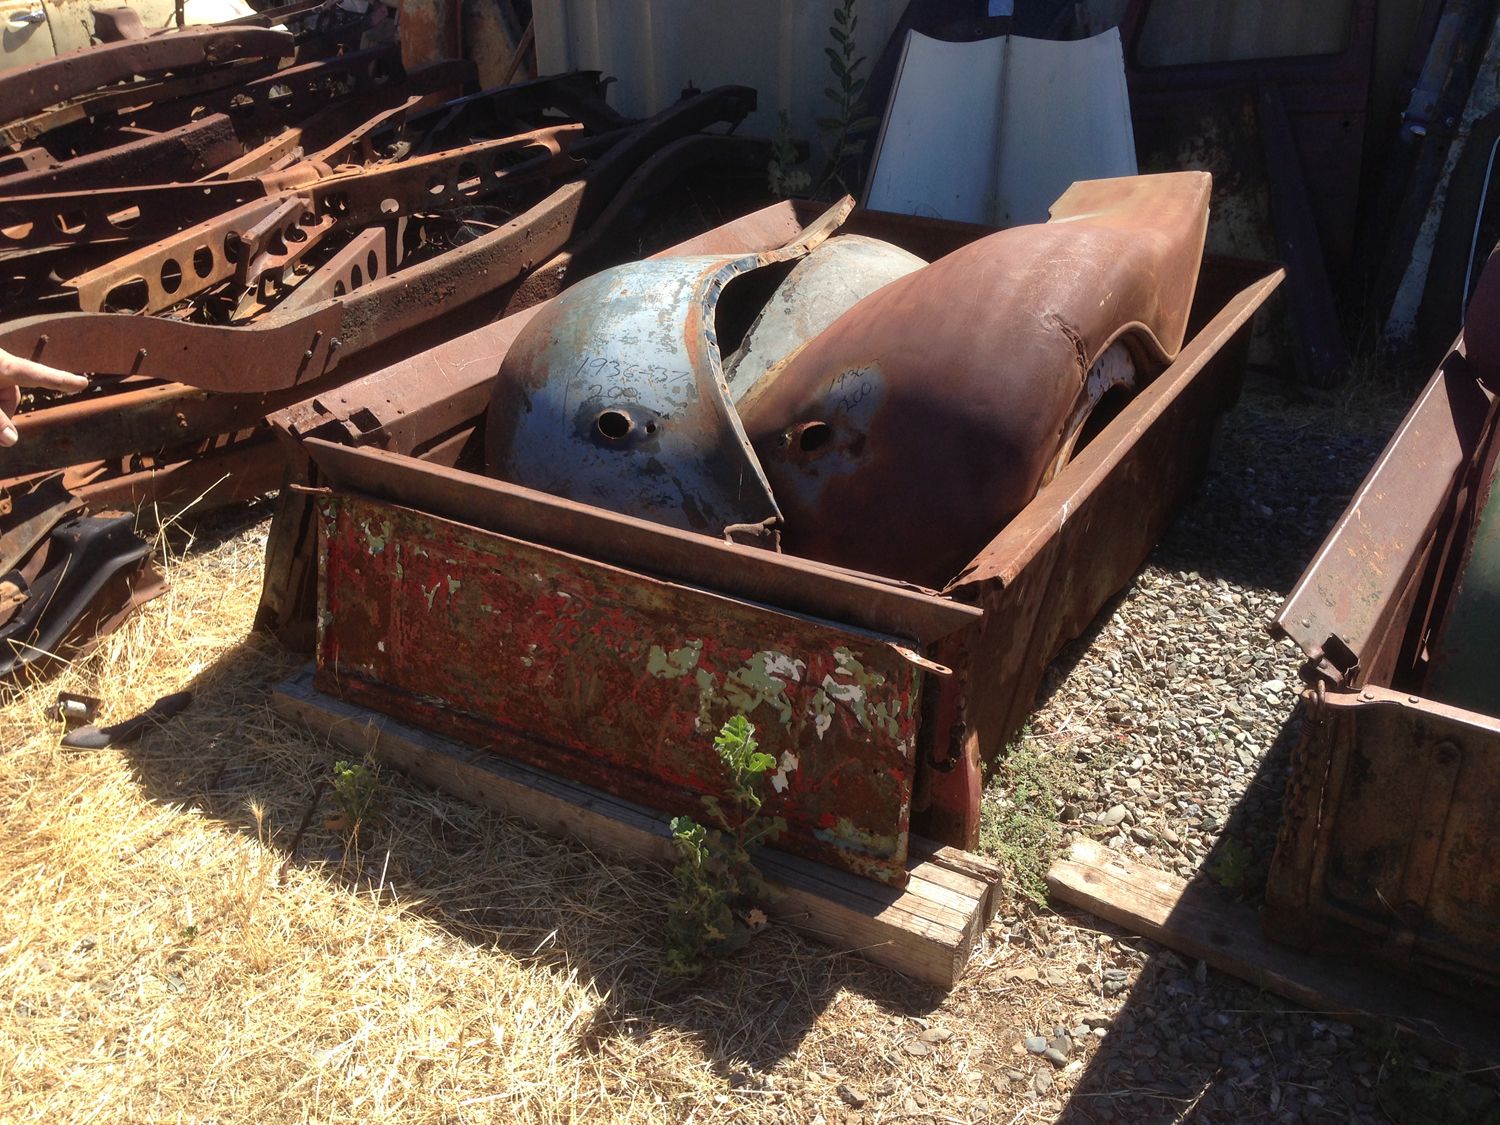
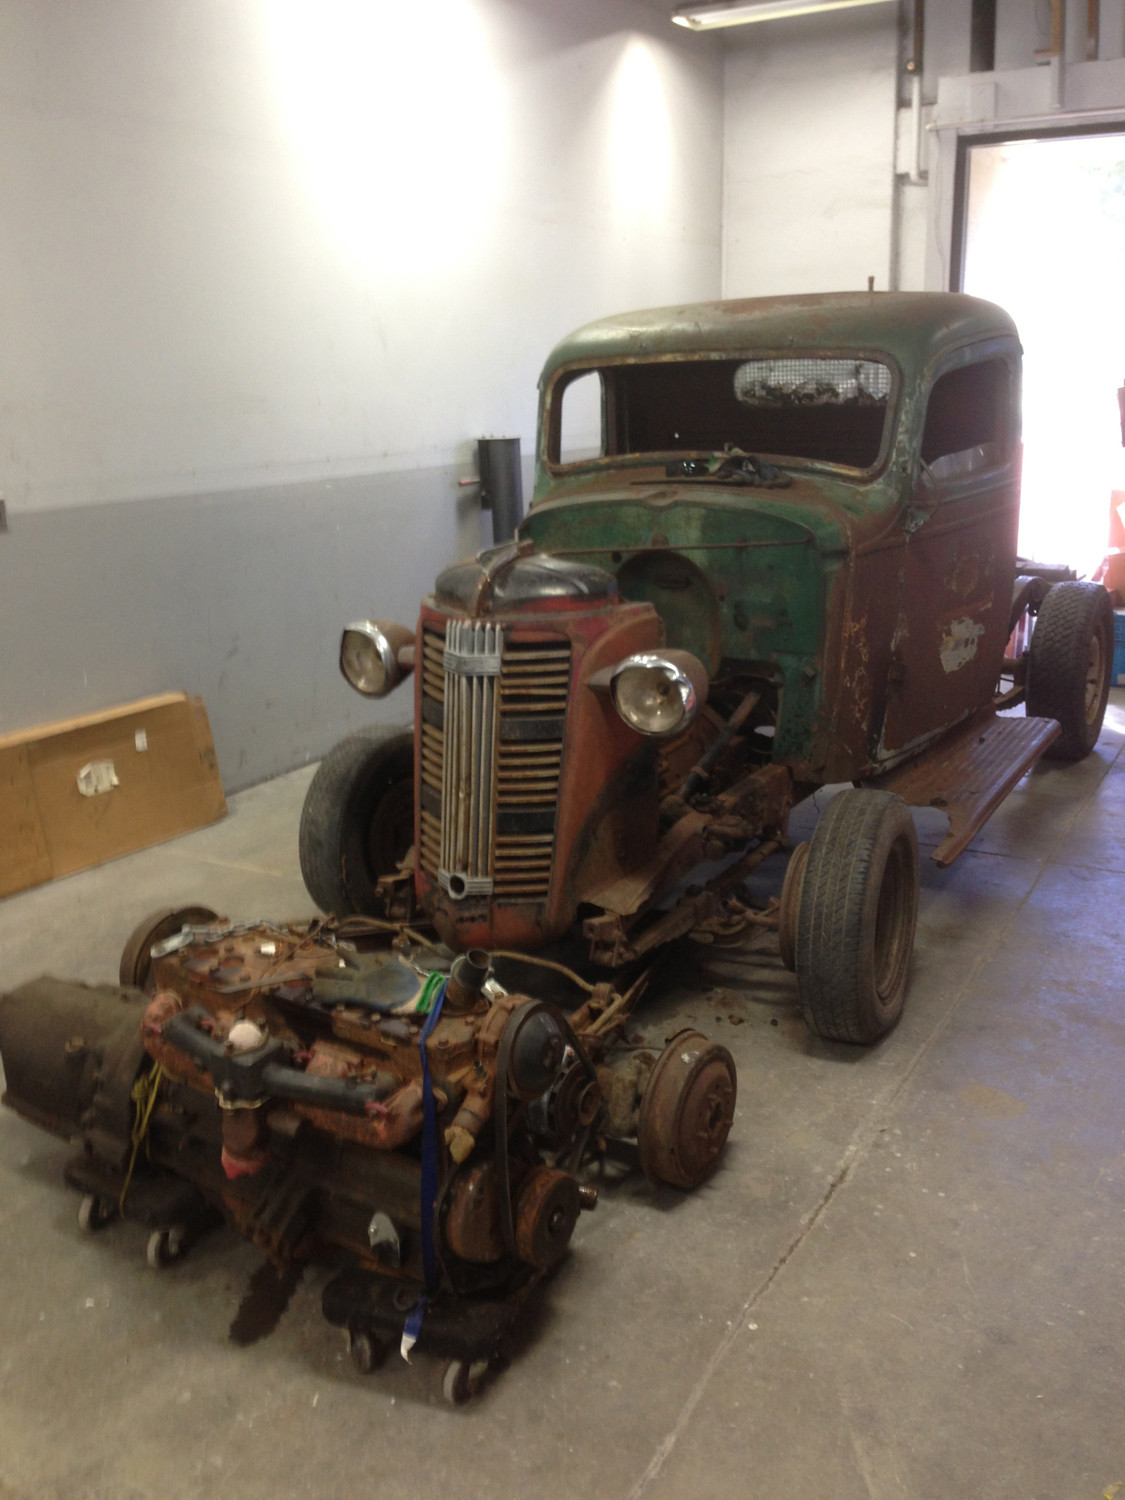
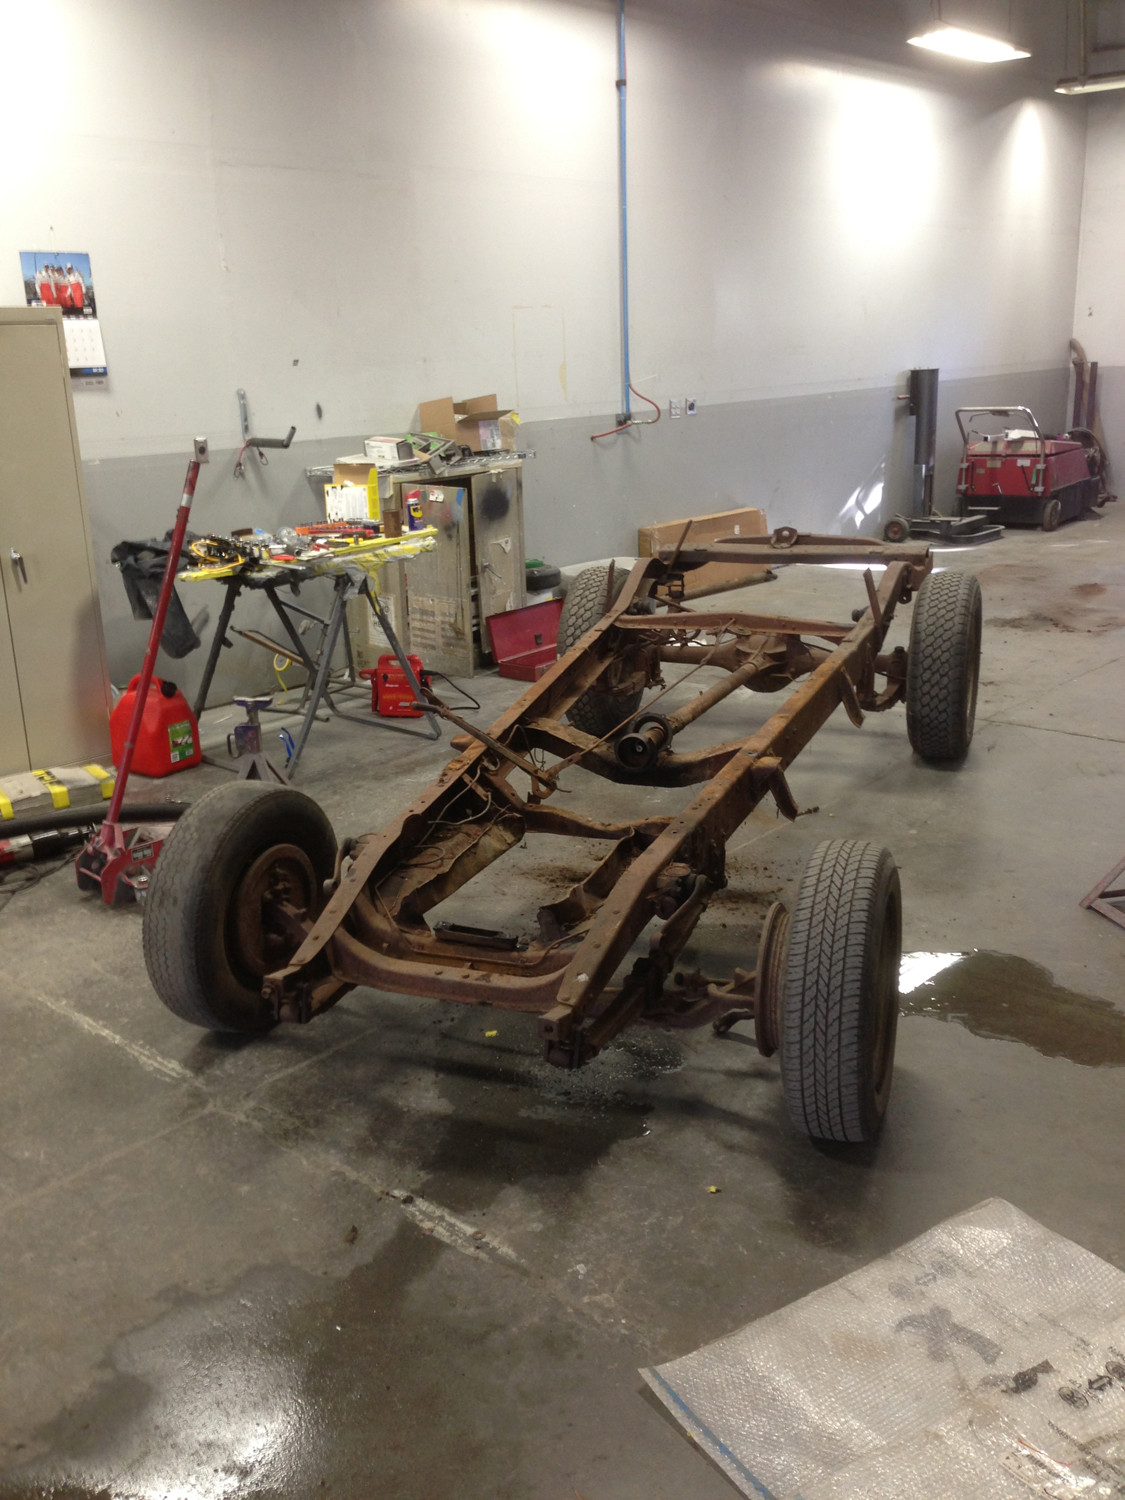
There it is. He said he has been collecting parts for 15 years.

M3d4p0C.jpg


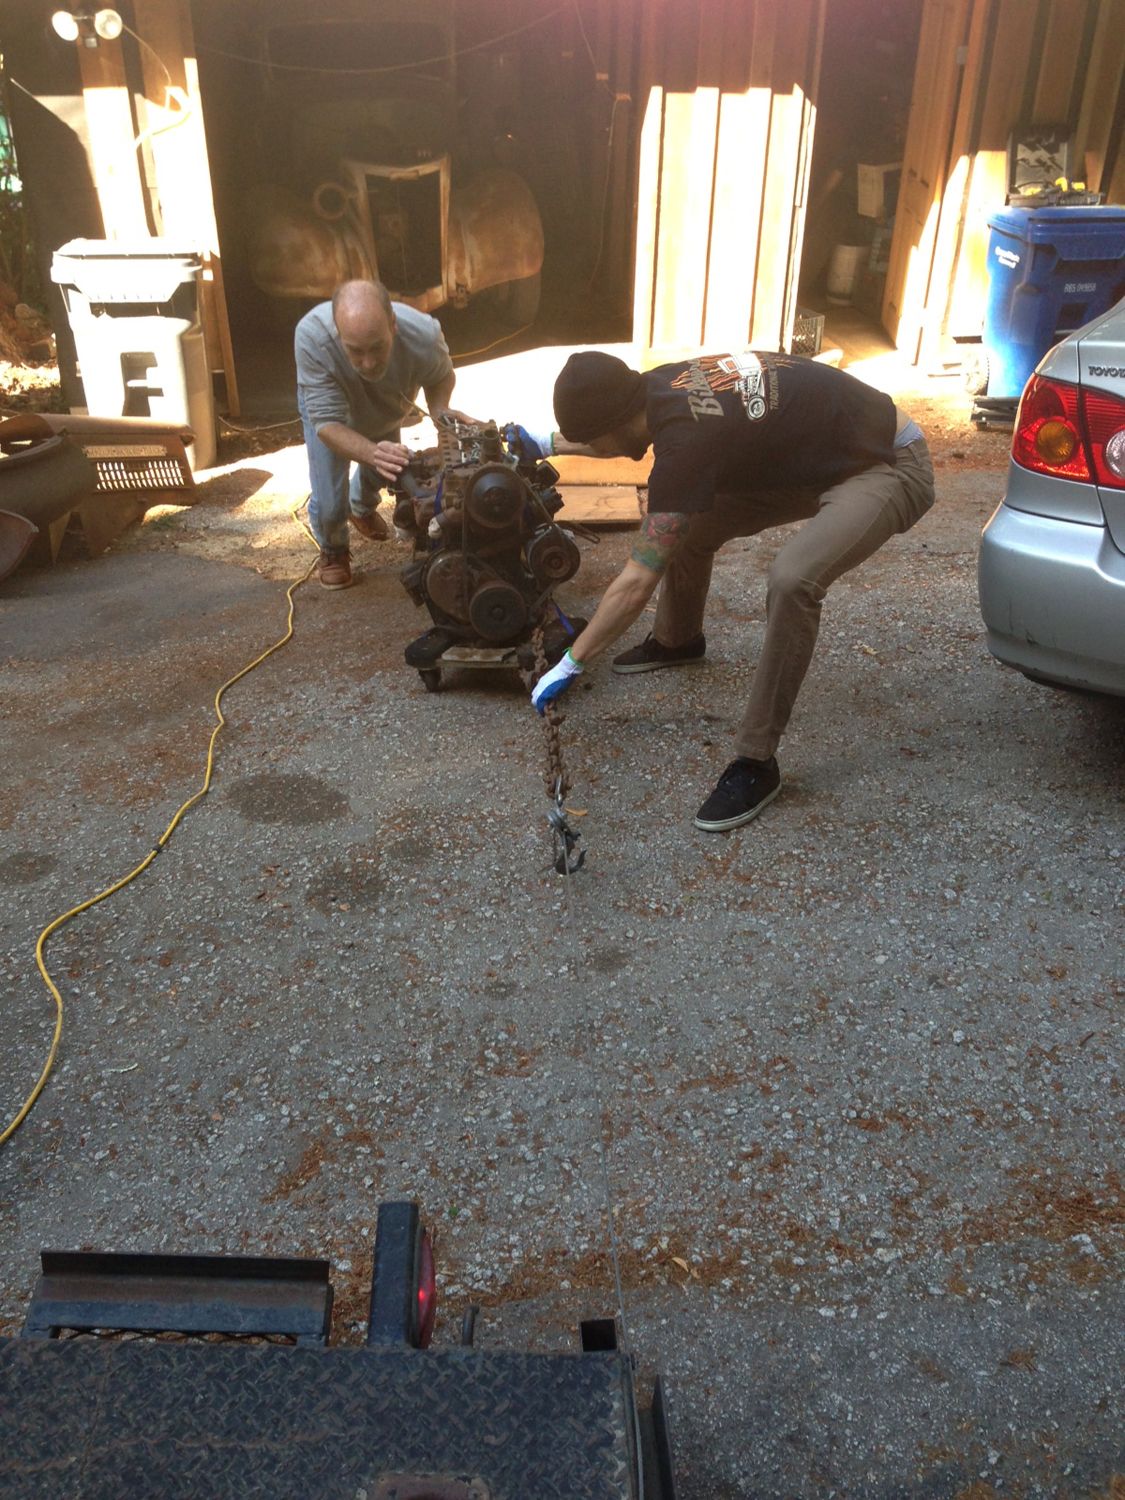
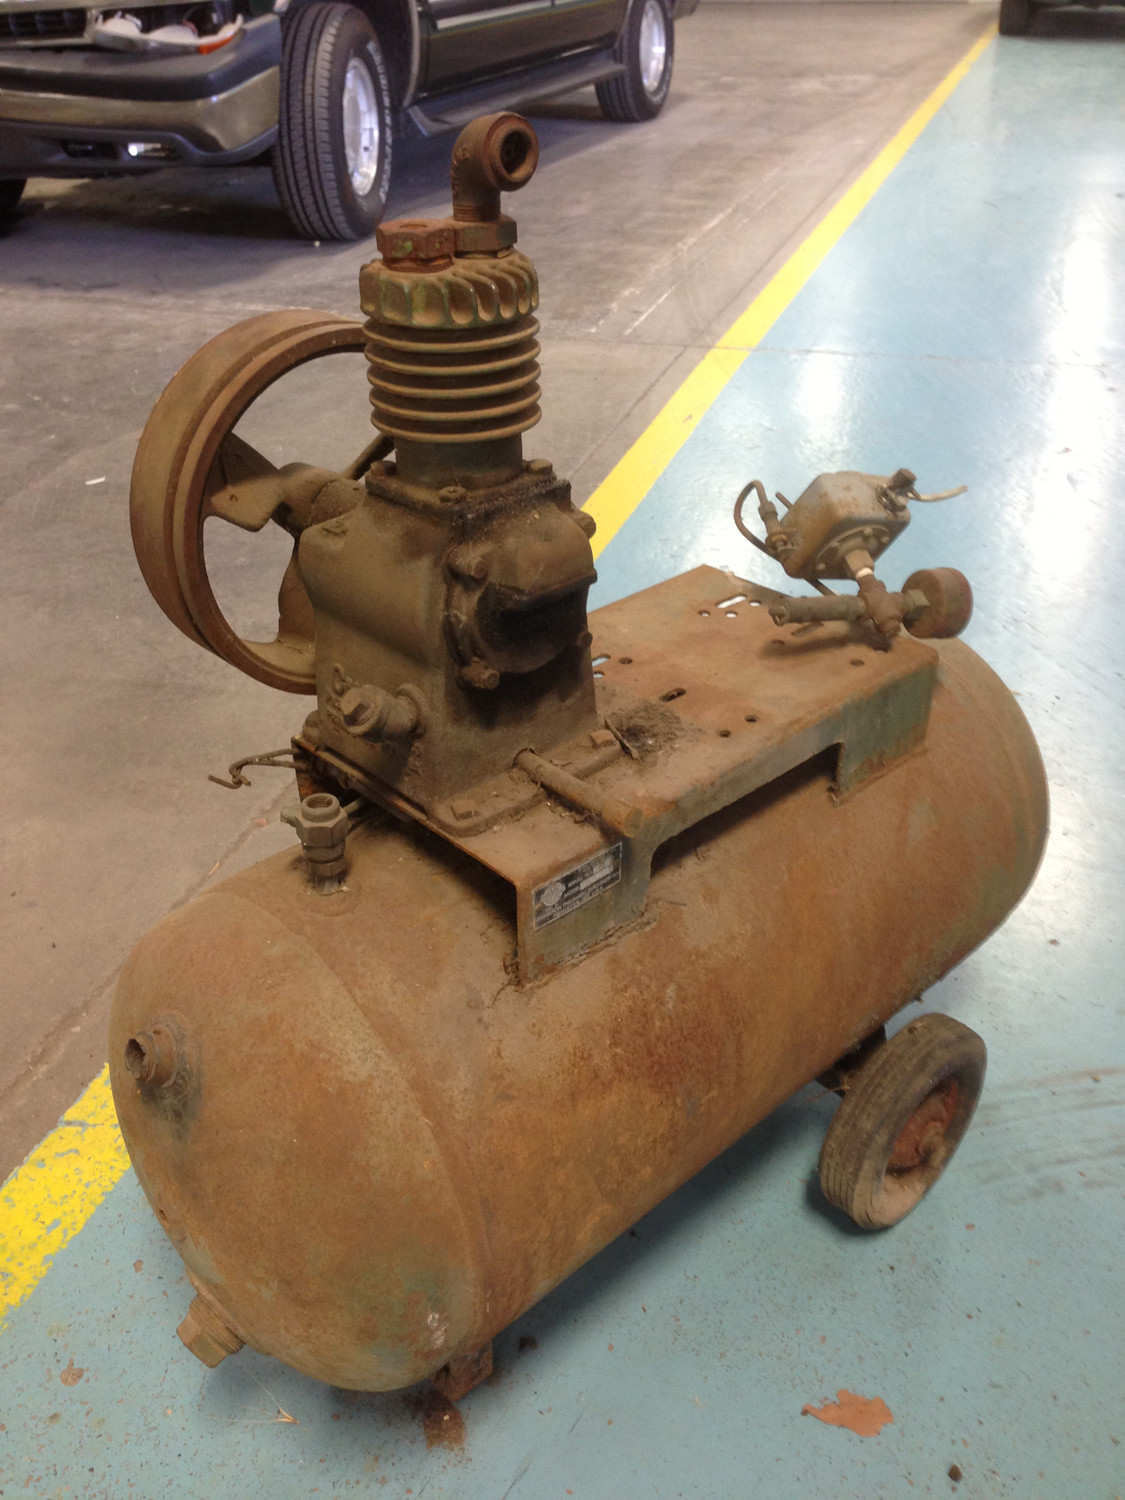
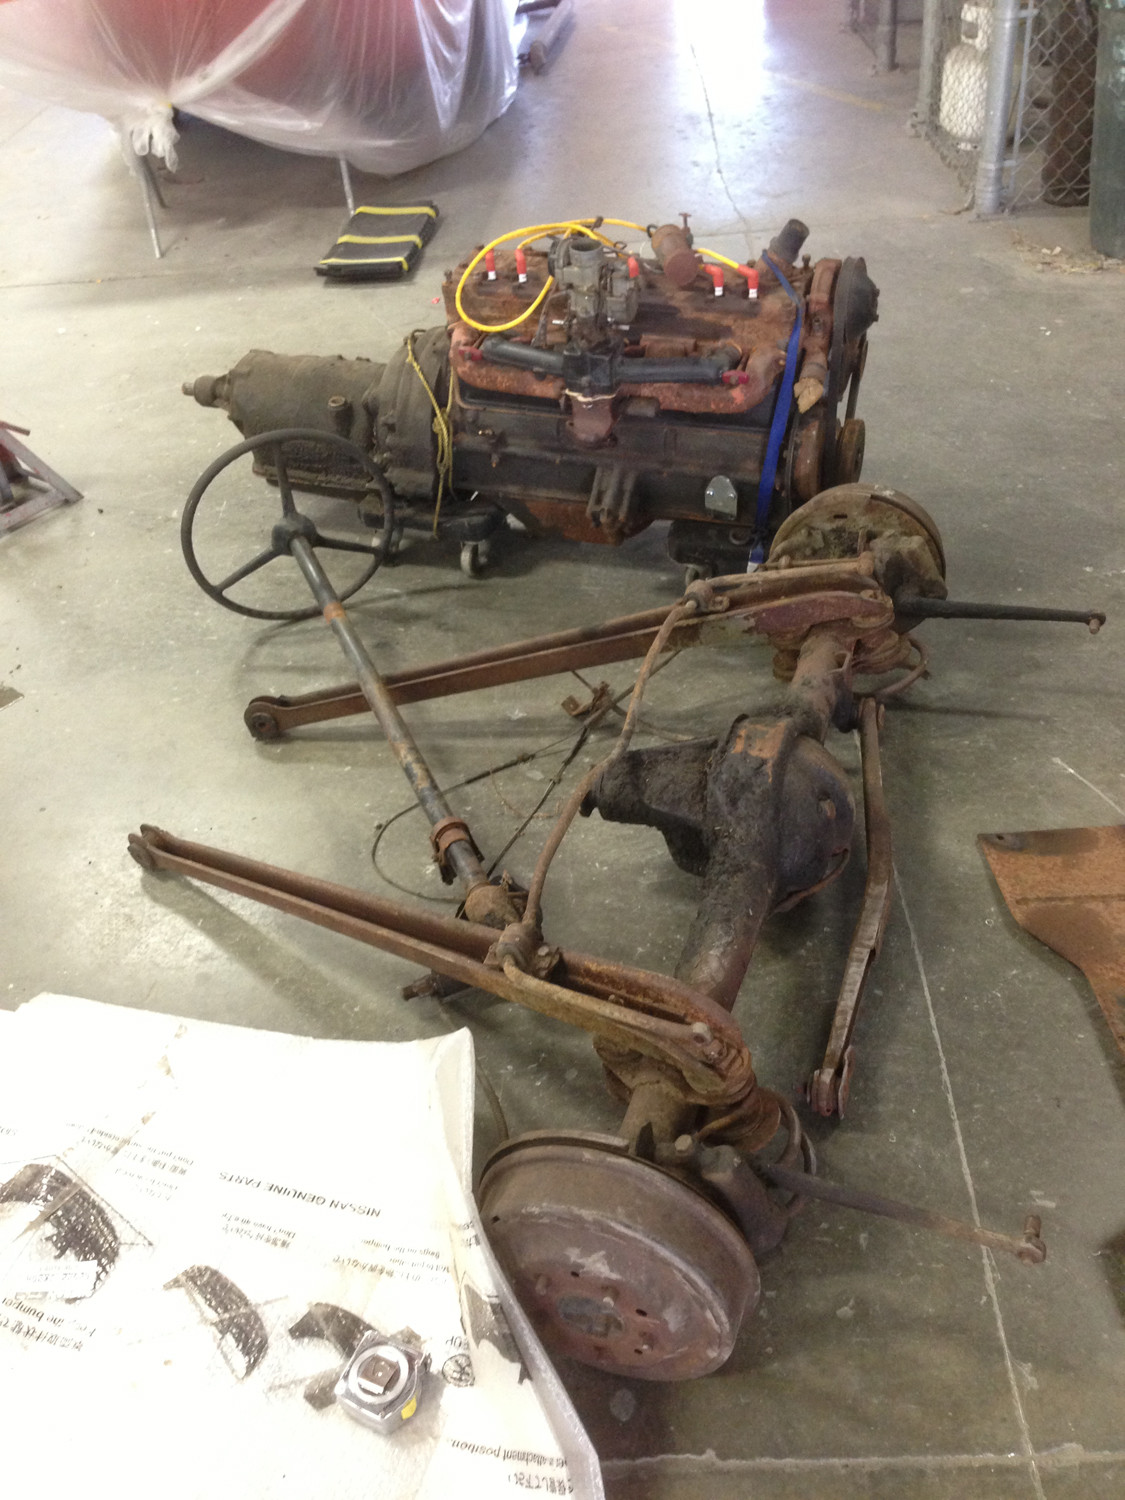
Winching the motor up this rough driveway was lots of fun.

t1t0ikn.jpg


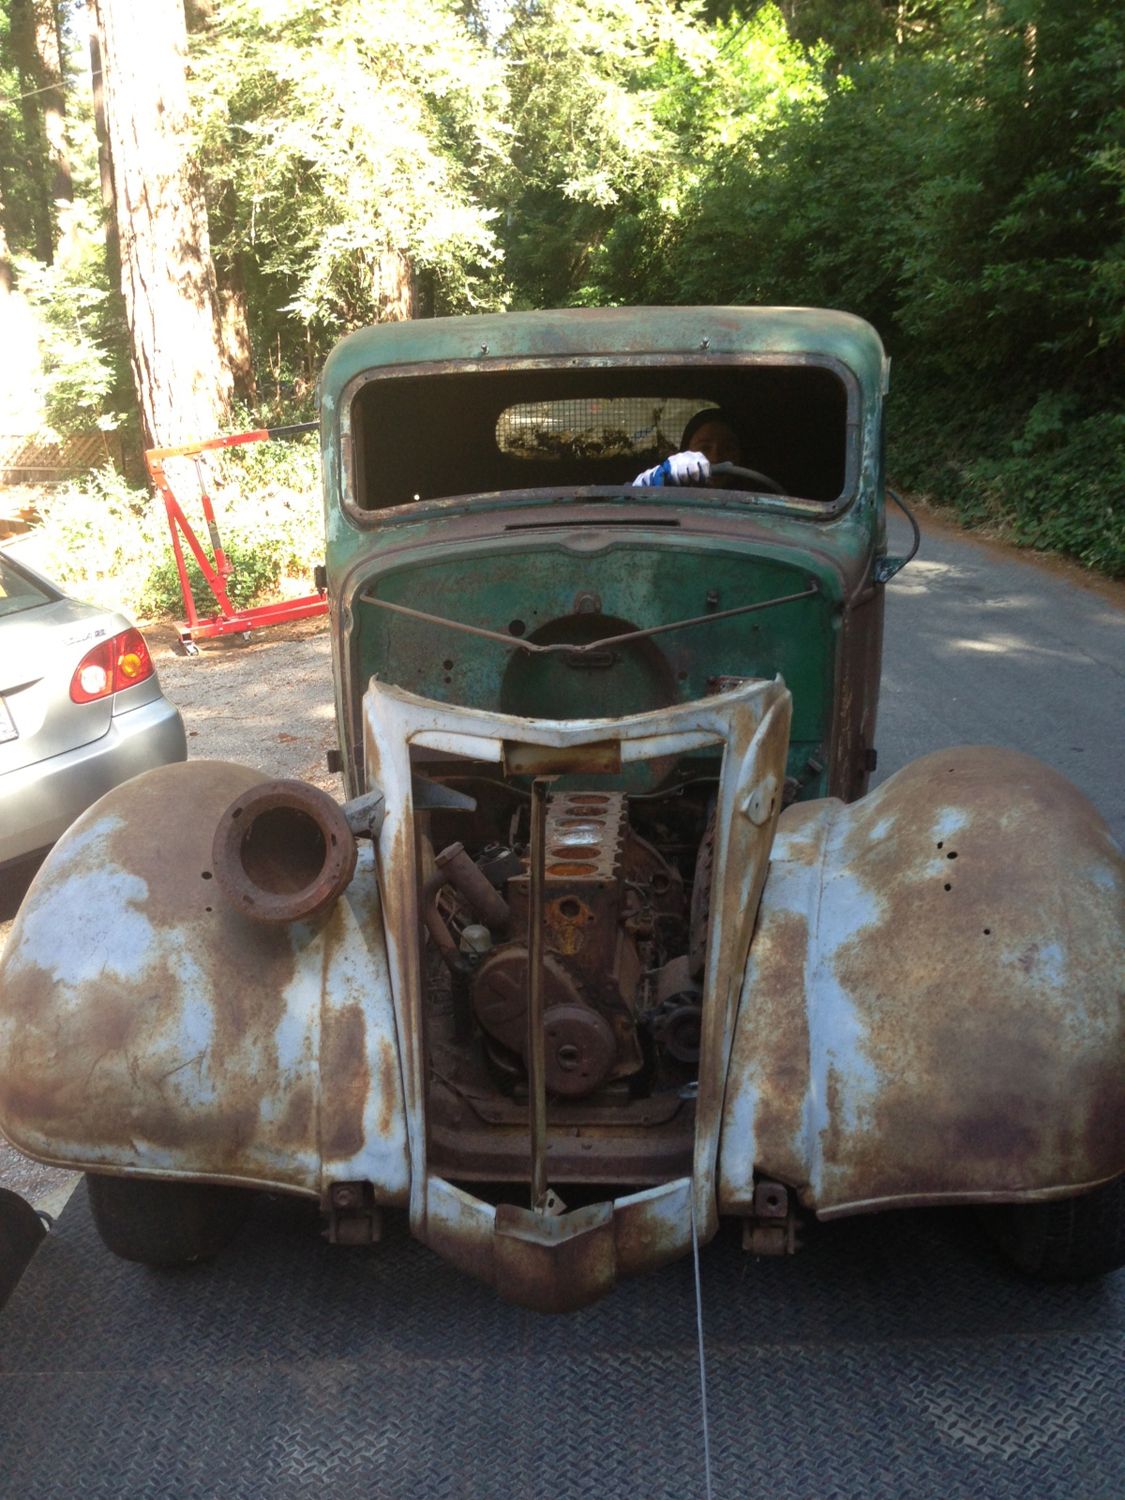
On the flat bed and ready to load the rest of the stuff up.

2UbghOZ.jpg


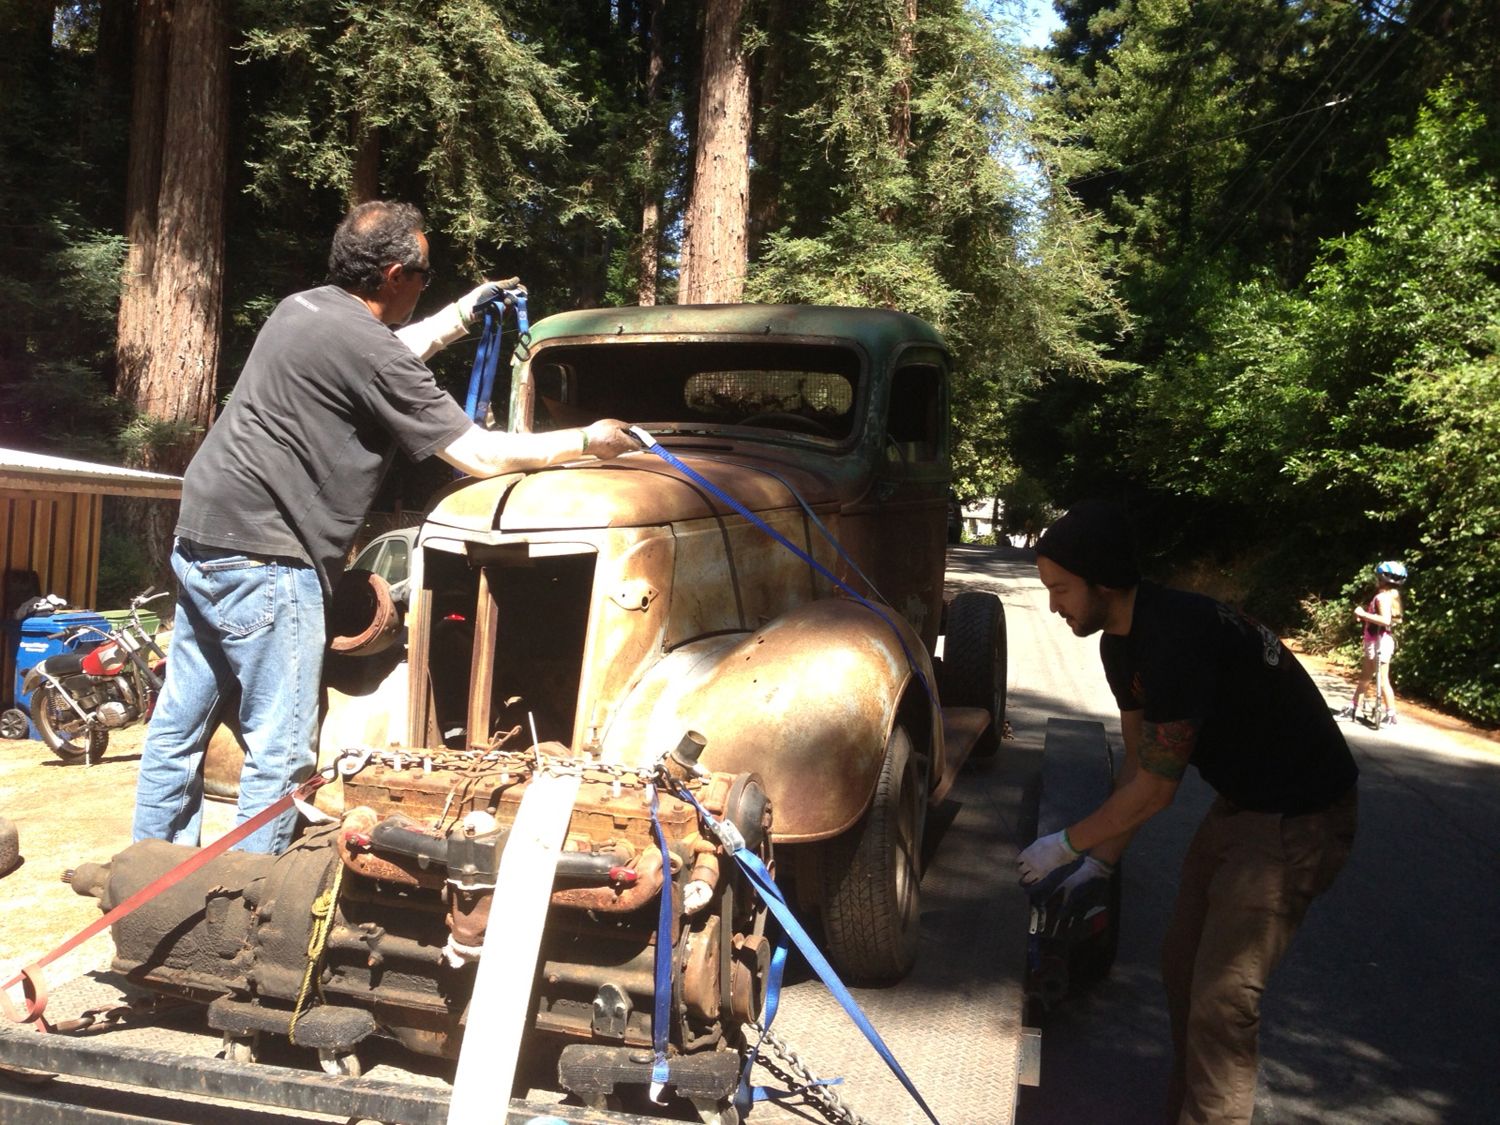
Making sure everything is good and tight. This town is located on the top of a mountain and the highway down is a hell of a ride.
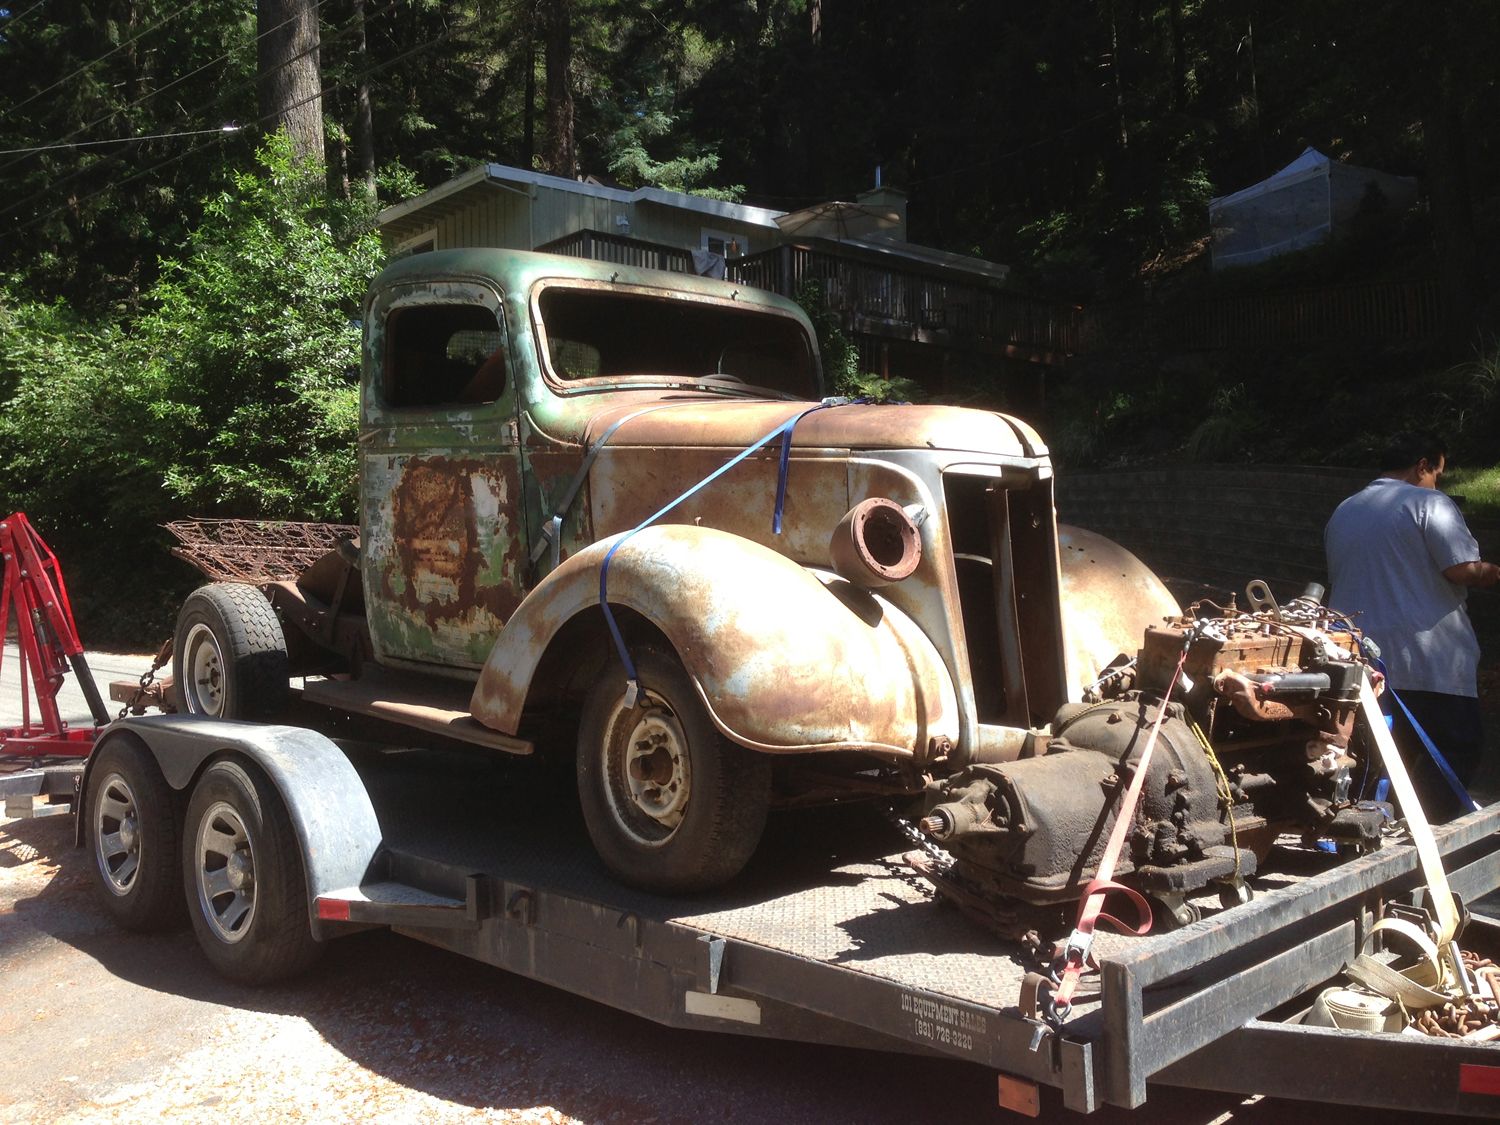
Fb3ScOX.jpg


All ready to go!

dMYCcle.jpg


Absolutely had to make a pitstop to grab a growler of the local brew.
 
S9E4LID.jpg


Everything unloaded after a nightmare of a drive, ready to start tearing this thing apart.

F7hGXq8.jpg


1947 Oldsmobile 238 Flathead turns over and that hydramatic transmission works as well so I'm going to run both.

hcL9d0T.jpg


Getting ready to take the floor out and unbolt the cab so I can work on stripping the frame.

U8WECE9.jpg

Didn't have enough people to pick it up so I figured I'd just use the lift.

aXkY12e.jpg


And we're off!

PmEiZOZ.jpg


Having it this high up in the air made me nervous, dropped it down asap.

L298Wl2.jpg


Ready to take off the suspension and all of the unnecessary brackets and mounts.

PLbaq38.jpg


Here's a shot of the rear end I'll be using, also off of a 1947 Oldsmobile. By the time this thing is done it will be more Oldsmobile that GMC!

bREDuXV.jpg


This Corvette had just been painted and is at the work station right next to my truck. Without thinking I started cutting rivets off with a torch and using a air chisel to pop them out. The very first one shot out and I see it bounce off the Corvette. I really really hoped that a molten piece of metal didn't just nail that brand new paint job. It hit the tire thank god.
 
SXW21CI.jpg


Front suspension off.

SiuPxvO.jpg


Rear suspension off and now it's time to start mocking up ride height etc and Zee that sucker. [;)
 
I'm running in to a bit of trouble trying to order parts to rebuild the brakes. I need to know whether that rear end came off a series 70 or series 60 1947 Oldsmobile. Is there any other way of telling besides measuring the wheelbase?
 
Any numbers stamped on the housing or axle tube?

From what I have found, all 60 and 70 series from 1946-48 olds and 46-48 pontiac all share the same rear axle, so it must just be a brake drum size change? I'd have to look up the drums and see if they are different sizes from 60 to 70 series...

But do let me know if you find any numbers, I can try referencing the number to get you what the axle is from...
 
Last edited:
After calling around to a few places, I figured it out. The 70 series had a 15/16" wheel cylinder bore and the 60 series had a 1" cylinder bore. Go figure!
 
Last edited:
Not a lot of action this weekend. A lot of driving around and finding parts. It got up to 112 degrees in Northern California and moving this stuff around in that heat was brutal. Here are my finds.

md8TZd7.jpg


35' ford front end, going to run a split wishbone.

1dNUQuI.jpg


36' ford pickup bed. I bought it without the tailgate so I'm on the hunt for a GMC one which seems hard to find so if you have one, PM me!

eWdGg0K.jpg


Some 35' ford wire wheels. The guy I bought them from had them sandblasted and painted, then realized he couldn't use them.

AlJfbgS.jpg


Picked up this cast iron air compressor that I'm going to use as a fuel tank. I'm pretty sure it's rusted inside, but I don't want to cut it open and have to weld it back together. Any ideas for getting rid of the rust? A few buddies mentioned electrolysis or acid.

That's all for this weekend! Next weekend I'm going to focus on getting the front and rear suspension sound so that I can start mocking up ride height.
 
Managed to get some time in this weekend. Worked on stripping the front end of everything that I didn't need and then splitting the wishbone.

pBz83rh.jpg


Cutting off all of the unnecessary pieces for the mechanical brakes.

IltyYL1.jpg


Now everything is separated and ready to split the wishbone. Unfortunately...

WBQtPvg.jpg


The wishbone splitting kit that I bought from speedway came with bungs that were a different size that the 11/16ths tie rod ends. I called them up and explained the problem and the customer service rep said he would send them out the same day (Saturday). Great customer service.

G1u1SDr.jpg


Everything mocked up and ready to go. I still need to heat and bend the spring perches once I know the angle that they need to be at. Also, you can see my right bone is bent and needs to be straightened :confused:

yEkUraV.jpg


I had a few spare minutes to pull the drums and knee actions off the backing plates. I planned on welding up the two holes on the right hand sides that held the knee actions in place. Will I run in to any problems by doing that? Next weekend I should have everything ready to start Z'ing the frame.
 
Last edited:
I'm looking for a 2x1 intake manifold for that 238 oldsmobile flathead. Can anyone recommend one that might work? Pic updates coming this weekend after some serious chop and weld work.
 
Thanks I-R-POPS. I will be running it fenderless and hoodless. Hopefully I can get some good framework in this weekend.
 
Some quick updates from the weekend, sorry there isn't a lot of pictures. I got caught up in the work and forgot to take a bunch.

y6a53hH.jpg


bvCqpH5.jpg


Tore the floor out and getting ready to channel down a few inches to hide the frame.

7DGqhlM.jpg


Still decide whether or not I want to channel the front down a little more to hide the frame where the cowl curves up.

xpCgUGH.jpg


Misc shot of the front suspension. All of the parts came in this weekend so next weekend I should be able to finish putting it together for good.

iLEXBCS.jpg


I had some time at the end of the night to slap everything together to get a rough idea of how it will sit once it's together. I'm pretty happy with it so far!

hyzNn9o.jpg


It will look more proportional once the bed is shortened and the front end is in the correct position.
 

Latest posts

Back
Top