54 Chevy truck

Rat Rods Rule

Help Support Rat Rods Rule:

This site may earn a commission from merchant affiliate links, including eBay, Amazon, and others.

rebstew

Well-known member
Joined
Jan 28, 2008
Messages
759
Location
Newport, Ky
I bought this truck down in Kentucky a few months back. It's been sitting while other stuff was being worked on in the garage. I had a few asking me about this one so I figured I'd share what's been done to it since it made it into the garage on May 22nd.

 
The truck already sits on a Dakota frame and had a Mopar engine in it. The crazy looking frame mounts had to go.

The guy I got it from tried hard to have something but it wasn't in the cards for him. I'll give him an A for effort but if the Mopar motor was anything hot it would have ripped these mounts out the first time he hit the go pedal.
 
Last edited:
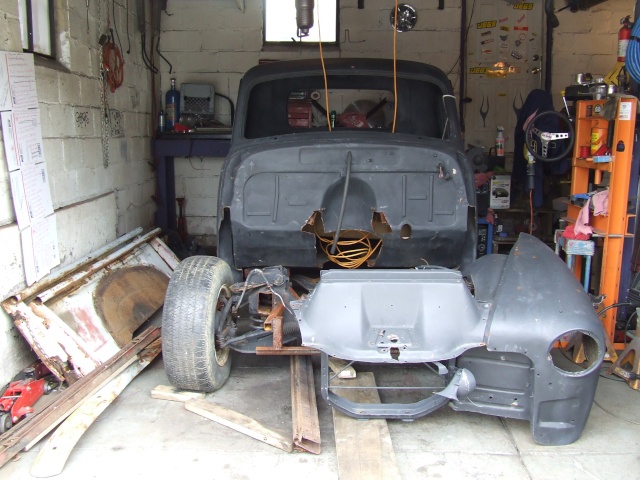
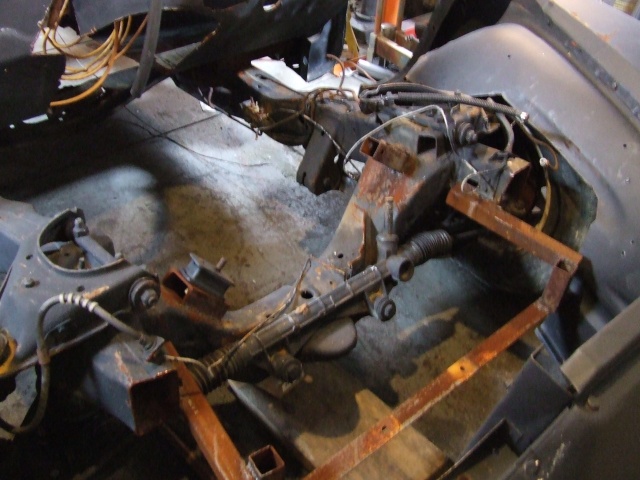
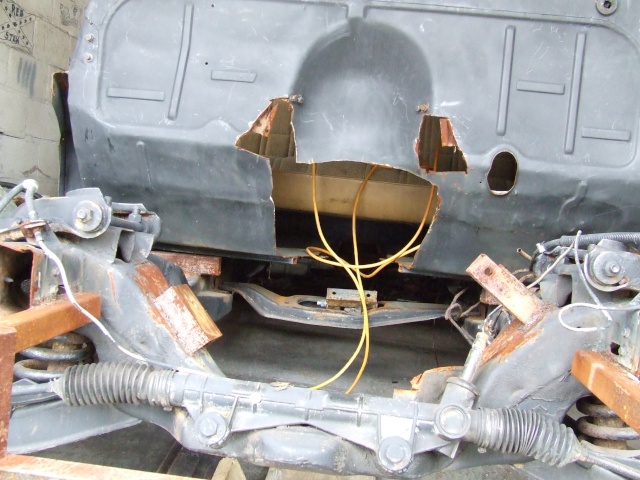
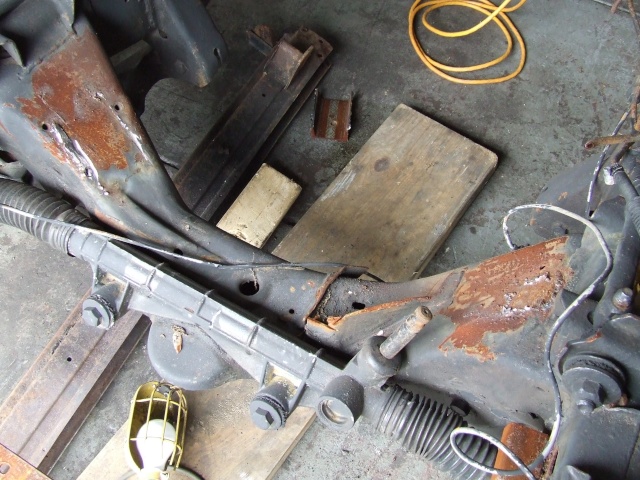
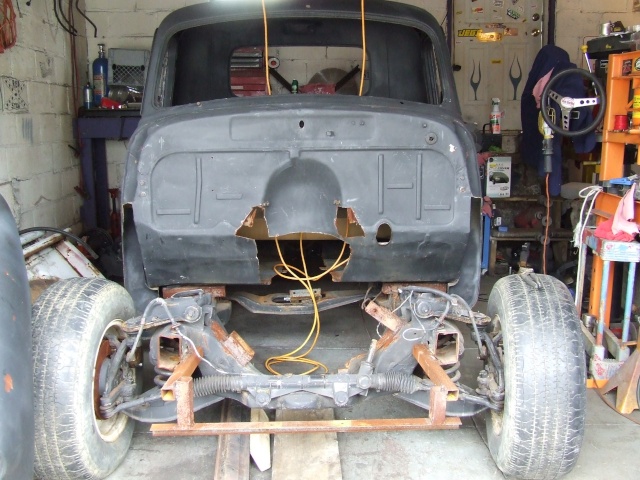
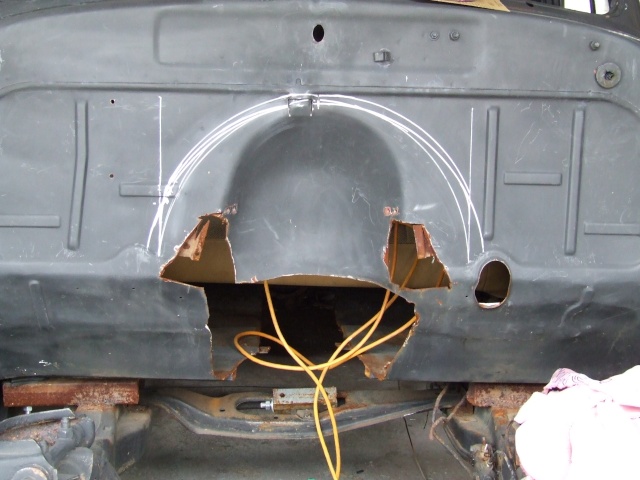
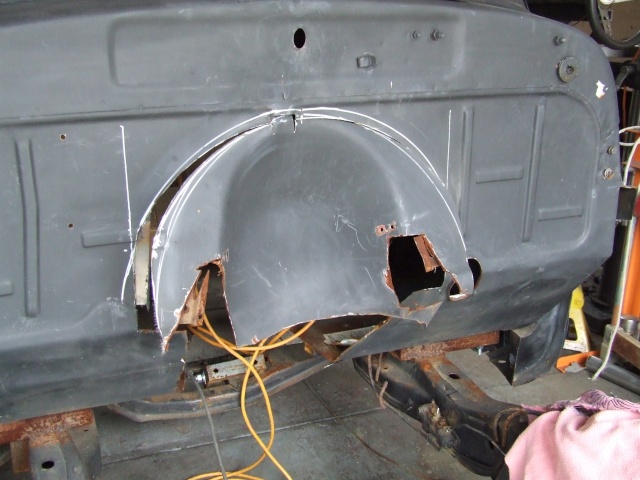
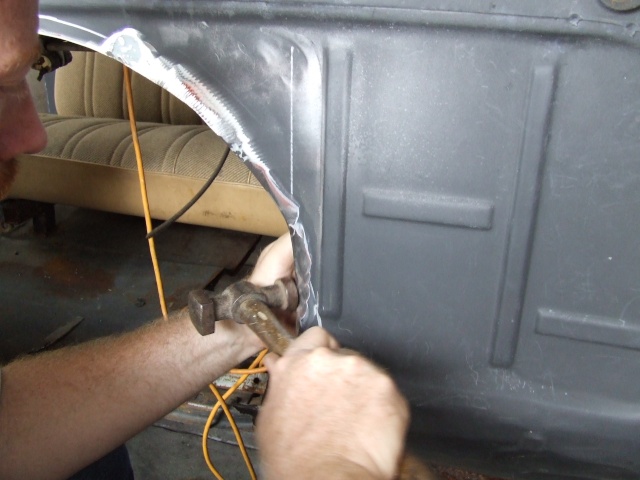
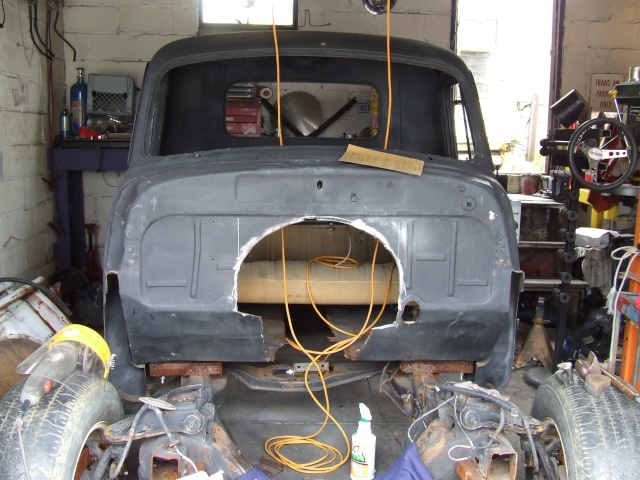
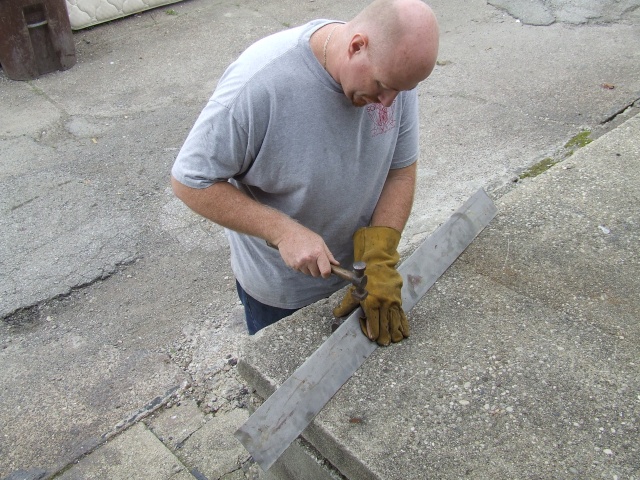
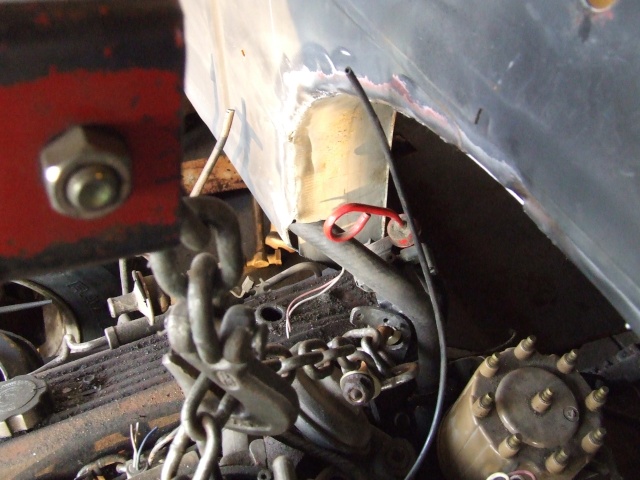
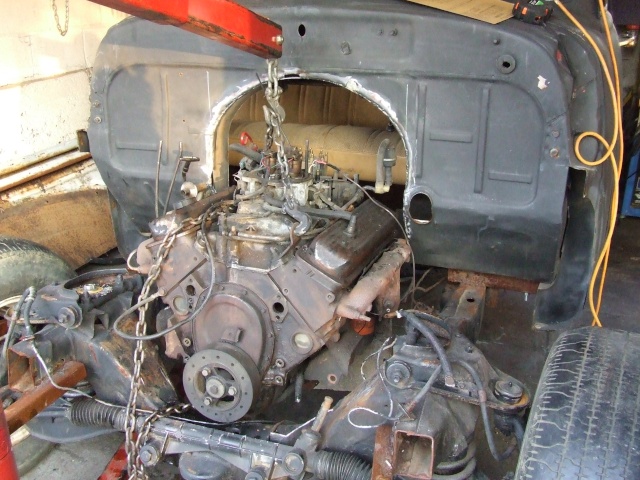
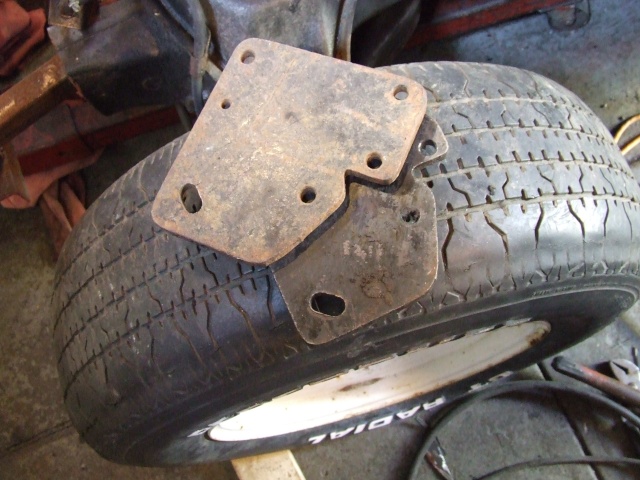
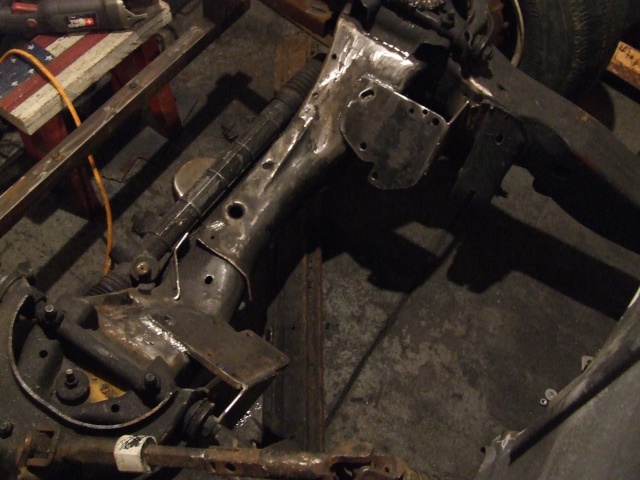
It has been talked about many times. If you don't know how do something get help from a pro. It's okay to learn to do stuff but ask questions and get someone to look over your work if you are not sure. DON'T put your life in danger or the life of others. This set up could have easily broke the mounts and had the engine resting against the the open steering knuckle it has. At that point it would be a guessing game as to who you were going to run into. I started to cut through this but thought I'd check. I scored the welds a little with a cut off wheel and then smacked it with a hammer. The mounts went flying.
 
Firewall was butchered.


Since the firewall was shot I went ahead and sunk the firewall back. This will let me shove the engine and trans. 5 inches further back and a couple inches lower than if it was left alone. It will let it ride, handle and transfer weight better this way.

It took me a few tries. I know it looks like a bunch of scratch but it took me 30 minutes to get what I wanted.


Time for the hammer and dolly. I rolled the lip around so it would flow into each other rather than having a pointed edge.

It took a while but the lip is rolled.
 
A 5" strip was cut out and both sides were rolled over to give the flow I wanted on the firewall. This will be the piece that moves the firewall back.


The engine had to go in before I could make the back panel. I'm sure this will be one of many times this engine and trans go in and out before it's in there for good.


I put the engine right where it should be so I whipped up something to hold it. A club member dropped these off a few months ago. They came in handy.

Advance Auto came through again with our club discount. Two heavy duty mounts and a can of engine paint for $14.00. Not bad.


I welded the plates on and then ran a kicker over the the frame for a little more support.


The plates worked better flip over. It moved it up the cradle. No big deal but doing so left the rubber mounts upside down. That leaves 1 bolt at the top instead of 2. I'll just drill through and add 2 to the top. I think it would hold with one but it's no trouble to toss another them in it so I will do it.
 
Time for the transmission tunnel. I didn't want a huge hump in the floor. Just enough to lift the trans up to get the cross member out when I have to pull it. The engine and trans was put back in the truck to get it as close to the trans as I can.

I was going to run these headers. After cutting on the motor mount shells and slightly dimpling them on one tube so they would fit I found out the steering hit them. So they can't be used.
 
It's a late night fuzz-o-graph.
This sheet metal I'm using is pretty thick. It took me and my son, Corey to get it to bend like I wanted it too.

Again anything that can be used to get the shape will work. The telephone pole in the alley came into to play on this one.
 
Master and booster work.


Circle is roughed in but I needed to do something about the body bead before cleaning it up. It needed it to lay flat. Amy used a sledge hammer on the inside to act as a dolly while tapped it flat.
 

Latest posts

Back
Top