1936 chevy low cab build 1.5T

Rat Rods Rule

Help Support Rat Rods Rule:

This site may earn a commission from merchant affiliate links, including eBay, Amazon, and others.
Corpo, I lost the build photos where you could see the brake/clutch from the top when my hard drive crashed. I crawled under and got the best photos I could without jacking it up.

I used the original '53 Chevy pedals and pivot. The gray rod is the clutch actuator. The clutch master is located behind the brake master. The 2 lines are coming out of the hydroboost. Its not leaking even though it looks like it.

Moving toward the rear is another pic showing more of the HB and the master.

A little further back is more of the master. The tube is the tranny crossmember. The clutch cylinder can be seen in the lower left. You can see the residual check valve and maybe a little of the proportioning valve.

The last photos are a couple views from different planes.

The master as well as the brakes I'm using is for an '80 Chevy C-10. Disc/drum.
The HB and the PS pump are from a '99 Chevy 1 ton van. I figured getting the pump off the same vehicle might be a good idea.

The custom hi pressure hydraulic hoses were the only problem, but that's another story.

Hope this helps.
 

Attachments

  • 1 pedal fr.jpg
    1 pedal fr.jpg
    109 KB · Views: 170
  • 2  hb.jpg
    2 hb.jpg
    77.7 KB · Views: 153
  • 3 back.jpg
    3 back.jpg
    98.8 KB · Views: 146
  • 4.jpg
    4.jpg
    87.6 KB · Views: 153
  • 5.jpg
    5.jpg
    91.7 KB · Views: 144
I should mention that the difference in hydroboosts (as with any booster) is the angle of the firewall they mount on. I could not get the mounting plate off, so I angled my mating plate so the master would be level.
 
Mike, I run a hydrobooster in that little bodied truck you saw... they are wonderful... just as an fyi, 90-96 astro vans have the hydrobooster with the flat plate mount for the firewall... and the master cylinder off those works great for juice brakes. Or as an alternative, 98+ s-10 master cylinders mount up directly to these also with no modifications to the master cylinder.

If you need plumbing information I can try to locate you some info.
 
also, an inline adjustable proportioning from Wilwood works great for adjusting the rear brakes... I've done this on dozens of builds...
 
also, an inline adjustable proportioning from Wilwood works great for adjusting the rear brakes... I've done this on dozens of builds...

Were they disc/disc or disc/drum setups? I've used the Wilwood proportioning valve on disc/disc. Don't know how they work on disc/drum.
 
Were they disc/disc or disc/drum setups? I've used the Wilwood proportioning valve on disc/disc. Don't know how they work on disc/drum.

I'm using the Wilwood prop valve on the rear of the '53 (disc/drum). It seems to work great. I also put on the the F2-stang - don't know how it works, tho.
 
Thanks for the pics dj, im still a long ways from plumbing the brakes but i always like to plan things out first.. so ill have to start pondering where im going to mount everything

Slash thanks for the heads up on the astro van set up.. also good to see that you have joined up over here.. bunch of good guys over here

Made some decent progress on the cab this weekend, hopefully ill get some pics up tonight
 
Mike, I have been over here for a while, I just don't make a whole lot of posts... also, on the hydroboosters, there are two types made for the Chevys... one has an agle mounting plate and the other has a flat plate, you want the latter so that the booster and master mount at a 90 degree angle to your frame or firewall
 
Nice truck! I love the brackets and metal work. How do you cut the brackets?

Mostly by hand with a band saw with a fine blade.. but a few of the brackets have been cnc cut

Mike, I have been over here for a while, I just don't make a whole lot of posts... also, on the hydroboosters, there are two types made for the Chevys... one has an agle mounting plate and the other has a flat plate, you want the latter so that the booster and master mount at a 90 degree angle to your frame or firewall

well speak up.. Which vehicles had the flat plate mounting?
 
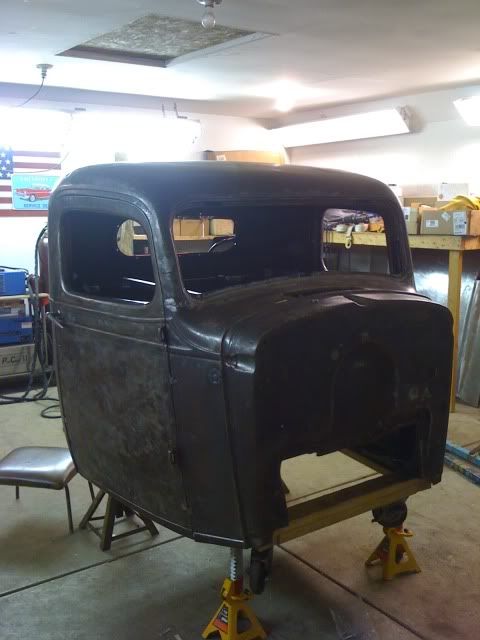
Update.. finally something...

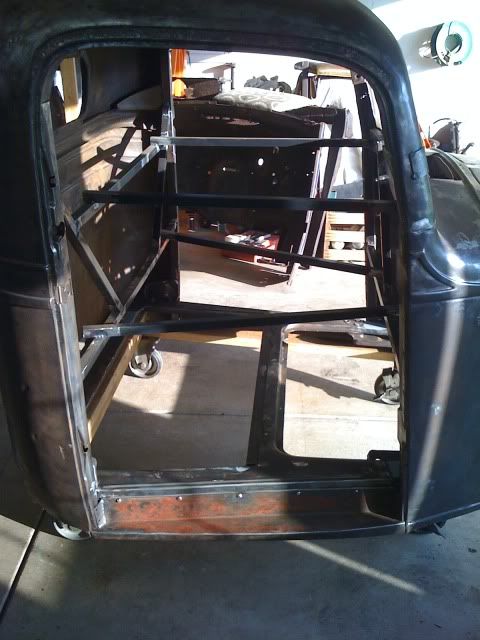
Floor is back in, this is the floor i removed from the black cab and put the structure underneath it.. i cut out most of the floor pan, but what i really wanted was the shape on the back so that i could get the rear of the cab back together..
IMG_2052.jpg


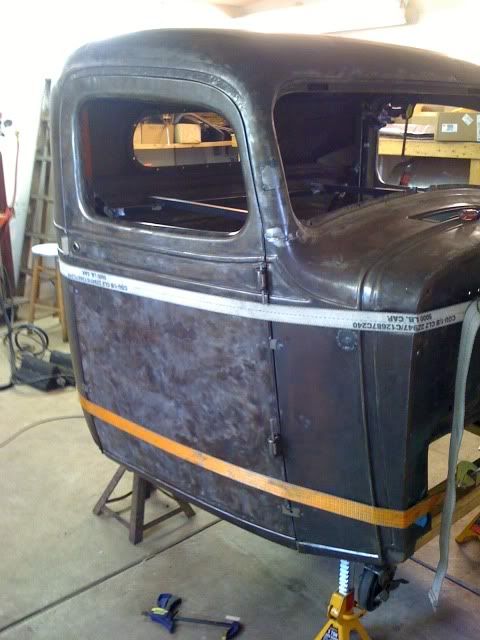
then i strapped the doors on and squared everything up and gaped the doors and tacked them in place
IMG_2053.jpg


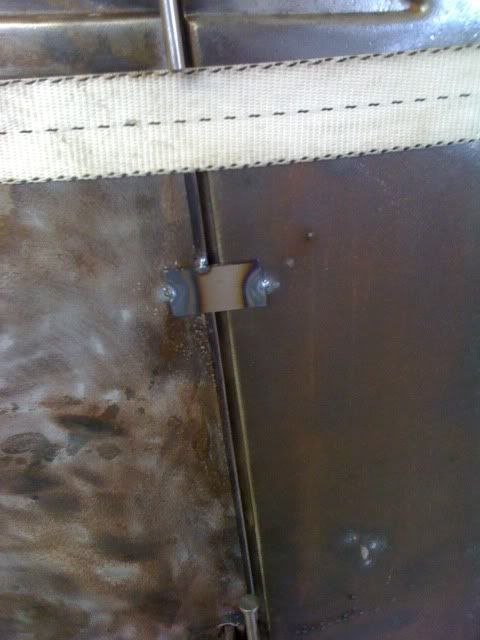
heres how i tacked them in
IMG_2054.jpg
 
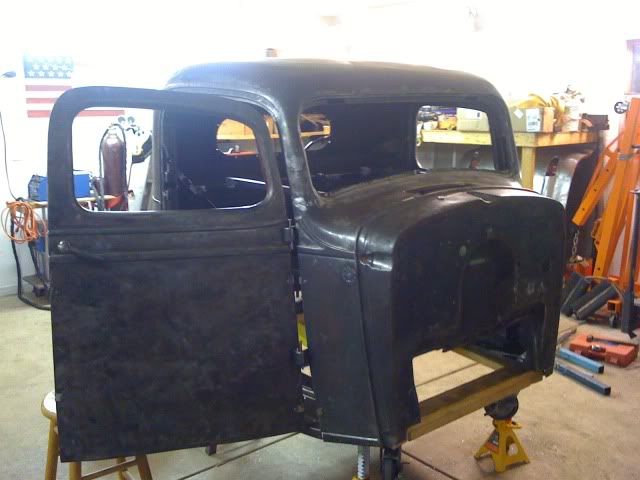
This was a big moment... those of you who haven't dealt with wood in the structure might not get how big of a moment this was... getting it back together and working wasnt sure if the doors would ever swing right

I built the new hinge halves in place when the doors were tacked on.. so that the gaps are good

IMG_2056.jpg


They even latch already.. haven't even adjusted anything

IMG_2055.jpg
 
Dont know on the finish yet, I wouldnt really consider what i have as patina.. its just a wire wheeled raw surface

There is still a ton of patching to do... I originally was planning on clearing the raw metal. However, i dont know if the metal will ever be close enough with out any filler.. I may end up painting it.. but there still lots of time to think about that

Thanks guys

That's exactly my problem. Was planning on leaving it alone, then clear coating the bare metal. The welds, divits, and lumps kind of make me want to apply some plastic filler and paint. However, to correctly do that it should probably be media blasted to be sure everyhting sticks. Then sealed, filled, sanded, sealed again and painted. Talk about a slippery slope. Better to keep working on the metal until satisfied or just give up.
 
well a little update is in order... not to much exciting stuff but progress none the less...

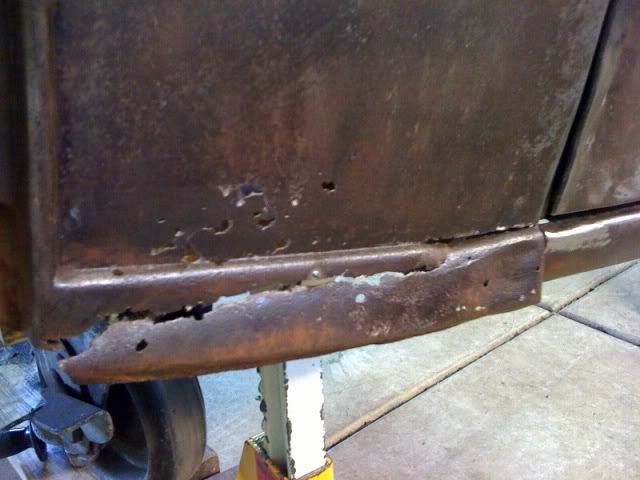
Been working on repairing the rot on the lower body line.. i know alot of guys would just chop it off, but to me the cabs loose a ton of the old school character when that is done..

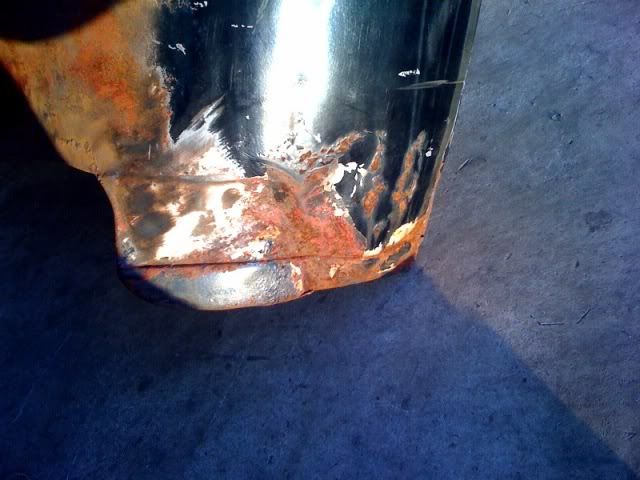
Heres what the lower portions of my cowl looked like.. I used pieces from the black cabs cowl not that it was in good shape either.. but i made due with what i have got
CowlRot.jpg


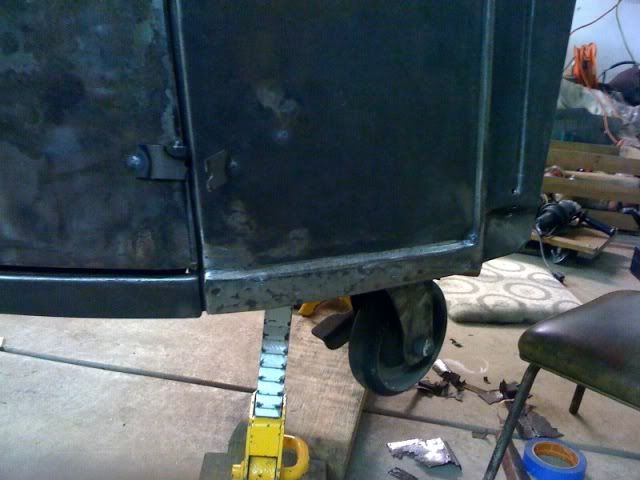
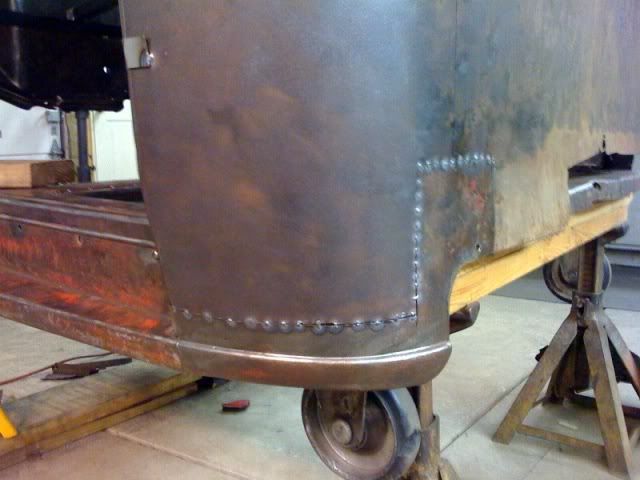
Heres after the repair ( i have done both sides)... I actually have smoothed it some more sense i took this picture... i think it looks pretty good
CowlRepaired.jpg


Heres the rear of the cab
RearofCab.jpg


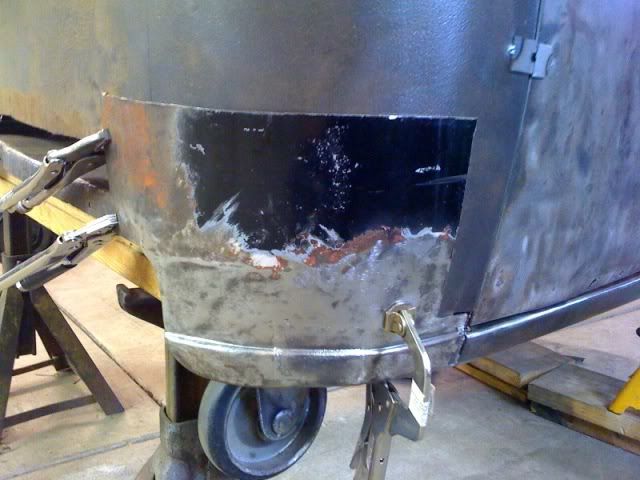
Heres the driverside patched back in this was cut from the black cab.. this corner was in great shape
Repaireddriverside.jpg
 
Heres the other rear corner.. this was the real bad side of the black cab...
Passengerside.jpg


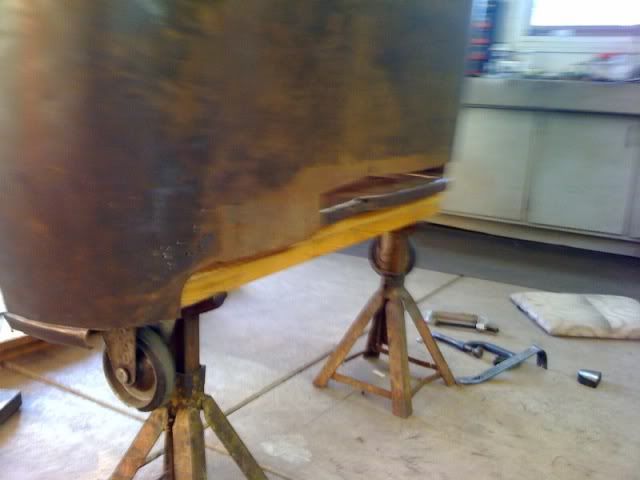
Heres how its looking thus far after pounding out the corner and replacing some of the metal
photo-1.jpg
 

Latest posts

Back
Top