Thanks! This is a current build so I will be adding stuff all the time. As for the rear leafs, yeah, my father would haul wood in the bed, and a car hauler trailer full of wood and he didn't like how it would squat so added more leafs. I will take out probably all except for 3 on each side? I tracked down 2 sets of front fenders, another bed, and another tailgate all for $125 so I will be driving around 6 hours round trip to get them within a few weeks to go pick it all up.

You are using an out of date browser. It may not display this or other websites correctly.
You should upgrade or use an alternative browser.
You should upgrade or use an alternative browser.
1951 Ford F1/F150 fusion
- Thread starter mine_us_3
- Start date
Help Support Rat Rods Rule:
This site may earn a commission from merchant affiliate
links, including eBay, Amazon, and others.
Shea Laking
Well-known member

You're not messing around, are you?[
")
Sweet work, thanks for sharing.[P
Regards,
Shea
jrotten
Well-known member
Nice work. I will definitely be following this build. Every time I come here I learn something and see cool ideas I want to use on my future build.
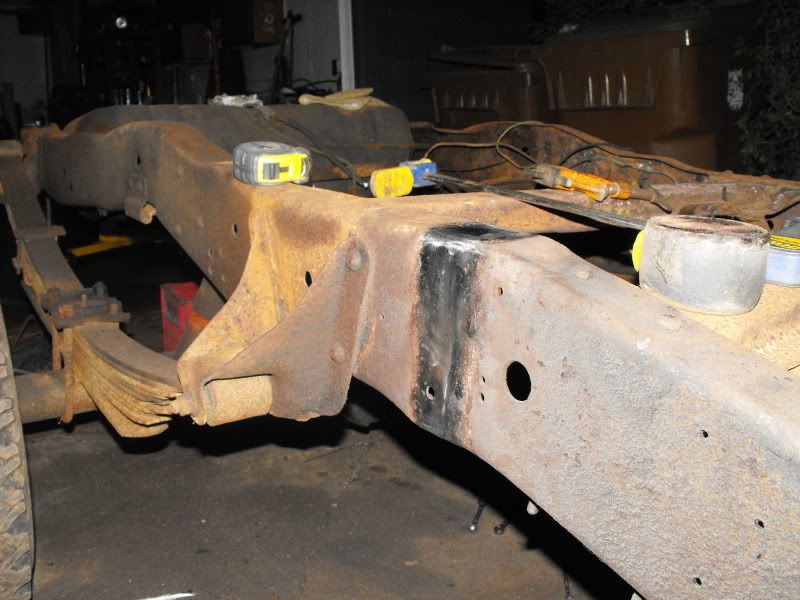
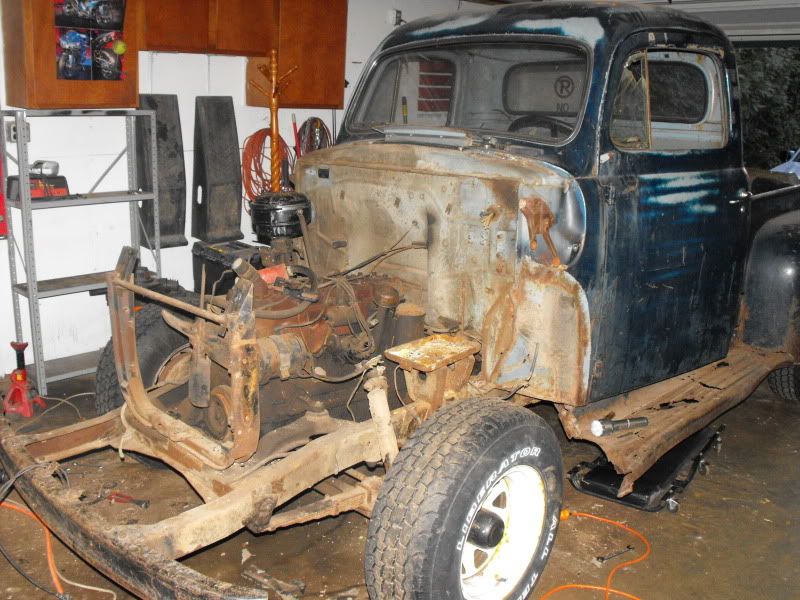
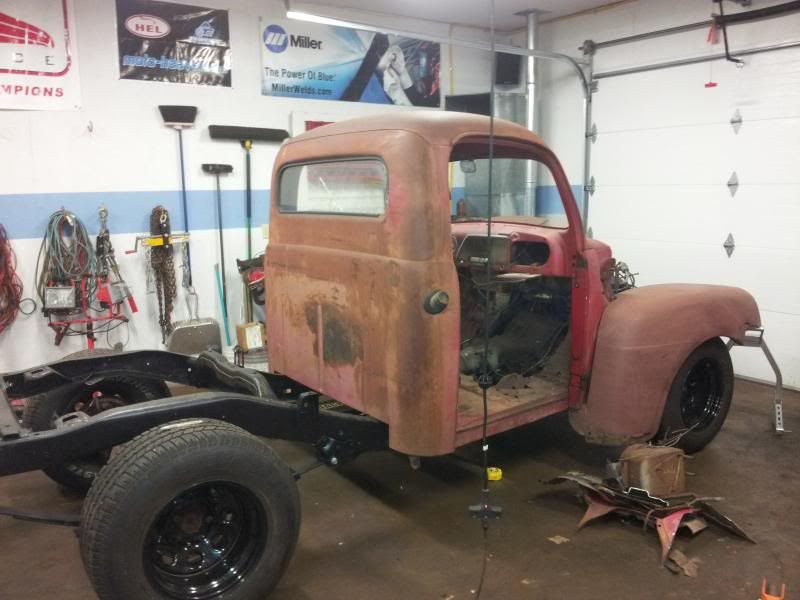
Alright. Well the frame is finished being welded/bolted together. I used grade 5 bolts so if they were to begin to fail they would bend and not just snap like a grade 8. I have been working on disassembling the '51 so I can get the cab off. I also picked up the spare bed/tailgate, and 4 front fenders last weekend to begin pounding out and getting decently straight non rusted through metal on the truck.


Glxy500
Member
I know Rat Rods are preferable on this site and I sure like some of the ones I see on here. I really like what you are doing with the truck. As soon as I can find me a 51 or 52 I am gonna do the same thing. I have a bent up 69 with the FE setup. I think you're headed in the right direction if you are gonna drive this truck on a regular basis. Twin I beam is a good front end with a lot less hassles as the Independents. The 351 is a good engine and its dependable. I think you will have a good dependable truck to enjoy. Good look with the project.
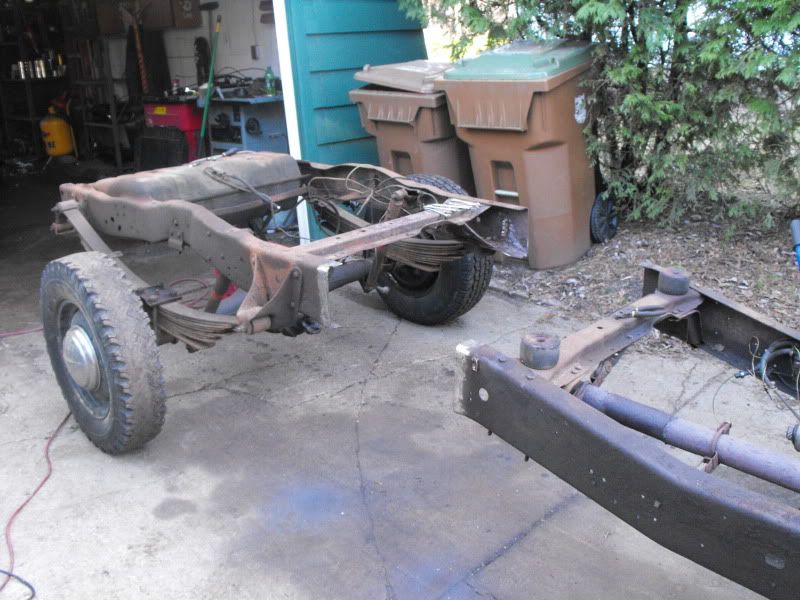
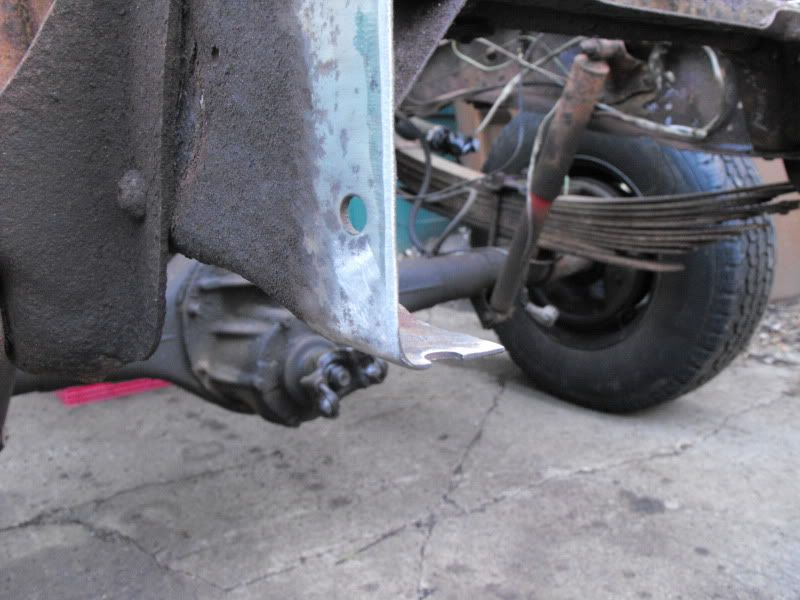
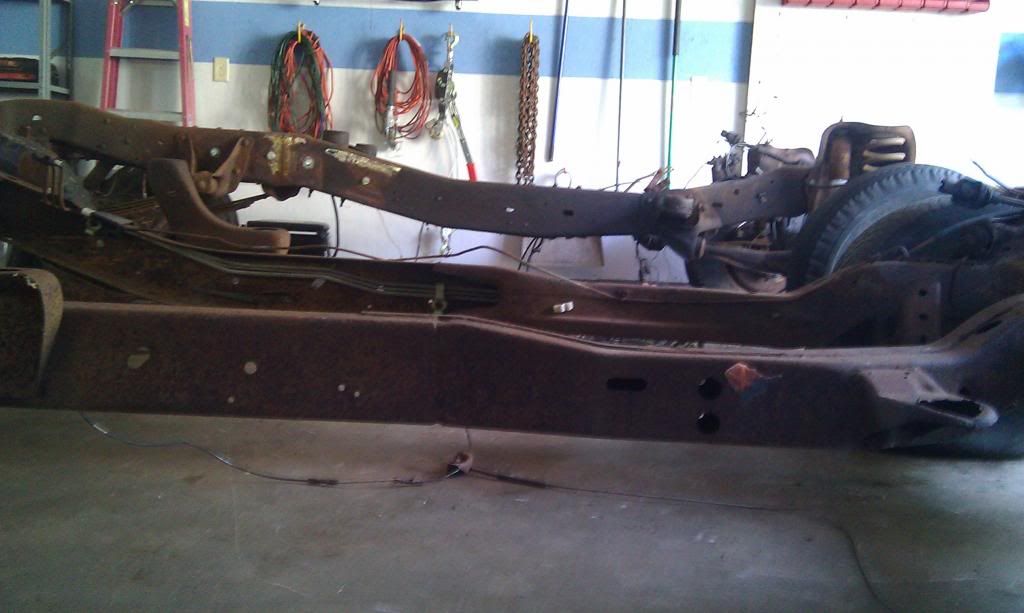
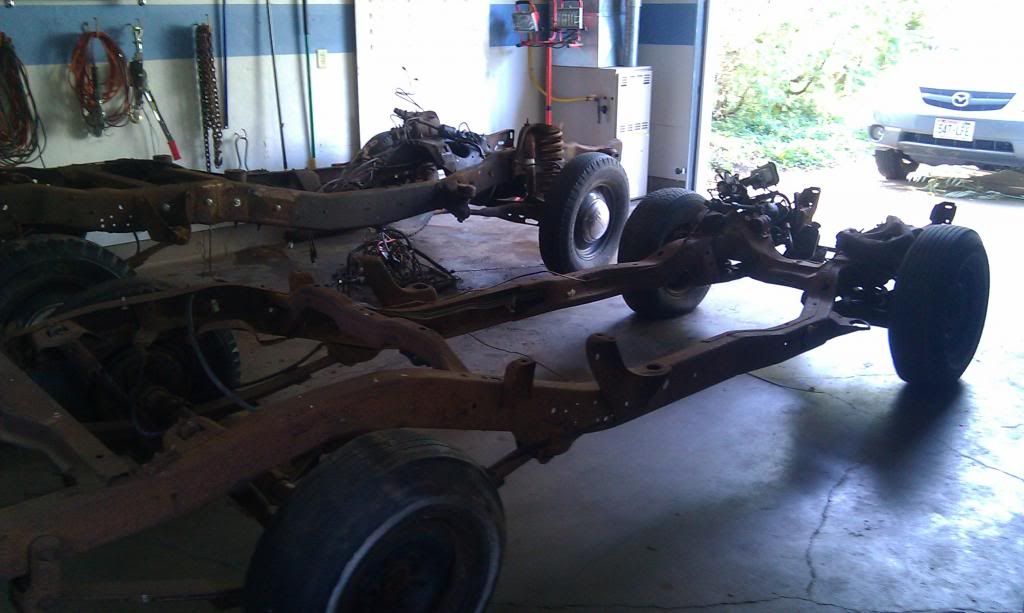
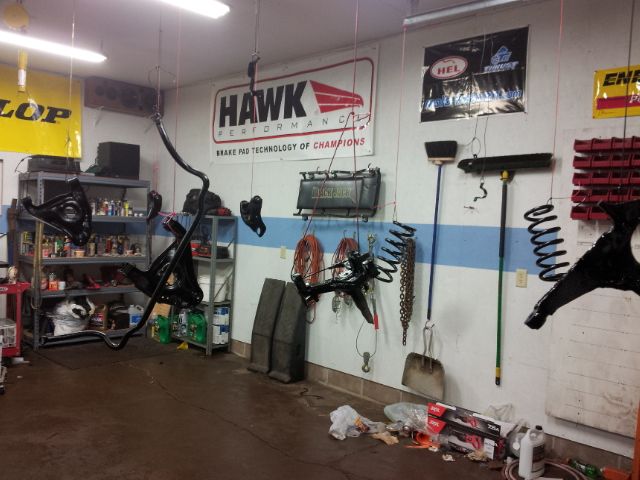
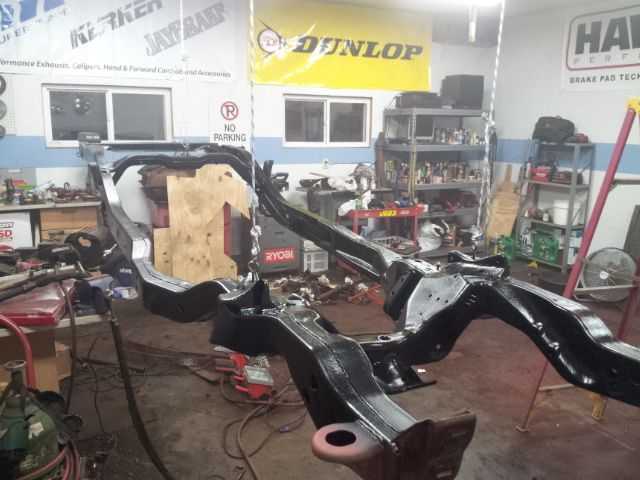
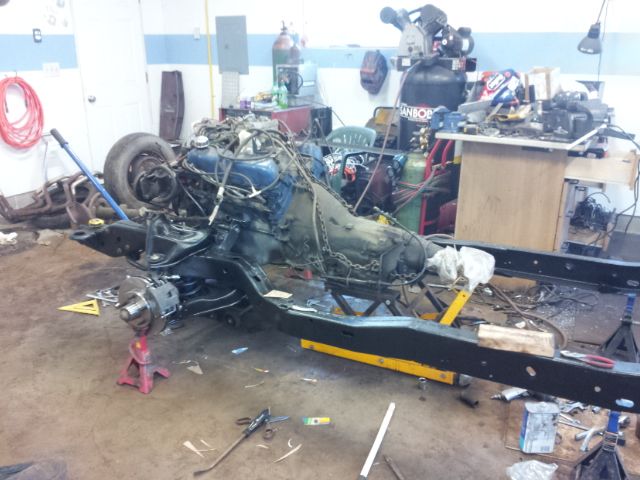
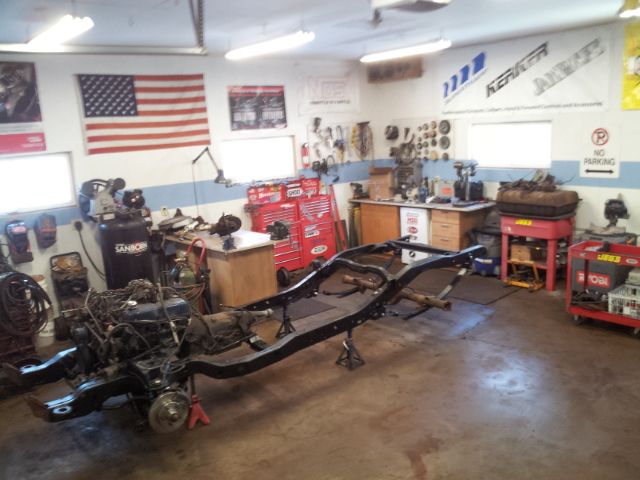
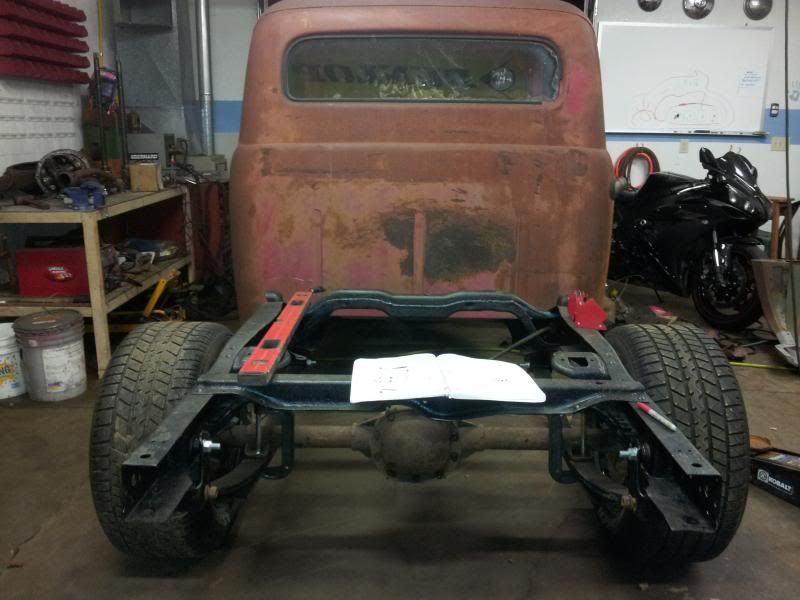
It has been quite a while since I posted on here but life sometimes gets in the way. The plans have changed significantly for the 1951 F1. The F150 frame is out and an S10 frame is in. Reason being is it would have been too much work and money to lower the f150 frame. I got the s10 frame for my birthday last year from my father who had the same idea as I did. Below you can see the difference in frame height between the s10 and f150.
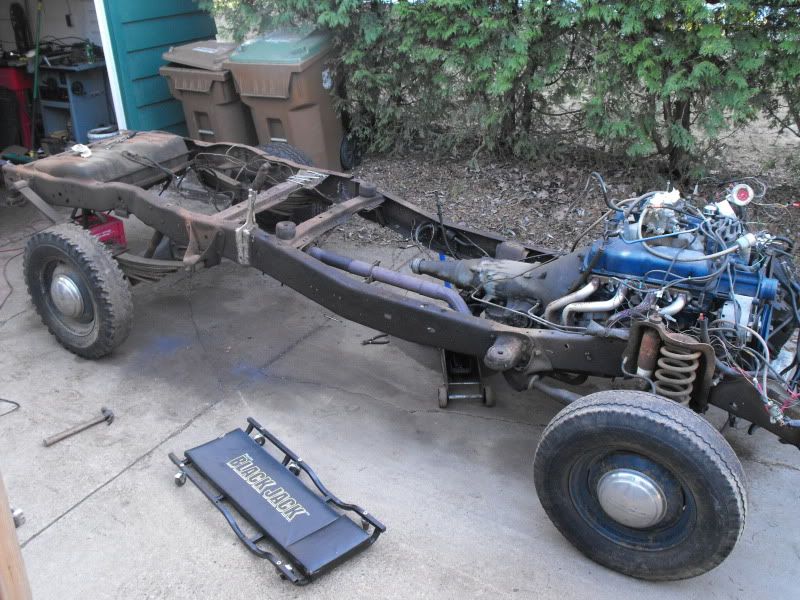
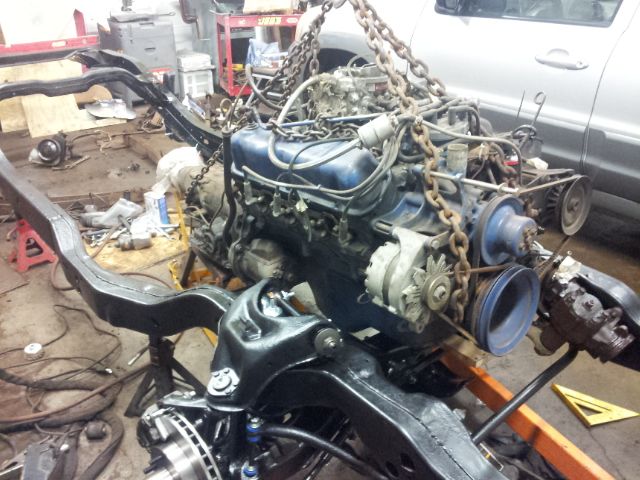
So, I removed the 351W from the F150 frame and set it aside.
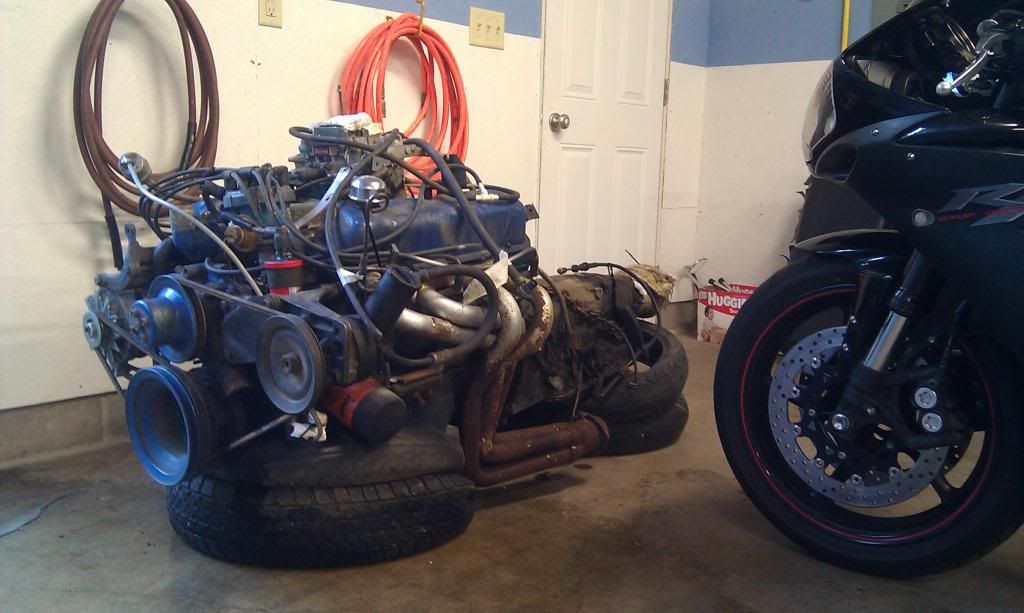
So, I removed the 351W from the F150 frame and set it aside.
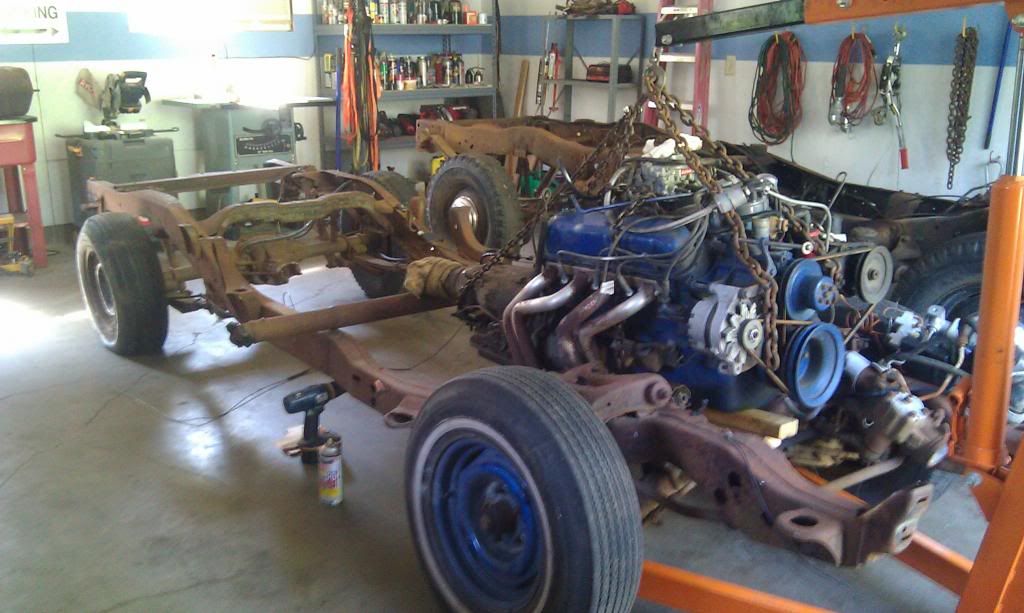
Just because I wanted to see how I would fit, I set it in place for a look.
The s10 frame is in rough shape and needs a lot of new parts.
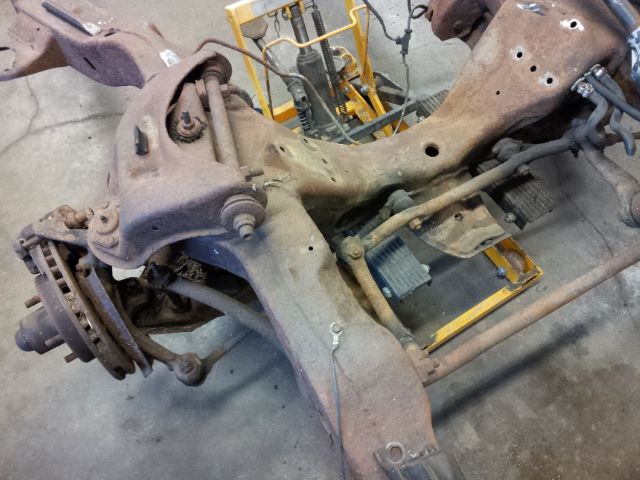
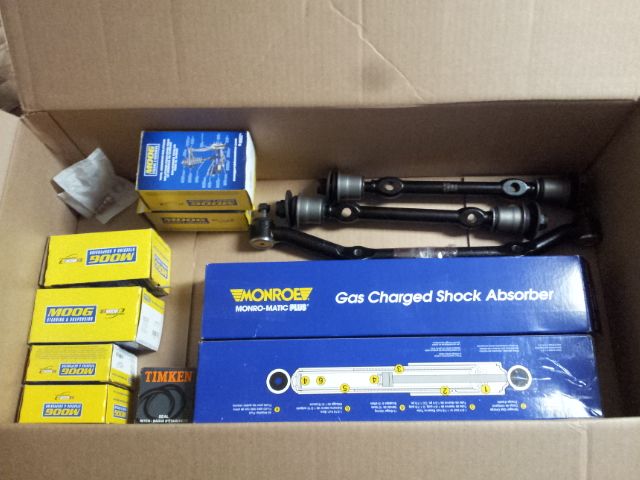
So I completely stripped the frame of all parts and pieces. I ordered about $500 in steering and suspension parts from Rockauto and from local auto parts stores.
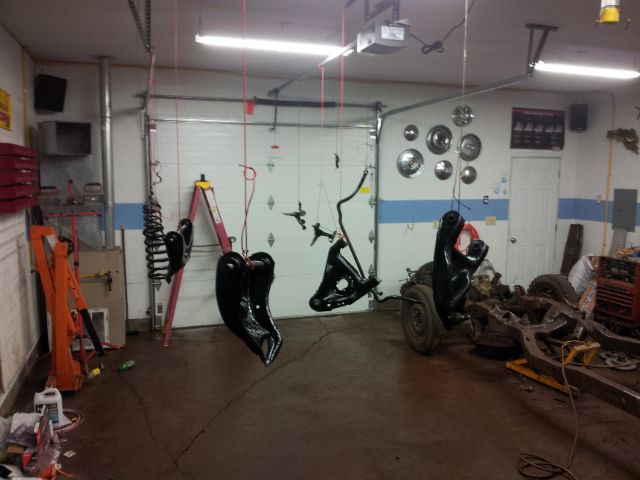
I then sandblasted upper and lower control arms, coil springs, sway bar, and spindles. Hung them up in the stop, primed them, and painted them with black impliment paint from Fleet Farm.
The s10 frame is in rough shape and needs a lot of new parts.
So I completely stripped the frame of all parts and pieces. I ordered about $500 in steering and suspension parts from Rockauto and from local auto parts stores.
I then sandblasted upper and lower control arms, coil springs, sway bar, and spindles. Hung them up in the stop, primed them, and painted them with black impliment paint from Fleet Farm.
After I got the frame all cleaned up, I also hung it in the shop, primed and painted it as well.
Once the paint set up, I started pressing bushings and bolting parts together.
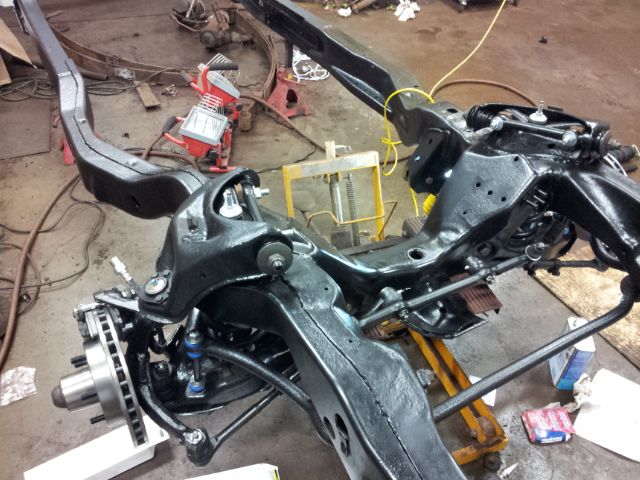
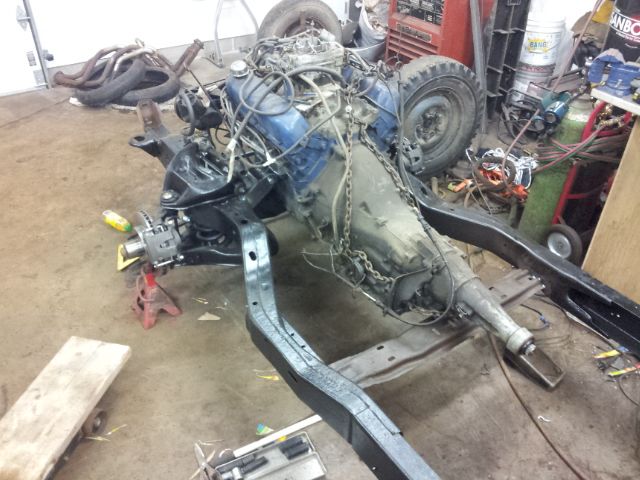
Now it is time to get the engine in position. I set it in place with a spacer below the oil pan so I have a little clearance. I measured everything about 500 times and started to make my custom engine mounts.
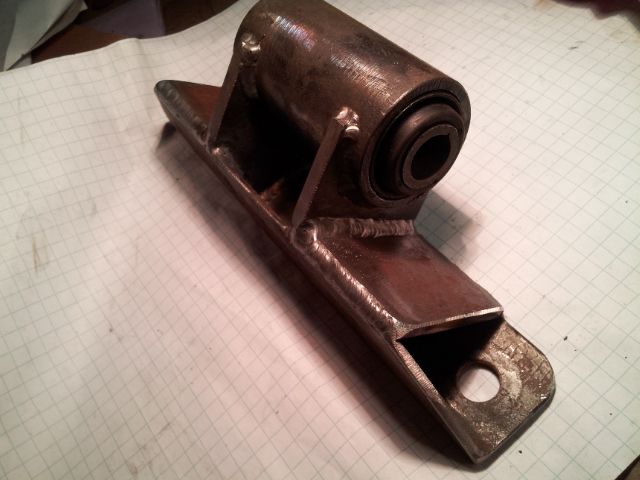
I used new leaf spring bushings from a 1986 F150 for the engine mounts and tubing I found at work that the bushings fit perfectly in to.
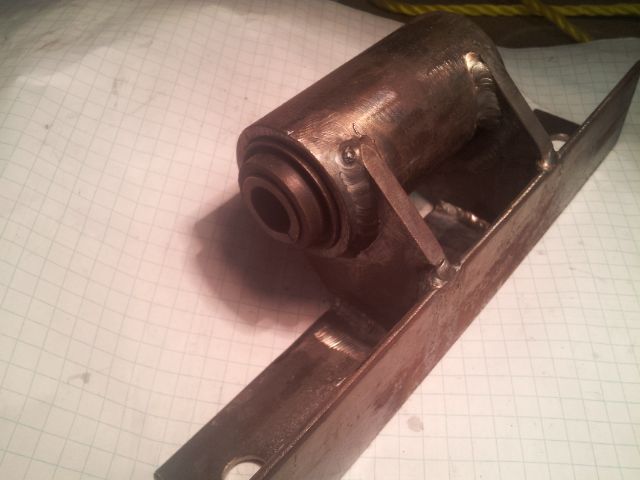
Just for good measure, I decided to make the mounts a little stronger.
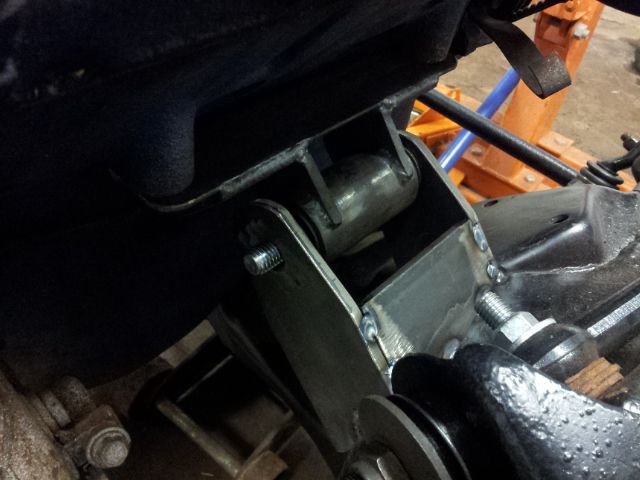
Test fitting the mounts

Once the paint set up, I started pressing bushings and bolting parts together.
Now it is time to get the engine in position. I set it in place with a spacer below the oil pan so I have a little clearance. I measured everything about 500 times and started to make my custom engine mounts.
I used new leaf spring bushings from a 1986 F150 for the engine mounts and tubing I found at work that the bushings fit perfectly in to.
Just for good measure, I decided to make the mounts a little stronger.
Test fitting the mounts
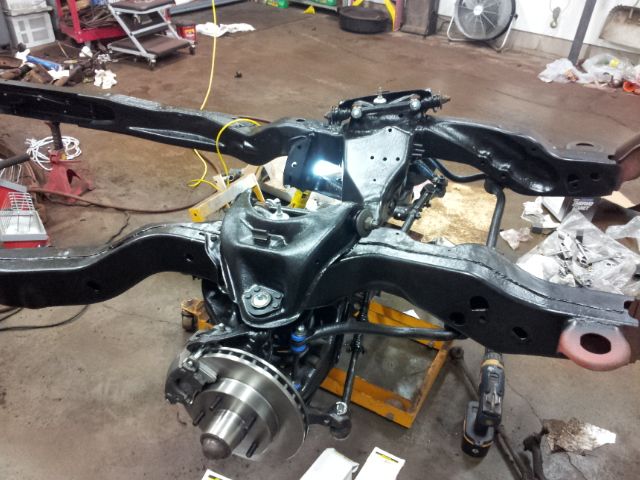
Once I got the mounts all setup, I started making the ears from the frame.
Got it all tacked together and then noticed I needed to move the engine 1 inch to the passenger side to clear for the steering shaft. So I busted the ears out and re-worked them.
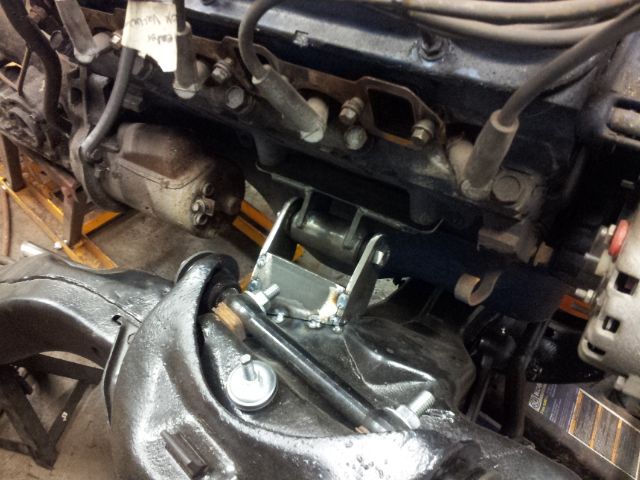
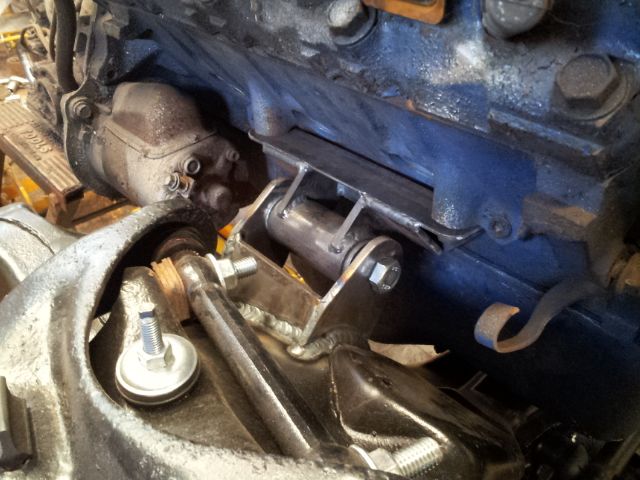
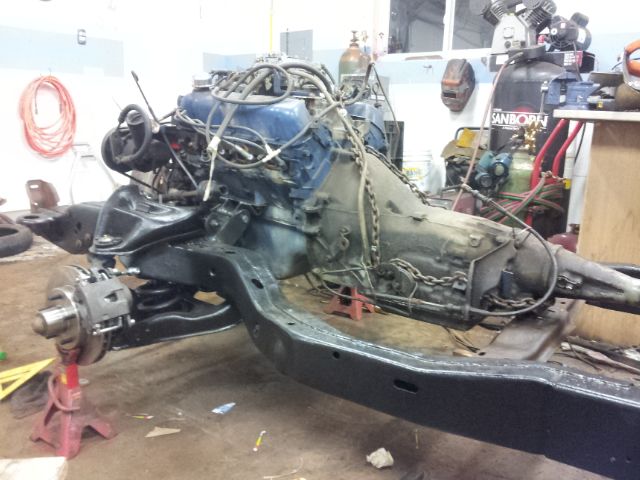
Finally able to allow the engine to sit on its own (with help from a jack under the transmission. The mounts are a success so far.
Drivers side
Passenger side
Got it all tacked together and then noticed I needed to move the engine 1 inch to the passenger side to clear for the steering shaft. So I busted the ears out and re-worked them.
Finally able to allow the engine to sit on its own (with help from a jack under the transmission. The mounts are a success so far.
Drivers side
Passenger side
Dirtyrat
Got Fins?
Looking like its coming along nicely, those mounts look stout!
bob w
Still crazy after all these years!
The frame looks nice and all the new parts will make for a good ride. Good, sturdy motor mounts.[cl
Thank you. I didn't know how strong they needed to be as I have never made my own before, but I figured it was better to over-do it than under-do. Next up is to take the trans cross member out of the f150 frame and see if I can make it work in the s10 frame. Just have to un-bury the f150 frame from the snow.
skull
''SARCASM: just one of his many talents.''
cool
glad to see progress[cl
ya, on my racecar build l got a running chassis with all the parts to replace the one needing a lot of stuff, so the change the mind thing is not only sometimes a necessity, it also can make life easier, the build go faster and safer in the long run.
good call on rebuilding the front suspension, that will make it ride and stop a lot better.
the motor mounts are great looking[
Later
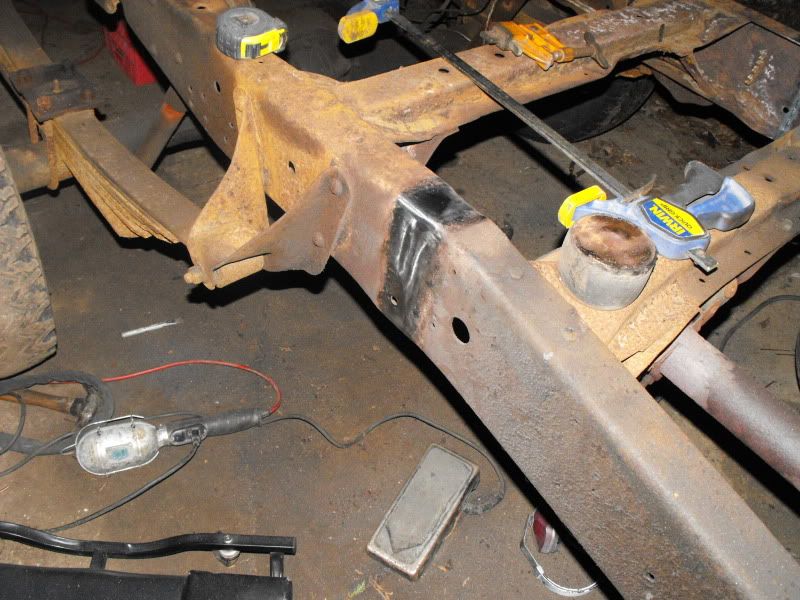
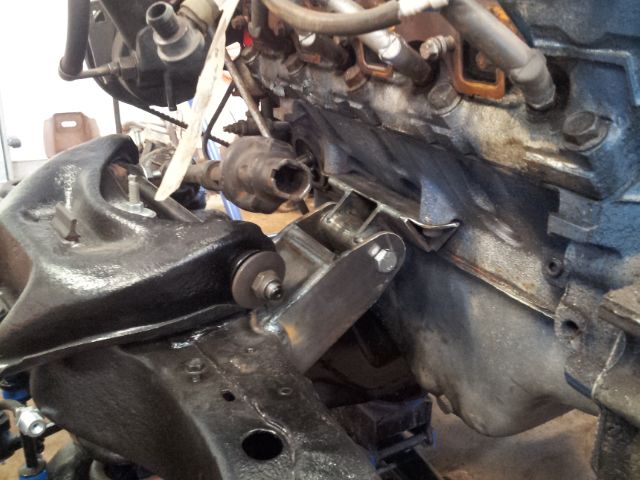
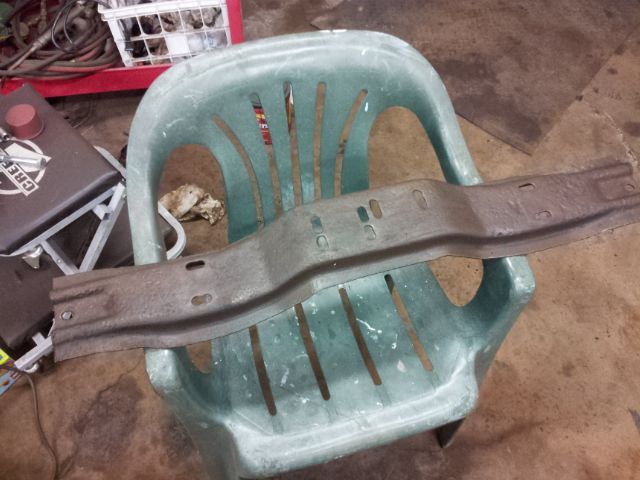
Good news, the frame is completely holding the engine! Its a big step for me. I took the transmission cross member out of the f150, trimmed a little off the ends, drilled 2 new slots and tacked it in place.
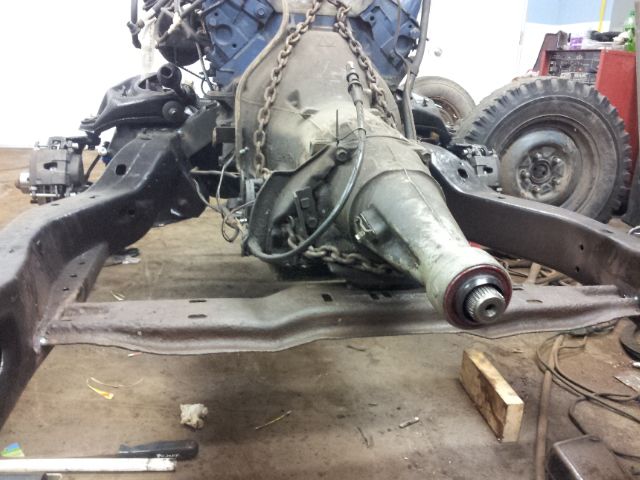

And here is a shot of the clearance between the frame and oil pan up front. You can see the offset engine mounts pretty clear in this one.
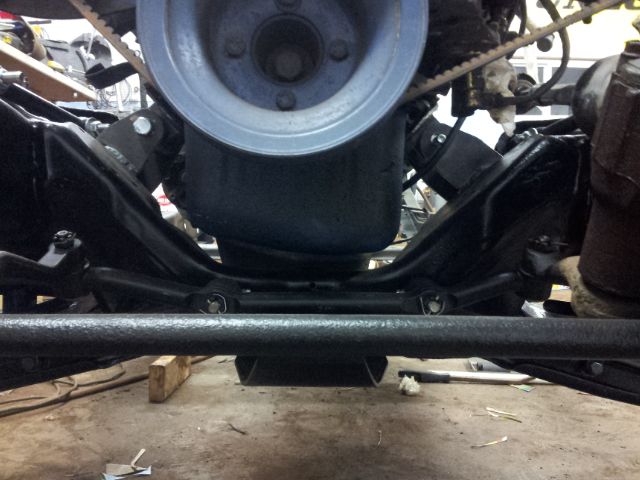
And here is a shot of the clearance between the frame and oil pan up front. You can see the offset engine mounts pretty clear in this one.
Cleaned the shop as it was getting so messy I couldn't find any tools.
Next up is trying to make the headers that I have work. There is no room for them to fit as they used to so it's time for some MacGyver type engineering. Here is the before shot of them.


Cutting and test-fitting

After a lot of cutting, tacking, test-fitting, more cutting, more fitting, and more tacking here it is...

Welding [

Next up is trying to make the headers that I have work. There is no room for them to fit as they used to so it's time for some MacGyver type engineering. Here is the before shot of them.
Cutting and test-fitting
After a lot of cutting, tacking, test-fitting, more cutting, more fitting, and more tacking here it is...
Welding [
skull
''SARCASM: just one of his many talents.''
headers
looks like they'll work good.
less bends than the stock configuration so they should flow very well.
Later
looks like they'll work good.
less bends than the stock configuration so they should flow very well.
Later
Lot of things have been happening to the truck since my last post so I will start where I left off.
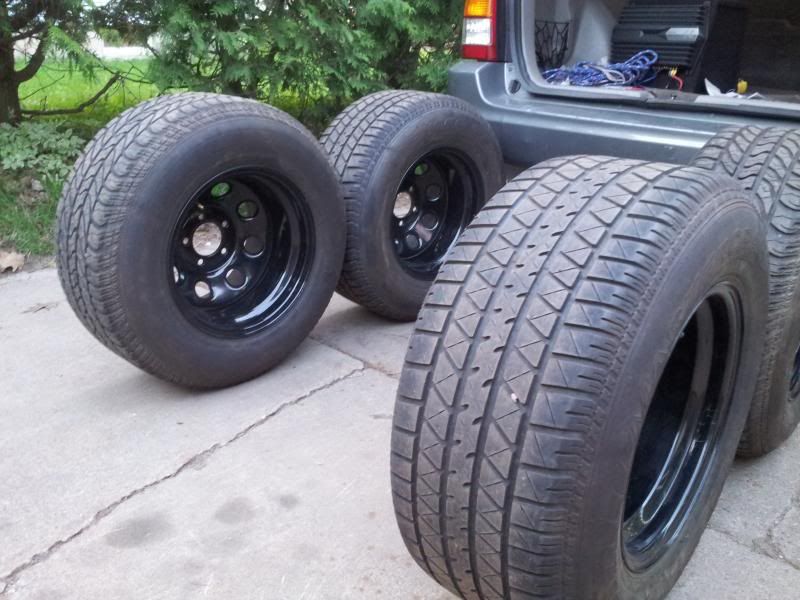
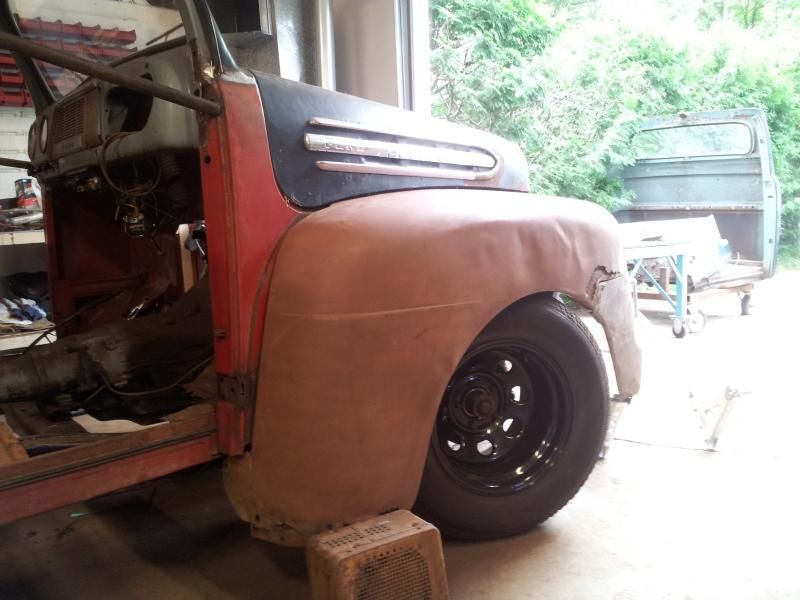
Well first off I picked up a set of rims and tires this spring. I have been wanting a set of these from the beginning so I am happy. They are Cragar Soft 8s. The rims look to be 10 inches wide with a 7 inch lip.
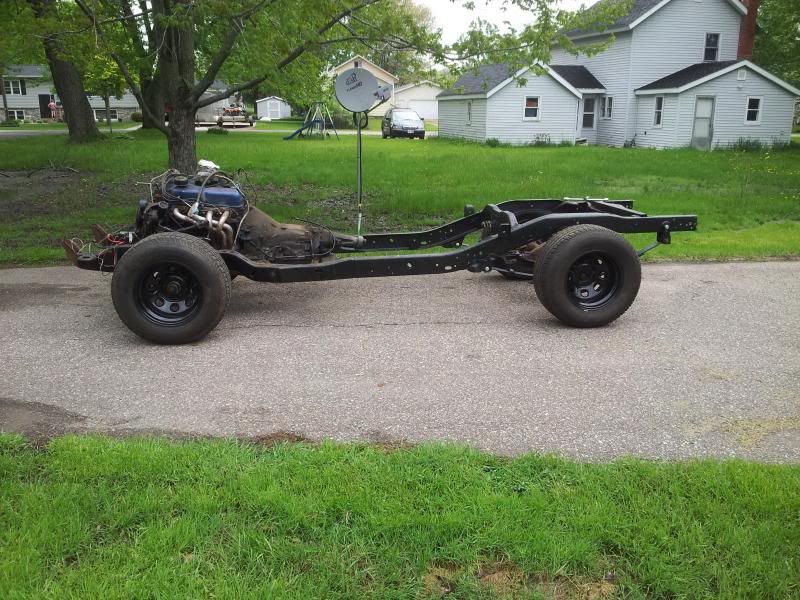
Just test fitting a font fender to see if the wheels will fit.

Well first off I picked up a set of rims and tires this spring. I have been wanting a set of these from the beginning so I am happy. They are Cragar Soft 8s. The rims look to be 10 inches wide with a 7 inch lip.


Just test fitting a font fender to see if the wheels will fit.


Now that I have the rims that I want I will build the cab mounts. I used the existing ears where the cab originally bolted to the frame but I built new center sections and ears where the mounts will connect to the s10 frame. The steel is 1" square tubing and angle iron that I welded together and then milled to make channel. They are 1" adjustable just in case I mis-measured anything. (Planning ahead)

Measuring and test fitting to make sure everything sits where it should.
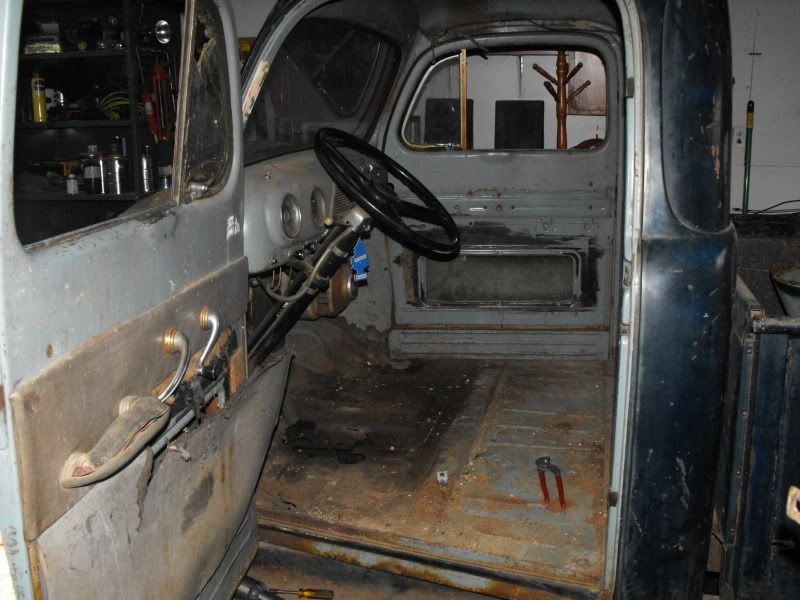
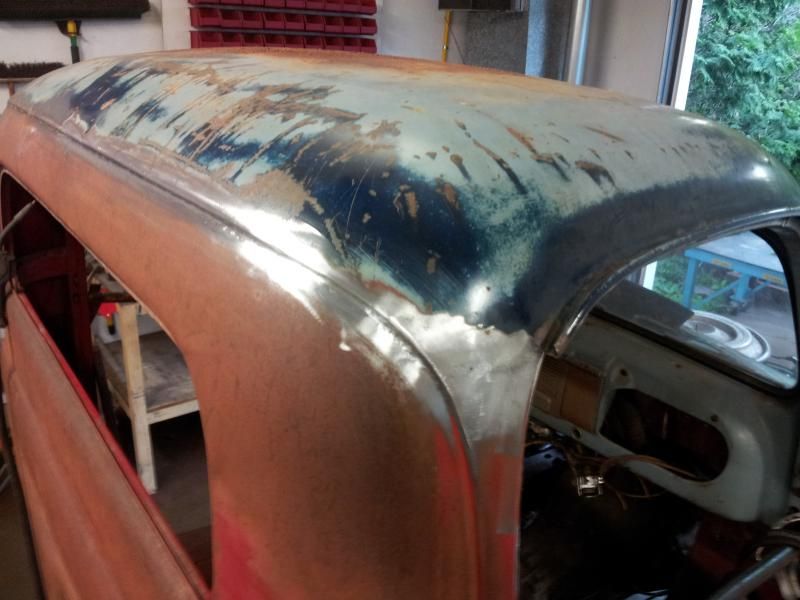
Once I bolted the cab to the frame I welded braces inside the doors and from the door frames to the floor. Reason being is that the dash had a hole hacked in it for a radio and the windshield frame was rusted through on the red cab. My blue cab didn't have these problems but had a bad floor where the door posts weren't even connected anymore. I decided the best way to fix this is to cut the roof off and put the blue roof on the red cab.
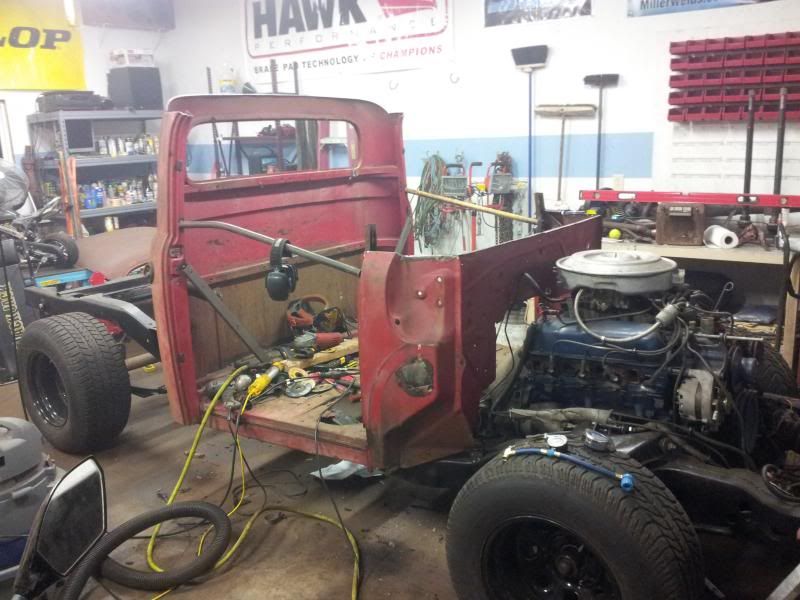

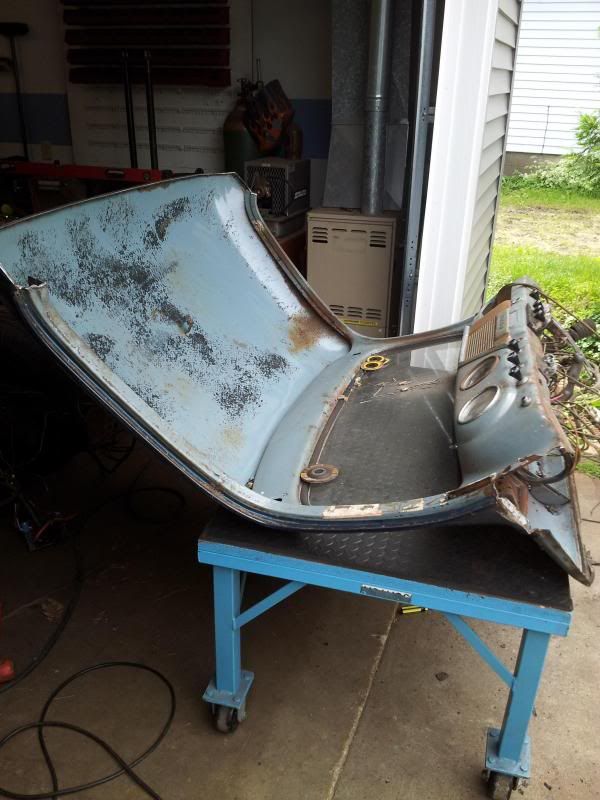
The cab roofs were cut off in all of the factory locations where they were welded. This will make for easier assembly.

Measuring and test fitting to make sure everything sits where it should.

Once I bolted the cab to the frame I welded braces inside the doors and from the door frames to the floor. Reason being is that the dash had a hole hacked in it for a radio and the windshield frame was rusted through on the red cab. My blue cab didn't have these problems but had a bad floor where the door posts weren't even connected anymore. I decided the best way to fix this is to cut the roof off and put the blue roof on the red cab.


The cab roofs were cut off in all of the factory locations where they were welded. This will make for easier assembly.
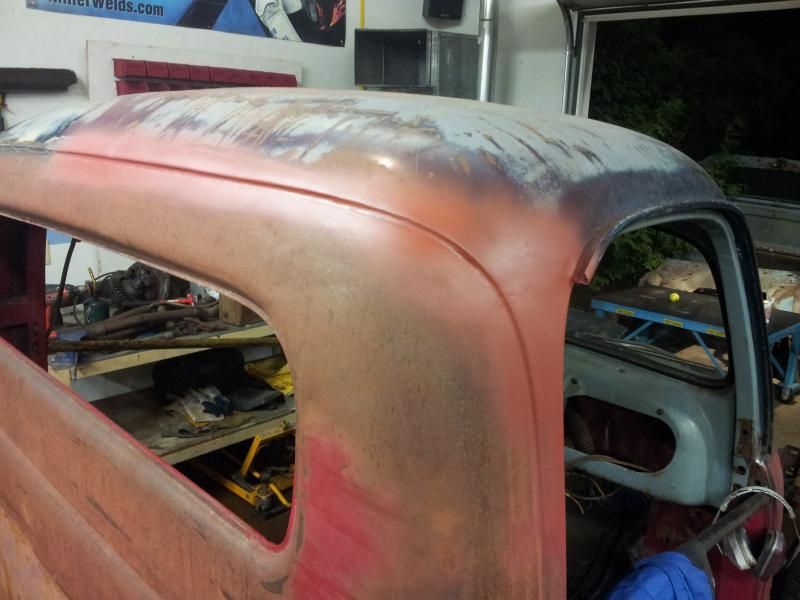
Once I got the roof back together I welded the rear roof seam together and radiused it all the way across with a grinding wheel and a lot of time.
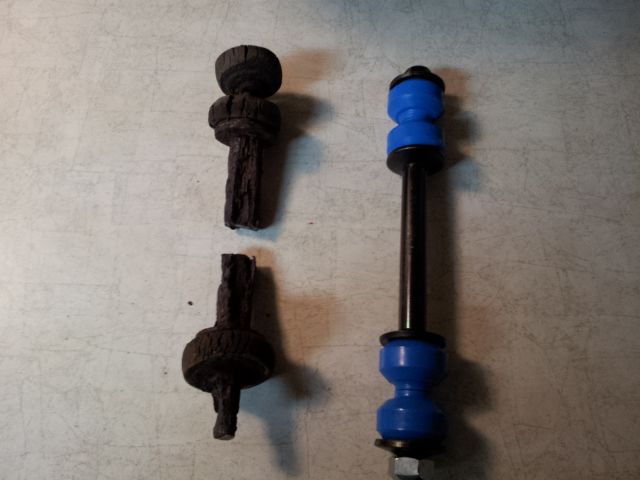
I picked up some new shocks and rebuilt the shock mounts due to the shock bolts snapping off the lower mount when I went to remove the old shocks.
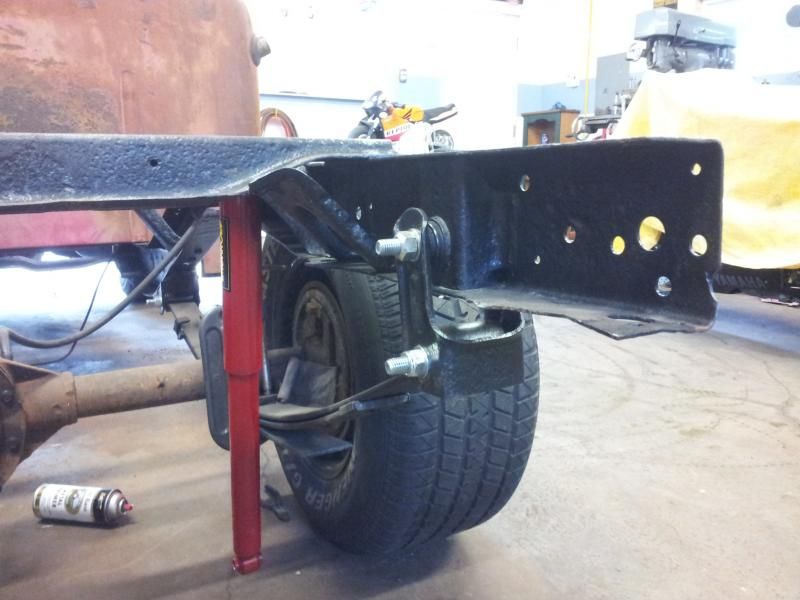


I picked up some new shocks and rebuilt the shock mounts due to the shock bolts snapping off the lower mount when I went to remove the old shocks.

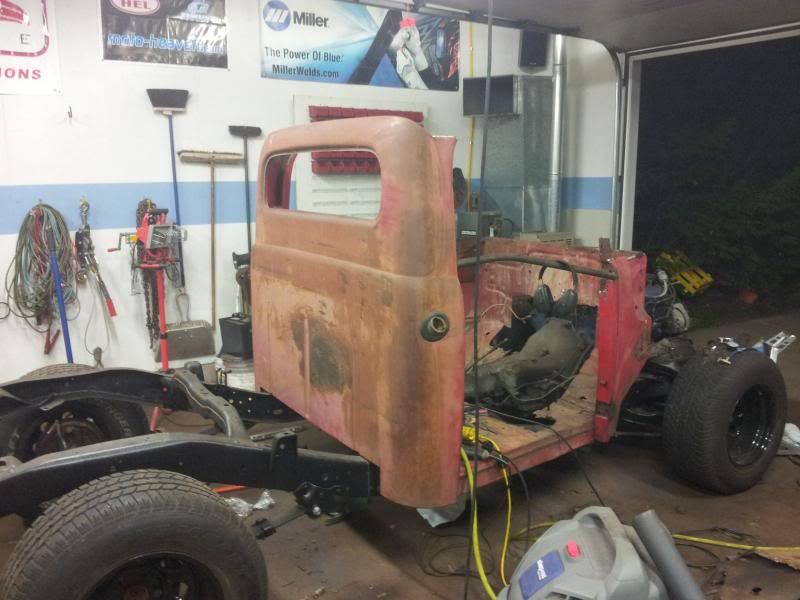
Once the roof was welded I test fitted the front fenders again, this time turning the wheels to see how much clearance I have.
Next up is to cut out the old floor and frame in for the new one. I used 1" X 1/2" square tubing. I had to offset the transmission tunnel because the engine and trans are offset by 1" to the passenger side. I wanted each person to have the same amount of leg room so the tunnel looks a little off but for good reason.
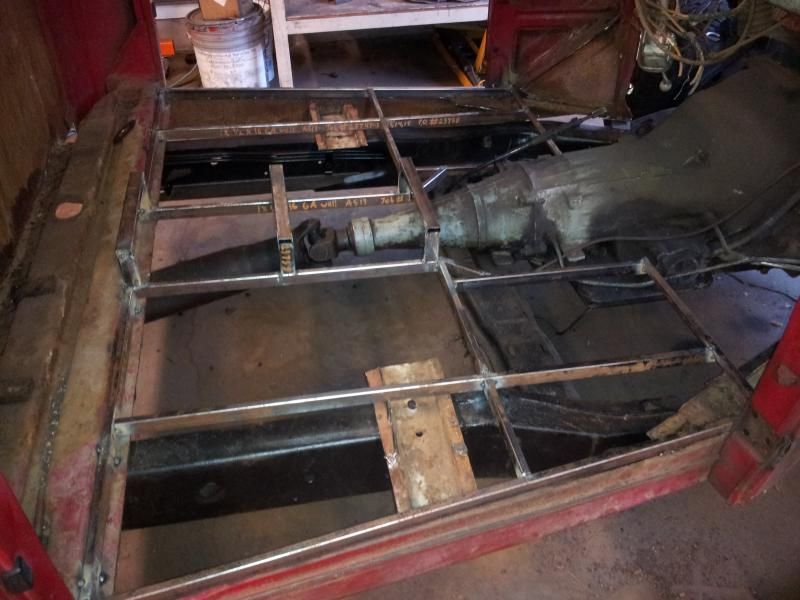

Next up is to cut out the old floor and frame in for the new one. I used 1" X 1/2" square tubing. I had to offset the transmission tunnel because the engine and trans are offset by 1" to the passenger side. I wanted each person to have the same amount of leg room so the tunnel looks a little off but for good reason.
