
You are using an out of date browser. It may not display this or other websites correctly.
You should upgrade or use an alternative browser.
You should upgrade or use an alternative browser.
41 chevy 1.5 ton, second build
- Thread starter deerchooper
- Start date
Help Support Rat Rods Rule:
This site may earn a commission from merchant affiliate
links, including eBay, Amazon, and others.
hillbillie hotrods
Well-known member
I like where this is going [P[P keep up the good work
Mike
Mike
deerchooper
Well-known member
- Joined
- Apr 3, 2010
- Messages
- 744
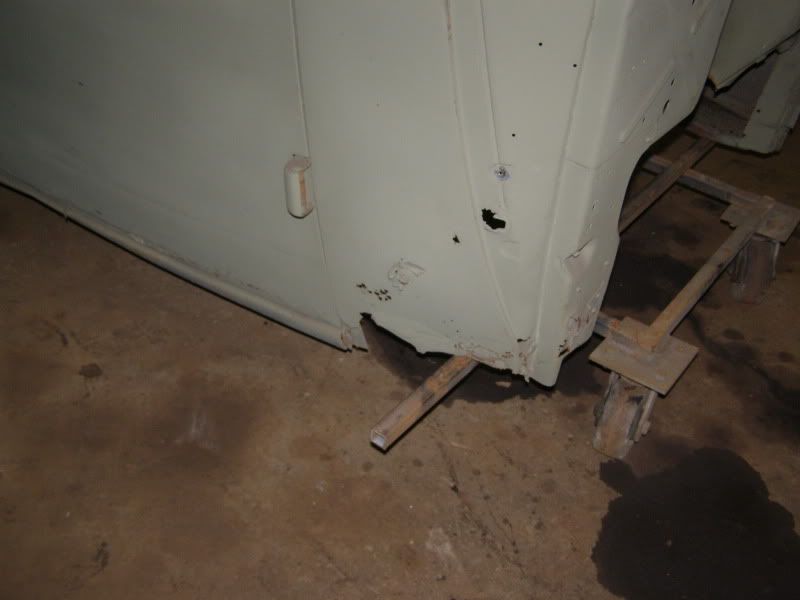
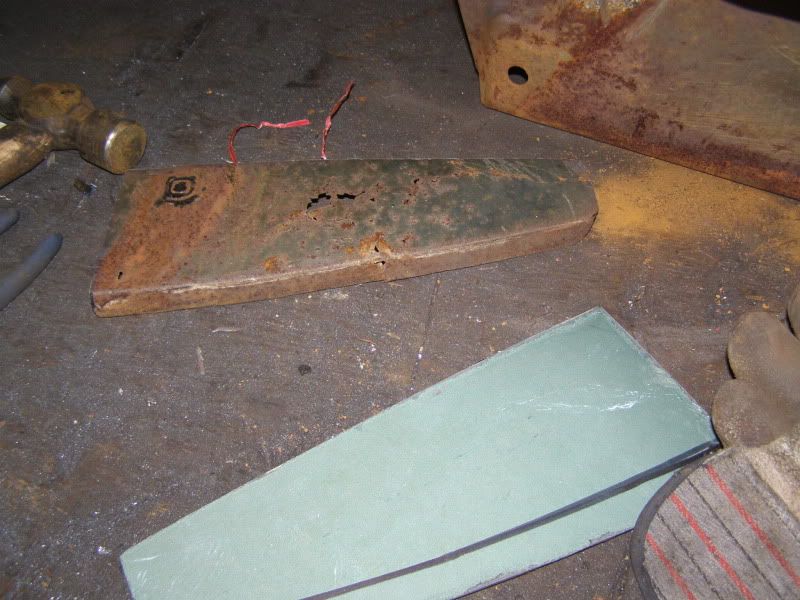
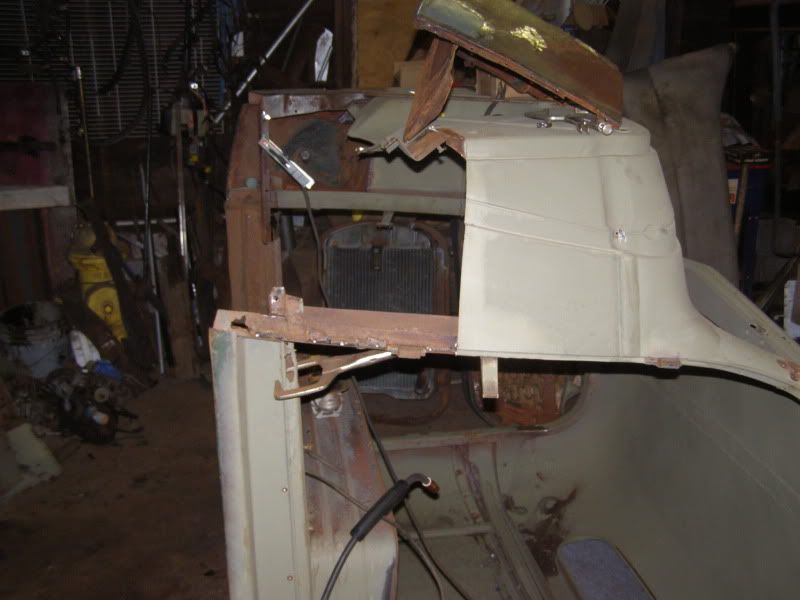
well the part i hate has come apon me, body work.
i started with tearing my project down, pulled the bed and cab. the lower cowl/cab are need some work. i bought a spare cab last year and chopped it up for things i needed and sold the rest of it in parts.
i started on the pass side repair work.
i started with tearing my project down, pulled the bed and cab. the lower cowl/cab are need some work. i bought a spare cab last year and chopped it up for things i needed and sold the rest of it in parts.
i started on the pass side repair work.
deerchooper
Well-known member
- Joined
- Apr 3, 2010
- Messages
- 744
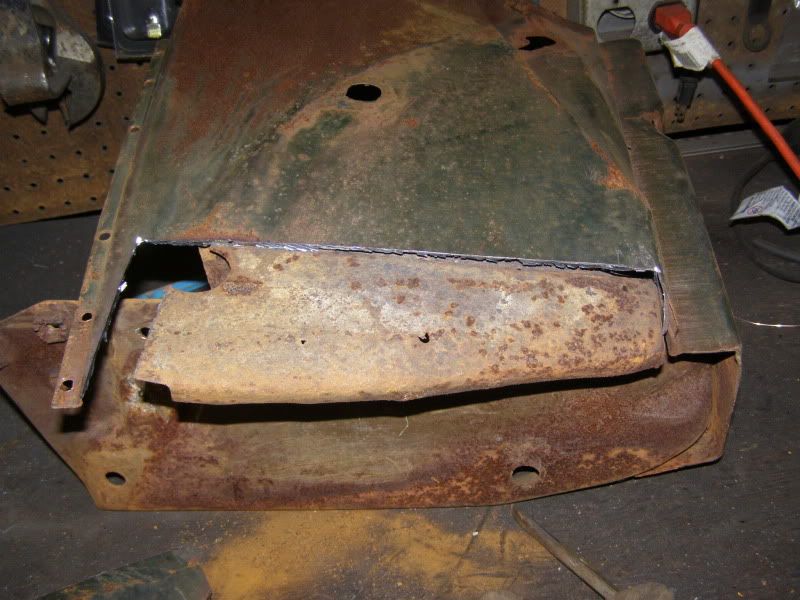
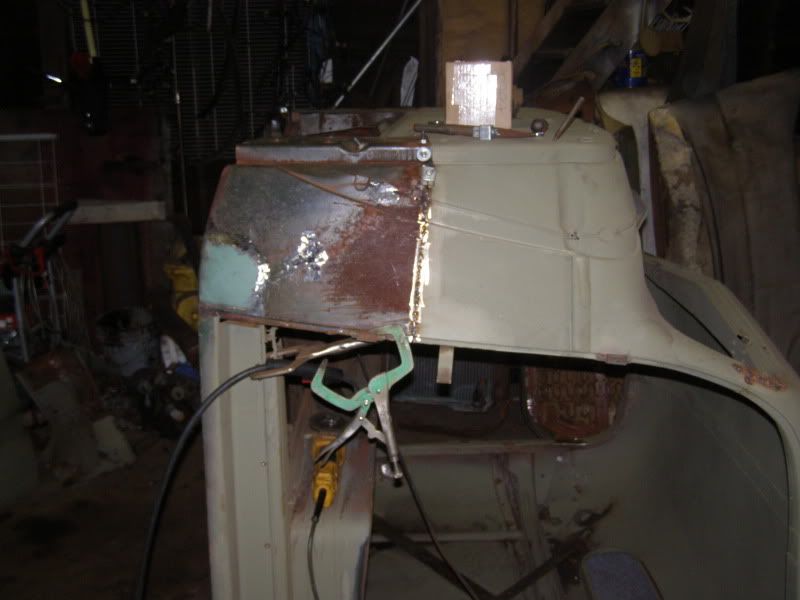
i has to fix the lower section of this part as well but there was something to work with.
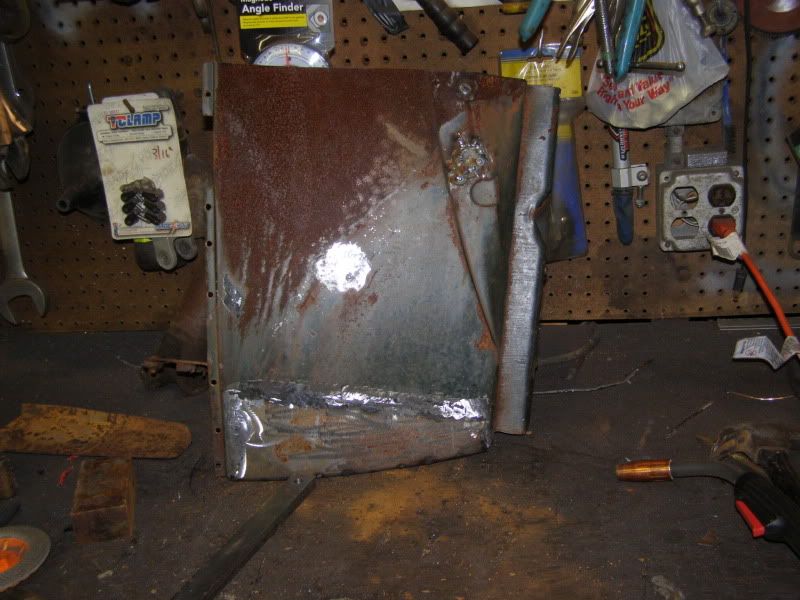
i has to fudge, pull and twist to get it where it needed to be. but it came out pretty good for not liking body work.
i has to fudge, pull and twist to get it where it needed to be. but it came out pretty good for not liking body work.
deerchooper
Well-known member
- Joined
- Apr 3, 2010
- Messages
- 744
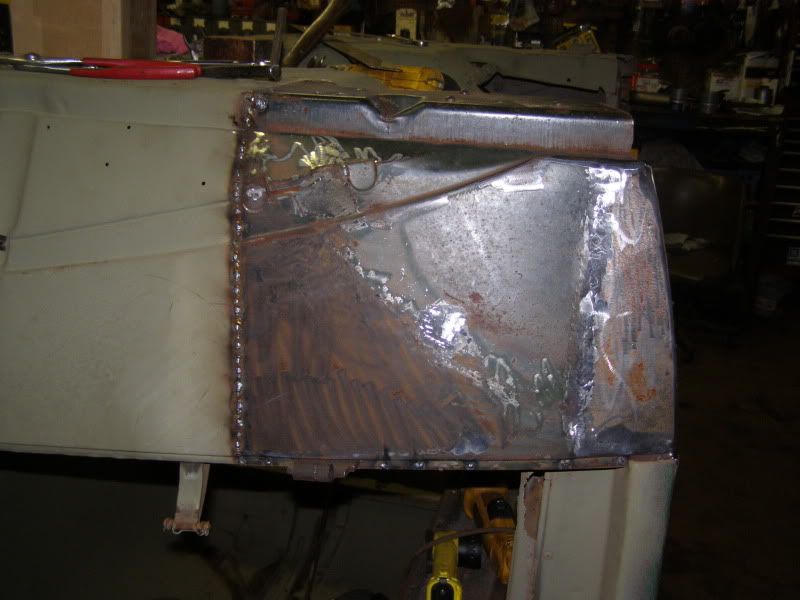
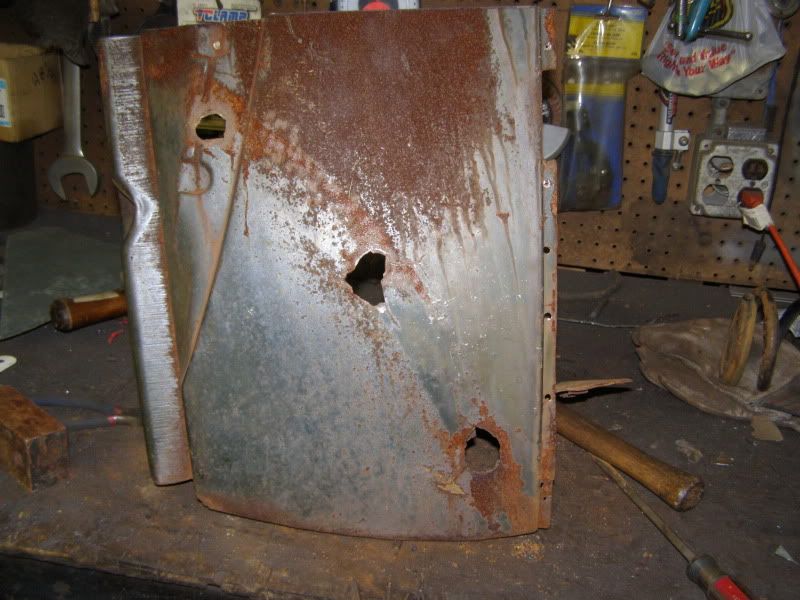
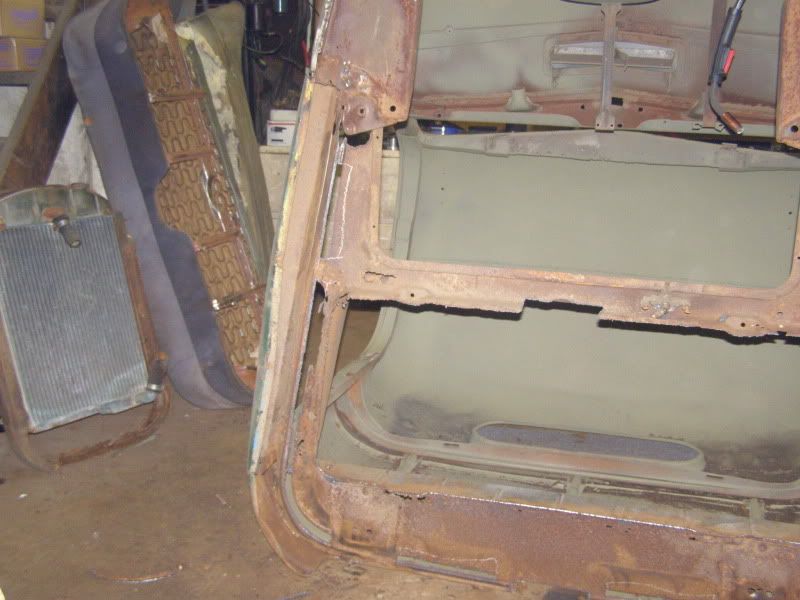
i got started on the driver side as well today. i cut the skin off to get to the under side supports, i did it on both sides but you can see it here. i even replaced the lower front firewall part as one on both sides because they were junk also.
skin removed
lower firewall/ cab mount removed
holes, and hammer work.
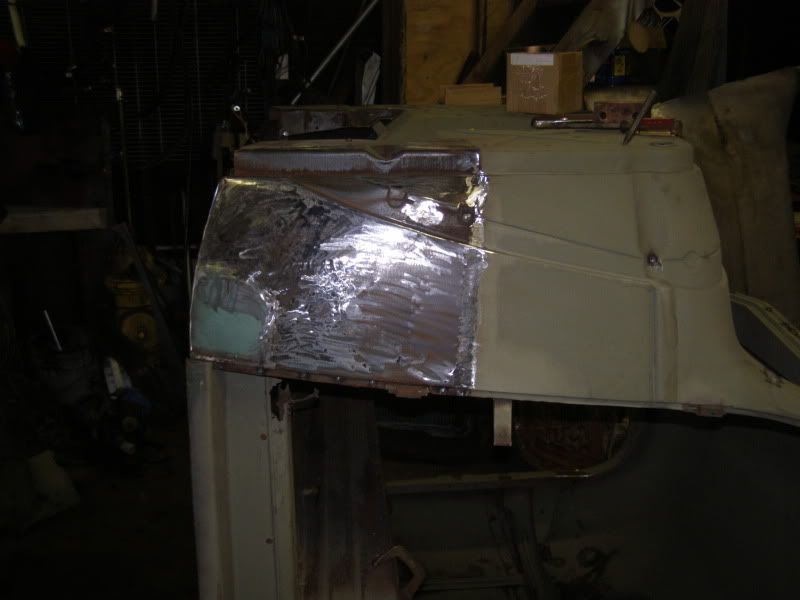
installed, spot welded in place, had to stop here. wifey said it was time to eat.
skin removed
lower firewall/ cab mount removed
holes, and hammer work.
installed, spot welded in place, had to stop here. wifey said it was time to eat.
flatgreyG
Well-known member
Looking good!! Wish I had an extra cab to cut some parts off of. LOL Keep it up.
Flipper_1938
He recycles the right way
Dang! That is some pretty serious looking surgery!
valleyveiw
Active member
This is going to be a sic truck , keep up the good work! Love that grill.
deerchooper
Well-known member
- Joined
- Apr 3, 2010
- Messages
- 744
thanks guys
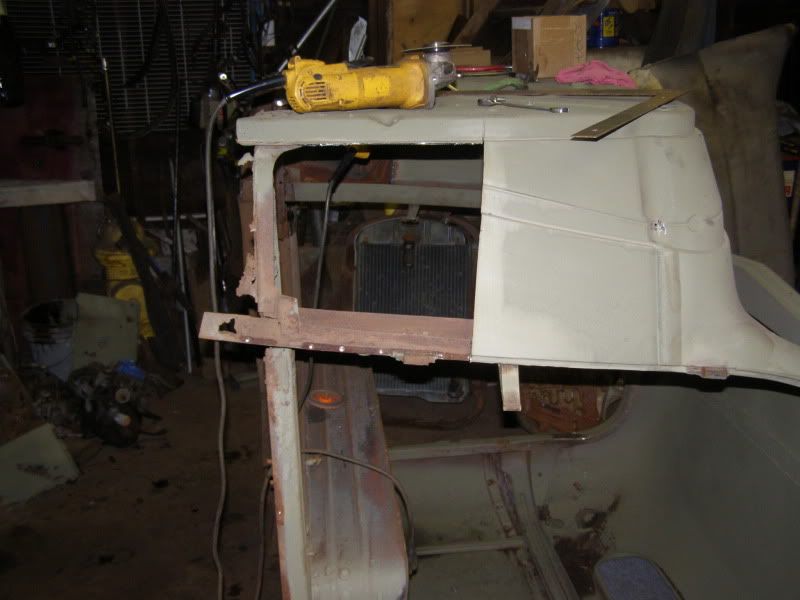
i got the driver side done last night. i started grinding some of my welds from last years chop on the a pillar and fixing some small holes in the upper wind shield seal area.
i would like to get started on the floor or firewall holes i want to fill. pics this weekend
i got the driver side done last night. i started grinding some of my welds from last years chop on the a pillar and fixing some small holes in the upper wind shield seal area.
i would like to get started on the floor or firewall holes i want to fill. pics this weekend
skull
''SARCASM: just one of his many talents.''
progress
good to see progress
Later
good to see progress
Later
deerchooper
Well-known member
- Joined
- Apr 3, 2010
- Messages
- 744
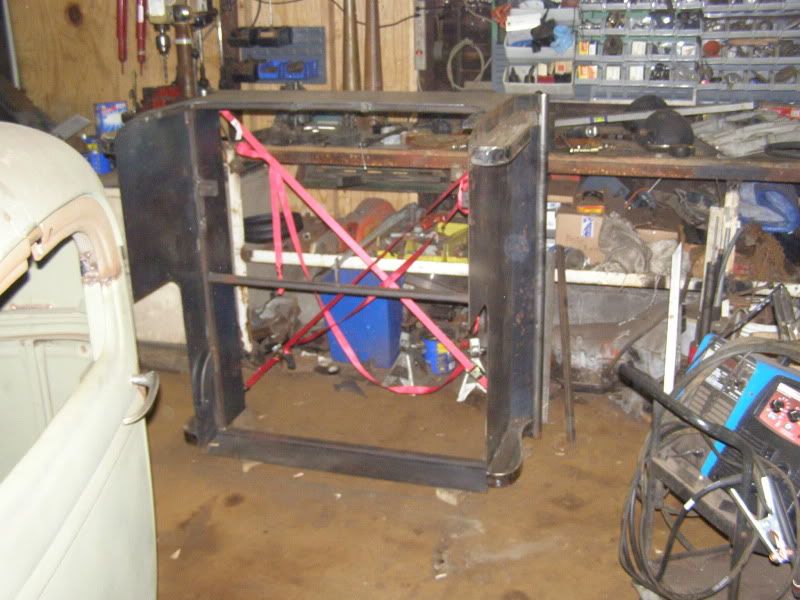
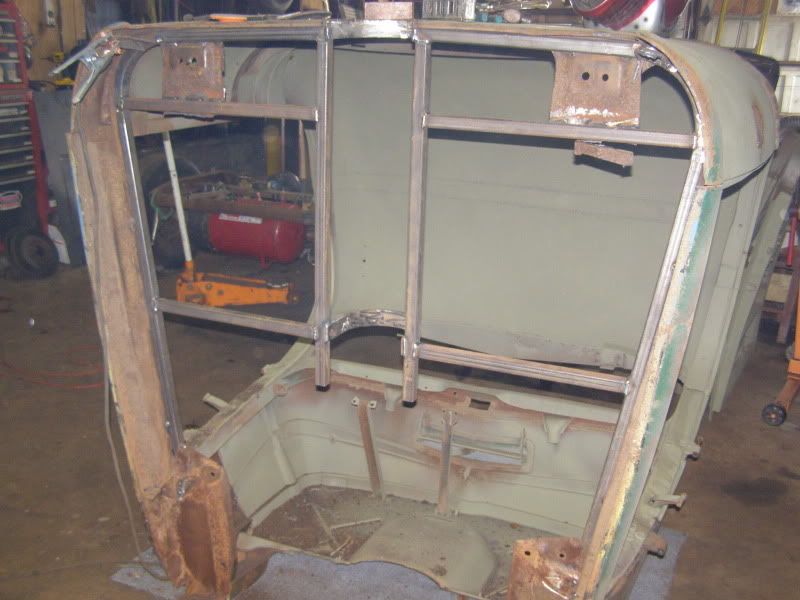
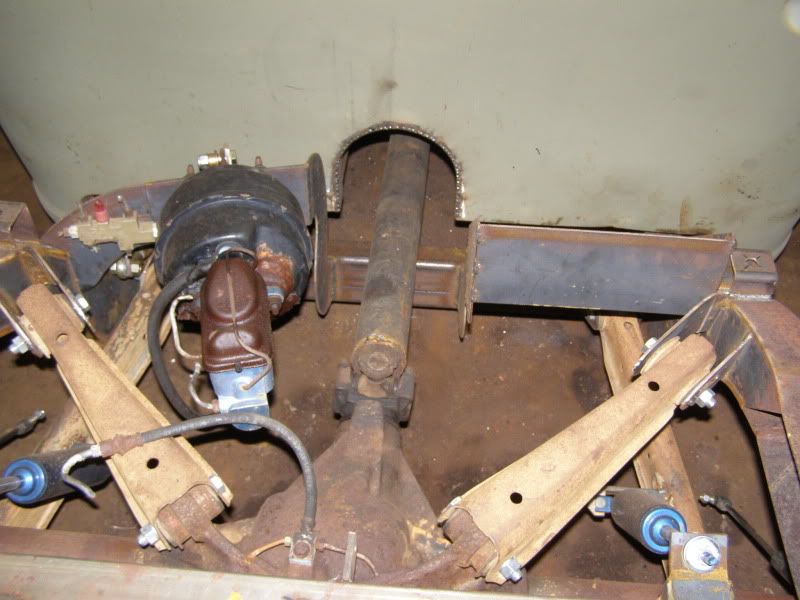
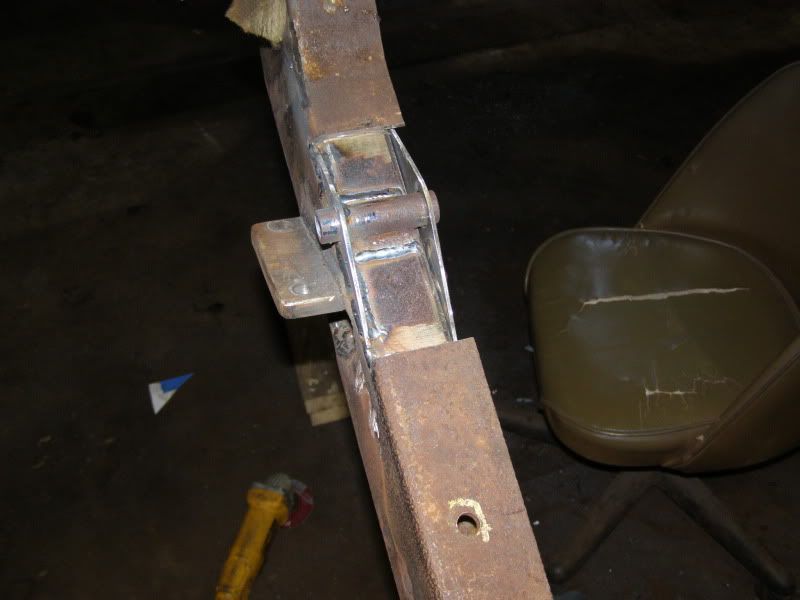
i had to step away from the body for a little bit, i made the rear spring cups and got them mounted. i also started on the frame work for the floor. i have a game plan in my head for the floor frame.
hope to have the floor ironed out sometime tomorrow or sunday, pics will follow then.
hope to have the floor ironed out sometime tomorrow or sunday, pics will follow then.
deerchooper
Well-known member
- Joined
- Apr 3, 2010
- Messages
- 744
ok, heres the pic of the driver side cowl patch done.
here is the spring pockets i made. i used 2 3" exhaust couplers cut in half and welded them in place.
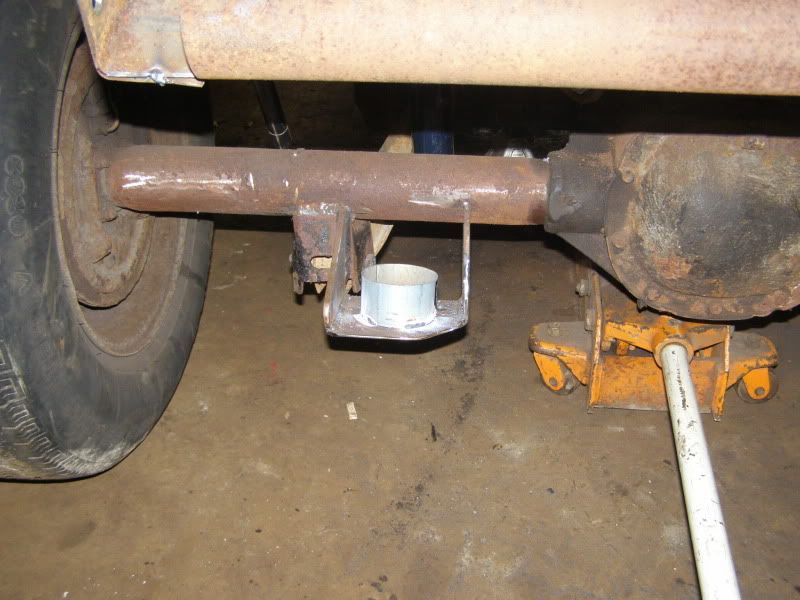
here is the spring pockets i made. i used 2 3" exhaust couplers cut in half and welded them in place.
deerchooper
Well-known member
- Joined
- Apr 3, 2010
- Messages
- 744
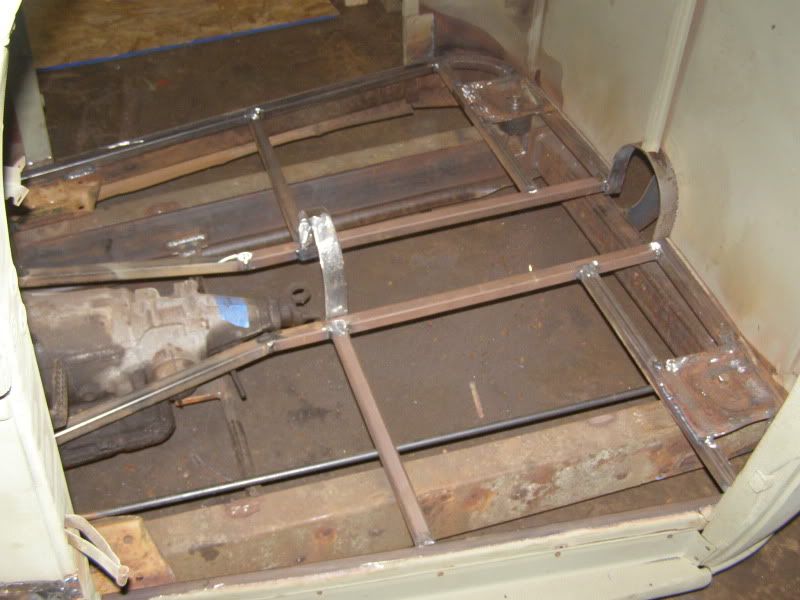
i started on the floor framing. i cut the floor to allow it to support the cab but allow me to make a couple cuts and it would be gone after i installed the framing.
the pieces that run around the back of the cab to the a pillar/ cab mount

most of the frame in with the old floor out.

the pieces that run around the back of the cab to the a pillar/ cab mount
most of the frame in with the old floor out.
deerchooper
Well-known member
- Joined
- Apr 3, 2010
- Messages
- 744
i had to put the cab back on to finish the floor framing to make sure i had room for the tranny. luckly a couple of buddies stopped over at the right time to help. they didnt stay long, lol.
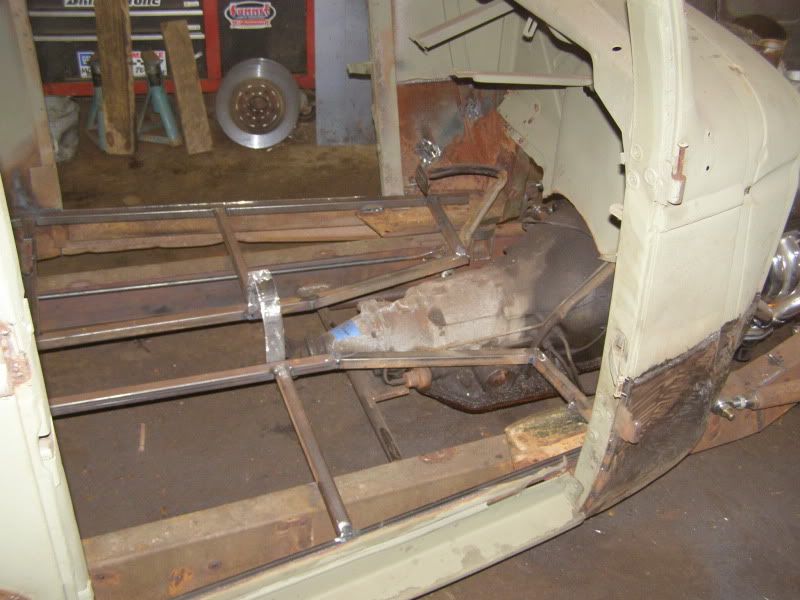
i got one side made of the floor, i marked the other side but havent cut it out yet. if i have enough metal i will have it finished by tues or so.
thats it for this weekend. had to spend time at a gun show, my buddies place to talk cars and went to dinner this weekend.
i got one side made of the floor, i marked the other side but havent cut it out yet. if i have enough metal i will have it finished by tues or so.
thats it for this weekend. had to spend time at a gun show, my buddies place to talk cars and went to dinner this weekend.
Paul_J
Well-known member
Nice work on the floors. Very clean work.
deerchooper
Well-known member
- Joined
- Apr 3, 2010
- Messages
- 744
well i have been moving along, running out of mig wire, time and money. but still chugging along.
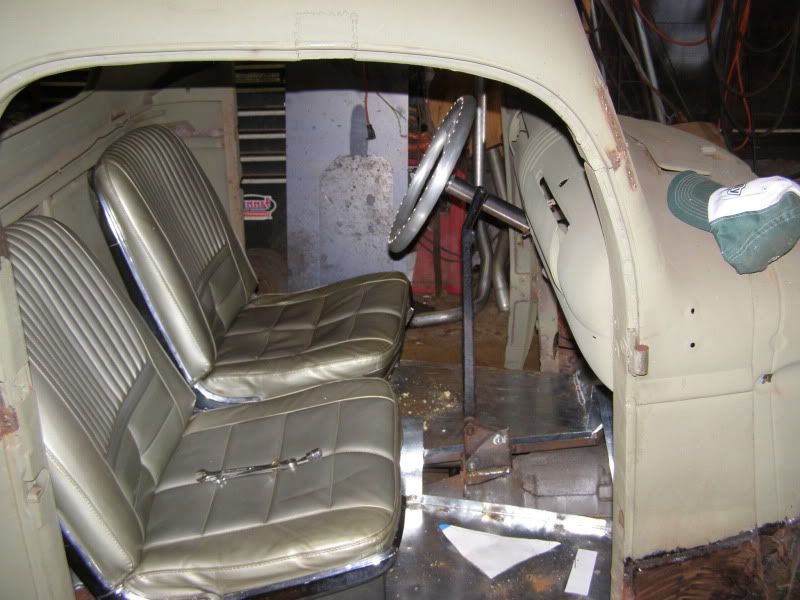
i did get the floors done, seats installed, steering column and rods in, brake pedal installed threw the floor, front shock mounts mounted, e brake tranny shift lever made and installed and head lights mounted.
i ran into a problem, i left the camera in the garage and need to take some more pictures. tomorrow i will take some more pictures of what i have done then blow it all apart to finish it off.
deerchooper
Well-known member
- Joined
- Apr 3, 2010
- Messages
- 744
heres them pics, did a couple more days out there. as of now its torn down for finial welding, paint and so on.
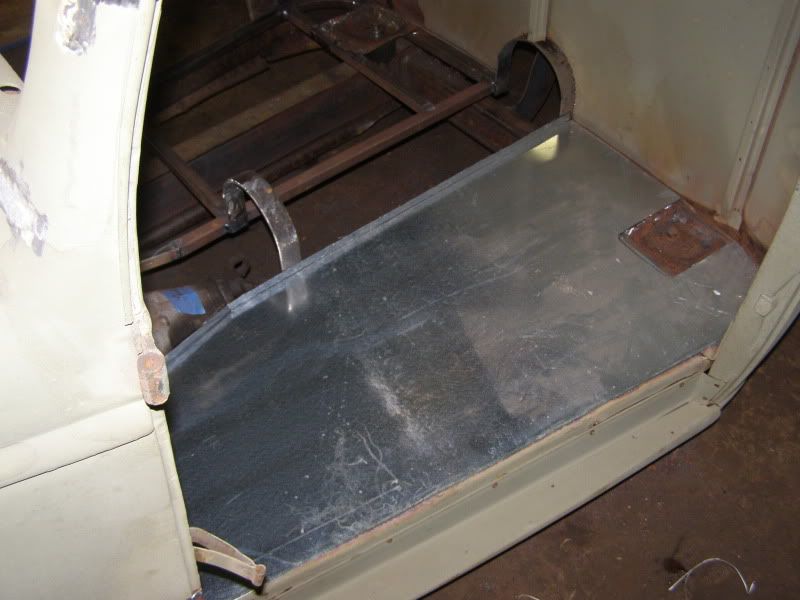
heres the rear of the cab and my driveshaft and driveshaft tunnel.
seats, rest of floor and my e brake shift lever.
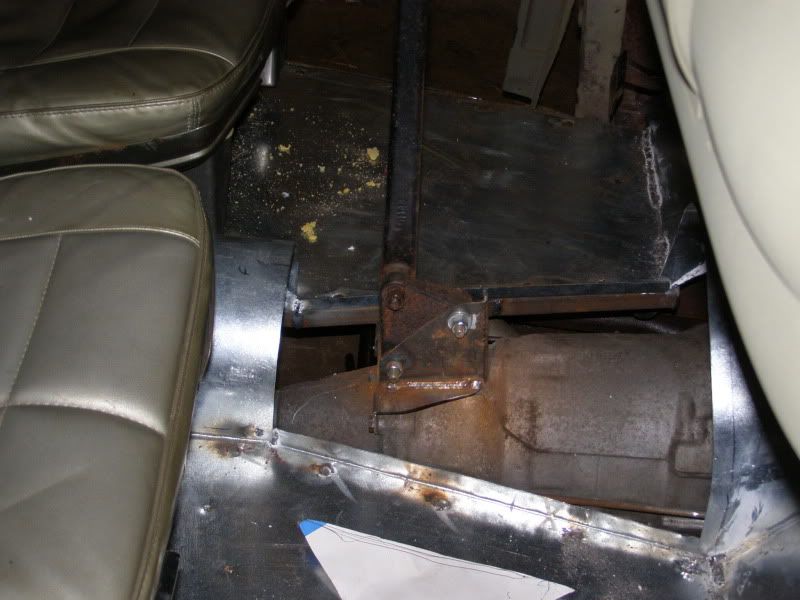
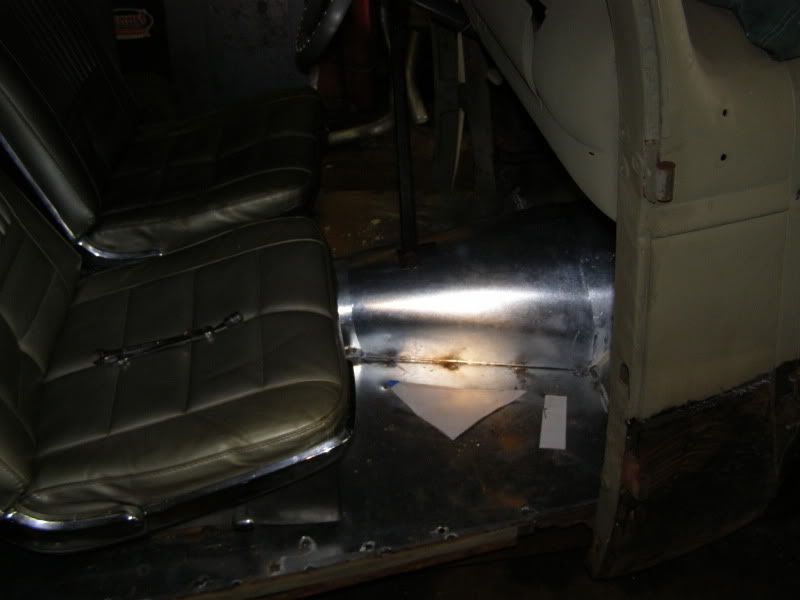
heres the rear of the cab and my driveshaft and driveshaft tunnel.
seats, rest of floor and my e brake shift lever.
deerchooper
Well-known member
- Joined
- Apr 3, 2010
- Messages
- 744
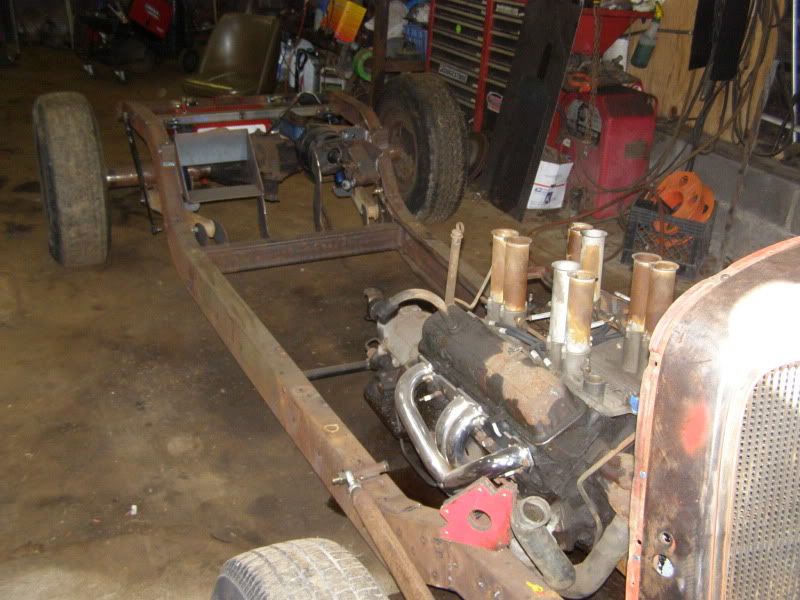
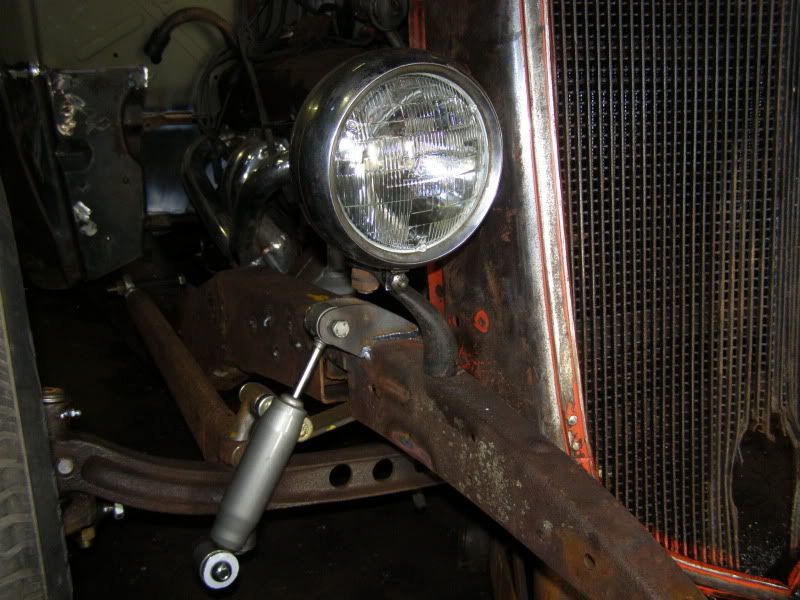
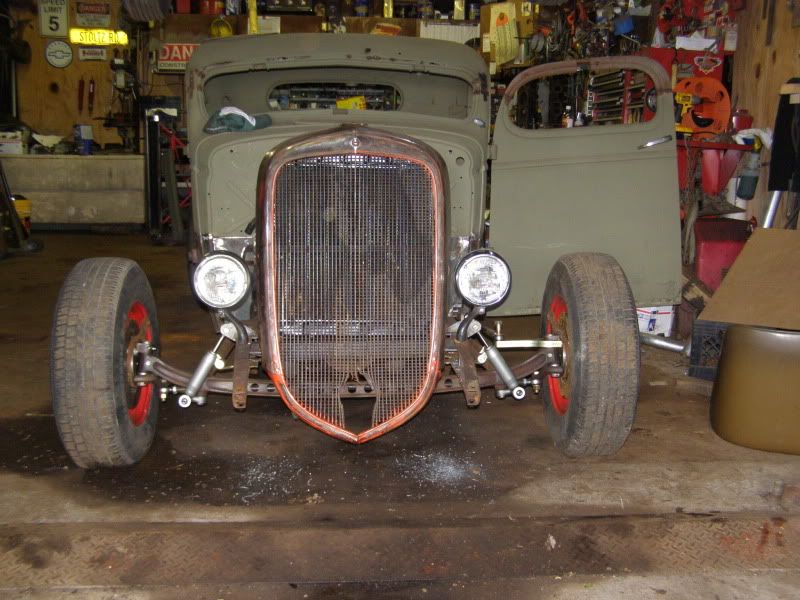
now we move to the front, i bought some lower shock mounts then made the uppers. then i started the head lights, couldnt figure out witch ones i wanted to do. so i ended up using these fog lights, i went to the parts store and found some regular high/low bulbs to use in them. so i gutted them and the bulb fit great. ill have to get some rubber to keep the bulb from touching metal and help adjusting the beam.
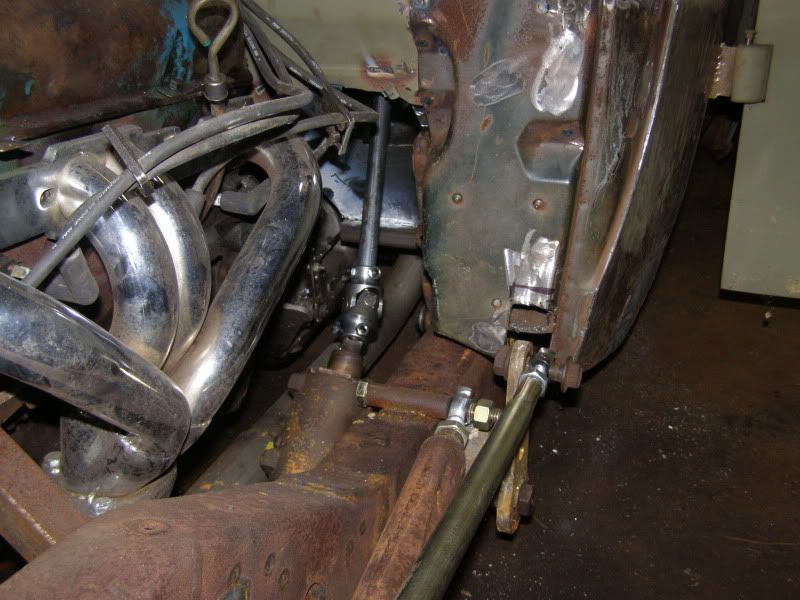
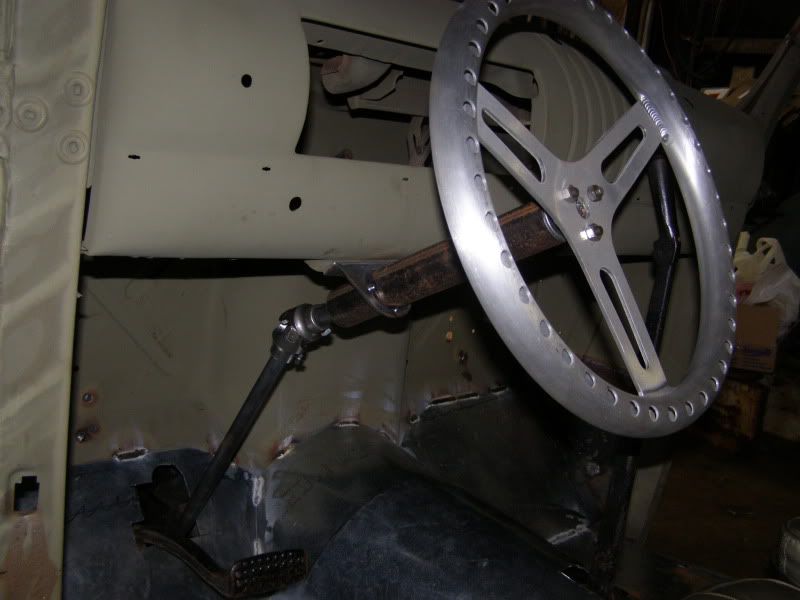
on to the steering. i bought some 3/4" dowl rod because it was cheaper to cut and waste then iron. this is what i came up with.i had to do some clearance on the lower section of the cab for the pitman arm.
going with the 2 barrel 350 motor.
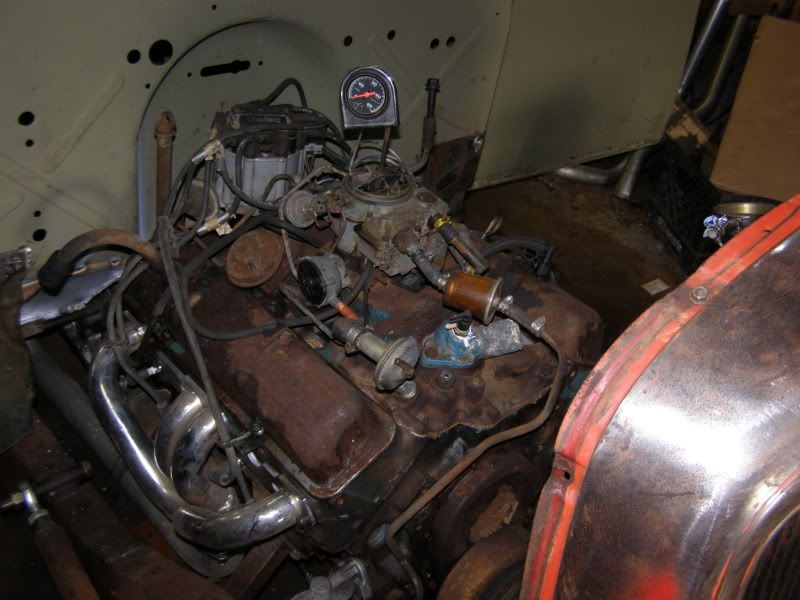
on to the steering. i bought some 3/4" dowl rod because it was cheaper to cut and waste then iron. this is what i came up with.i had to do some clearance on the lower section of the cab for the pitman arm.
going with the 2 barrel 350 motor.
deerchooper
Well-known member
- Joined
- Apr 3, 2010
- Messages
- 744
now its striped down for finishing.
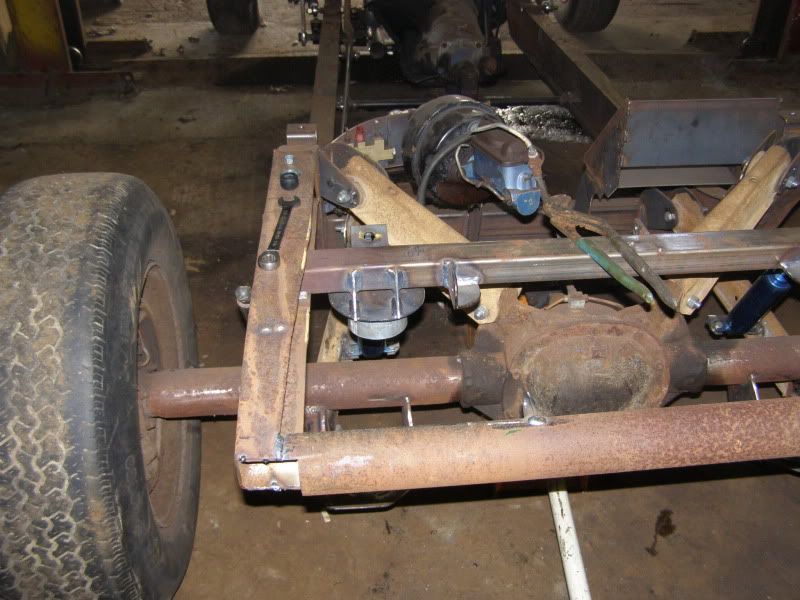
i cut the lower part of the frame off to get 2" of extra clearance. scrub line is much better now. the front wasnt a problem but the rear needed some help, with all 4 flats lol.

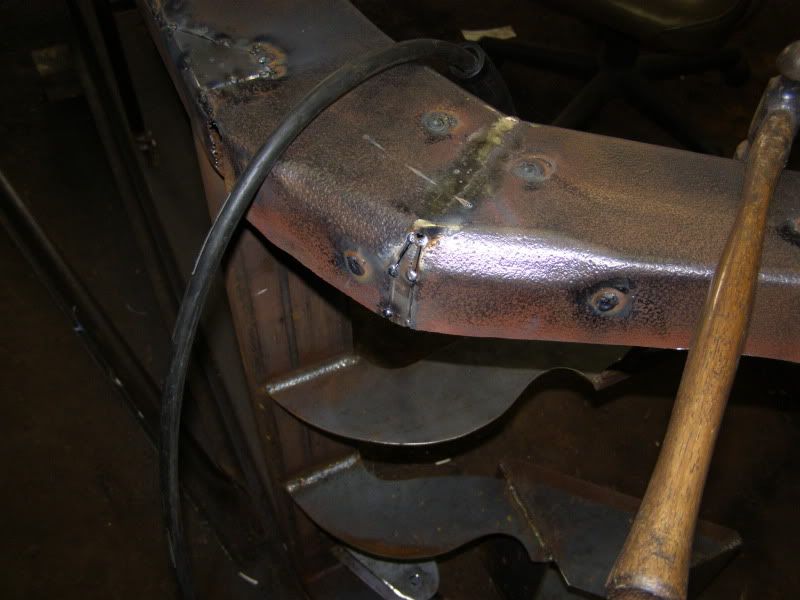

i cut the lower part of the frame off to get 2" of extra clearance. scrub line is much better now. the front wasnt a problem but the rear needed some help, with all 4 flats lol.
deerchooper
Well-known member
- Joined
- Apr 3, 2010
- Messages
- 744
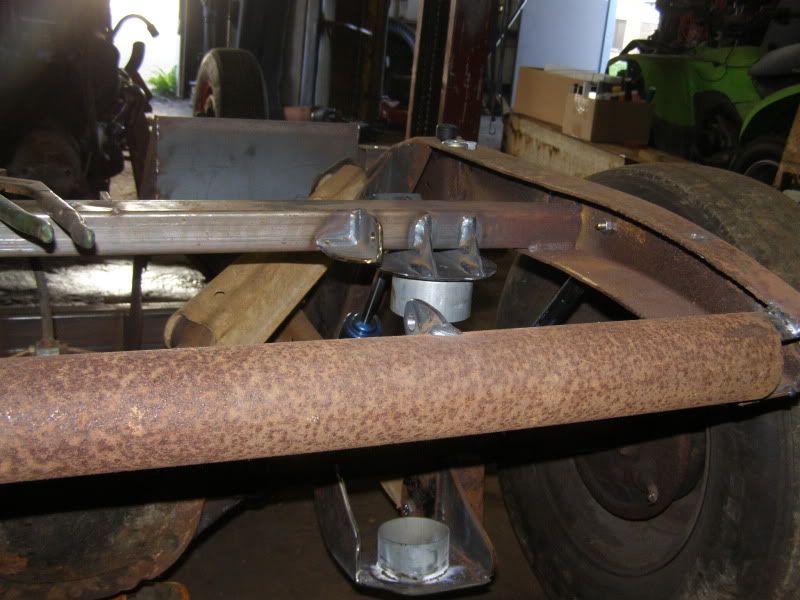
today i desided to work on the steering box hole. earlyer in the thread when i cut the hole i installed a 1/2" mounting plate then 1/4" plate to box in the inside. today i also added a 1/2" plate to the bottom, 1/8" plates to include the bone mount and help support the masive hole i put in there.
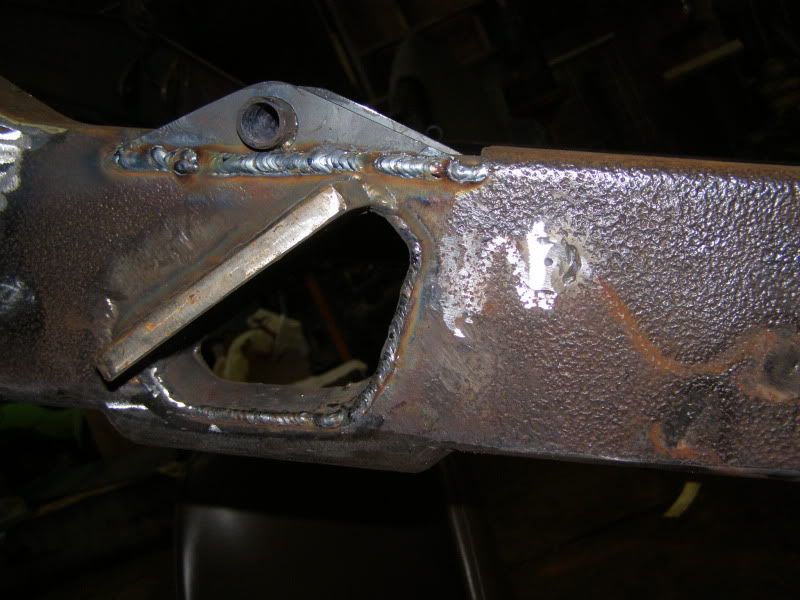
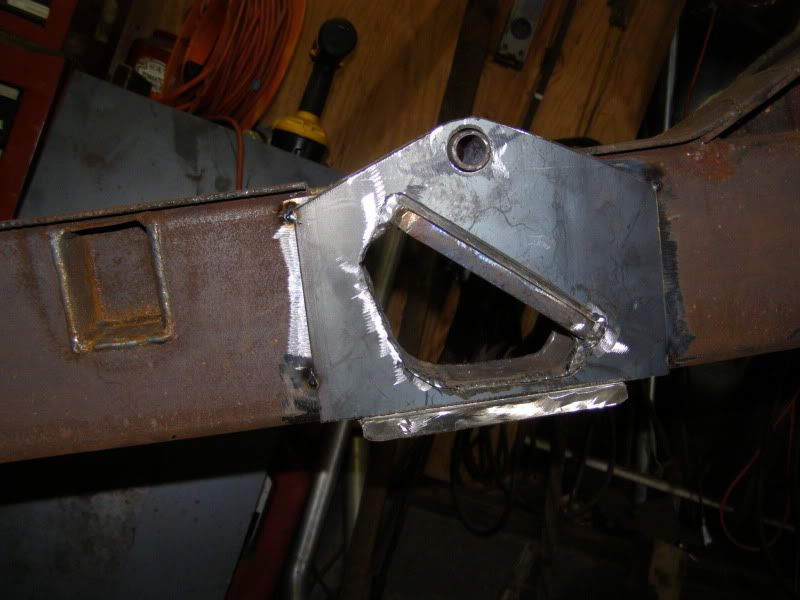

its hard to tell but i boxed in the top also
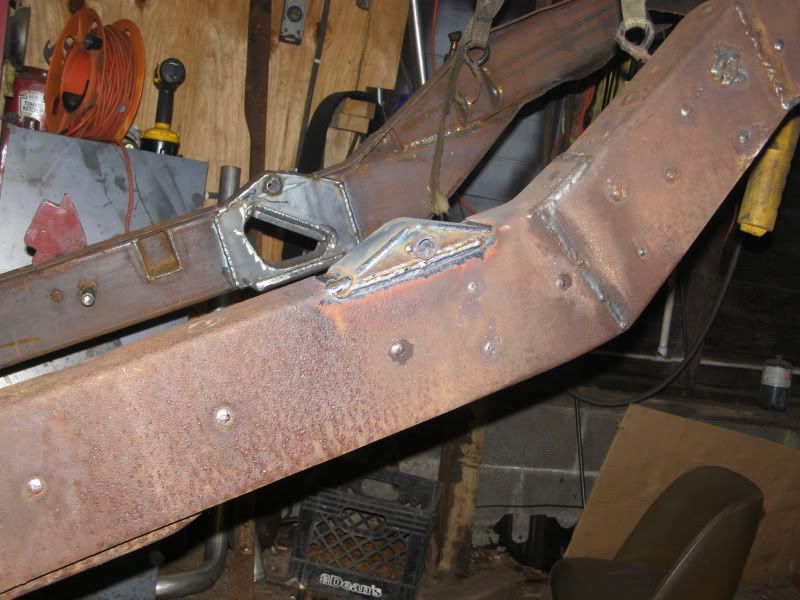
its hard to tell but i boxed in the top also