50 Chevy Rat

Rat Rods Rule

Help Support Rat Rods Rule:

This site may earn a commission from merchant affiliate links, including eBay, Amazon, and others.
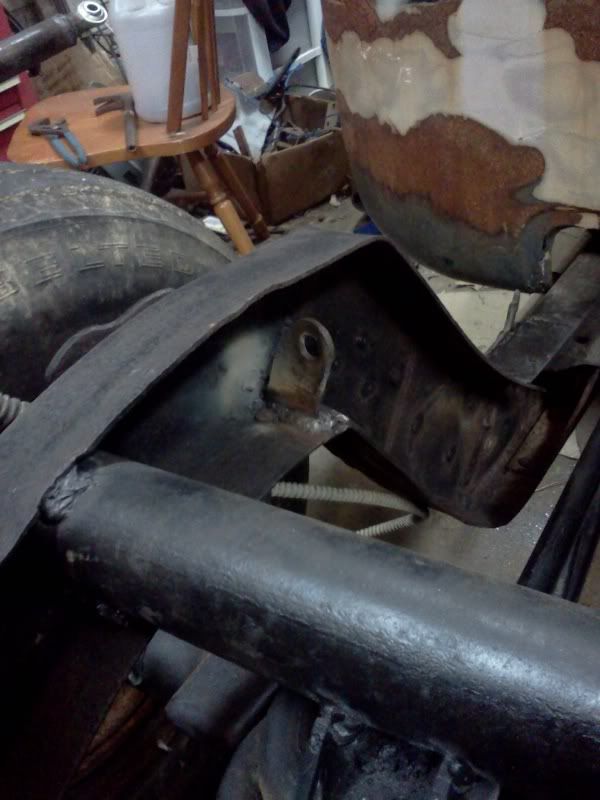
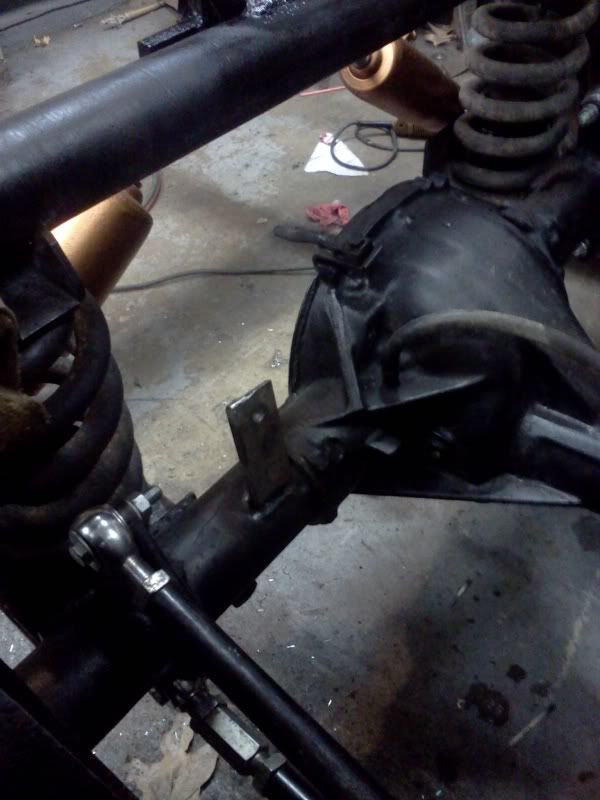
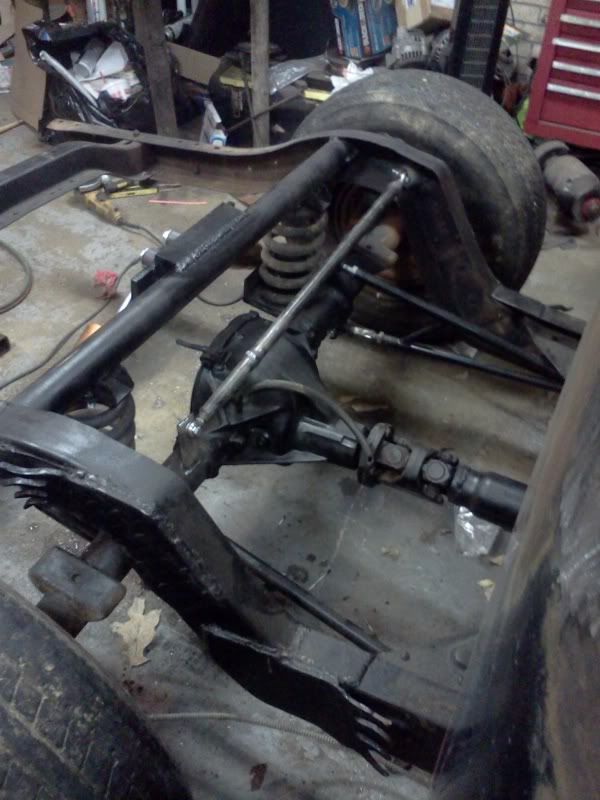
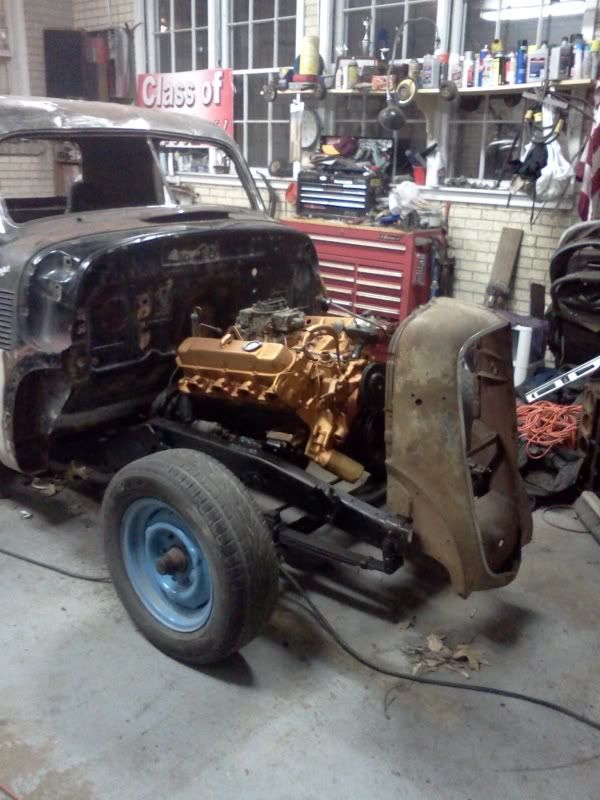
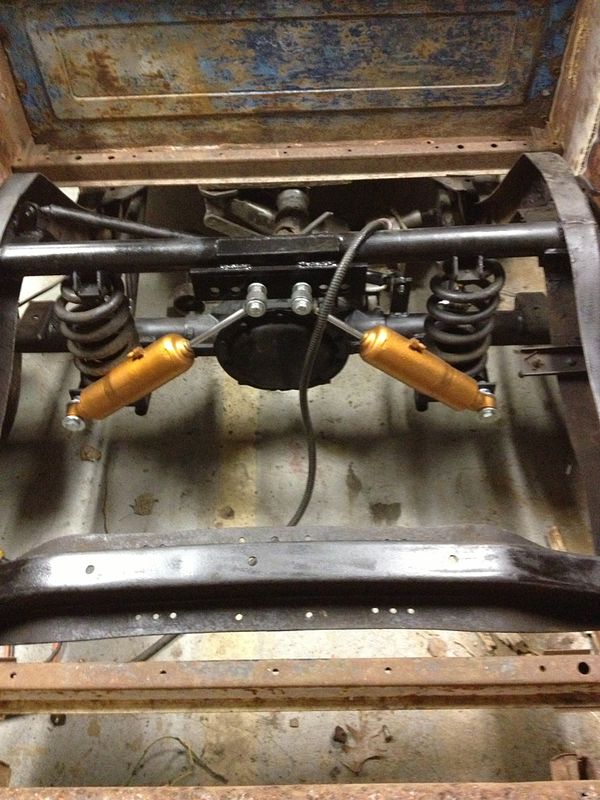
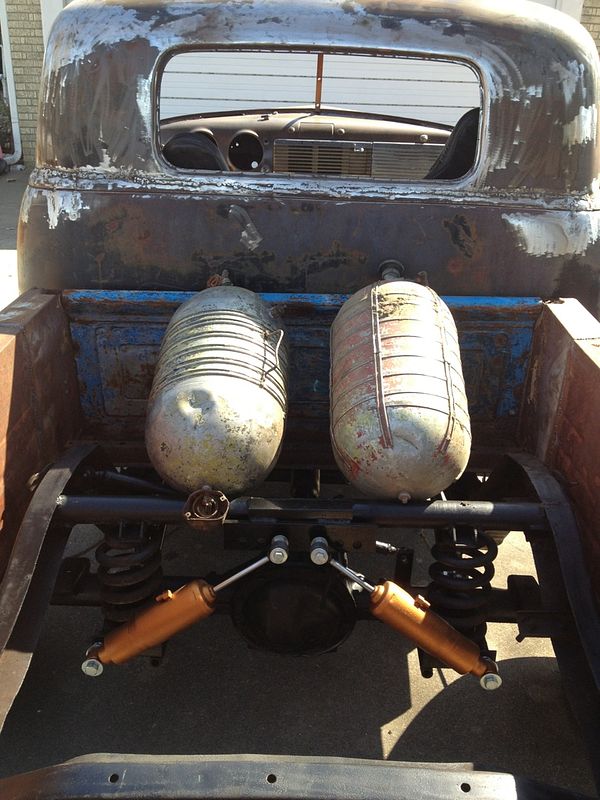
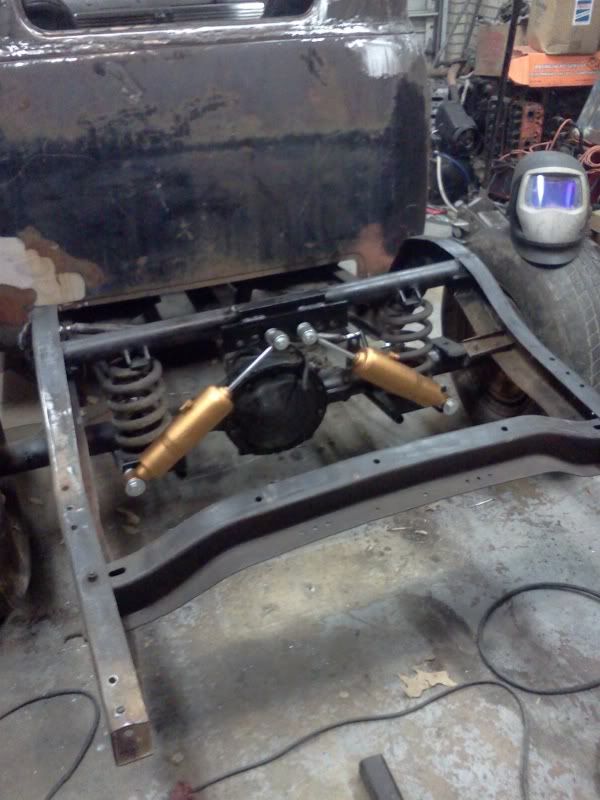
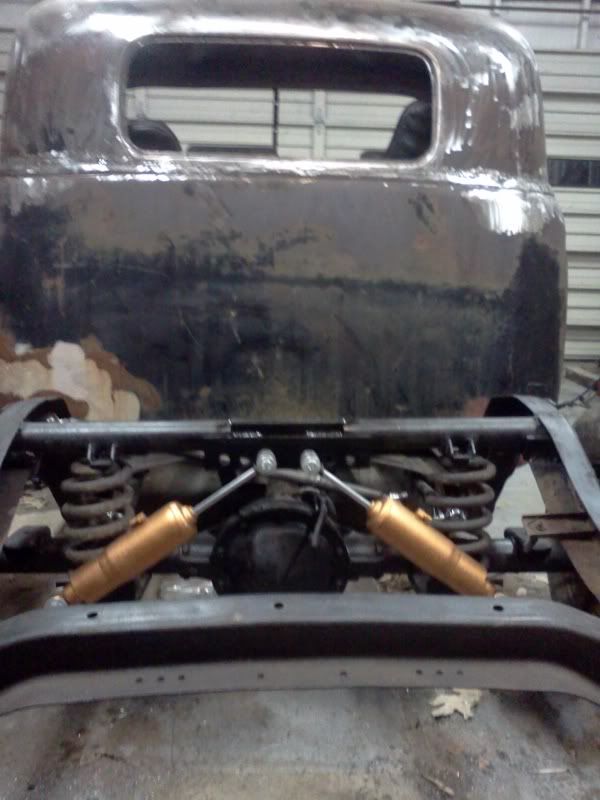
Put about 4 hours on it tonight and got alot done. I got the rear suspension done, shocks and panhard installed. Still need to get some softer springs for it. I could haul a 5th wheel camper and it would never even squat with these beefy springs.
I got my wiring harness in and its really nice every wire is labeled all the way down with text and color coded. It also has a built in 40 amp relay for a fuel pump or fan.
IMG_20130228_172358_zps934514ca.jpg


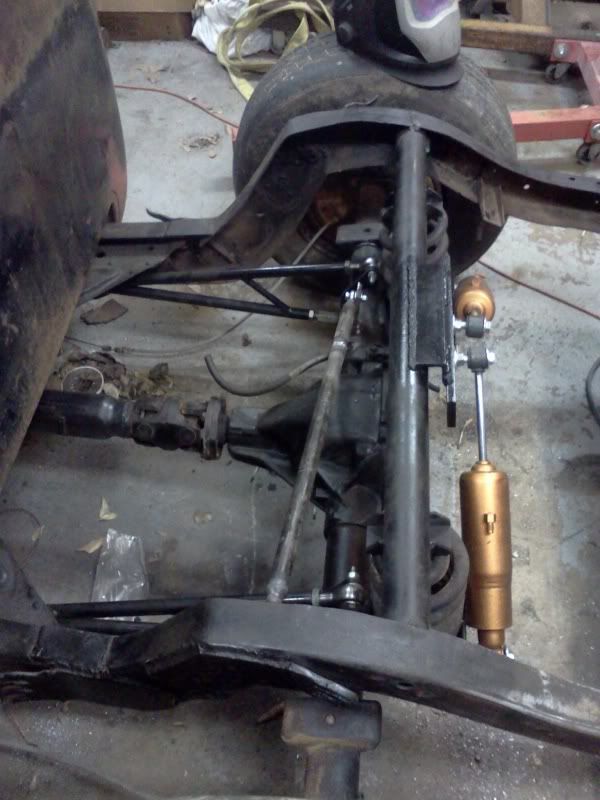
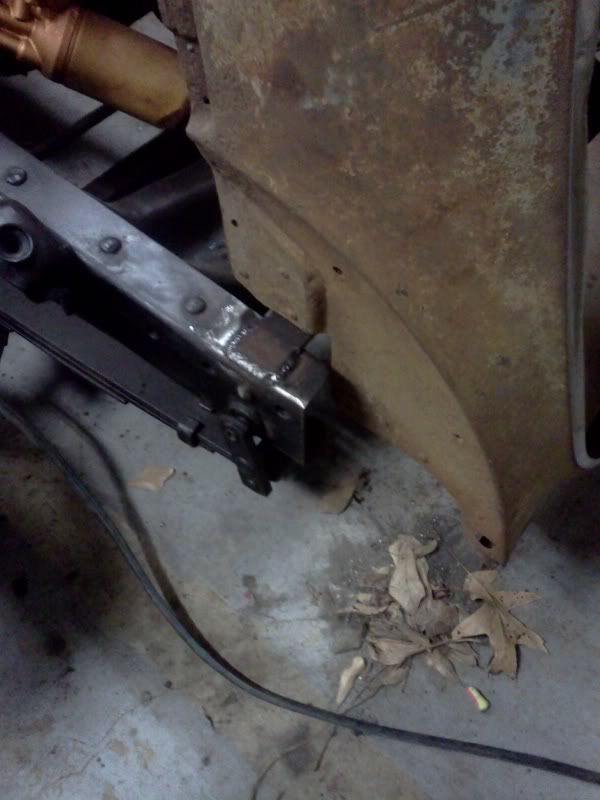
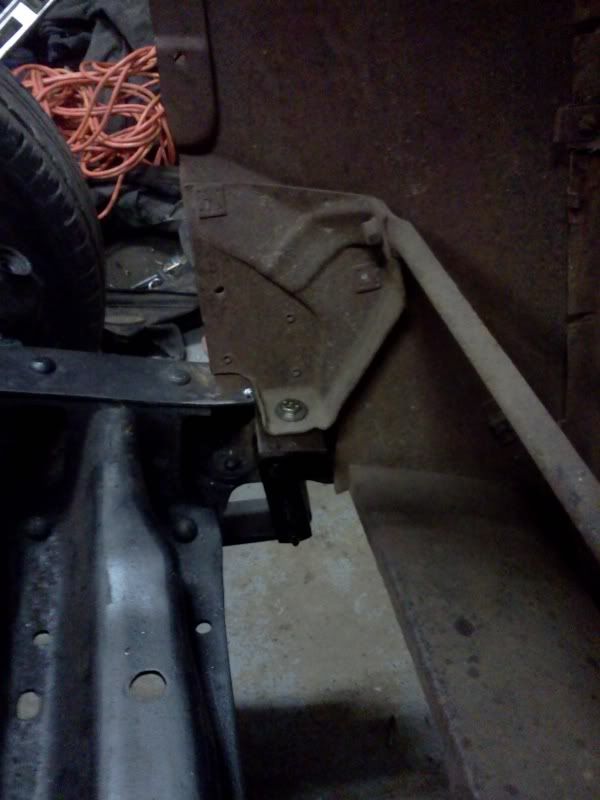
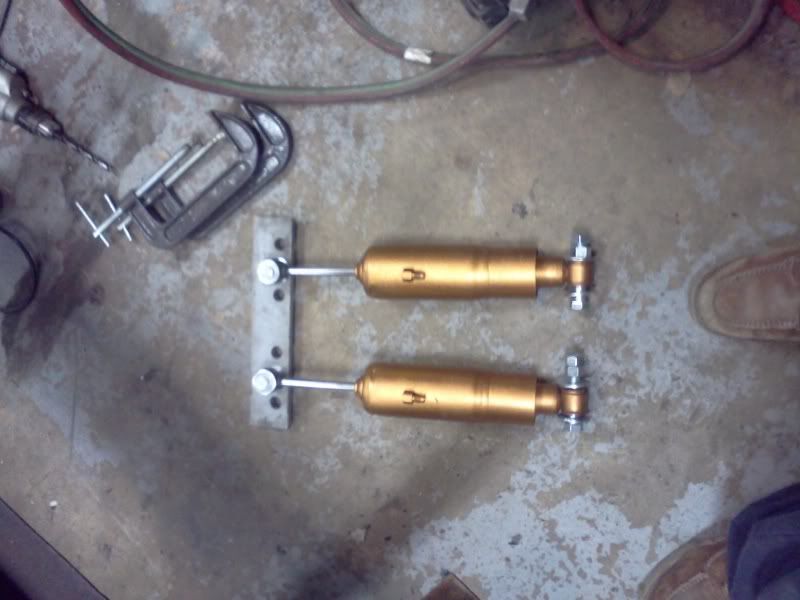
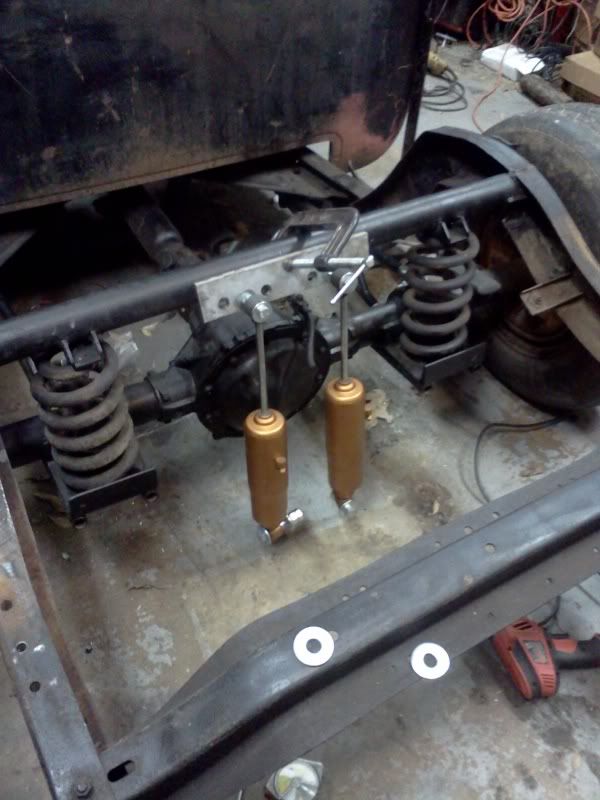
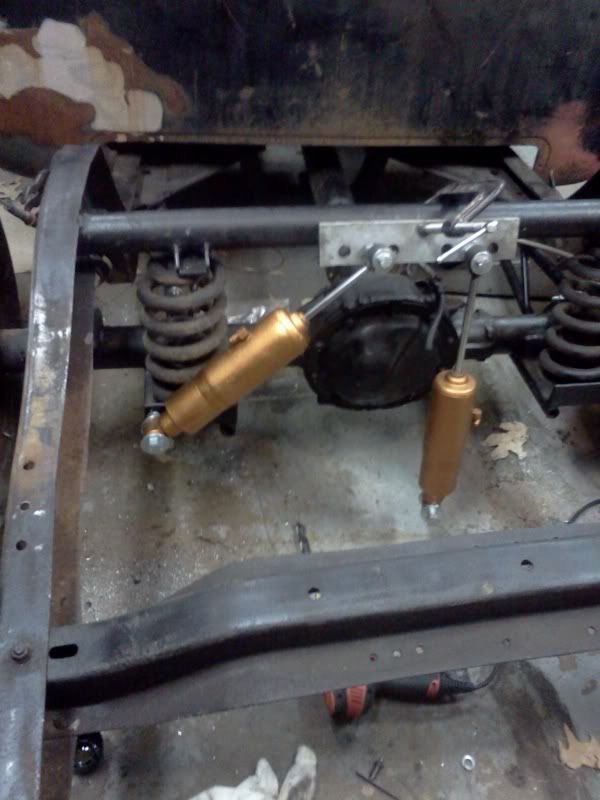
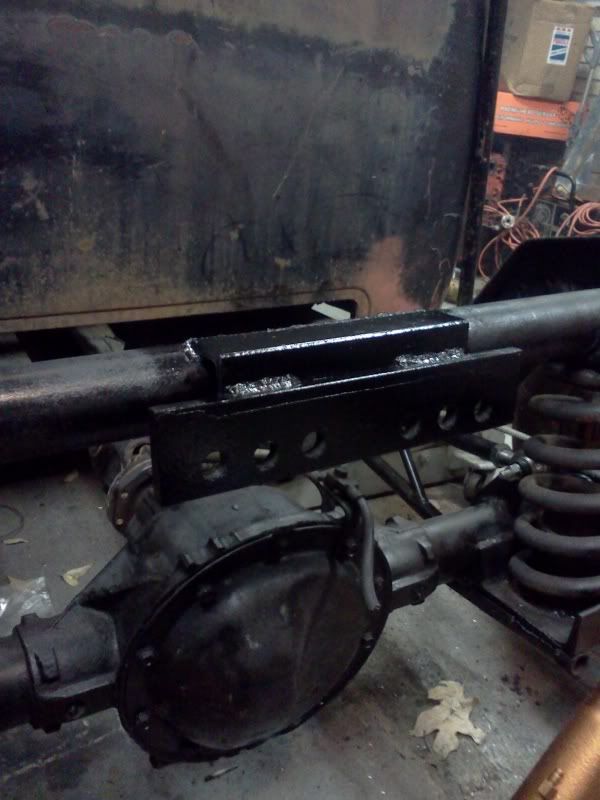
I already had some air shocks that i got for my Chevelle but sold the car. I decided to make them work on here. Fabricated a bracket and starting putting them on.
IMG_20130301_045553_zpsa0717583.jpg

IMG_20130301_185203_zps9702440d.jpg

IMG_20130301_190323_zpsf5948f14.jpg

IMG_20130301_192429_zpsf1fcd96a.jpg

IMG_20130301_201411_zps7e7f4c37.jpg

IMG_20130301_210559_zps5d35d24d.jpg

IMG_20130301_201540_zps4c04db6e.jpg

IMG_20130301_211148_zpsa8b6e81a.jpg
 
Then I installed my panhard and bolted in the springs. Still got to get some softer springs before I get this on the road. I could haul a 5th wheel camper with these springs on it.
IMG_20130301_203445_zps29fa016a.jpg

IMG_20130301_204651_zps4b2bc56b.jpg

IMG_20130301_210536_zps86cefac4.jpg

IMG_20130301_210619_zps19510362.jpg

Momma decided to goto bed early since I was working on the truck so I found something else to do. I got the grille mounted up. I still need to make some tiebacks to the firewall. (note to self, if you use an old leaf spring for mounting tabs remember its spring steel and it will laugh at your HSS drill bits. Must use the new Dewalt bits to drill it.) That was an awesome time there. I did use two 4 inch pieces of a leaf spring ,that I removed from the front of the truck, for the mounting tabs.
IMG_20130301_220626_zps2cdaaeac.jpg

IMG_20130301_220637_zps432e8202.jpg

IMG_20130301_220650_zpse22660f2.jpg

IMG_20130301_220709_zpsda3d448f.jpg


Didnt want a brake booster out in the open but I already have one that was on the cab when I got it. May paint it black and gold and install it tomorrow along with the brake pedal. Got to order my lakester headers for the caddy also. I need a stock steering box now. Got to get the steering done. Hope to get this done by late spring.
 
I like what you are doing, only thing I see, and maybe someone else can chime in as well, the shock angle looks excessive to me...

Relay: Bueler.... Bueler... Bueler....
 
I also didnt want the brake booster sitting out in the open. I split it from the master cylinder and put the booster under the dash and the master on the fire wall. Had to build a bracket for the rake pedal, but it worked slick. Sure looks better. Looking forward to seeing your headers bolted on.
 
Thanks, I have some adjustment on the shock angle. Otherwise I will need to get some shorter shocks.
kkadams do you have any pictures of that setup? It sounds sweet.
 
Can't wait for all the labor pains to be done and you show us the baby!

Looking great, nice work.

Lungs
 
Got the gauges ready even if I broke the speedo hand off. Ill just use the odometer to track mileage. If for some reason I really need to know my speed I can use a GPS.
IMG_20130302_140123_zps1e9c3401.jpg
 
Thanks, I have some adjustment on the shock angle. Otherwise I will need to get some shorter shocks.
kkadams do you have any pictures of that setup? It sounds sweet.

The issue I see is that when putting the axle through its range of motion, either on one side or both, the shocks will just pivot, and not actuate... if you remove the springs, and move your suspension through its travel, how much does the shock change in length?

I imagine it is less than you would expect, and may not be enough to dampen properly.
Just looking out for your safety, hopefully not coming across as being critical...
 
DR I appreciate the info I will move them to the outside holes and see what kinda angle they are at. I havent pulled the springs yet but I am going to when I get some softer ones. Thanks

I did manage to get some more done tonight. Went ahead and did the dash. Copper base coat and then bronze hammered paint to finish.
702BDE82-1EDC-4E26-AF63-C8BB8BD2E1D2-676-00000161FC245994_zps515a5e21.jpg

FF5FA09E-F9F3-4F52-89B9-D0A9EDFF0636-676-00000161F0418C55_zps95ca8100.jpg

8155D9BD-4ABF-4960-9BA9-981409CE49B8-676-00000161E388D084_zpsf8659c3d.jpg


Put the brake booster and pedal in. The booster got the same treatment.
BC523416-EC4A-498F-9A47-4ECE1AFD10B5-676-00000161E9DD04F6_zpsef2f2d15.jpg

A65B59A8-6239-492C-9857-691CB9AB8CD6-676-00000161BB76A137_zps1379725b.jpg

2D5727DC-1288-4878-8AE6-03BD96E92477-676-00000161AD2ED6D6_zps01f1f156.jpg
 
Next I decided to pull the bed in and start on it. I cut 17 inches out of it to match it up with the frame. Got to cut some mounts for the front and then bolt it down.
77721E63-1D9B-4912-A305-1D0C97B0DAF6-676-000001629E366853_zps31915f41.jpg

0184F639-275B-4AB1-88F9-E738D428B276-676-000001628EA76C53_zps4b6a71f9.jpg

2036A3E7-5065-4F6A-8960-17936608E9BF-676-0000016272963FDF_zps854f133f.jpg

D4284096-2F8D-4724-8BB7-EB2C2E094D4B-676-0000016284060C49_zps3cfc7db9.jpg

7F936740-3D0F-484C-B700-0F3CD768DBC4-676-00000162955DD5AB_zpsa7091f69.jpg

A49B9319-7892-4B99-B470-0F4D67400D7C-676-000001622EA39F1B_zpsa24077fc.jpg

E4D5BA57-52D2-41D4-99BC-62B54829A4D0-676-0000016218AA7F3E_zps4af70b89.jpg

40B1C2FF-6997-4105-AB17-BCBA713E1311-676-000001620862EA1E_zpsde8c951a.jpg

B3A9CD80-88AD-41D1-A4B3-FA32AFA672BE-676-00000161D6B366C2_zps76bb6a73.jpg

7F197DE0-8582-41B9-8C68-4325C81FA280-676-000001619F842187_zps672ec12a.jpg
 
Howdy

I know you're having fun now!
Just think of all the time and money you get to spend on that damn thing now!!!
So, Get to it and keep us posted!
later
 

Latest posts

Back
Top