cking894
Well-known member
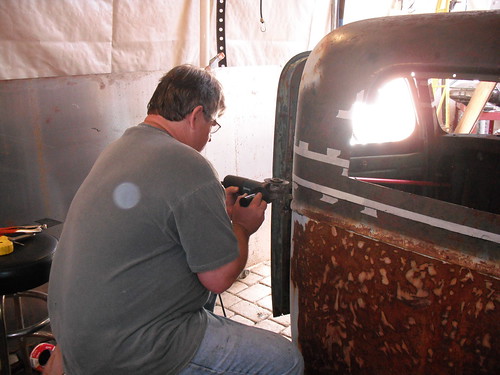
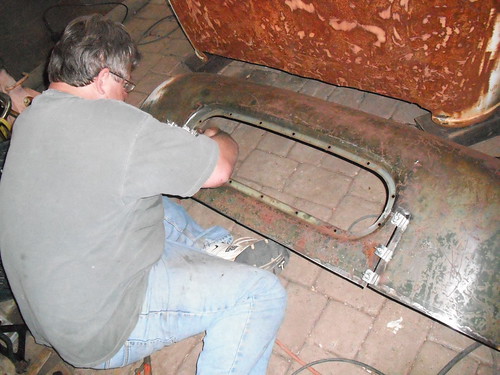
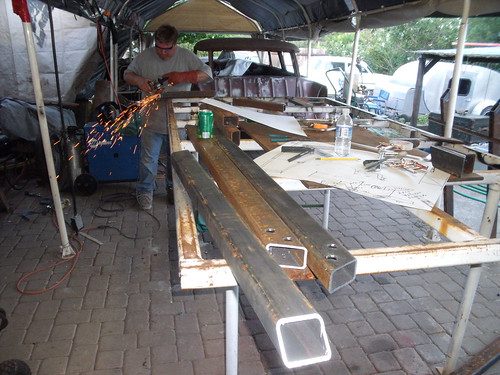
I have been collecting parts and pieces for about a year now for this build. Last week we mocked up all the parts and we will start the build this week.
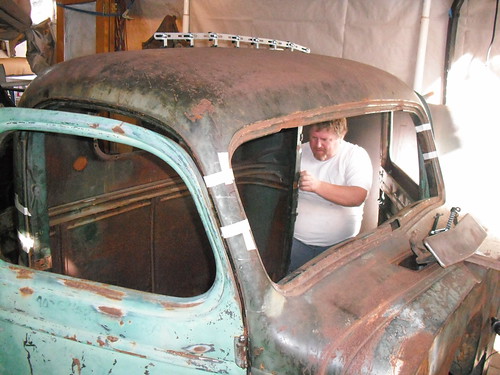
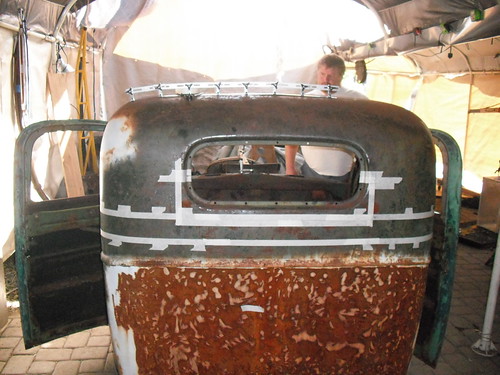
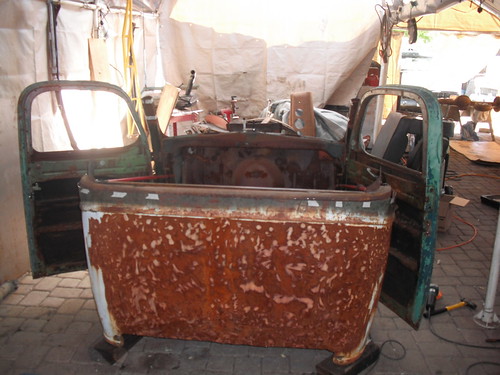
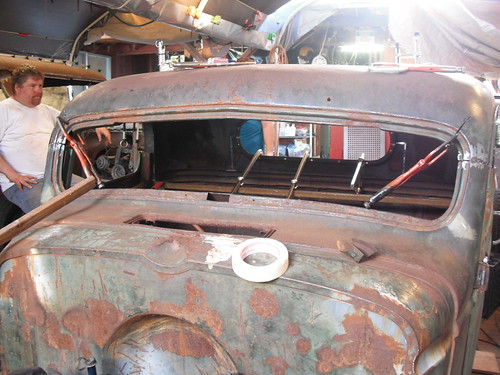
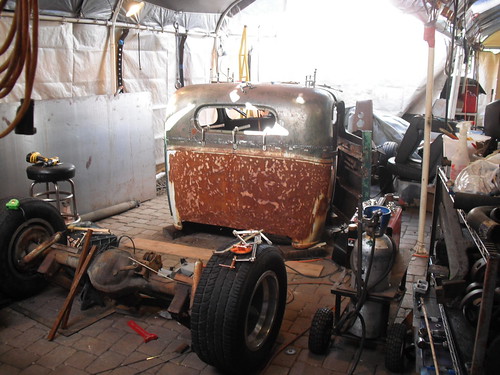
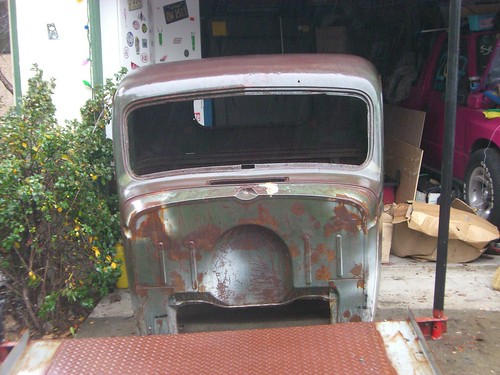
Here is a couple pictures of the cab when I hauled it home.
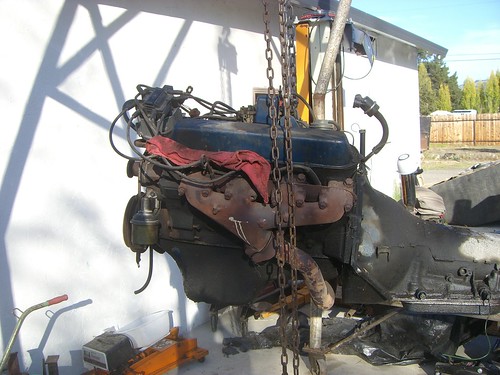
Here is a picture of the Cadillac 500 engine and Turbo 400 transmission I'm using.
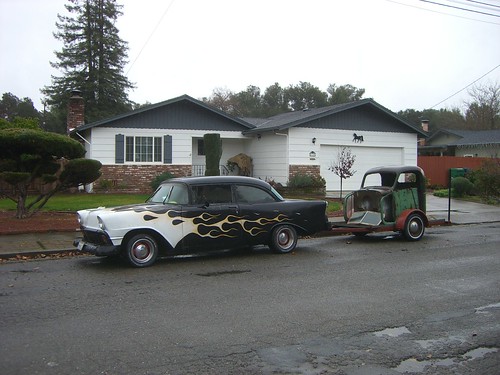
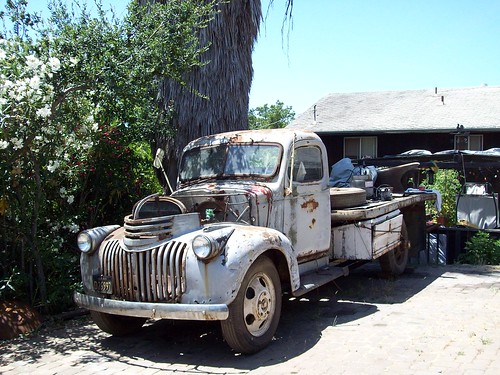
The '41 Chevy that we parted out for all the extra parts I needed.
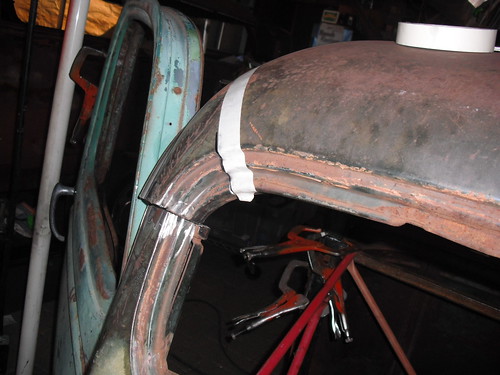
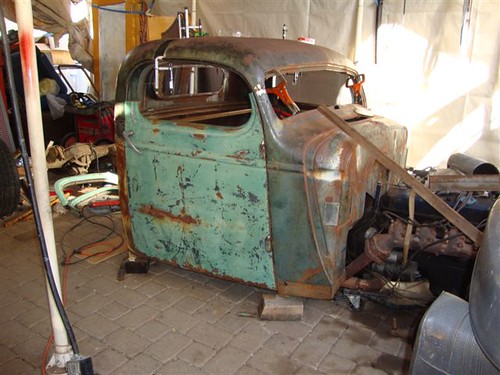
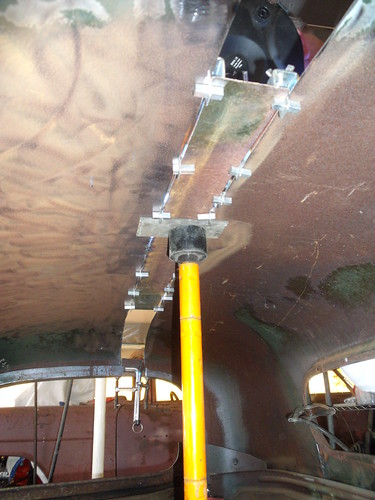
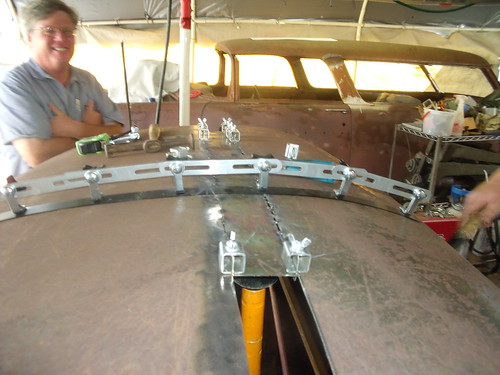
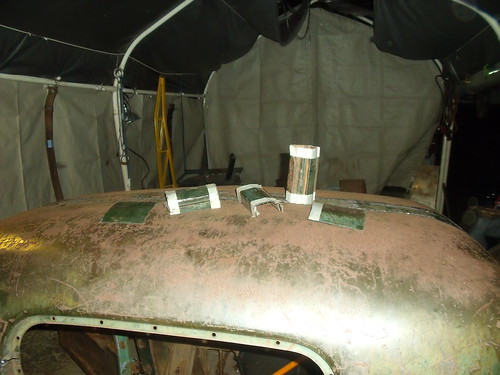
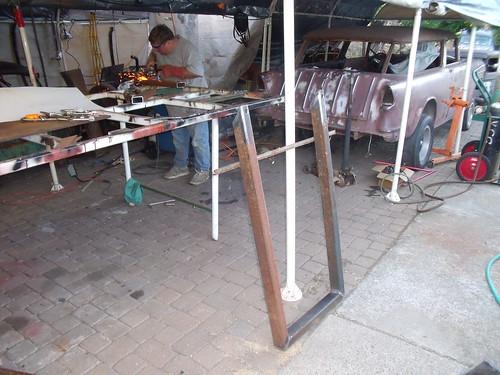
Here it is mocked up with everything in place.

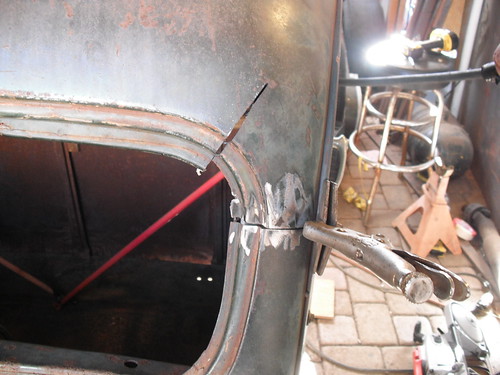
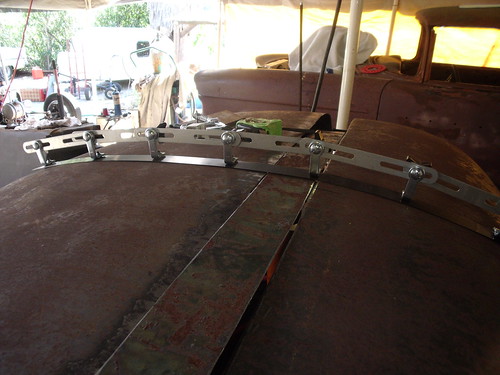
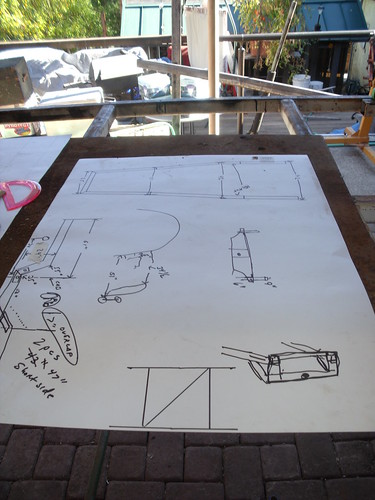
We are probably going to build the frame tomorrow and start the chop. I've decided on a five inch chop and to take three inches off the bottom of the cab. I will post more pictures as the project comes along.
Keith
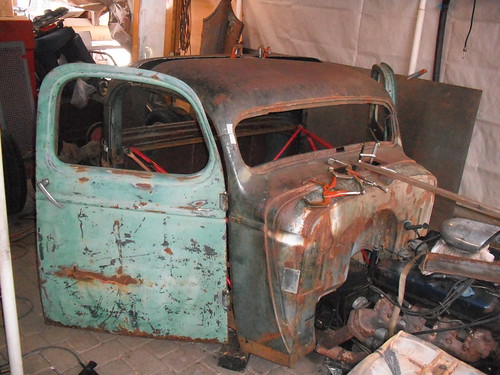
Here is a couple pictures of the cab when I hauled it home.
Here is a picture of the Cadillac 500 engine and Turbo 400 transmission I'm using.
The '41 Chevy that we parted out for all the extra parts I needed.
Here it is mocked up with everything in place.
We are probably going to build the frame tomorrow and start the chop. I've decided on a five inch chop and to take three inches off the bottom of the cab. I will post more pictures as the project comes along.
Keith