1930 model a roadster

Rat Rods Rule

Help Support Rat Rods Rule:

This site may earn a commission from merchant affiliate links, including eBay, Amazon, and others.
Just confirms previous statements made here all the time.

Just because you have the tools, doesn't mean you know how to use them!!! Those are some pretty scary welds on that axle..............
 
getting the other roadster ready to go to the paint shop, the owner decided he wanted to go with a frame mounted brake pedal/ master cylinder. so i had to weld up the holes in the fire wall, and cut the hole in the floor.


the brake assembly


been holding off on this job for a while. the gaps around the deck lid were horrible so i had to pie cut the deck lid to fix the issue. really kind of sucks i had to do it in the first place since it brookeville body and decklid. it is what it is though

cut, moved and tacked


welded up and ground smooth

 
after being gone for pretty much the entire month of August for bonneville, vegas, chasing cars across the country and metal shaping classes. i am back at the shop getting work done!!

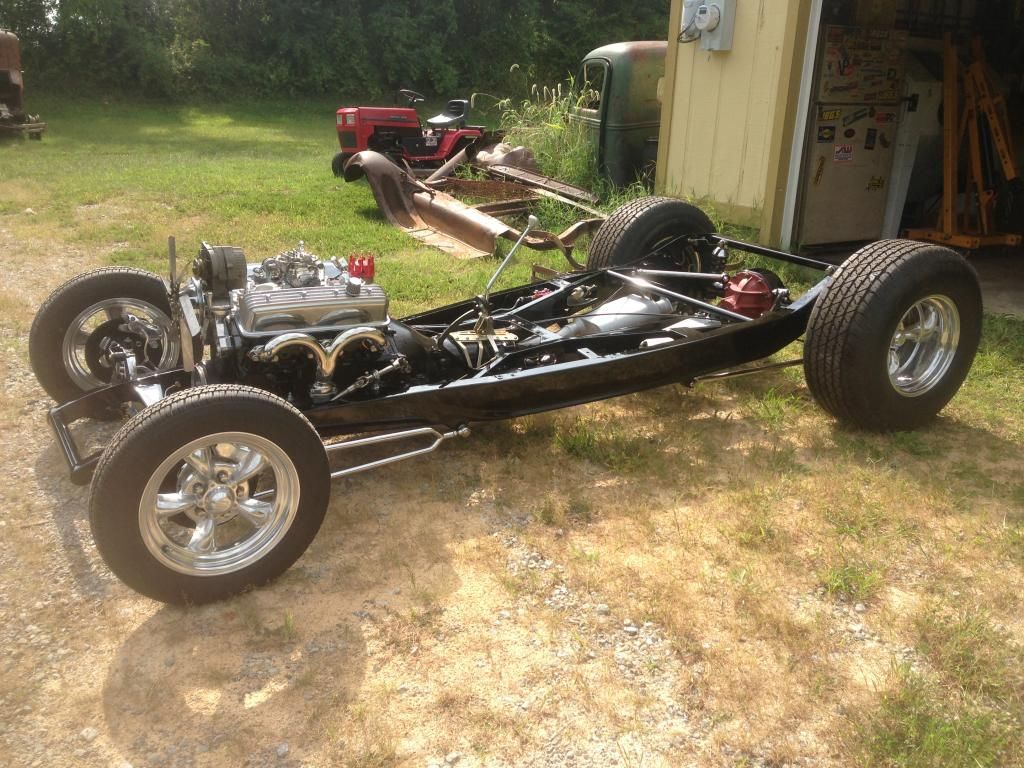
got the frame back from the painter, so need to get it all buttoned up and back to the painter to put the body on and lay the base coat.

here is were i am at


Everything is looking really good, I would like to hear more about the straightening of the axle housing tubes and the process. I didn't weld on my current axle, but I may on a future project.
 
here are some more pics from the progress on this car, now i sit and wait on the painter again.........

chassis all finished up, cleaned up and rolled out side


here is the fire wall, painted a creme/ ivory color the painter and i came up with

 
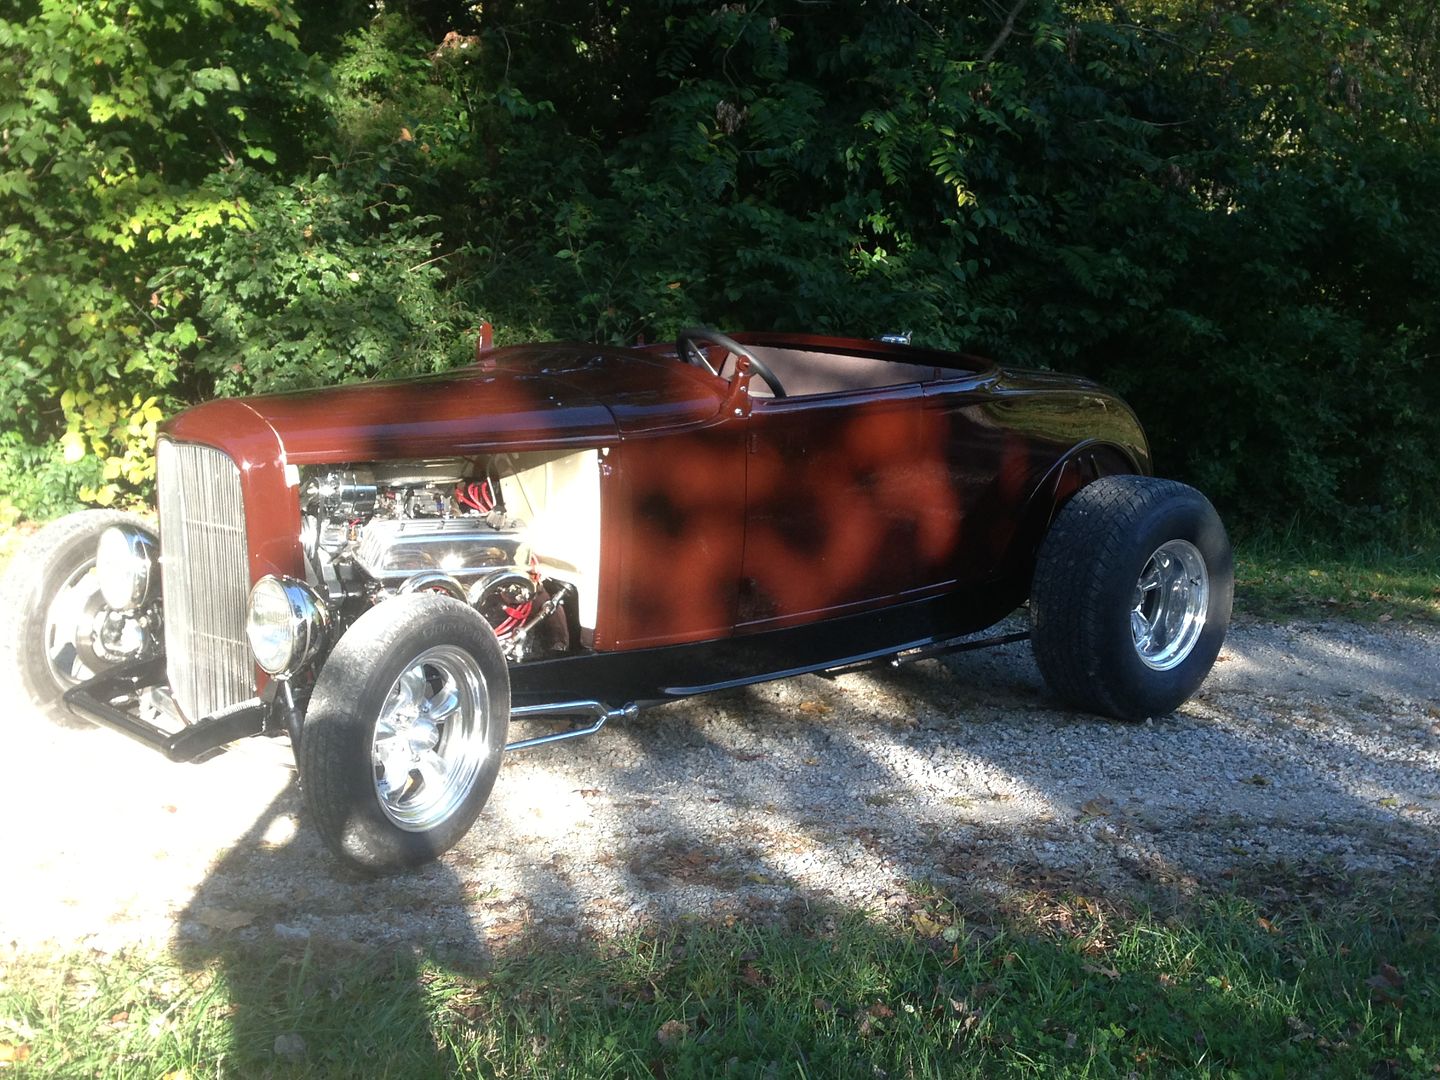
the body back on the chassis and ready for the final blocking and paint


when narrowing a rear end you will need a narrowing/ truing bar and pucks. once the rear end is cut and re welded, if you cant spin the bar or the pucks by hand, it is warped. so you remove both pucks on the ends ( the bar is still being held and centered by the pucks that are in the carrier. so you slide the end pucks over to the bearing surface and see which way the housing is warped. then take a torch with a rose bud tip, and heat on the side that looks like it shrank close to the center section, i like to go just to the out side of the weld at the tube and center housing. heat up about half way around the tube to a dull red, it will expand past what it looks like it needs. then i tap the housing lightly with a hammer to relax the metal. let it cool and see how it moved, repeat the process until you can slide the pucks in easily by hand
 
the body back on the chassis and ready for the final blocking and paint

when narrowing a rear end you will need a narrowing/ truing bar and pucks. once the rear end is cut and re welded, if you cant spin the bar or the pucks by hand, it is warped. so you remove both pucks on the ends ( the bar is still being held and centered by the pucks that are in the carrier. so you slide the end pucks over to the bearing surface and see which way the housing is warped. then take a torch with a rose bud tip, and heat on the side that looks like it shrank close to the center section, i like to go just to the out side of the weld at the tube and center housing. heat up about half way around the tube to a dull red, it will expand past what it looks like it needs. then i tap the housing lightly with a hammer to relax the metal. let it cool and see how it moved, repeat the process until you can slide the pucks in easily by hand

Thank you for the info, I've not ever done or seen that done in person.
BTW, that build looks awesome!
 
finally got all the wiring done, and everything buttoned up for the most part. still needs the interior done and the windshield and stantions. but need to get some miles on the car to work out any bugs before winter

<embed width="600" height="361" type="application/x-shockwave-flash" allowFullscreen="true" allowNetworking="all" wmode="transparent" src="http://static.photobucket.com/player.swf" flashvars="file=http%3A%2F%2Fvid71.photobucket.com%2Falbums%2Fi138%2Figgypop724%2FIMG_1040_zpsb91c1ce5.mp4">


I was down to CC last week to drop off the rear end & Mike was working on the wiring that day. The pictures here don't do this justice. This build is top of the line in every aspect. Very beautiful! Way to go Mike.
 

Latest posts

Back
Top