drptop70ss
Well-known member
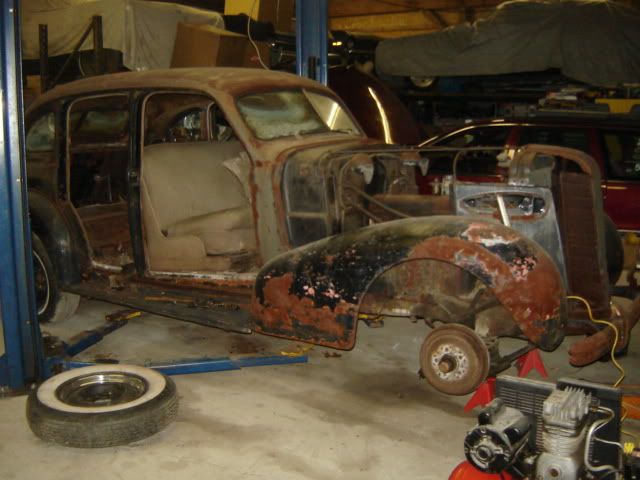
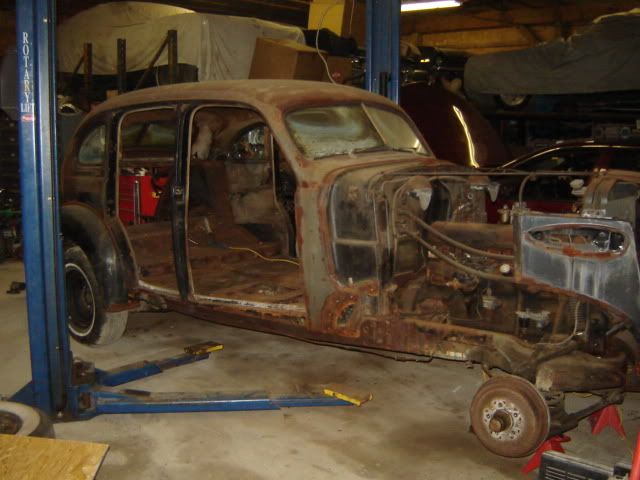
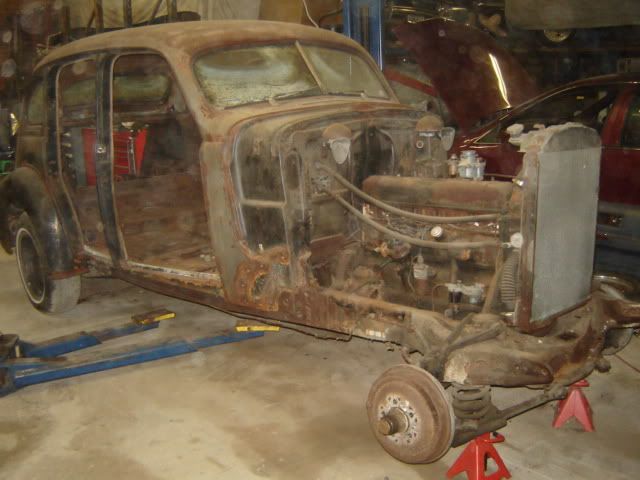
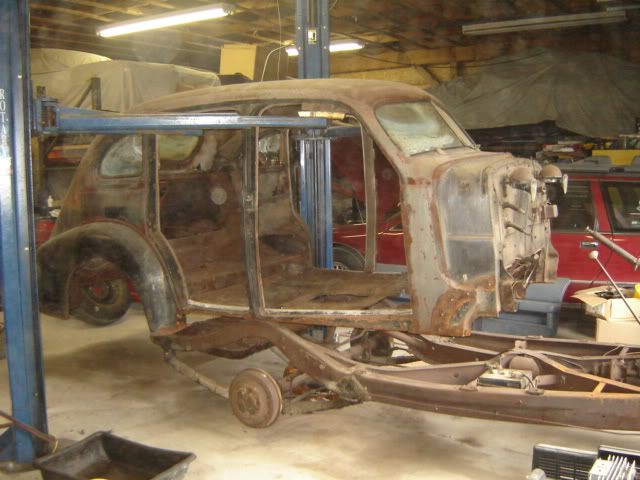
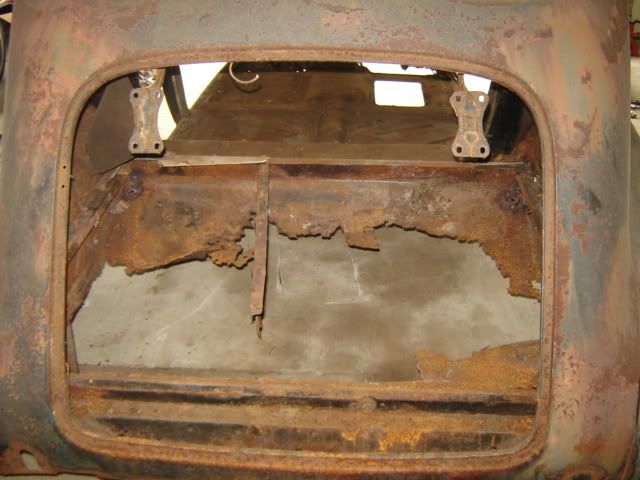
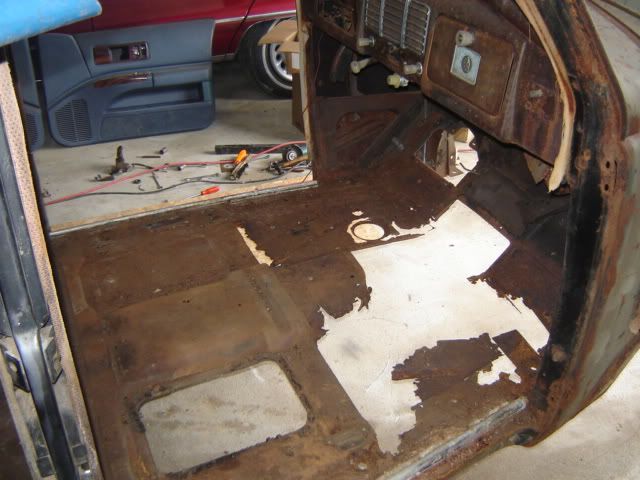
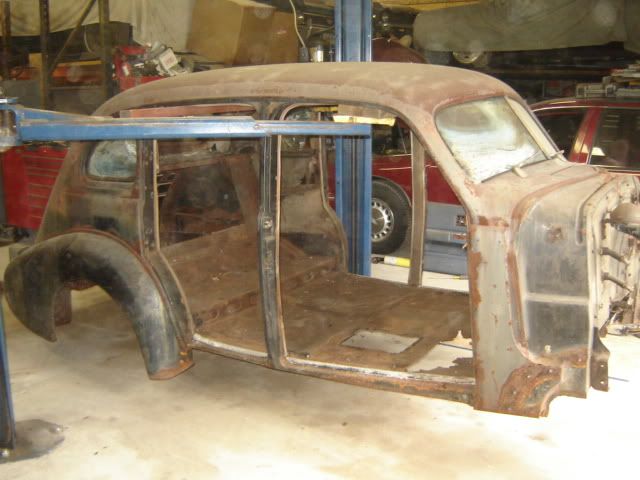
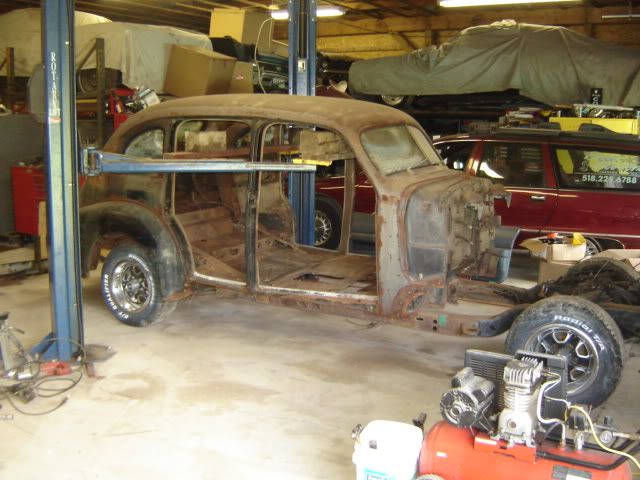
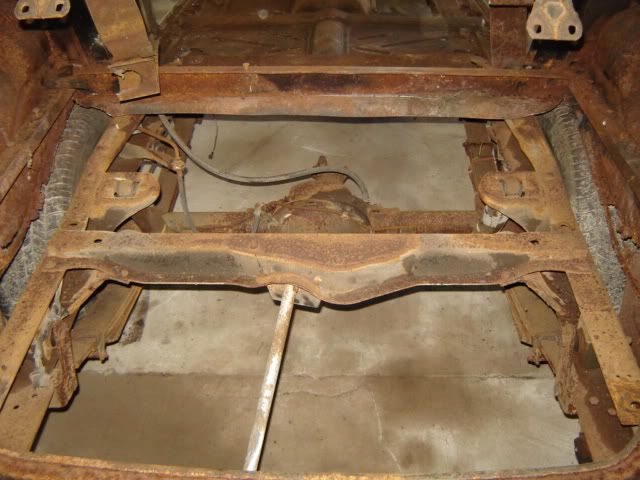
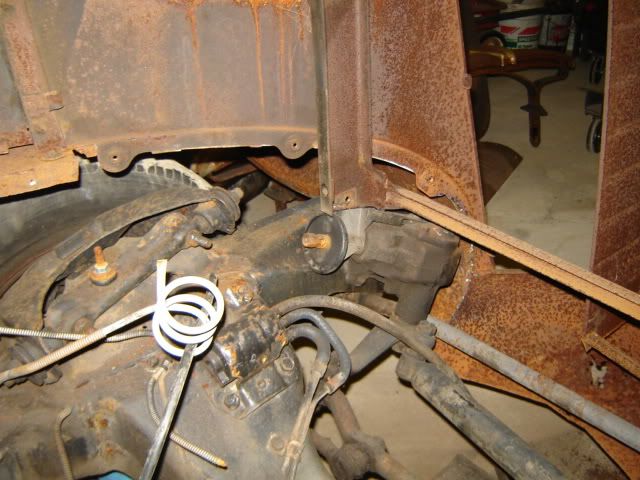
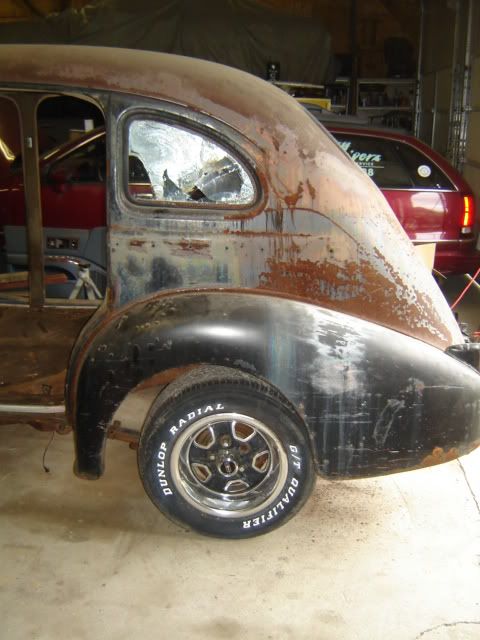
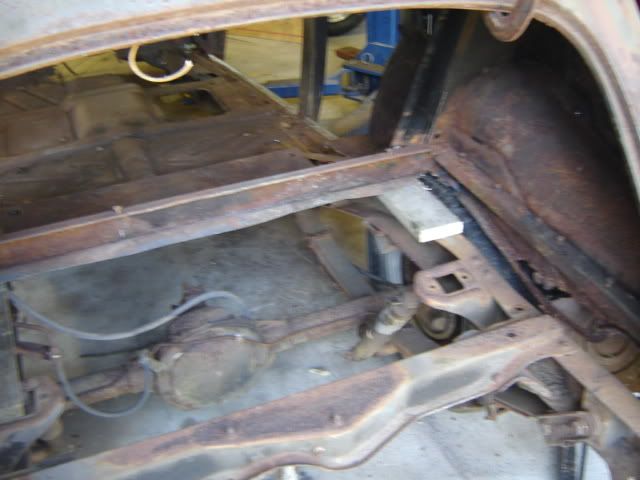
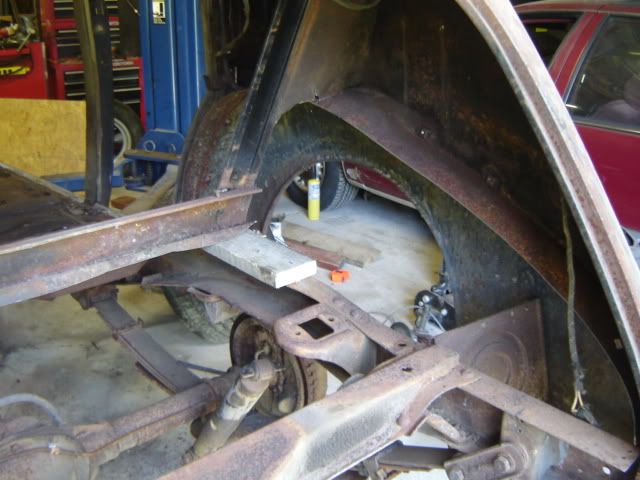
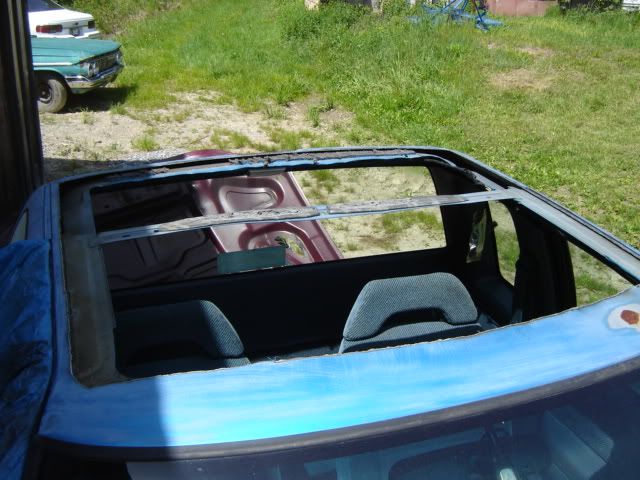
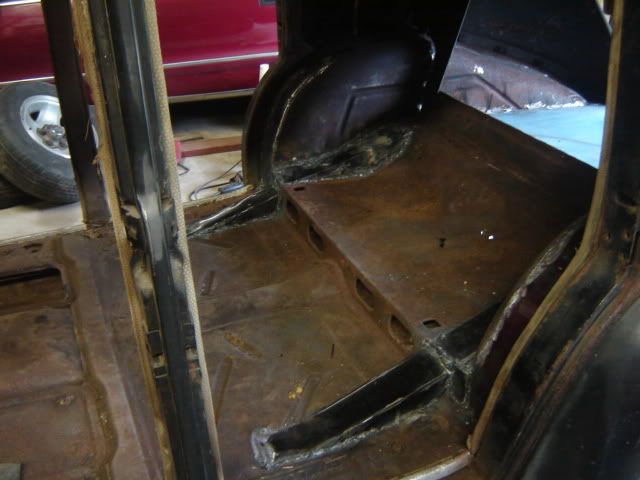
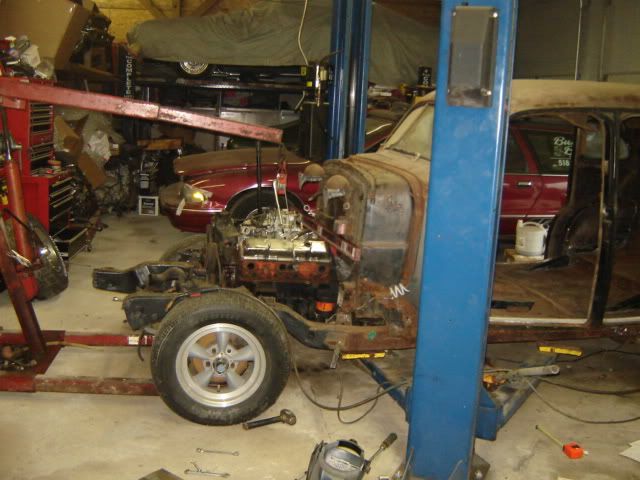
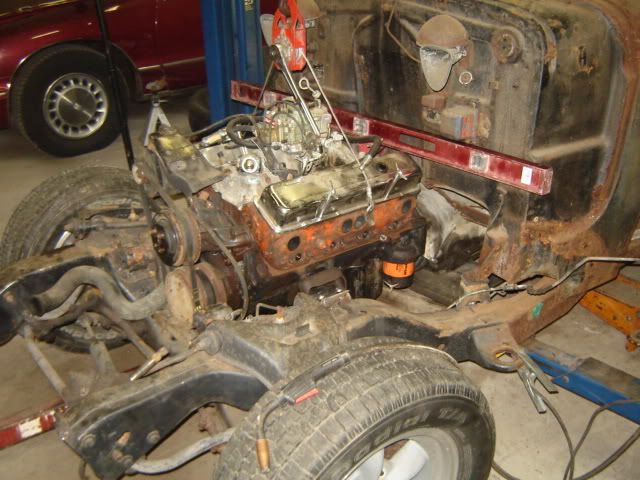
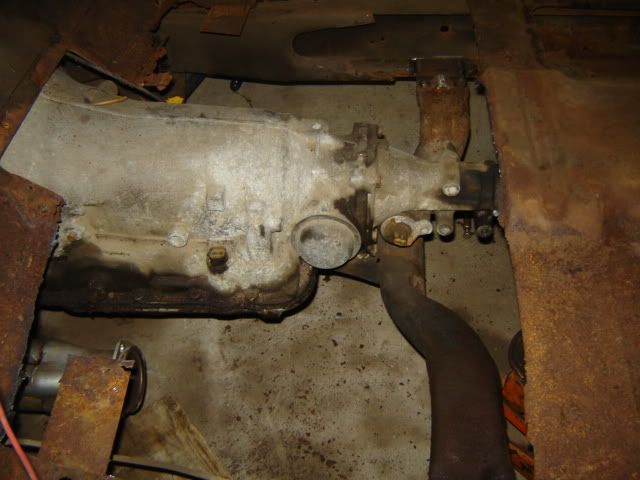
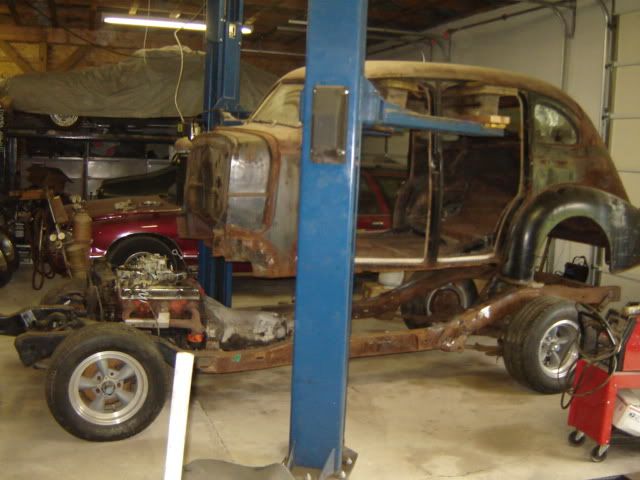
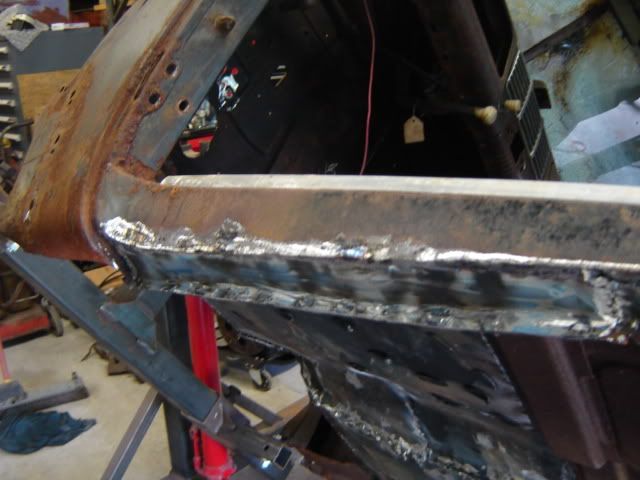
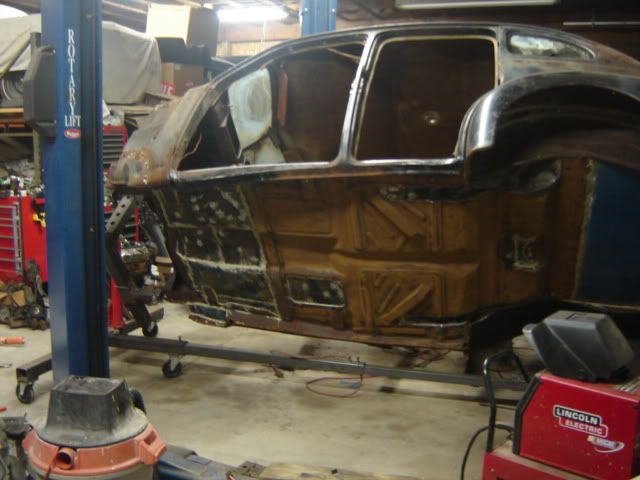
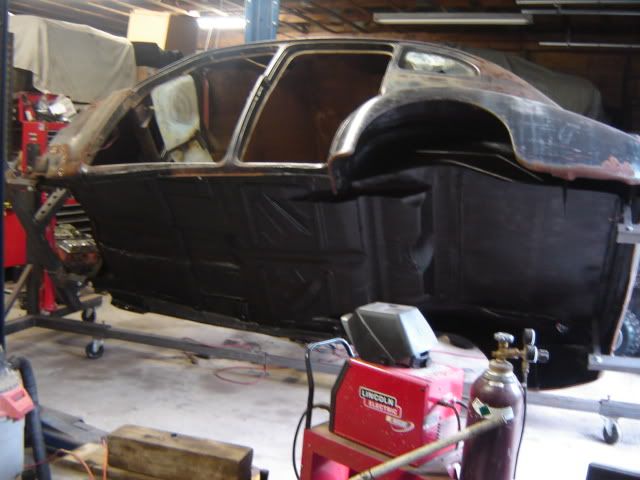
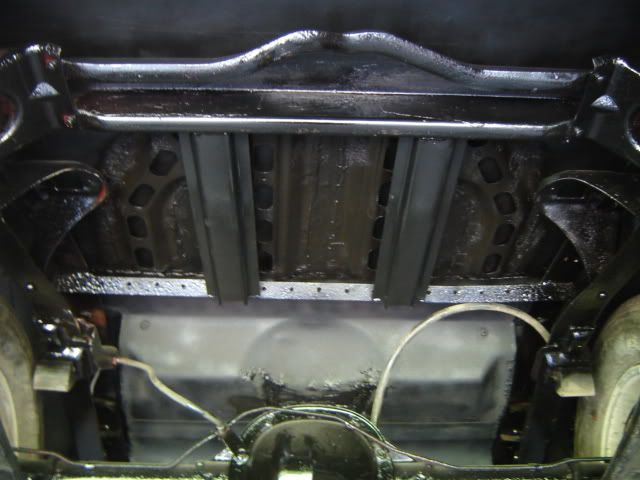
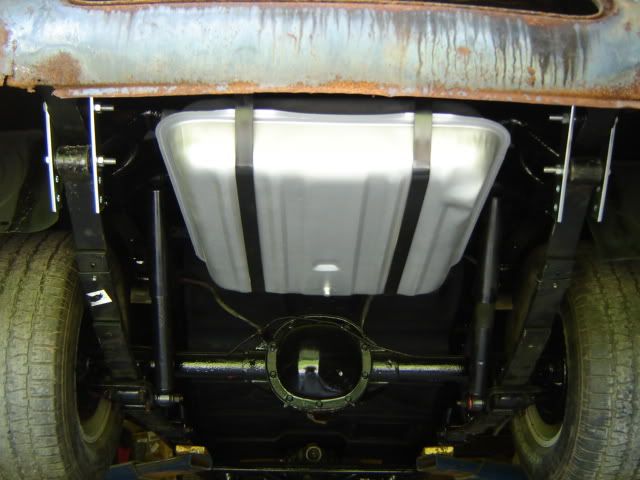
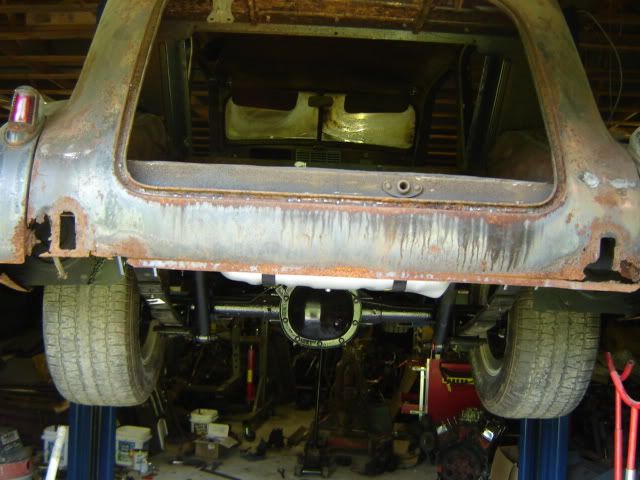
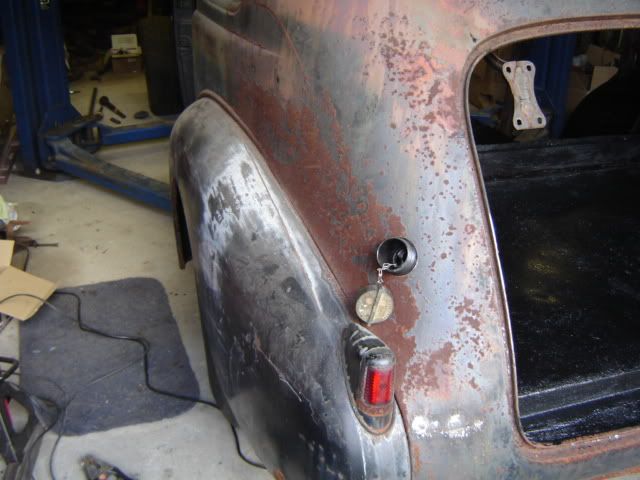
Just found this site recently, very cool! Figured I would put up a build thread for my 37 buick, not something you see much of as far as rat rods. Got this from a friend, sat for who knows how many years and I decided to build it just for the fun of it after messing with 60s-70s muscle cars for many years. Plan was to make it safe and reliable, drive anywhere without paint ") Car is almost finished now, but I will start from the beginning since I like reading builds from start to finish.
Car is almost finished now, but I will start from the beginning since I like reading builds from start to finish.
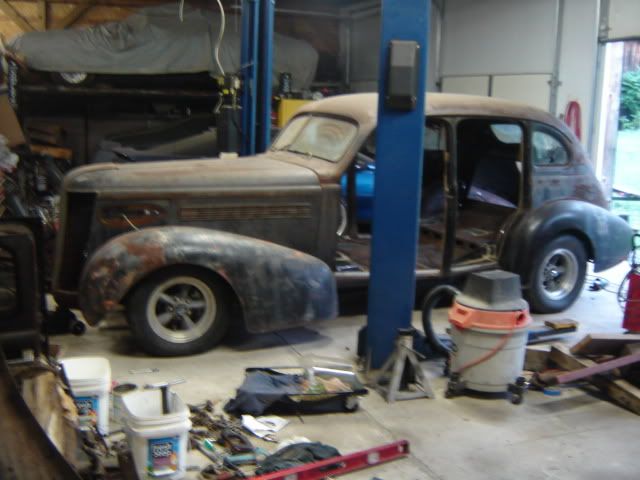
car as found
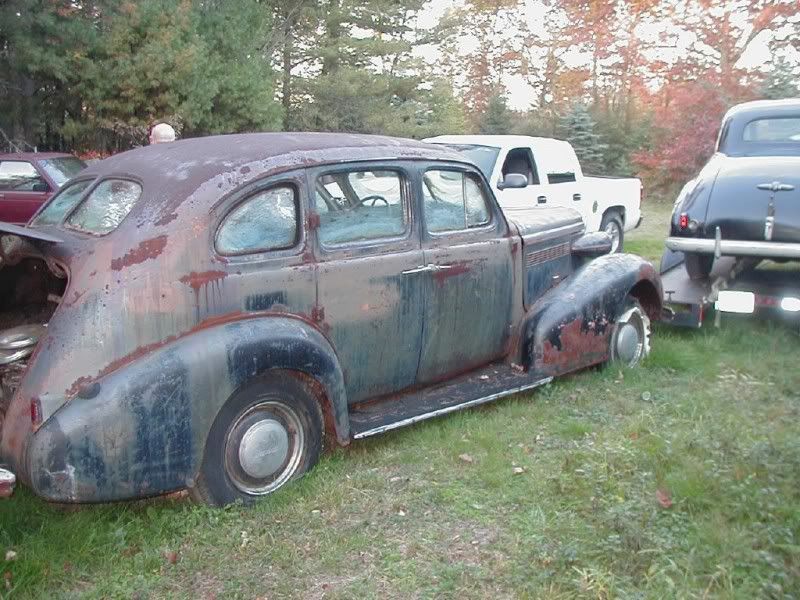
Car is almost finished now, but I will start from the beginning since I like reading builds from start to finish. car as found