1936 Packard

Rat Rods Rule

Help Support Rat Rods Rule:

This site may earn a commission from merchant affiliate links, including eBay, Amazon, and others.
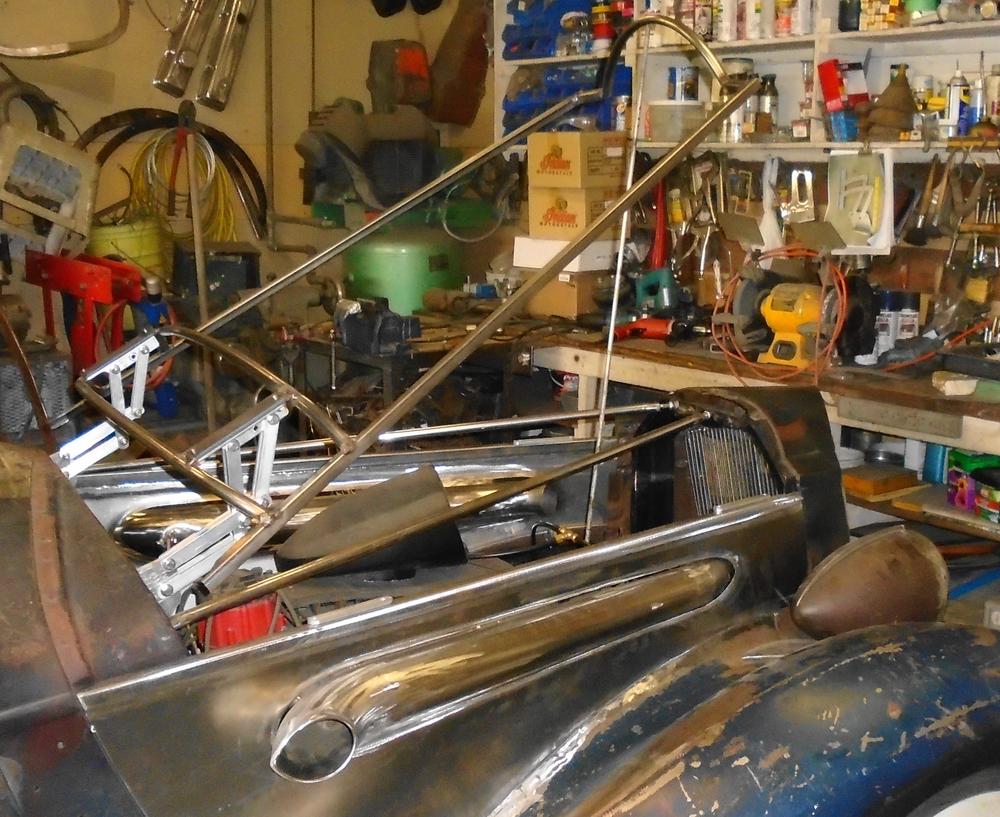
Good question. As far as locating it from side to side, the way the hood wraps around the cowl will take care of that, some 1/4" snubbers will be needed between the hood sides and top plus there will be a welting strip that attaches to the rear of the cowl. Though the hinges look like they would lift straight up, they can't, so the rear of the hood isn't going to pop up when latched.
Ah good! The rising up in the rear was what I was worried about. I was thinking if the hinges would allow some forward movement then they might allow rise also...beautiful work!
Definately need the fedora and violin case....
 
Quickly, back to your exhaust... can you reverse the tubes you have? Left for right and therefore, forward facing? Or simply inverted? Block huggers, perhaps?

Just thinking out loud. I understand you'd have to cut and flip the flanges... and the car gets skinny up front... and, and, and....

attachment.php


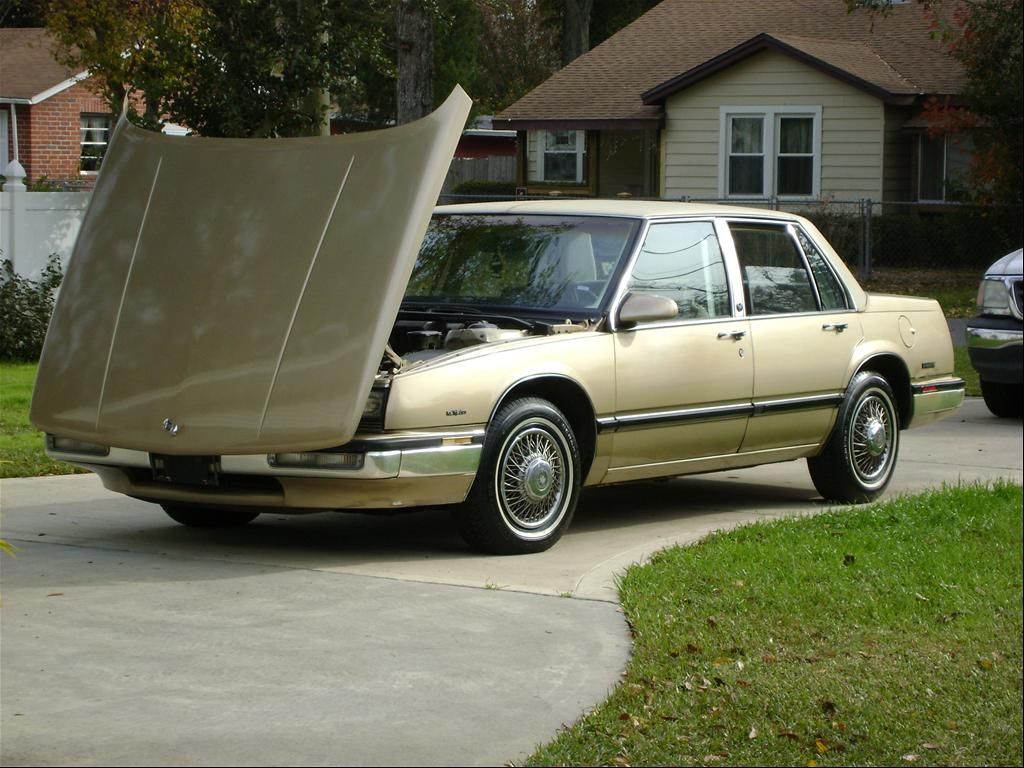
Clearly, your builds force me to think some (and not that it matters to this build) but I've often thought the hardware from one of these Buicks might serve (the right project) well..

Lesabrehood_zps9cdb7887.jpg


.
 
Fantastic work. I'm such a hack compared to your work it kinda makes
me ill or jealous or some dang thing.
When do we get to hear the exhaust? You are going to share the moment
with us right?
 
Quickly, back to your exhaust... can you reverse the tubes you have? Left for right and therefore, forward facing? Or simply inverted? Block huggers, perhaps?

Just thinking out loud. I understand you'd have to cut and flip the flanges... and the car gets skinny up front... and, and, and....


Clearly, your builds force me to think some (and not that it matters to this build) but I've often thought the hardware from one of these Buicks might serve (the right project) well..


.

The plan is to split the exhaust at the collector - forward thru an electric 3" cutout and up to the 'lakes pipes", the main exhaust will run to the rear thru 2 1/2" pipes. I have a plan.....:cool:
Those hinges look interesting, I'll put it it my mental toolbox....

Are these hinges the ones you made from the pic with the rule under it?
attachment.php

Yep, Im a copy cat :eek:

Fantastic work. I'm such a hack compared to your work it kinda makes
me ill or jealous or some dang thing.
When do we get to hear the exhaust? You are going to share the moment
with us right?

I'll share the sounds but you'll have to be patient, I don't expect to have it running 'till next summer :(
 
I decided to go back a couple steps and install the radiator before going any farther with the hood frame and latch. As usual, what seems easy isn't... I had to completely cut apart and reshape the core support to fit it in. While the grille was out, also made the filer pieces in front of the rad to direct air coming in the grille to go through it.
Naturally, everything seems to want to fit into in the same spot - hood frame, latch, cowl struts, rad filler - need to make a new mount to the top of the core support to tie all these things together....
 

Attachments

  • DSC00097.jpg
    DSC00097.jpg
    77.3 KB
  • DSC00098.jpg
    DSC00098.jpg
    113.6 KB
  • DSC00099.jpg
    DSC00099.jpg
    113.7 KB
  • DSC00100.jpg
    DSC00100.jpg
    93.4 KB
Good grief... I'm not on for a couple days and you have 4 pages of updates since then. Love the progress, so I wasn't too far off saying vents in you hood sides. They are kind of a vent.... Looks amazing!
 
Revised the front of the hood frame and made a new bracket that mounts to the core support and holds the hood latch, spring popper, hood prop rod and also ties the cowl struts in. Hood latch came from an 80's K car at Pick n' Pull, fairly compact with a long enough cable to fit it under the dash.
Ready now to start making the skin...
 

Attachments

  • DSC00101.jpg
    DSC00101.jpg
    118.3 KB
  • DSC00102.jpg
    DSC00102.jpg
    79.6 KB
  • DSC00105.jpg
    DSC00105.jpg
    138.7 KB
  • DSC00107.jpg
    DSC00107.jpg
    128.2 KB
Starting on the hood skin.
The sheet of 18ga. is 4' wide - not enough for this puppy - had to weld a piece to each rear side, though most of it will be trimmed off later. Having the extra piece on there makes it easier to bend, more leverage. Making the curve is done by rolling it over a piece of 4' PVC pipe sitting on sawhorses. Fitting it to the Packard grille requires some sharp folds, I got the first one on each side done, good thing I have long sheet metal brake - starting to look like a hood....
 

Attachments

  • DSC00111.jpg
    DSC00111.jpg
    70.9 KB
  • DSC00112.jpg
    DSC00112.jpg
    60.3 KB
  • DSC00113.jpg
    DSC00113.jpg
    73.1 KB
  • DSC00114.jpg
    DSC00114.jpg
    88.3 KB
Lots of time spent trimming the ends to fit right to the rad shell and cowl and working the contours to fit their curves. After making the first downward bend on the passenger side, I found it didn't line up right and had to hammer it flat and do it over :mad:
After that, the rest of the bends went OK, followed by more hammering and working over the 4" PVC pipe to get the fit better. At this stage, the skin is not welded to the frame, still a lot more fine tuning to do to get the best possible fit, but it is showing promise - man, I've never spent so much time on one piece of metal....
This is not meant to be a clone of an original hood but I think it keeps enough of the original design to still be recognizable.
 

Attachments

  • DSC00116.jpg
    DSC00116.jpg
    101.6 KB
  • DSC00117.jpg
    DSC00117.jpg
    100.8 KB
  • DSC00118.jpg
    DSC00118.jpg
    81.4 KB
  • DSC00119.jpg
    DSC00119.jpg
    74.5 KB

Latest posts

Back
Top