You are using an out of date browser. It may not display this or other websites correctly.
You should upgrade or use an alternative browser.
You should upgrade or use an alternative browser.
'65 Rover Half Cab
- Thread starter bob w
- Start date

Help Support Rat Rods Rule:
This site may earn a commission from merchant affiliate
links, including eBay, Amazon, and others.
bob w
Still crazy after all these years!
bob w
Still crazy after all these years!
bob w
Still crazy after all these years!
skull
''SARCASM: just one of his many talents.''
H e i
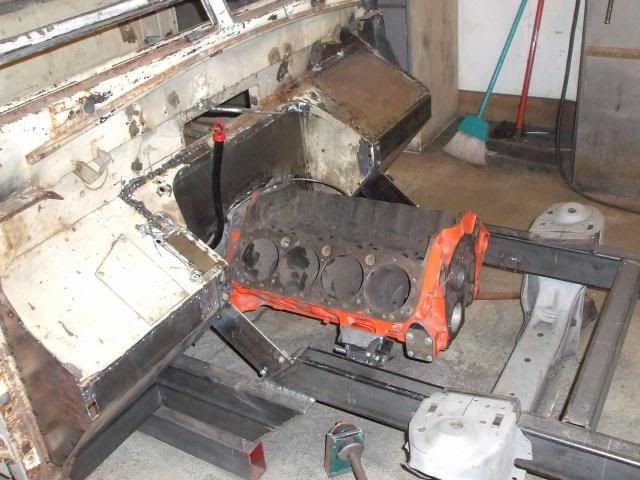
are you using a H E I distributor if so, is there a enough room to get it in as close to the firewall as the rear of the motor looks to be sitting [S is the head on the driver side box gonna hit? you may want to check these couple of things out.
l had to modify my firewall so the heads and distributor to fit in and have enough room to work on it.
so much trial & error in building these toys, l hope these questions help.
l like the progress[
Later
are you using a H E I distributor
l had to modify my firewall so the heads and distributor to fit in and have enough room to work on it.
so much trial & error in building these toys, l hope these questions help.
l like the progress[
Later
Todd
He's just one of them Rusty-Chainers!
Its looking good Bob.
bob w
Still crazy after all these years!
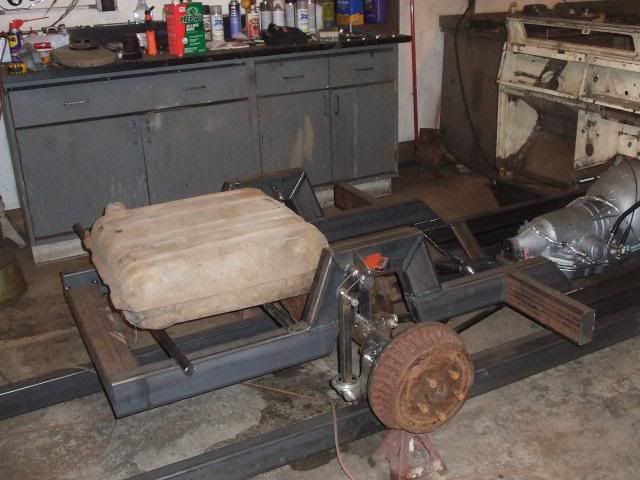
Thank you, Todd. It's coming along pretty good.
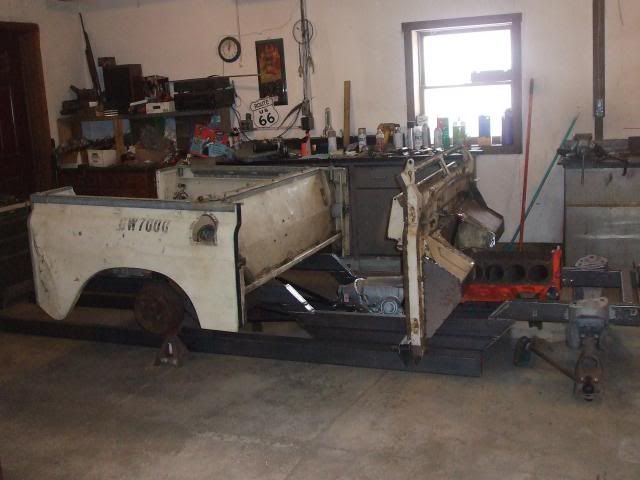
skull, I did drop an HEI distributor in and am sure there's clearance for stock exhaust manifolds.
Been fighting a flu bug so no work done for a few days. Lost about 4 lbs. though.
GJunktionMike
Something's wrong with that boy!
Sure make this stuff look easy.
falconvan
Well-known member
Looks great, Bob! I could see doing an old Jeep or any small ute like this. You got my thinking gears turning!
sgtpontiac
Older, Wiser and Still Buildin'
Gee Bob.....
What do you do in your spare time?? ....you amaze me....that being said...I suspect this thing should move pretty well....power to weight is going to be darn good....
 Very Cool......
What do you do in your spare time??
bob w
Still crazy after all these years!
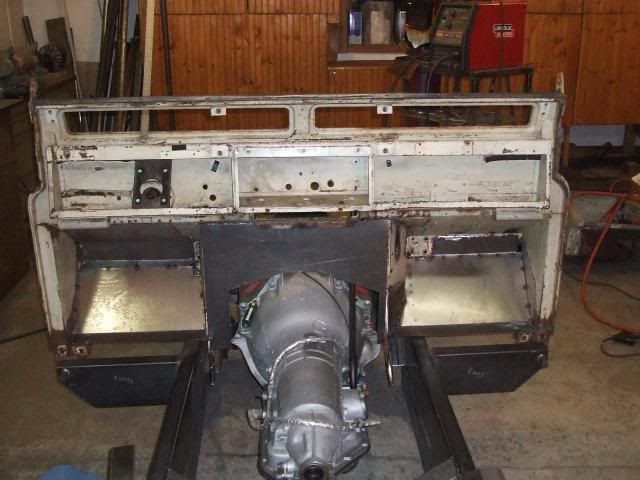
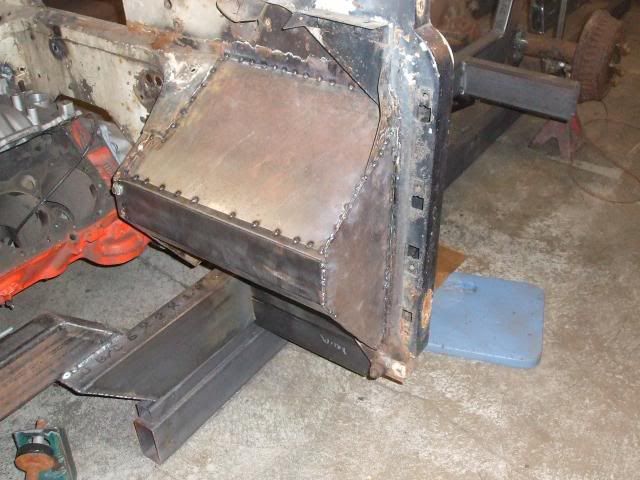
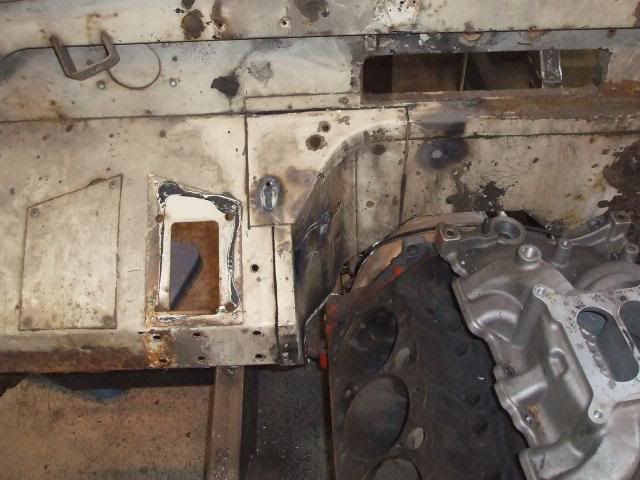
A lot of the tin from the bottom of the dash rail down has now been replaced. Lots of welding and grinding remains. All the replaced panels were easy to make so it went well.
Sarge, thanks. I have slowed way down. Lots of arthritic aches and pains and family obligations. Today for instance, the little woman got her new car. Spent over 3 hours at the dealership. I was at the hospital less time than that when our last child was born.
Thanks falconvan. I wish I could sneak this thing into your expert body and paint shop.
Mike, YOU'RE the one that is doing Bonehead-like work nowadays. But thanks for the kind words.
Neverdone
He's not done yet...
beautiful work there!!! How come you didn't put any beads in the replacement panels??
...the little woman got her new car. Spent over 3 hours at the dealership. I was at the hospital less time than that when our last child was born.
Had to laugh... I don't know if you are complaining or bragging?
....[P
bob w
Still crazy after all these years!
 '
'Happy New Year everybody!
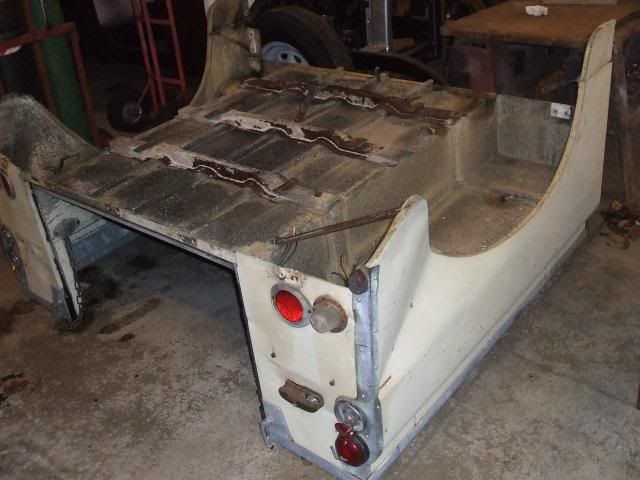
After walking the dogs in sub zero temperature I dug the box out of a snow bank. Was able to stand it on end and let it drop and repeat. Got it to the driveway that way and was able to slide it up to the garage. As you can see there's some major creases to fix. Advice on how to straighten these areas (aluminum) would be appreciated.
This thing is a little over 5 feet wide and only a little over 4 feet long. Not much for hauling.
Part of the floor will be cut out to clear the "C" notches in the frame. Tops of the wheel wells will be raised too.
Neverdone, I don't have a bead roller and didn't want to bother my friend Terry for a change. I have done them by hand but my hands and wrists aren't happy right now so I didn't want to abuse them. The panels are 18 gauge and not big and therefore are stiff and strong enough as is.
Sam Fear, three hours in a dealership is too long. Gives them too much time to try to sell extras.
bob w
Still crazy after all these years!

Dr. Crankenstein did some research and sent a Private Message which helped me a lot to rough out the severe creases in the box sides. I have a vintage Portapower that helped with the process. Gonna have to shrink some metal to get it better. But, passable for now.
I cut the floor out to permit fitting over the frame "C" notch and coilovers. Used a 4 1/2" angle grinder with a thin cut off wheel. First made a shallow guide cut and then sprayed with WD-40, followed by the through cut. It went very well.
The "shelves" you see on either side of the box floor are wheel wells that were usable as seats in the Rover's safari days. With the thing lowered there's no room for upward wheel travel so changes are in store for that area.
bob w
Still crazy after all these years!
Dirtyrat
Got Fins?
Looking good with the rear section back on, hope you feel better soon Bob, looking forward to more!
skull
''SARCASM: just one of his many talents.''
looks
what D R said^^^^
Later
Looking good with the rear section back on, hope you feel better soon Bob, looking forward to more!
what D R said^^^^
Later
Sunnybeach
Well-known member
As always, nice work.
Stay warm and motivated -- it will be ready for paint by spring.
Stay warm and motivated -- it will be ready for paint by spring.
