'36 Ford Truck (Trey's Truck)

Rat Rods Rule

Help Support Rat Rods Rule:

This site may earn a commission from merchant affiliate links, including eBay, Amazon, and others.
Trey drew out the supports for the rear arms and we made them at work this morning and have them tacked. I'll TIG all of it together when we blow this thing apart. Added a tube cross member at the back of the frame as well. We're trimming up the back now to wrap the end of the frame around the tube for a nice finished look to the back.

RearCrossmember3.jpg


RearCrossmember2.jpg


Speedholes.jpg
 
To keep the momentum going we fabbed up a cross member for the rear control arms. We used the engine hoist to lift the cab back off. Then we scrounged and dug through the garage looking for something to make the center of the cross member. Then needed something heavy enough to hold the 2" x 3/8" flat bar so we could bend it. This is what we came up with.

MidCM3.jpg


Then we needed a big cheater bar.......found it (Bed Extender tube.)
MidCM2.jpg


Here's what it ended up looking like. We might make some gussets with some "Speed Holes" to add to it latter. Making the tabs to hold the rod ends tomorrow.
MidCM1.jpg


We are going to add some tube to triangulate the cross member toward the front through one of the holes in the X member.
 
We finished the cross member for the rear arms just in time for a delivery. Trey's wheels and front end parts showed up so we spent some time putting it all together. I took some better pictures this time.

Rear is done except for some shocks and final welding.
36Sermon004.jpg


Spindles brakes and steering arms. We will mount the steering box this week.
36Sermon003.jpg


And one very proud son!
36Sermon001.jpg
 
Welded all the parts for the front suspension except for the spring perch and set the weight of the truck on the axle. We cut some pieces of 3/4" DOM and made some spacers to pass through the frame for the steering box. We will weld all this up tomorrow.

steering1.jpg


steering3.jpg
 
looks good! Hey, I meant to ask you, when you made the rear cross memeber did you raise it to lower the ride height? looks like it is close to the stock height. [P
 
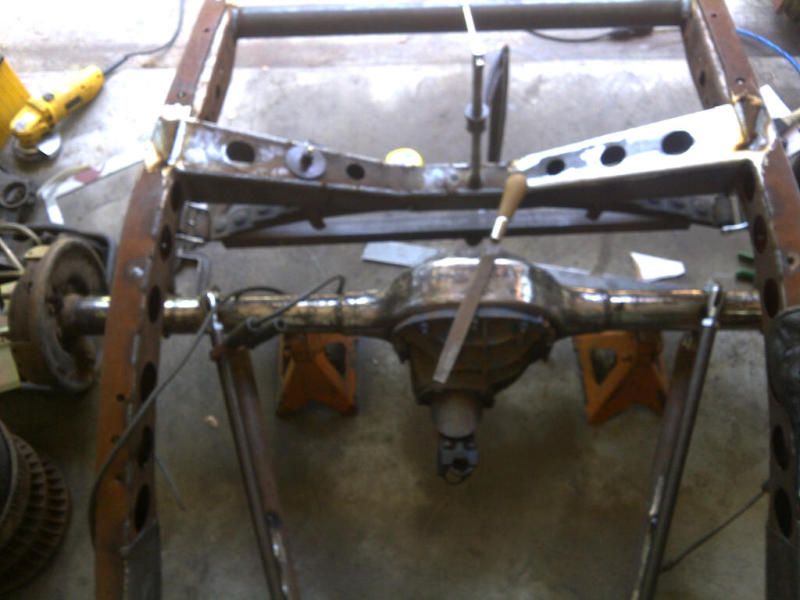
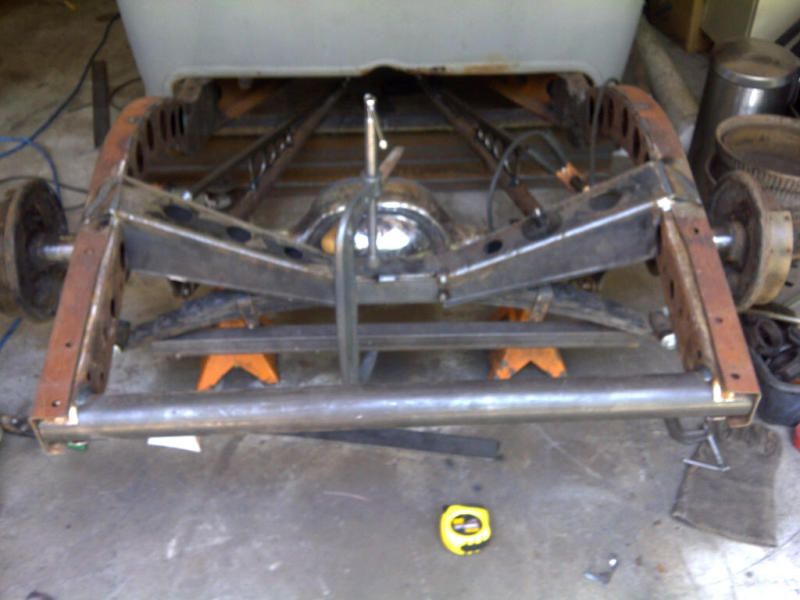
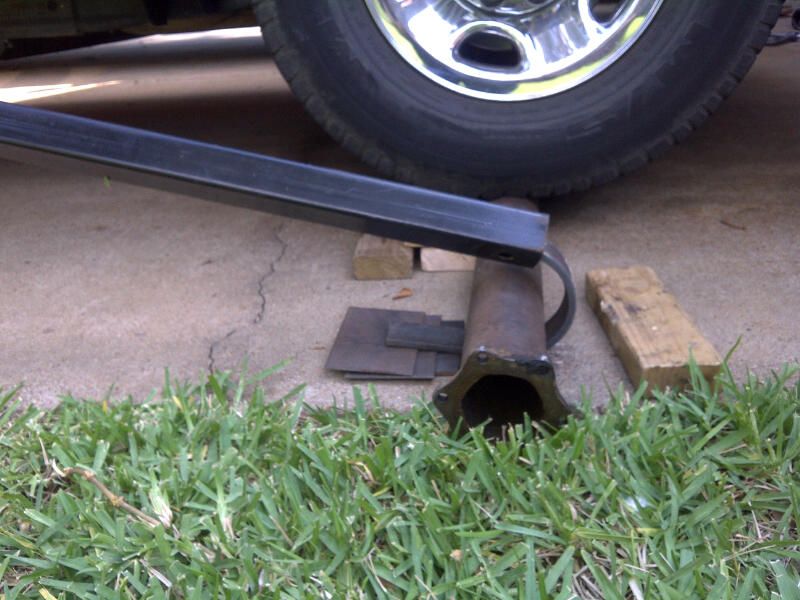
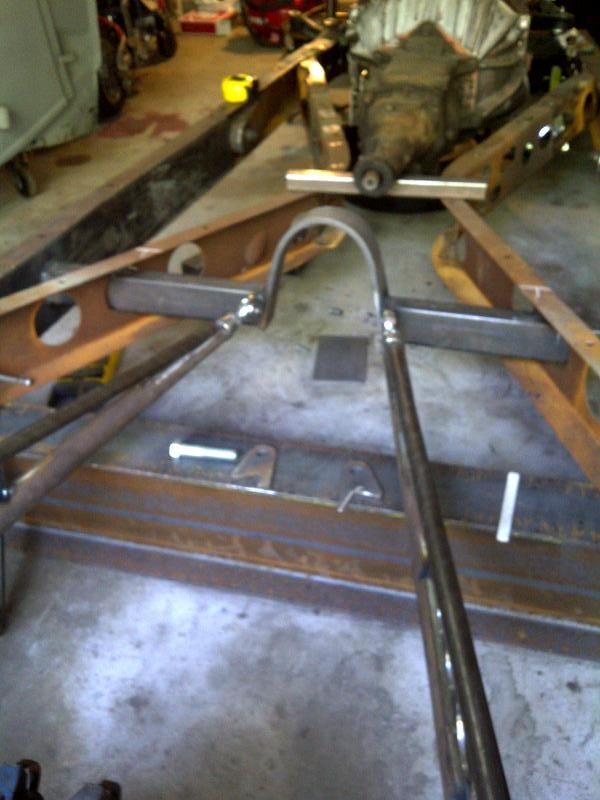
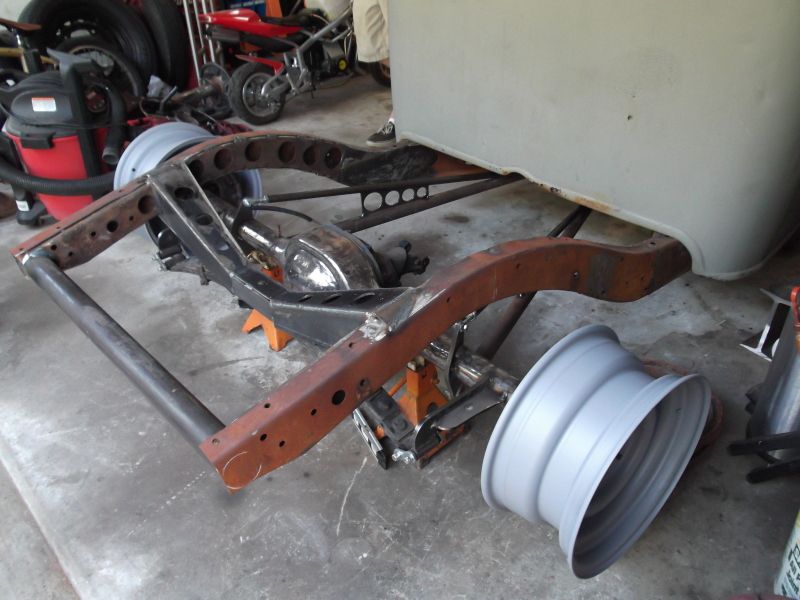
Actually the rear cross member was plan B. We were going to use the stock cross member and do a few minor mods. When we were cleaning out the garage the stock one got put in the scrap pile by mistake so making our own was our only choice. We determined the height by setting the spring and figuring out about how much it would compress under load and you're right that it is about the same height as the stock one.

It's kinda funny because my wife gets upset with me because I NEVER throw out anything and wouldn't you know, the one thing we needed got tossed out!
 
Thanks for the compliments!

We don't have a lot to add today but I did pickup a trans mount and the clutch slave cylinder today. I was on the fence about using a hydraulic throw out bearing and found a thread about using a slave cylinder. I checked a few part numbers and did some more searching and came up with this piece for a '61/62 GMC truck. The part cross references to several vehicles. This way we can use the stock throwout bearing and fork and I'll just fab up a bracket for the slave. If it goes bad I can get it through any auto parts store.

The NAPA part number is 73471

clutch_slave.jpg
 
Hey guys

That is the set up I used on my build for the clutch but I also used the master cylinder. Yes I know it has a single reservoir but I WILL maintain my truck. If you look at the pictures I show the mount I built. I am not sure it will work for you. I was able to make a pushrod that is adjustable. I haven't plumbed the truck yet but believe the geometry is correct and should work well. By the way the stock master cylinder bore is 1 1/16". Good luck Steve
 
Steering box is now mounted and drag link is installed. We picked up a lot of parts so we are getting busy again. I made several templates for shock and headlight mounts and will make those at work tomorrow.

Our to-do liston the frame is getting smaller. We now have:

Front and rear shock mounts
Panhard bar mounts
Grille and radiator mounts
Headlight mounts

We also got the GO and WHOA parts!

Willwood.jpg
 
More and more done

Paul and Trey your ride is getting closer. It looks like you guys are putting in the right parts.The truck is going to be top notch can't wait to see the finished product.[P Keep at it and HURRY summer is just starting. Later Steve
 
We just got home from a short Vacation and got back to work on the truck. Yes, summer has started! We are used to the heat but it still slows us down a bit.

We started working on the panhard bar for the front and the shock mounts. We built the headlight mounts as well as relocated the front spring perch and added some bracing that will incorporate the lower radiator mount. We will also add a 1/2" piece of 1/8" plate that will wrap around the outer edge of the headlight perch to reinforce it and give it a bit of visual weight. Might have to drill some speed holes too. My daughter let me use her I-phone to get some pictures.

photo4.jpg


photo1.jpg


photo2.jpg


photo3.jpg
 
Milestone!

Big day for Trey today. All major design is complete on the frame and the truck is coming apart to do all the finish welding and prep. I'll try to get a picture with it apart. The goal is to get the frame painted and start putting it back together in the next few weeks!

Wooooo Hoooooooo!!!!
 
We got the header kit in so we decided to leave the engine and cab on the frame and build the headers. As we fit each tube we cut the matching tube for the other side so hopefully side two will go a bit quicker! The last tube will have a few extra bends so we don't have to butcher the fire wall so I bought a combo bend to make up the extra. I'll also weld the two center tubes together from the inside before they get welded to the megaphone.

Headers2.jpg
 

Latest posts

Back
Top