37 Ford Build

Rat Rods Rule

Help Support Rat Rods Rule:

This site may earn a commission from merchant affiliate links, including eBay, Amazon, and others.
Okay, here is a few weeks of progress that I haven't had a chance to upload yet.

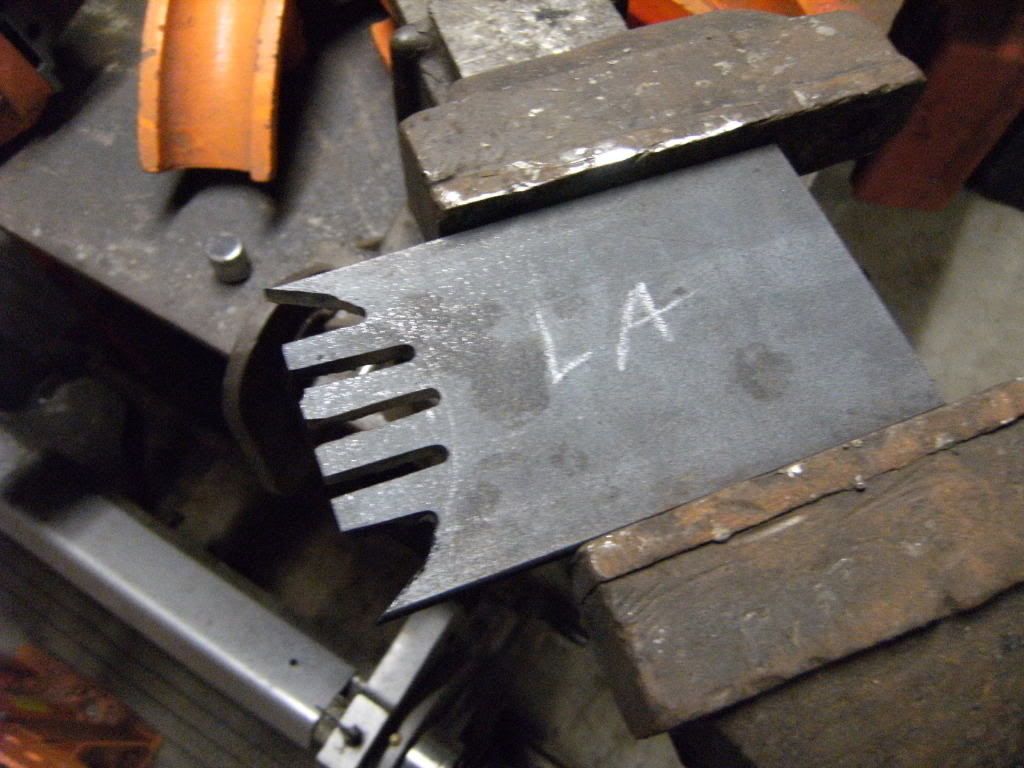
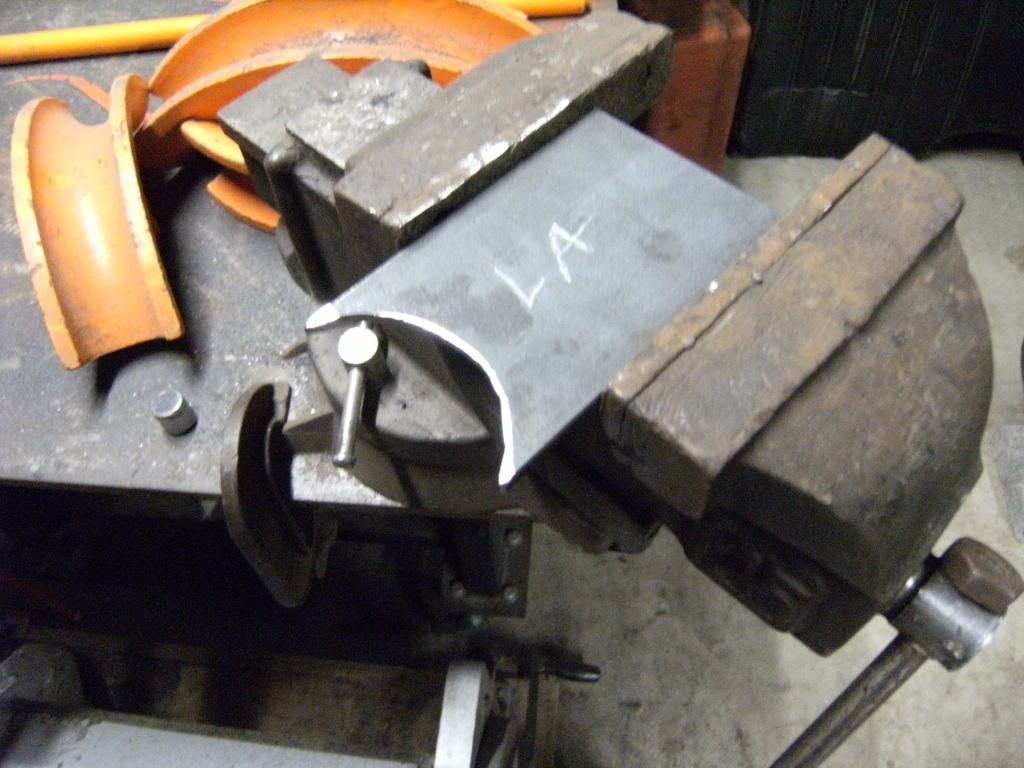
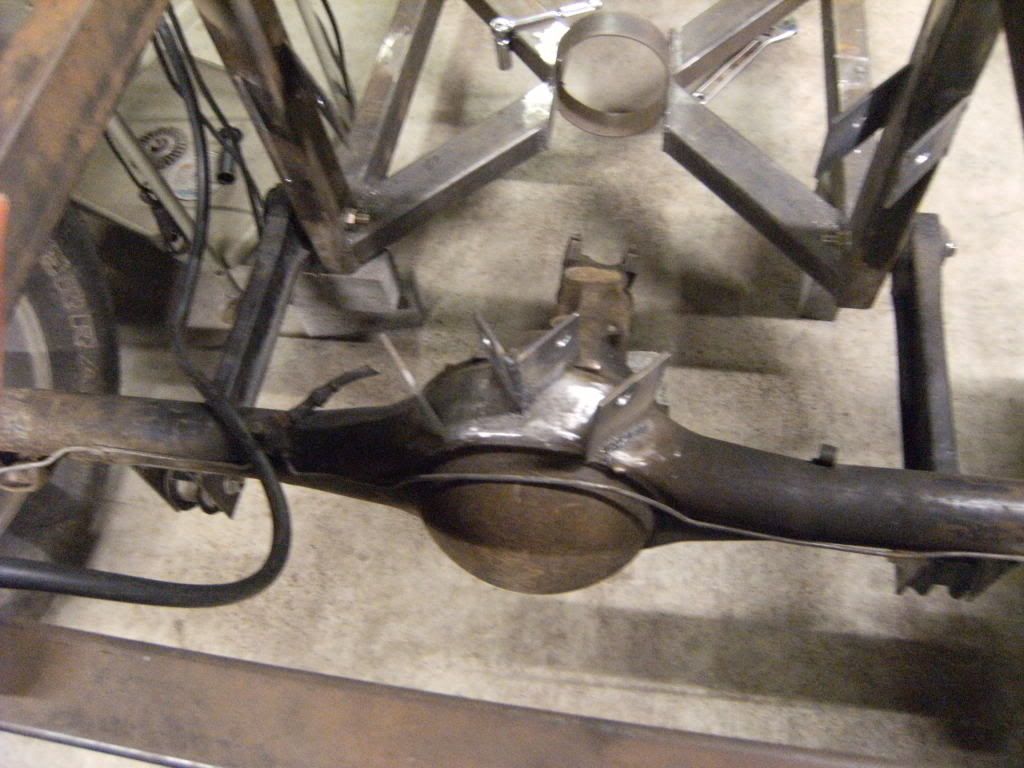
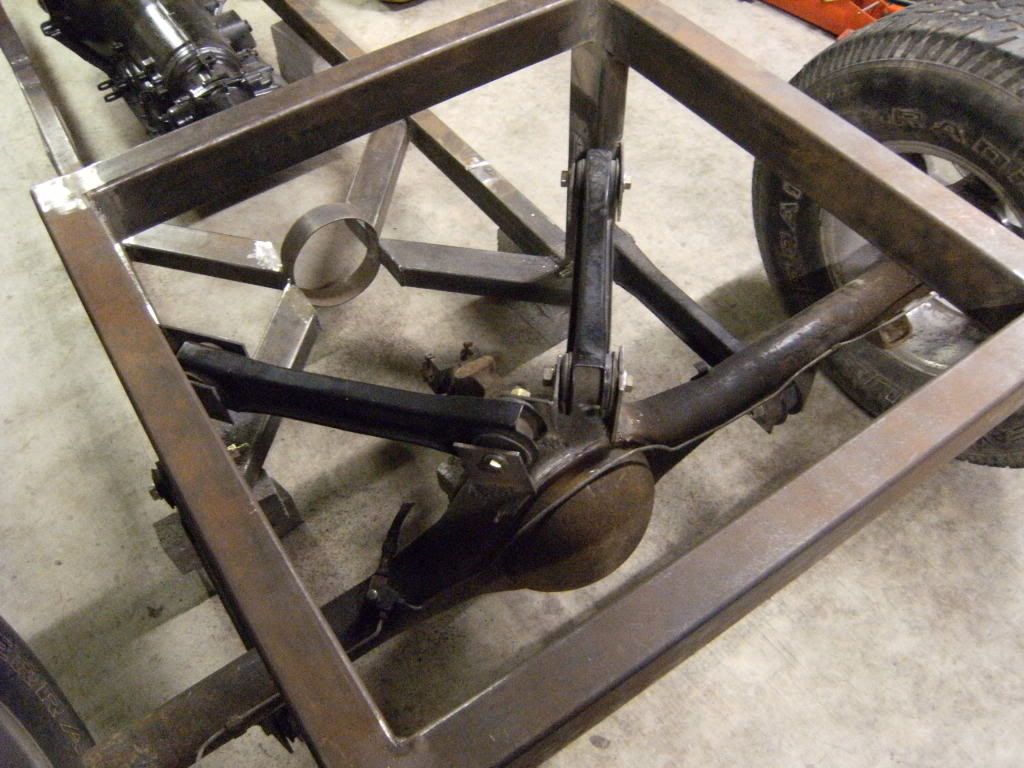
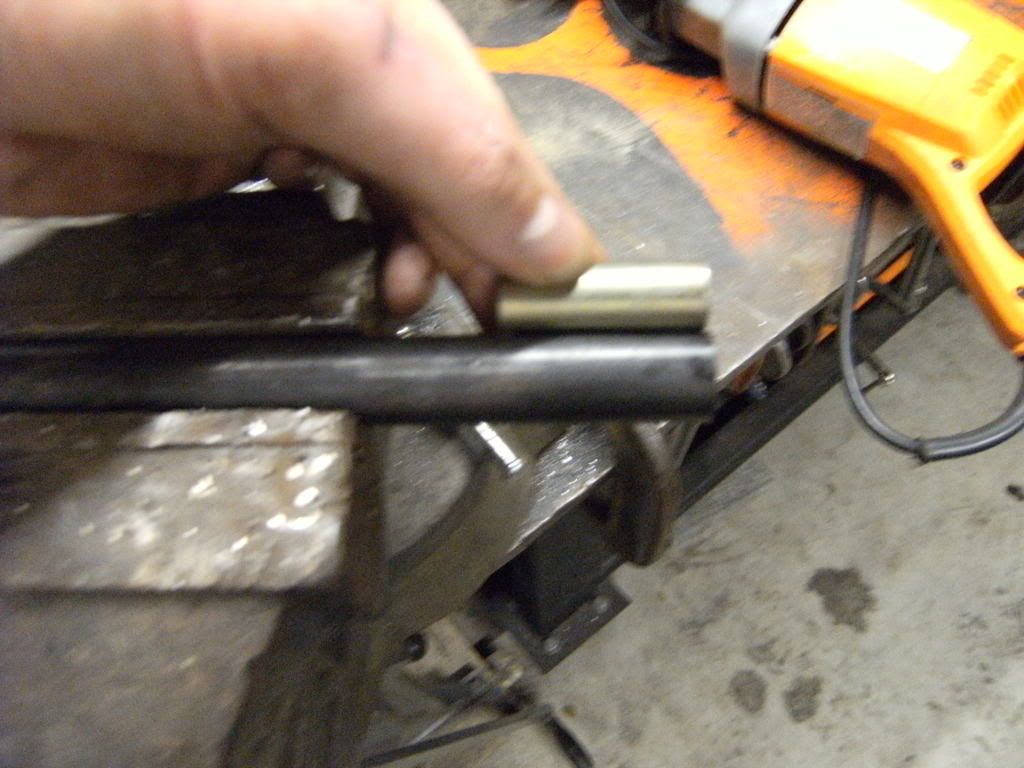
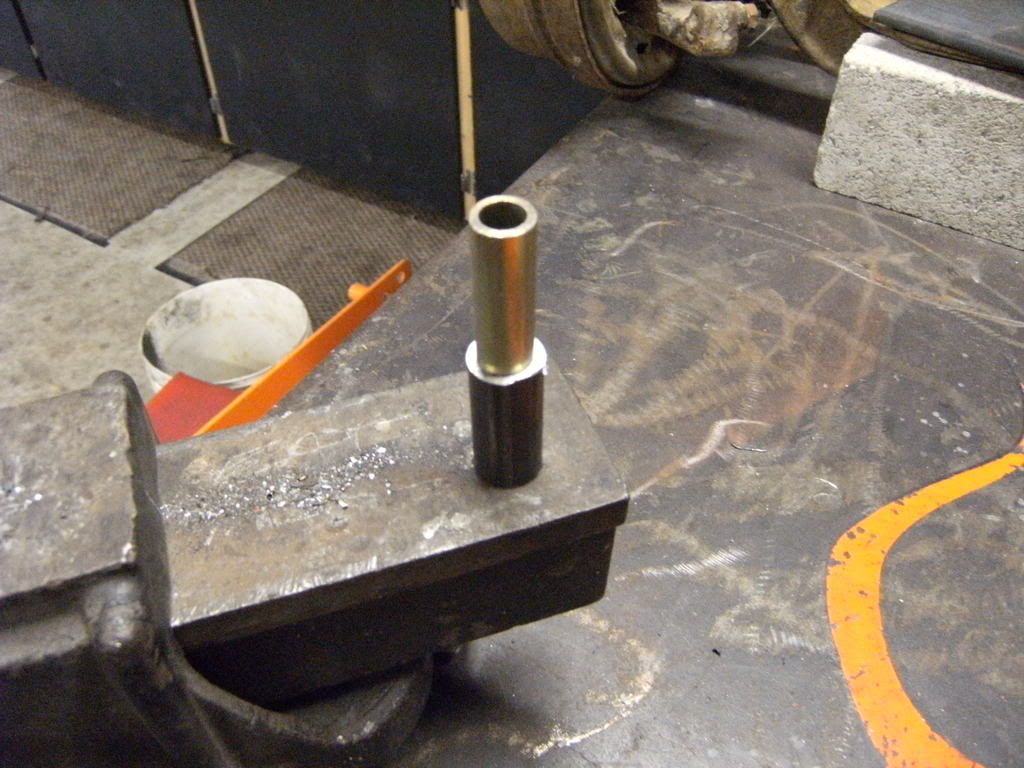
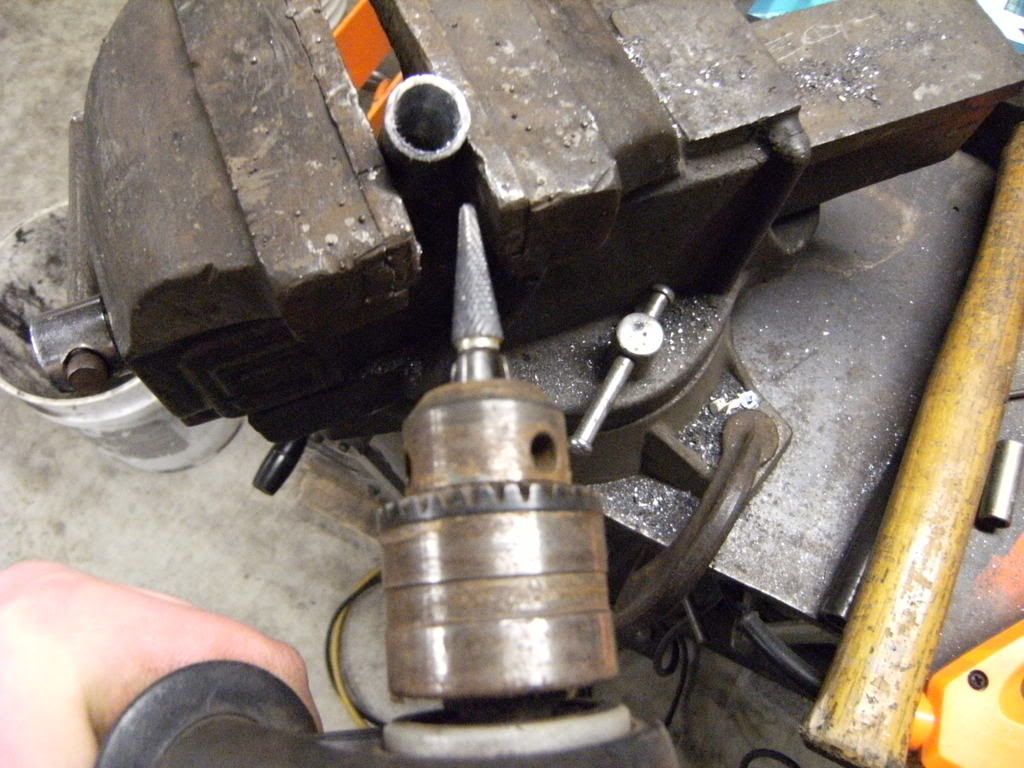
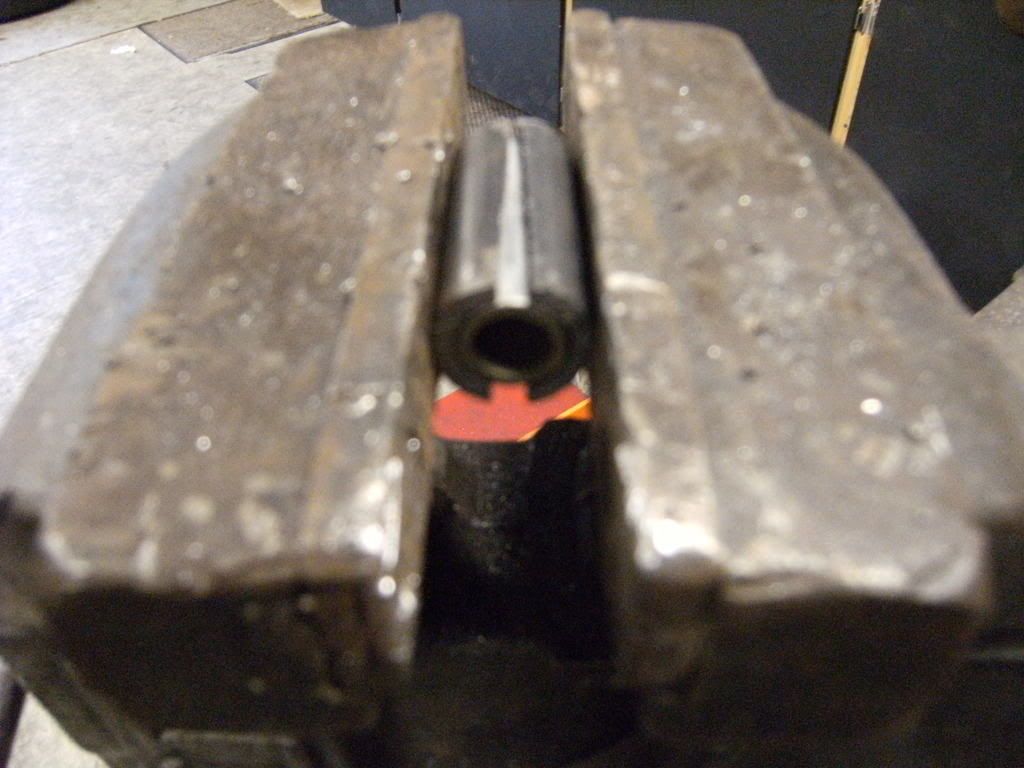
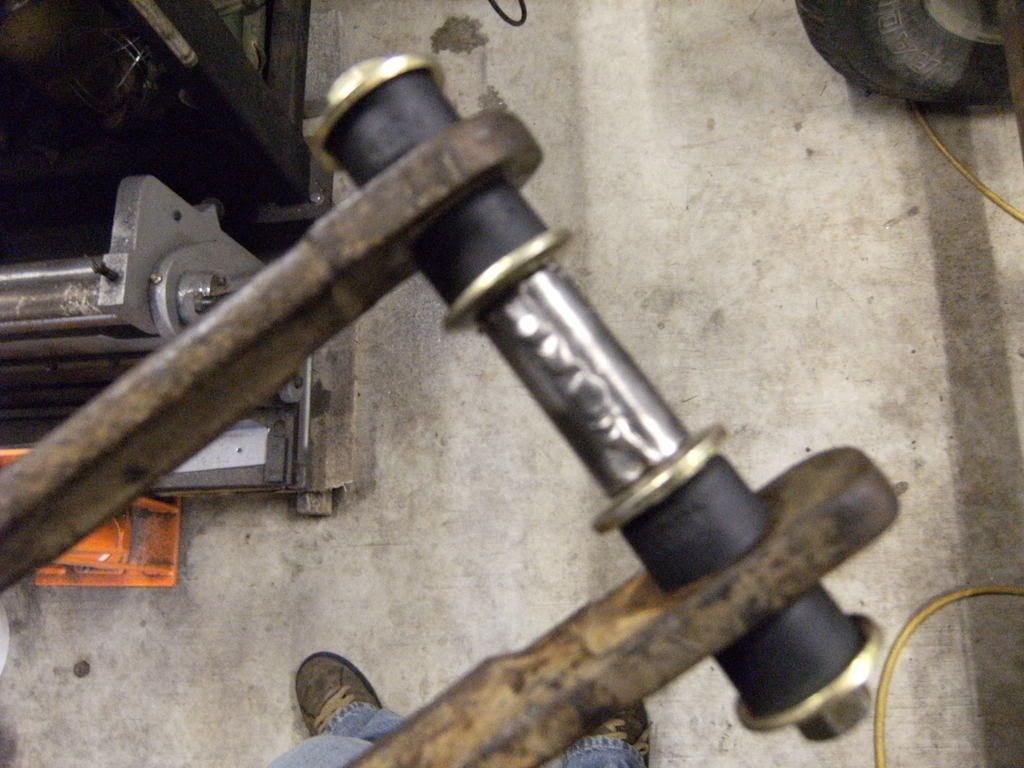
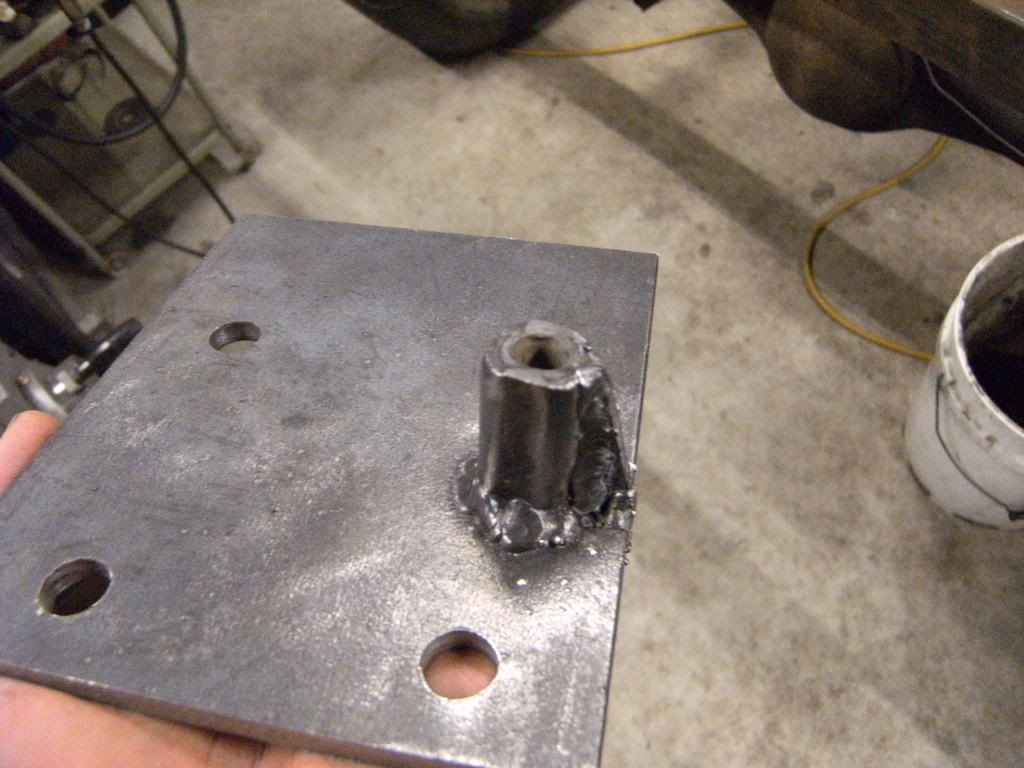
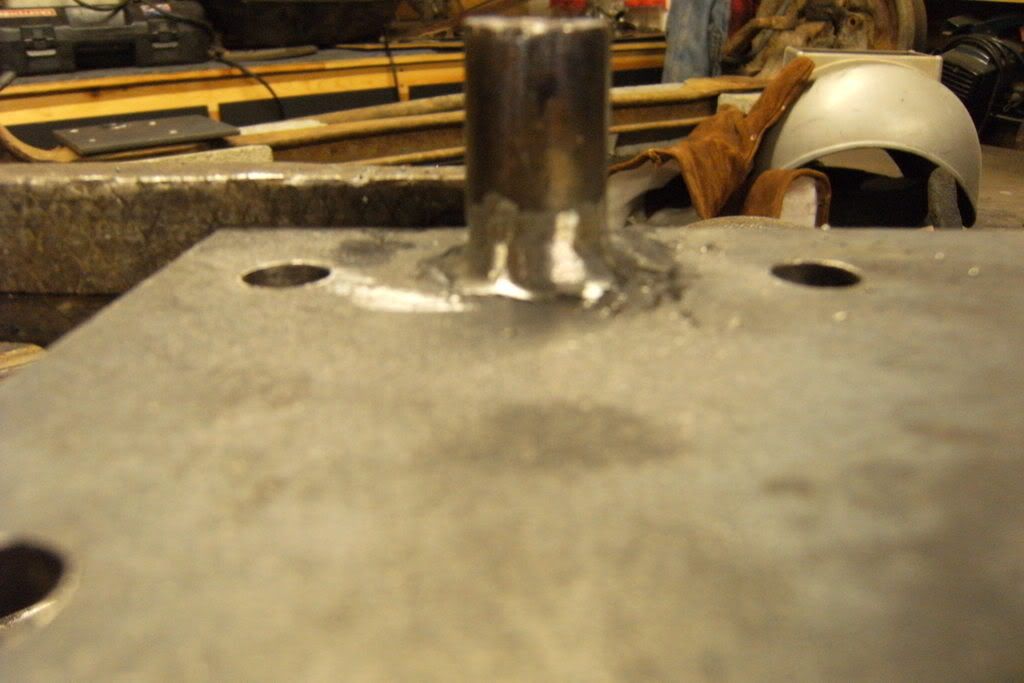
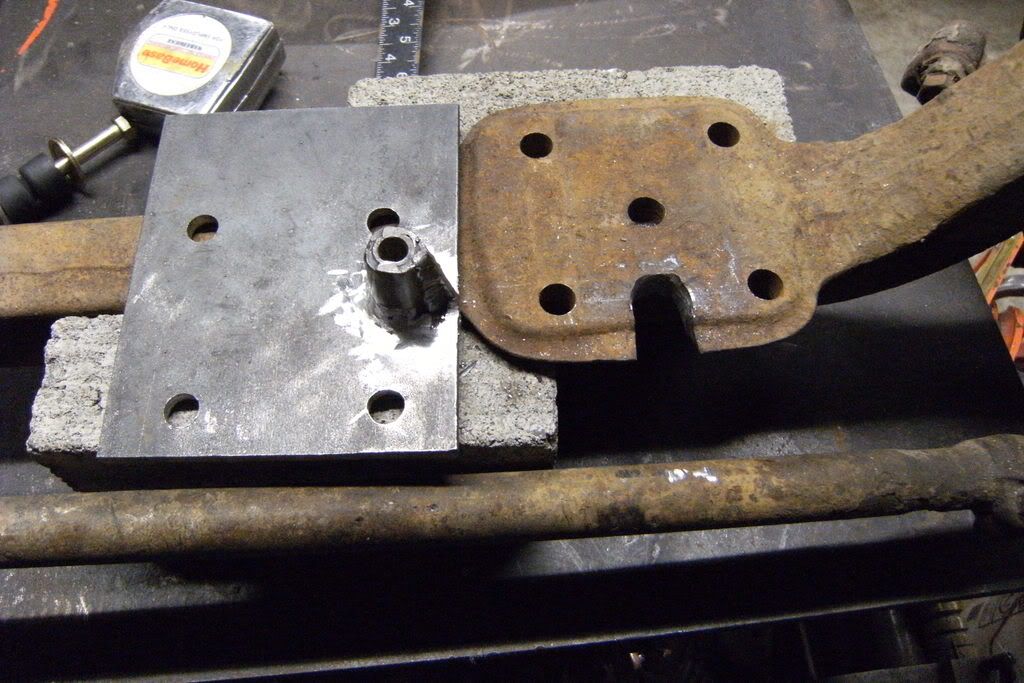
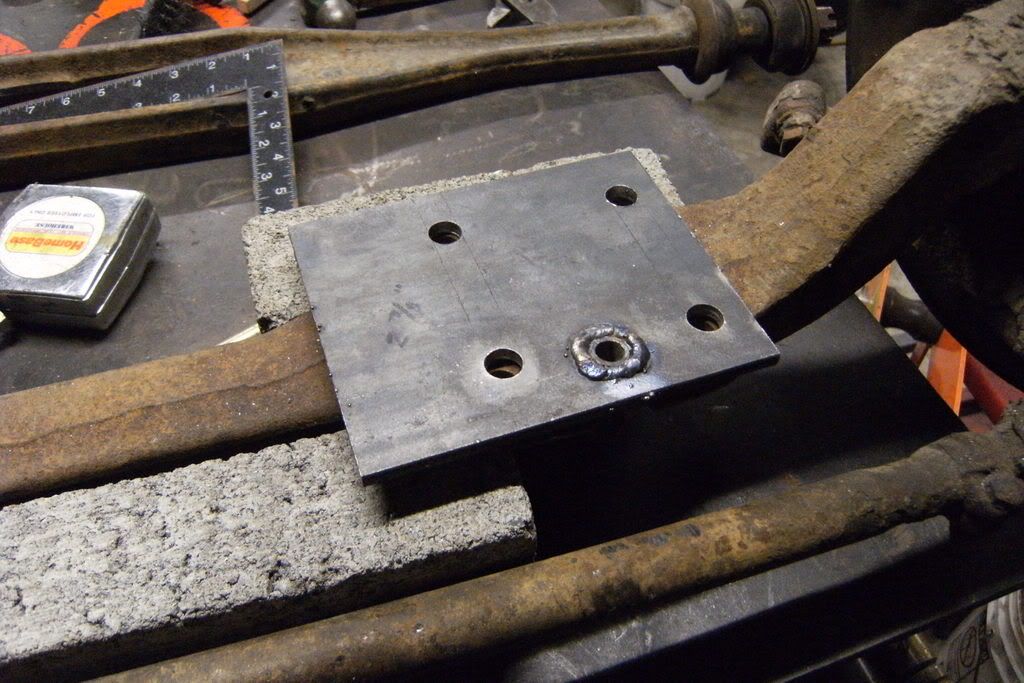
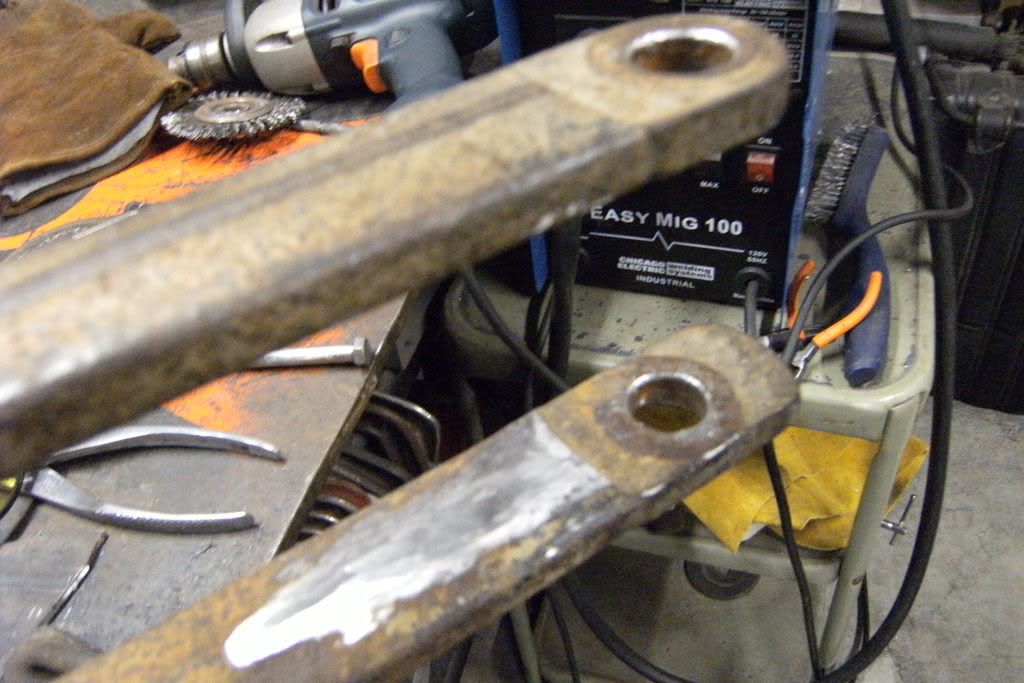
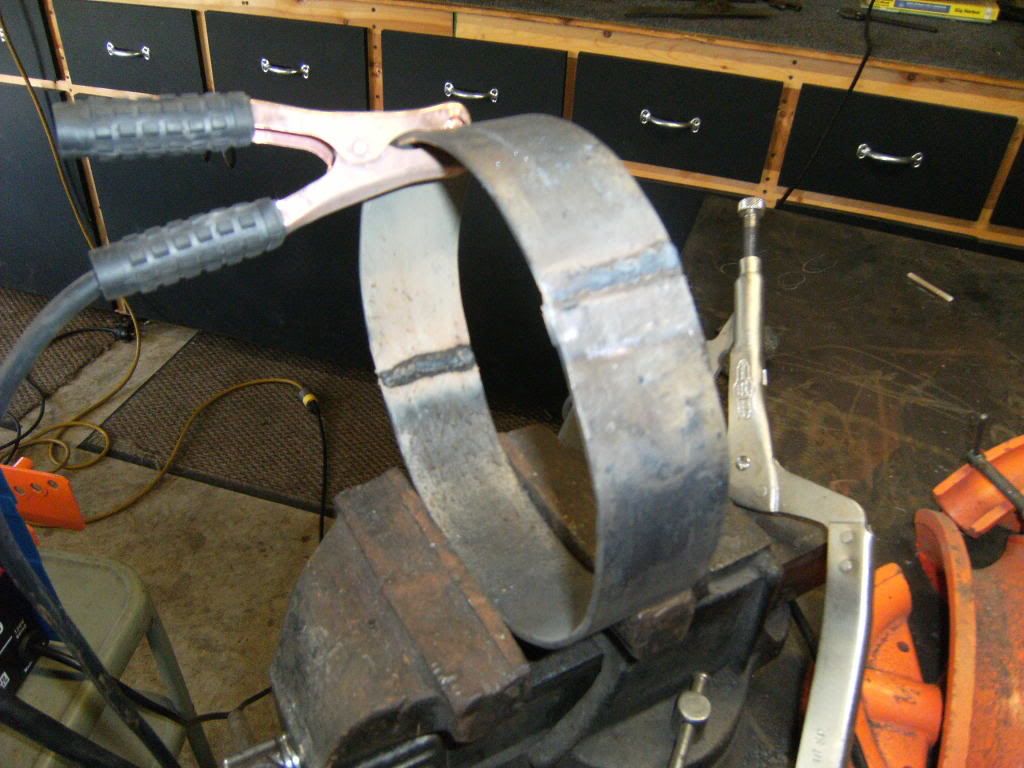
Homemade driveshaft loop that I made with some scrap bar stock I had and the tubing bender

Nov08043.jpg


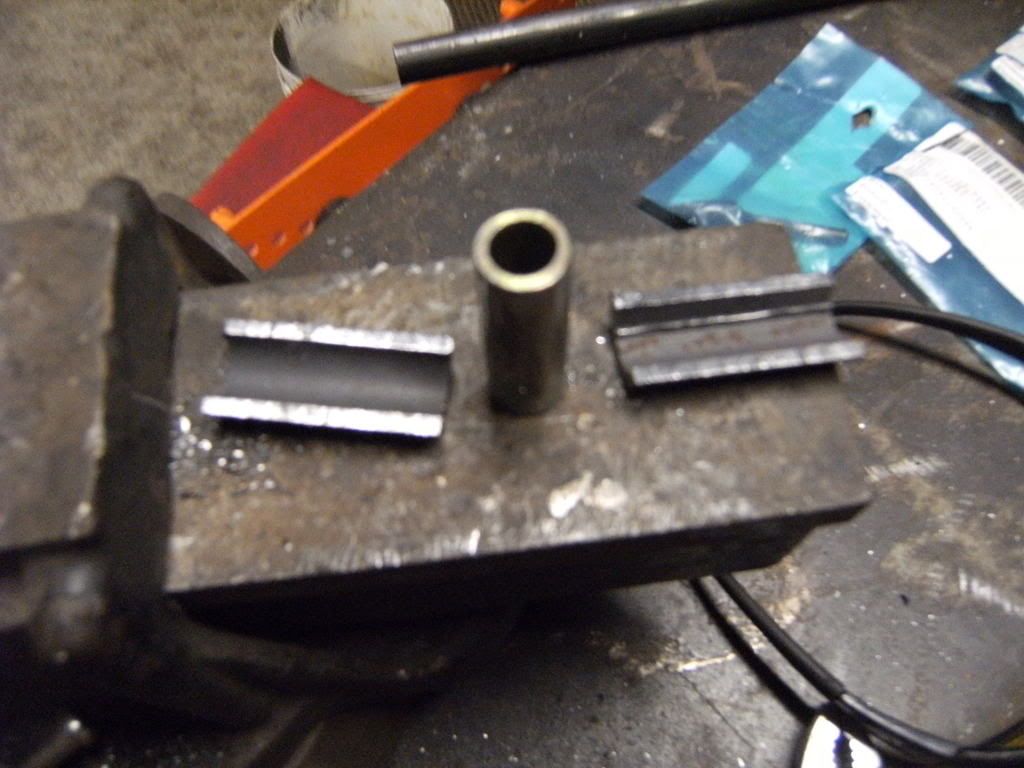
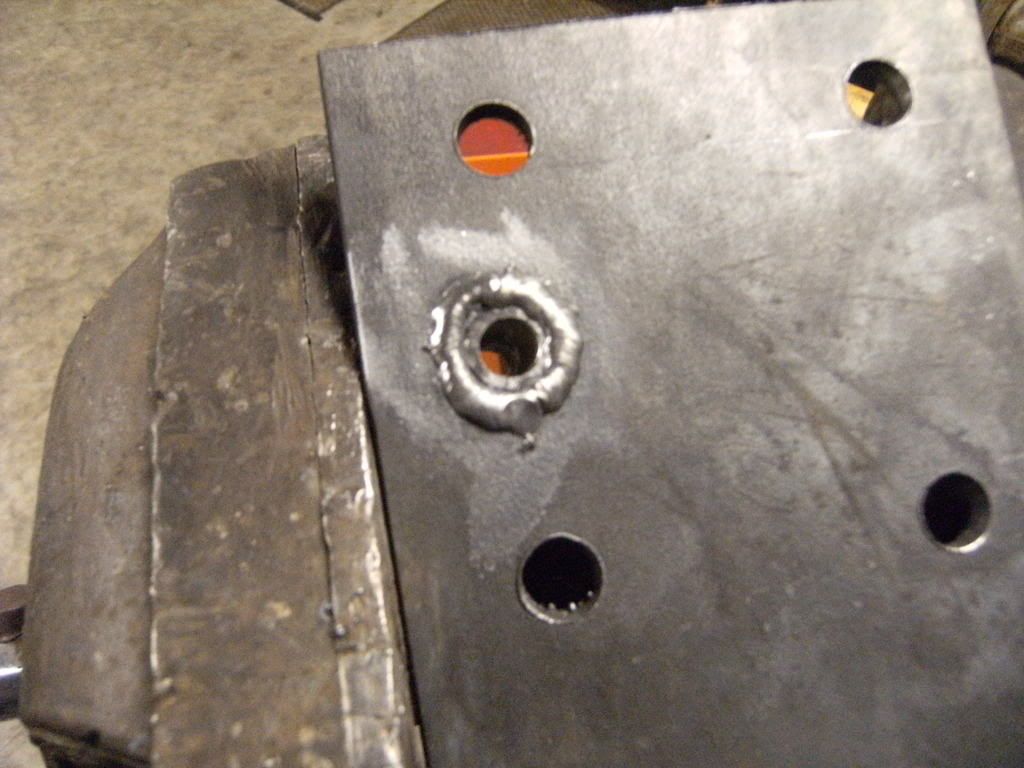
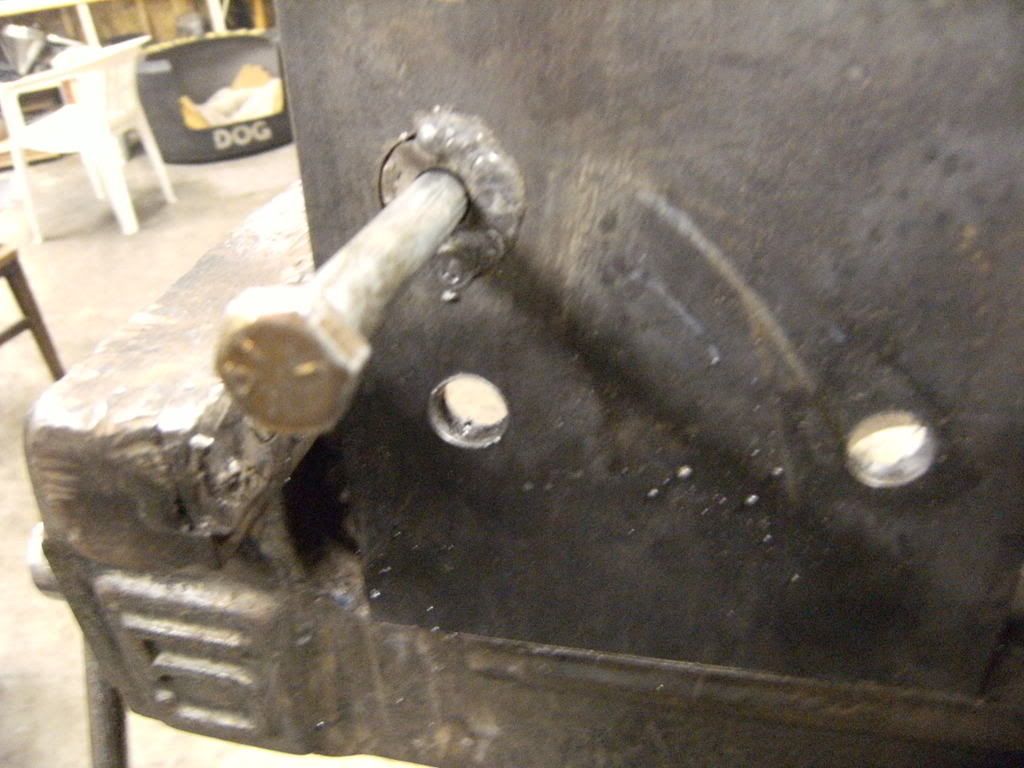
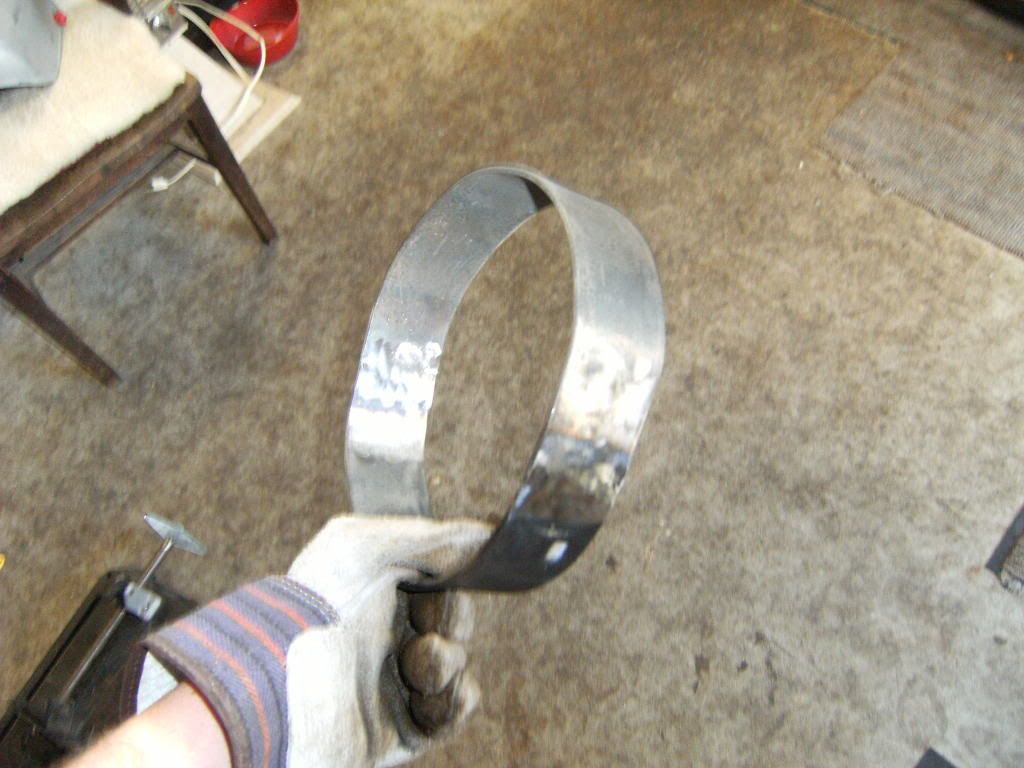
The finished product

Nov08044.jpg


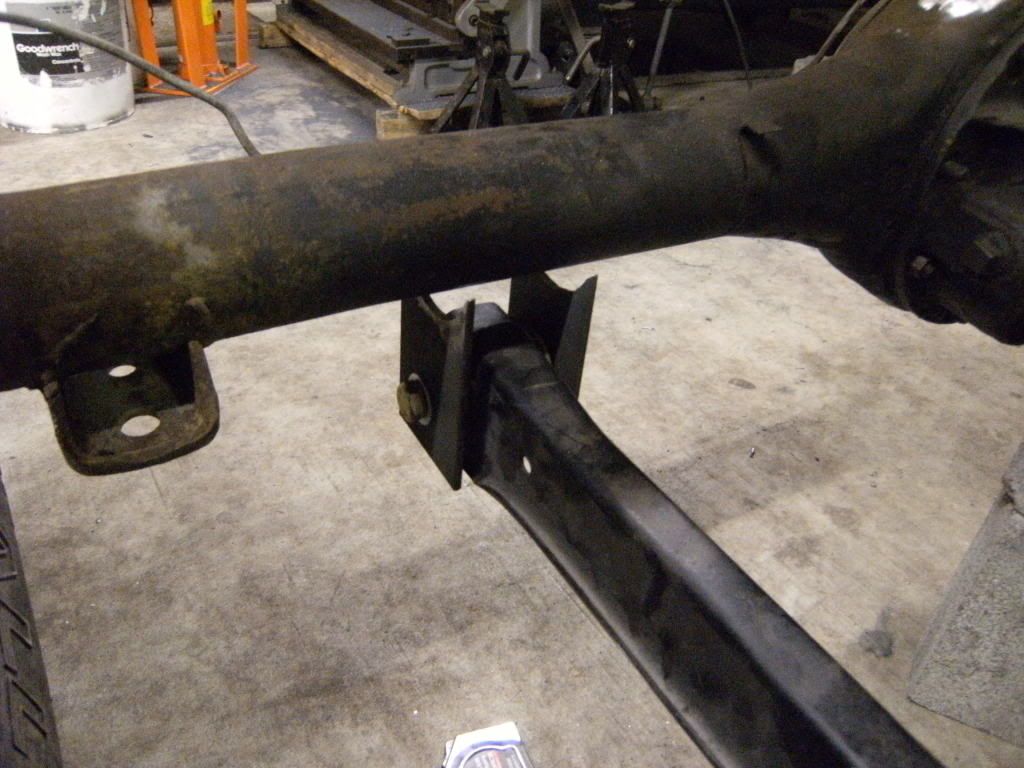
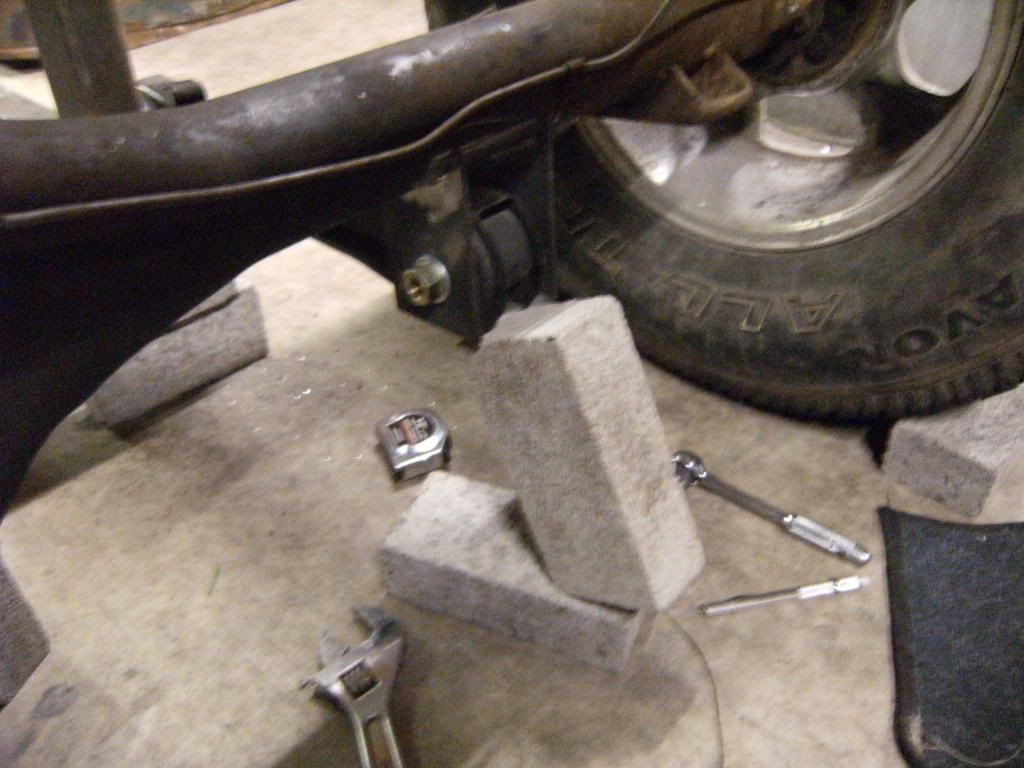
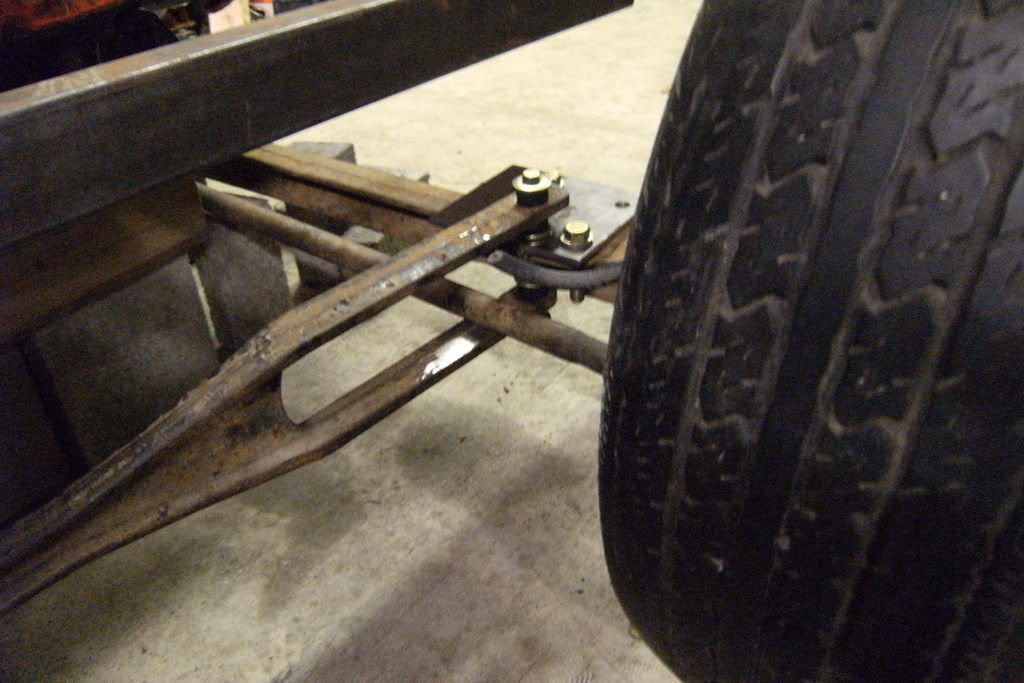
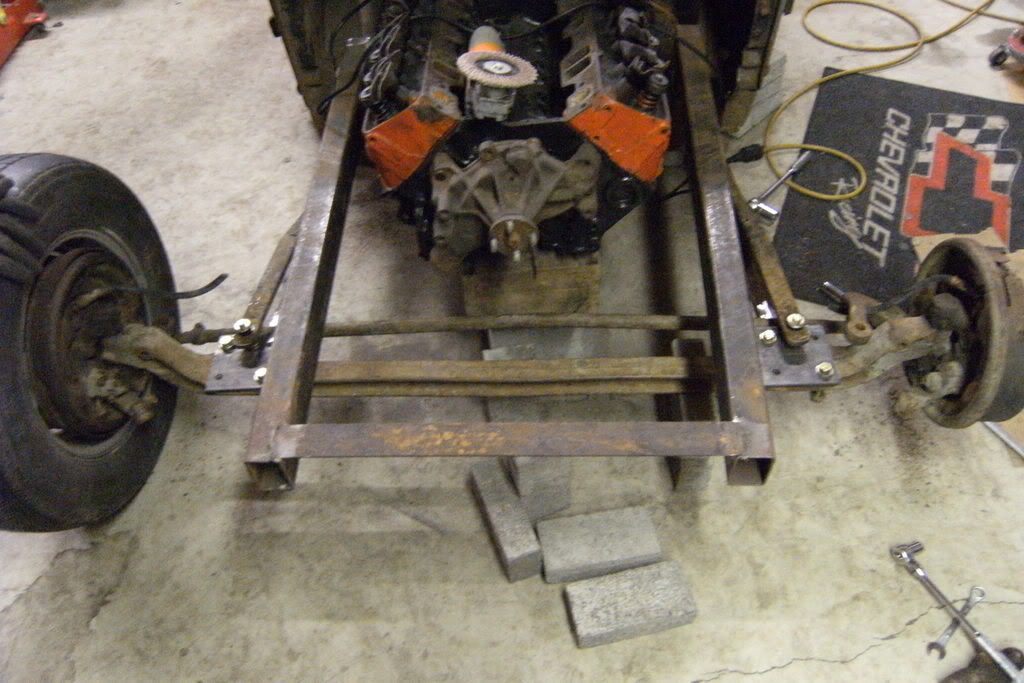
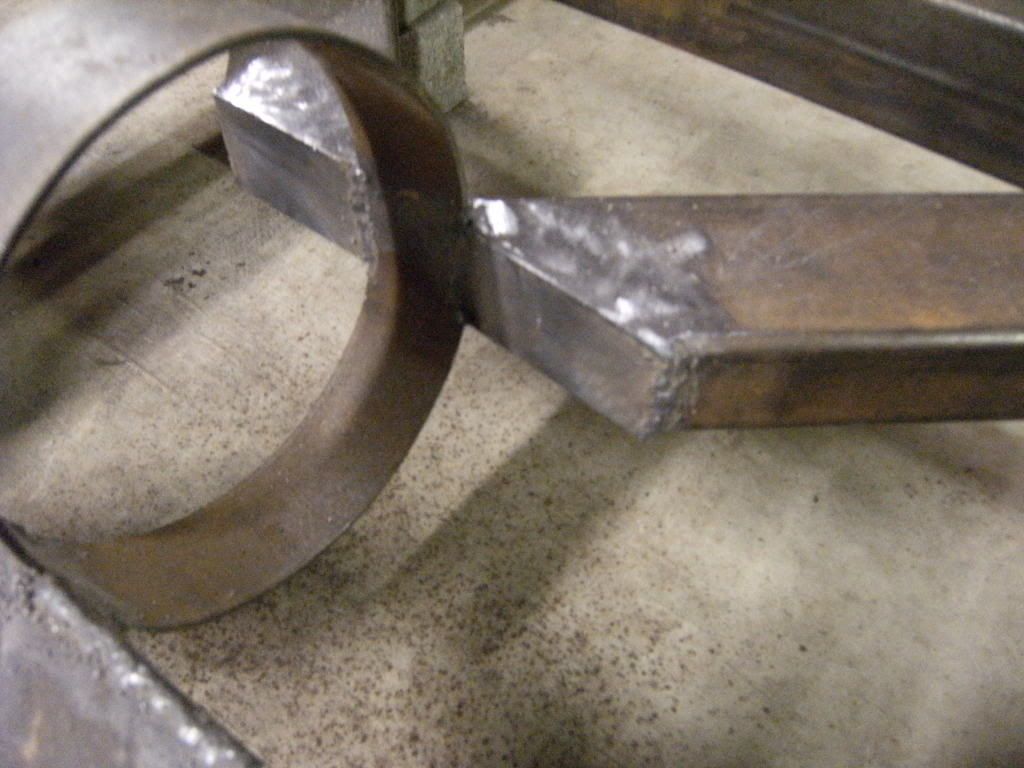
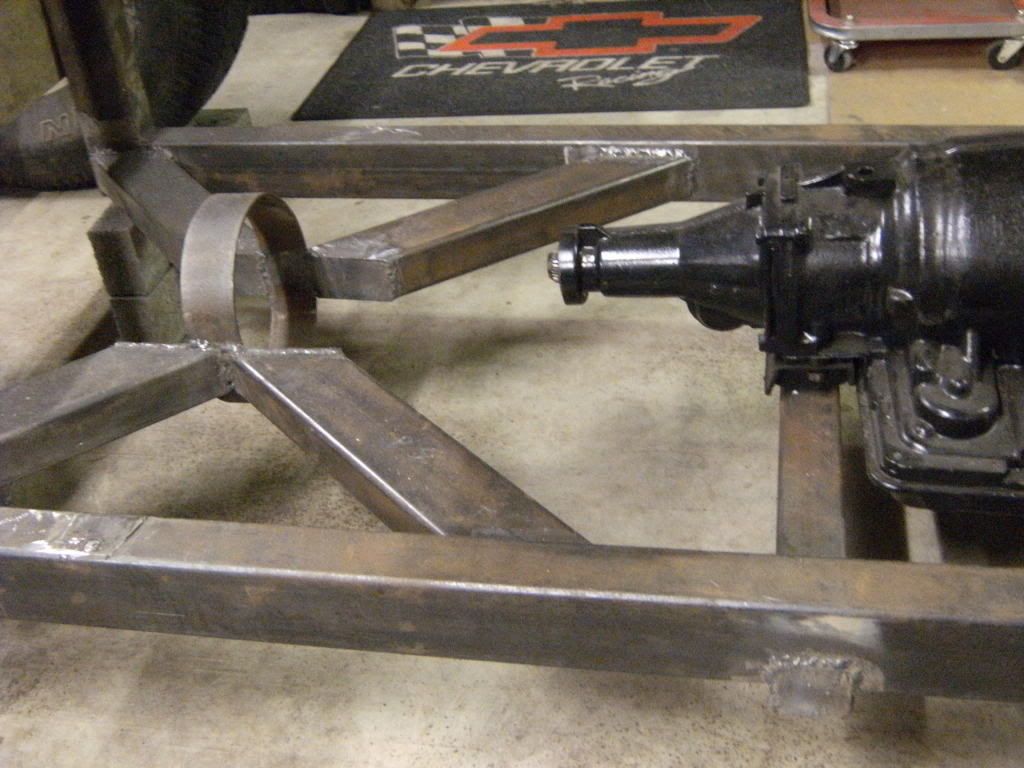
I needed to get an X in this chassis, so I took what was left over of my 2x3 tubing scrap and decided to use it. It might look ugly but it totally works. I put the loop in the middle of the joining 45 degree cuts and braced the insides (and welded the outsides) to make one full piece. Its in there very well. Wish I had more money to do something a little more legit, but this will work

Nov08086.jpg


Nov08089.jpg
 
Now its time to get rolling on my 4 bar set up using the Jeep TJ arms.

Heres the steel I set aside to get the job done (3/16")

Nov08094.jpg


And the $33 in Grade 8 Hardward

Nov08095.jpg


Got the lower chassis holes drilled and mocked up the lower bars

Nov08097.jpg
 
I figured getting the lower bars mounted first would be the easiest route. Here are my hand fabricated brackets that go under the axle. I am using the relief cut method as I don't have a Hole Saw bit big enough for my 3" axle tube

Nov08099.jpg


Nov08100.jpg


Finished product

Nov08101.jpg


Nov08103.jpg
 
After it was tacked I flipped it over to finish the welds

Nov08111.jpg


Then I did the upper axle brackets. The middle bracket I welded into a 'V' for strength.

Nov08138-1.jpg


All bolted together

Nov08142-1.jpg
 
I am working on the Upper Coilover mounts this week, and I am going to buy the lower ones that weld to a 3" axle tube from Speedway for $10/piece just because I can't even make them for that cheap. I am also trying to figure out how to mount this swaybar :D

Nov08146-1.jpg


Some pics with the cab back on

Nov08153.jpg


Nov08152.jpg
 
Also, here's the injury that made me take a week and a half off from the car in early November. I stuck myself in the thumb with an .045" Cut Off Wheel. I couldn't grab any thing with my left hand for a few days. I seriously could have cut my entire thumb off

Nov08011.jpg


Nov08013.jpg


Nov08016.jpg


I am a puss when it comes to Narcotics. My GF gave me 1/2 a Vicodin and I passed out. I guess the dog crawled on me and she snapped a pic haha

Nov08028.jpg


I could have used a stitch I guess, but I am all good now. NEW LESSON: Always wear gloves
 
bricks

Yup, bricks are good, and indispensable! And lots of wood blocks. These things NEVER talk back, never complain, and NEVER ask for PAY. Sorry for you cut. Got news, they cut through gloves too..............Perley:)
 
Youngblood, Looks like you lost some of that young blood! I think if we started an injury thread it would be the biggest one on RRR.
Oh, by the way, I like the work you are doing. Gonna be one nasty looking truck, and, well built too.
 
Take care of you thumb man. I think you can actually get Kevlar glove that are cut resistant.

Just a thought, if you could put 2 more hoops are some gussets in the center section it would strengthen up that area considerably.

Everything else looking great.

PS- your dog is getting big, huge, very large....fast!
 
You're right Perley, bricks are the best and gloves are merely just an extra layer of skin to cut through.

Thanks Bob, I appreicate the support. We should start an injury thread. I can't seem to figure out why I have 7 scars on my left hand and only one on my right LOL

DMW, thats not a bad idea. I could add a loop in front and back of the existing one. Yeah, and the pup, he's 4 months 3 weeks and the vet weighed him in at 51 pounds last week :eek: She said to start giving him adult dog food already :cool:

Thanks again guys. I will get pics of my front suspension once I get a call from the parts store.
 
Thanks Gastrick. It feels like you spend so much time on something then realize that you haven't really gotten that much done, you know? Makes me a bit concerned about hitting my 1 year personal goal on this baby (January 29th)
 
Hey guys, some more progress to report:

I had been trying to figure out how to make the twin I beam trailing arm work as a regular I beam hairpin, so I bought some materials and did some research on the exact end link bushing that would work. Energy Suspension provided the needed set up.

Anyone thats seen an end link knows that there is a bolt with a sleeve it goes through and bushings on each end of the sleeve. The problem I was having was how I was going to mount the set up to an I Beam that previously had parallel leafs. Obviously I needed to make a bracket that would bolt through the 4 holes of the existing pad.

dec08024.jpg


So first, I bought some 5" wide 1/4" plate and cut it into two 6" long pieces.

dec08025.jpg


dec08027.jpg
 
Now I had to figure out how to get the sleeve for the end link to fit inside another piece of pipe to give rigidity. I found some pipe that was really close to the sleeve slipping in, so I picked it up.

dec08028.jpg


dec08033.jpg


First, I figured if I ran a rat tail file down the pipe long enough I could get it to slip in.

dec08037.jpg


No dice. I filed and filed and I was going nowhere fast. So I thought running a drill bit through it very carefully would do the trick.

dec08039.jpg


Again, not working very well...
 
...then I whipped out this bad boy, thinking surely this is the best way

dec08042.jpg


Again, NO. I cut the pipe in half to take a look at the inside and all did was mangle this thing.

It dawns on me then, why not cut the pipe in half, press it with the vice around the sleeve (forming it) then weld her together as one piece?

dec08043.jpg


dec08062.jpg


dec08066.jpg
 
Here is the end of the trailing arm with the end link and bushings bolted in to give you an idea of what it will do.

dec08070.jpg


Now I needed to get this new sleeve into the 1/4" plate. So I drilled 4 holes to mount the plate to the I beam, then a 5th hole to run the sleeve into. Here is the top of the plate with the sleeve welded in.

dec08078.jpg


Also, for anyone that might try this, I would run a spare bolt through the sleeve between each weld just in case there might be any kind of warpage.

dec08077.jpg


Then I got the bottom welded with a little gusset.

dec08073.jpg
 
I had to do some clearancing on the bottom arm of the Trailing Arm, but nothing major, to get it to clear the idler arm

dec08092.jpg


Here it is bolted in. Not as ugly as I thought it would be.

dec08098.jpg


dec08099.jpg


dec08095.jpg
 
Back
Top