bob w
Still crazy after all these years!
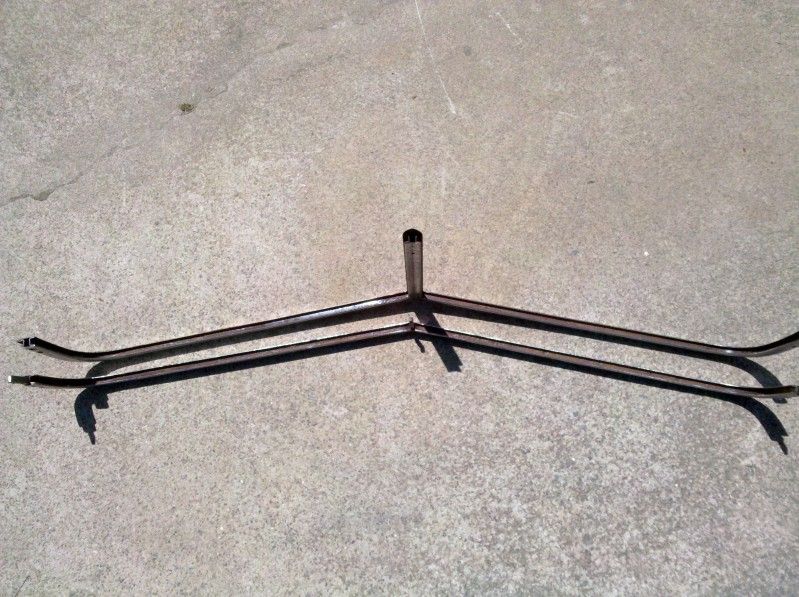
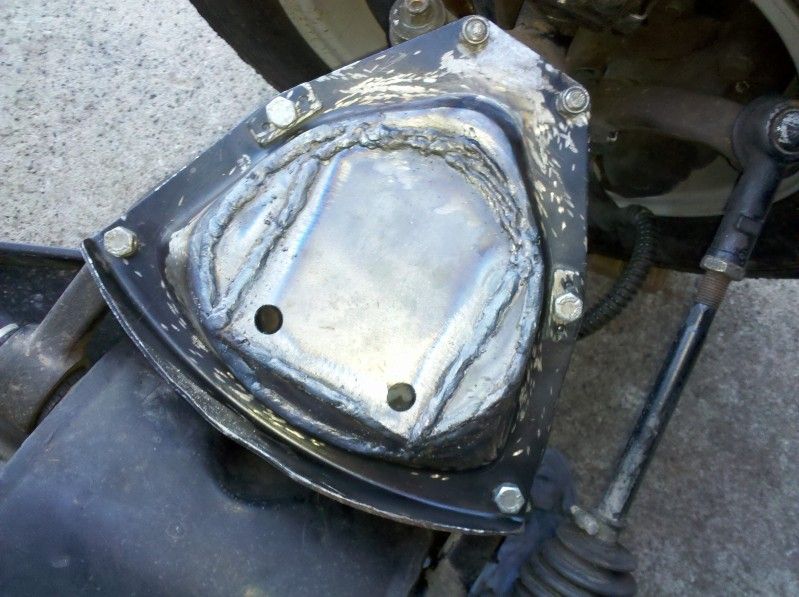
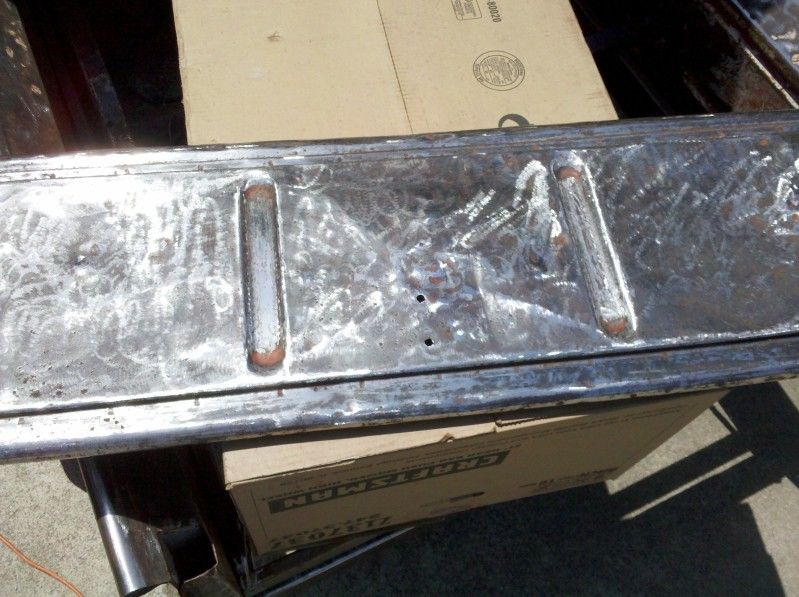
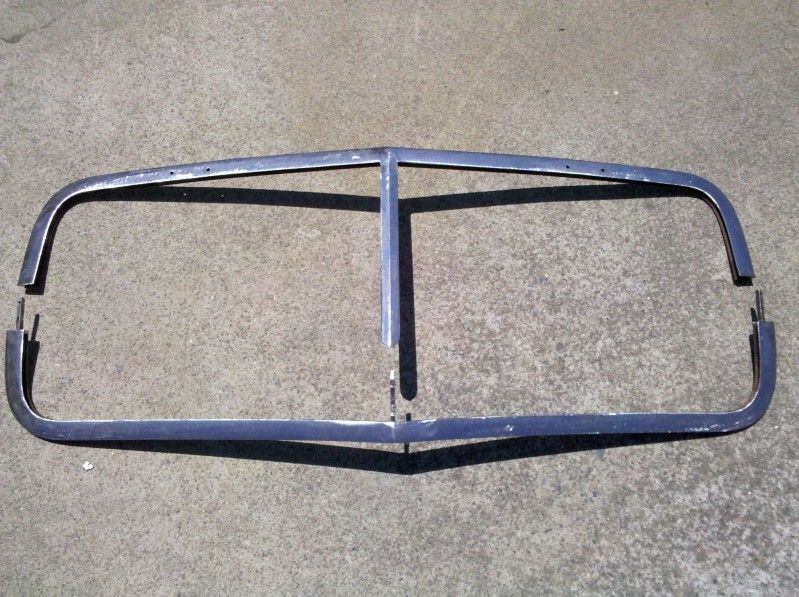
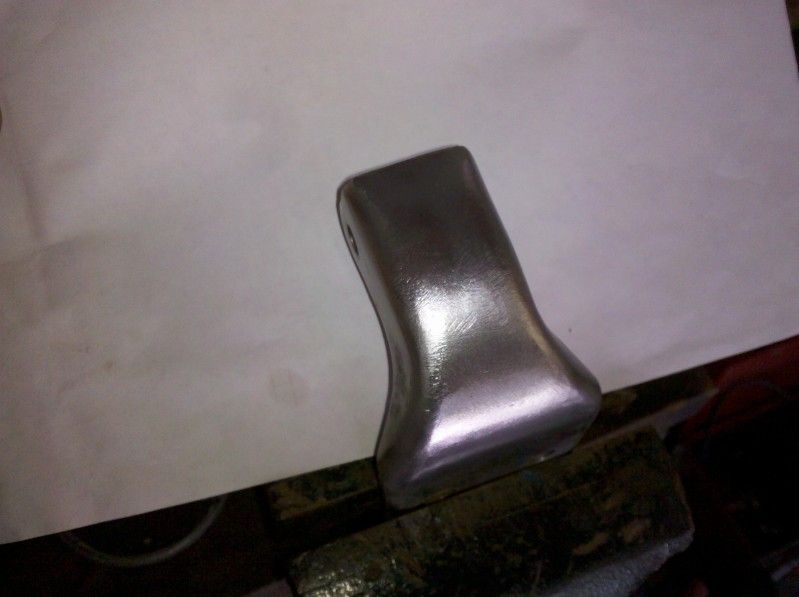
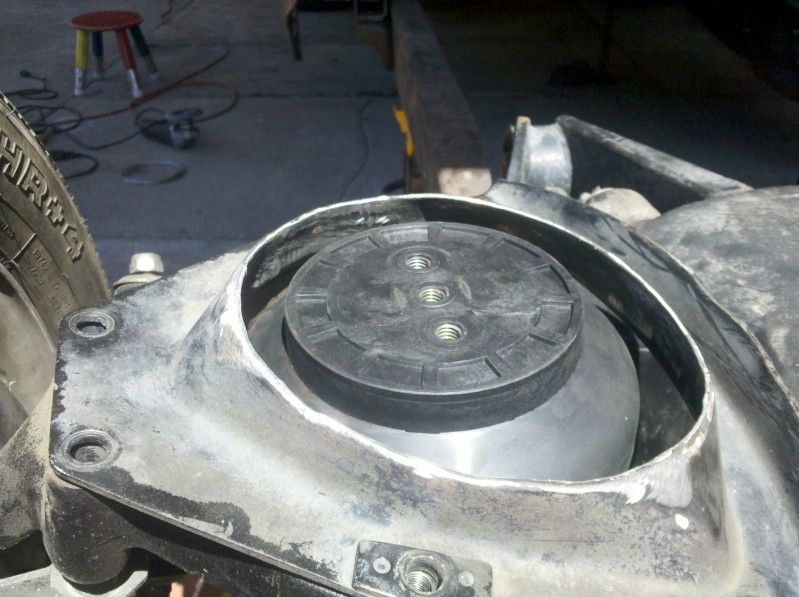
That sucker is perfect! The magic stool must be the key to your inspiration.

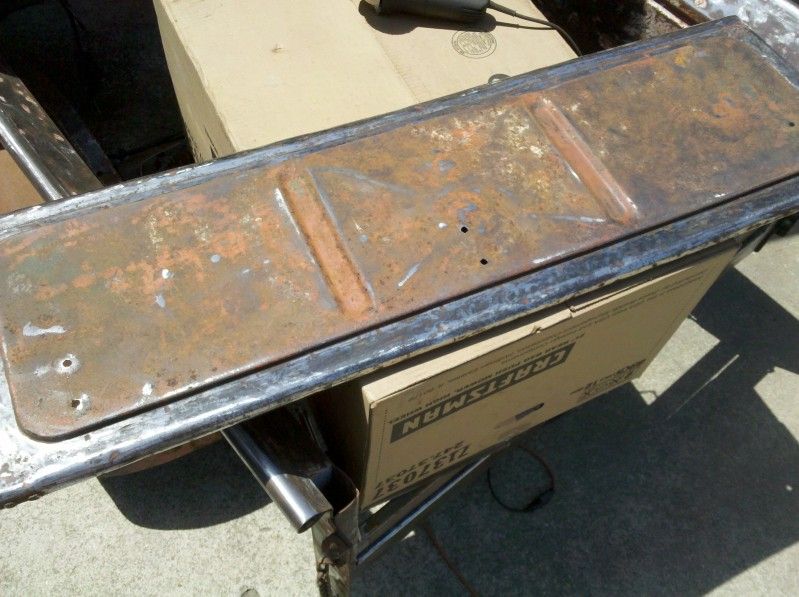
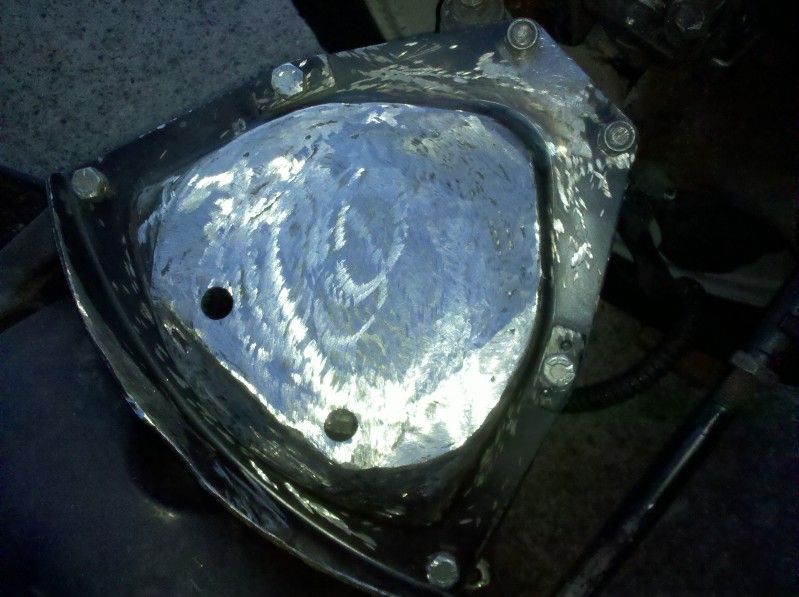
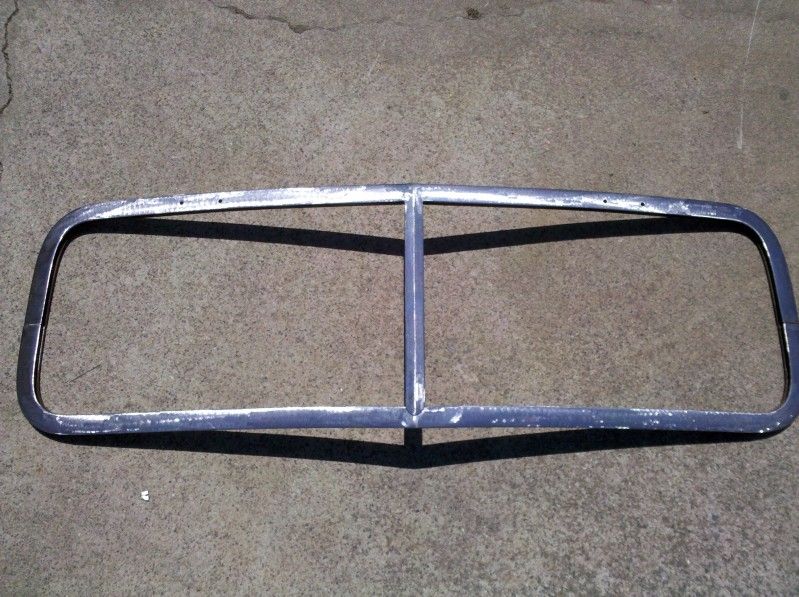
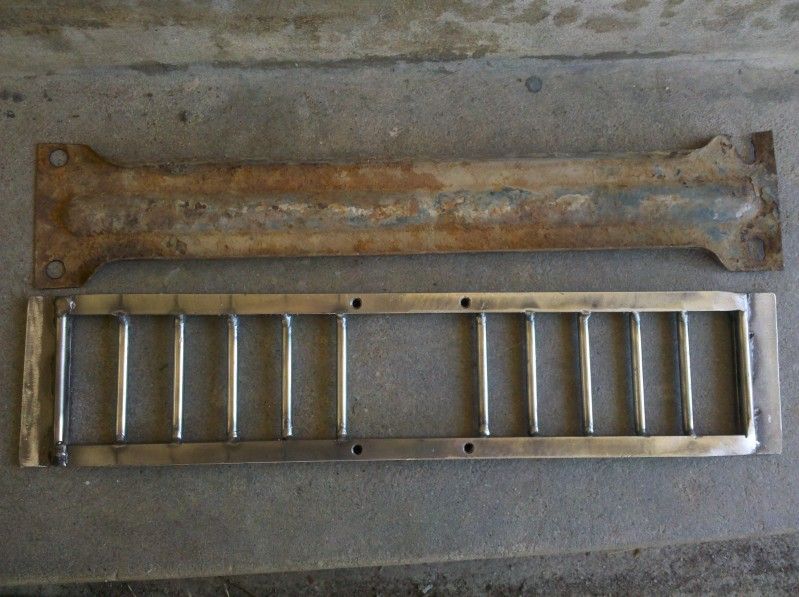
Thats a lot of rust removal!
Perhaps media blasting may be quicker, more complete?
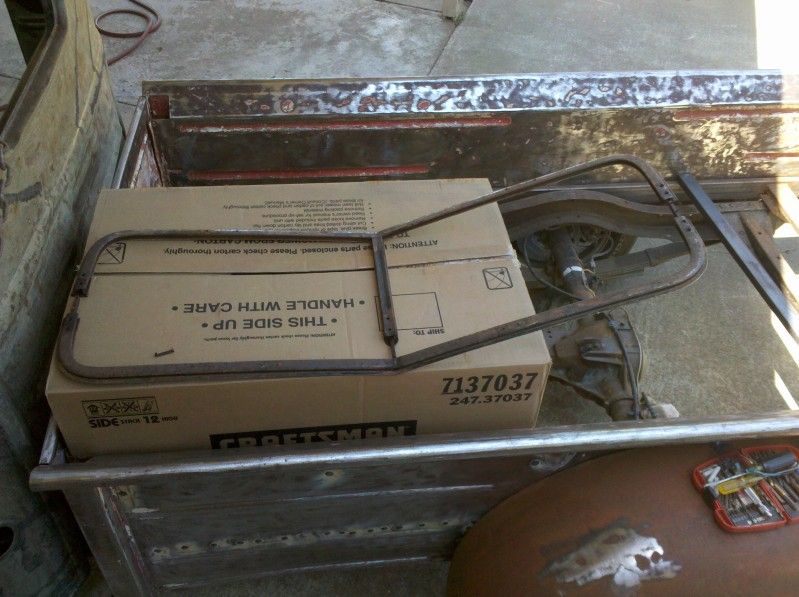

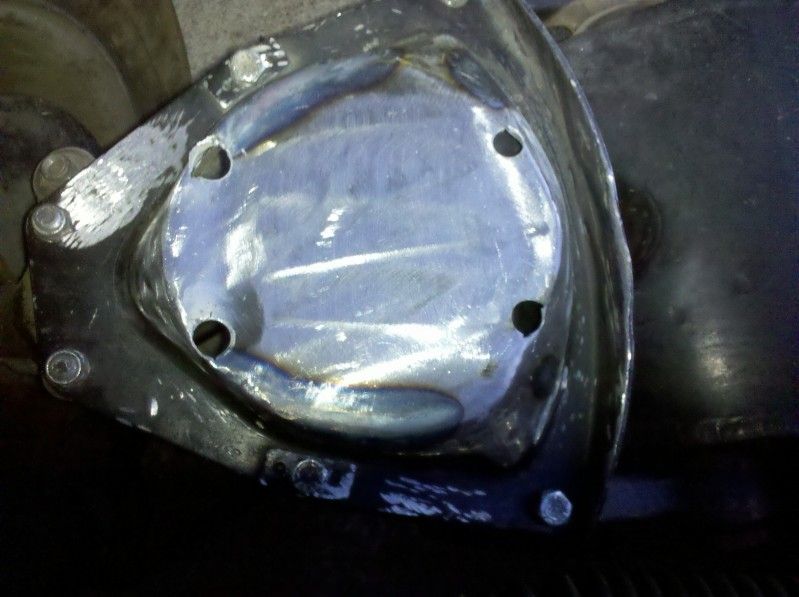
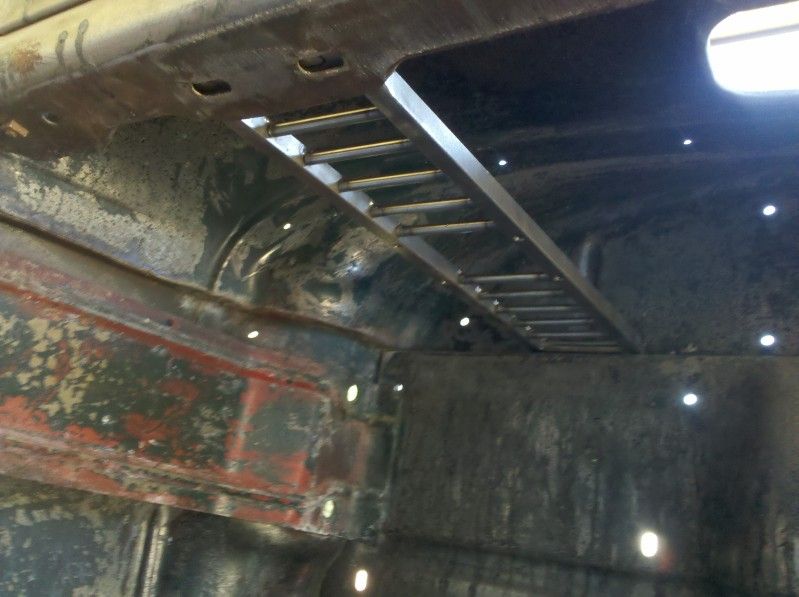
Sorry to keep posting worthless photos of minor progress.
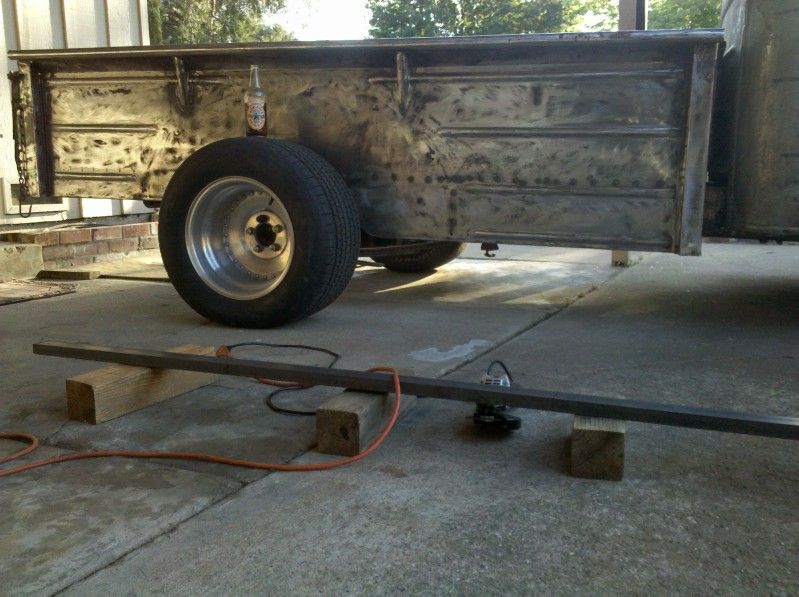
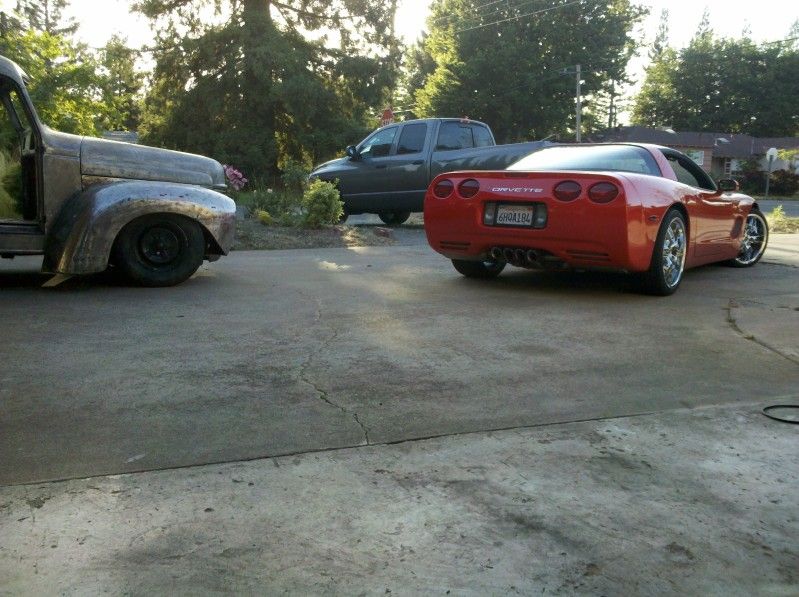
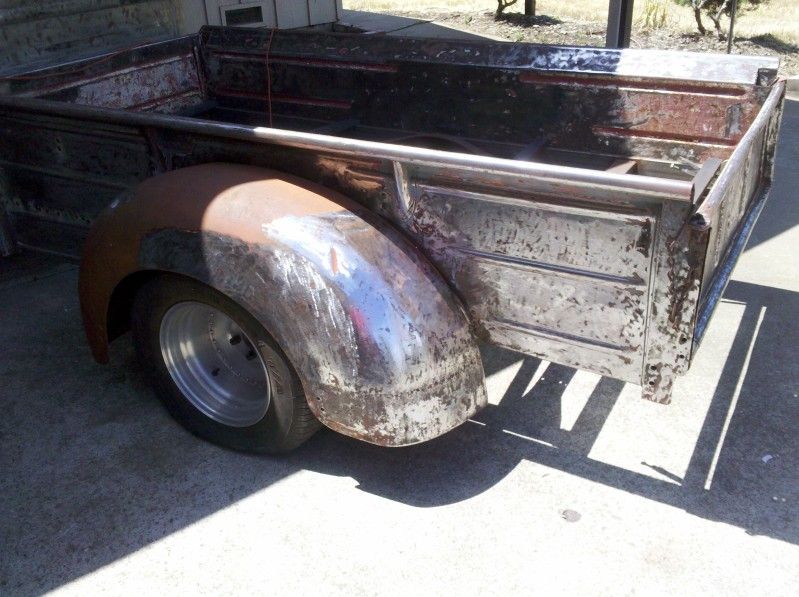
 However I would like to see a full side shot so I can admire that long bed.......it's really starting to grow on me I think.
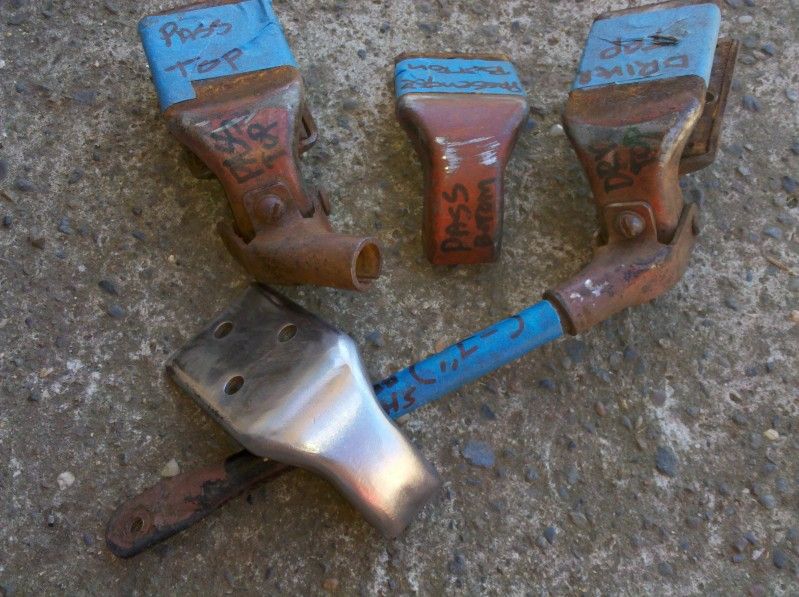
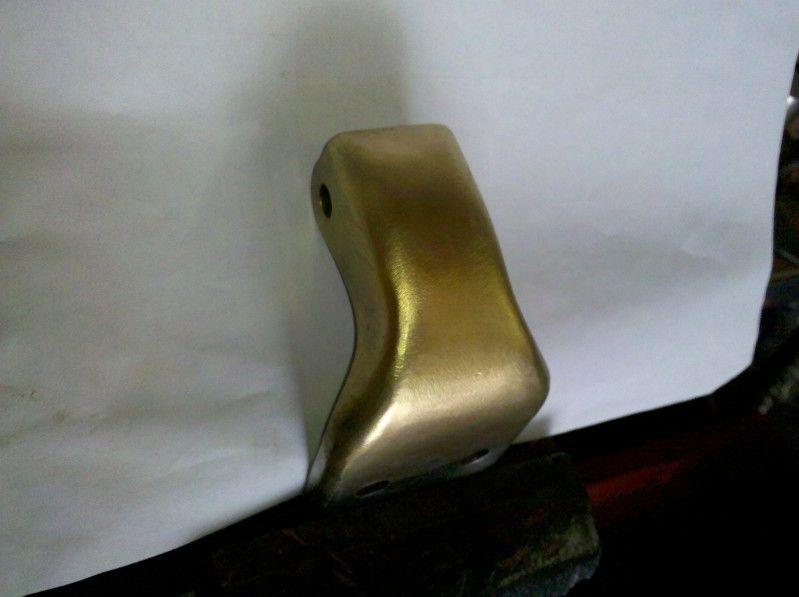

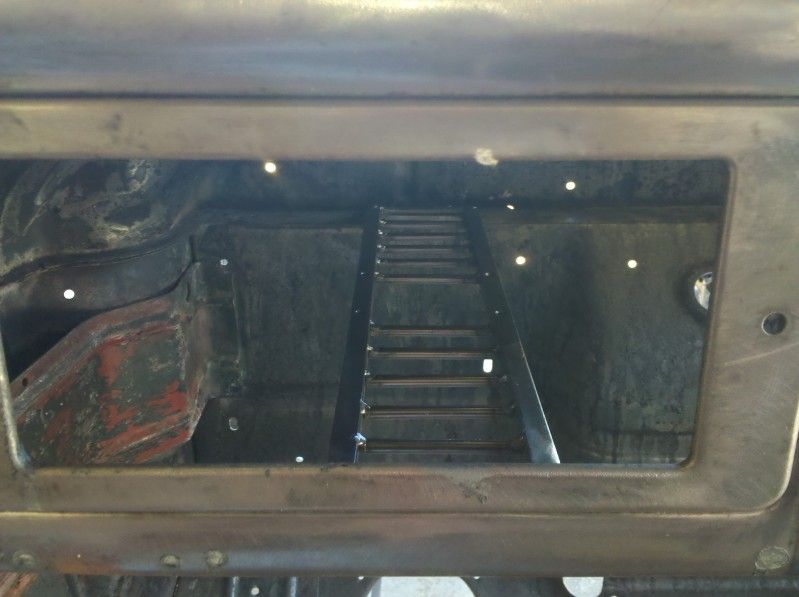
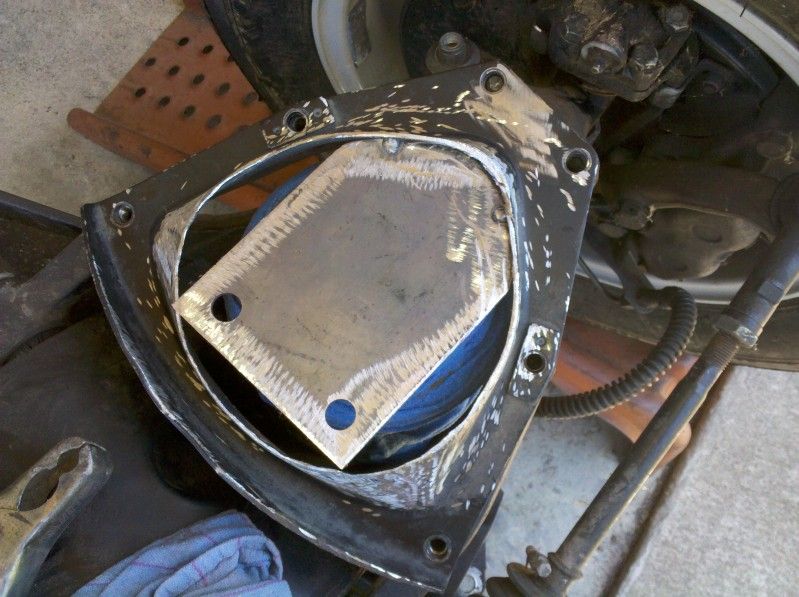
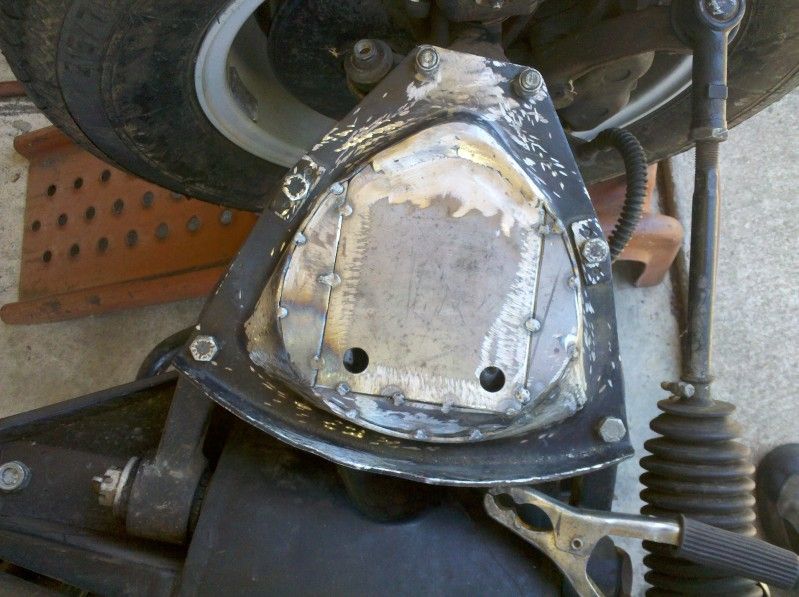
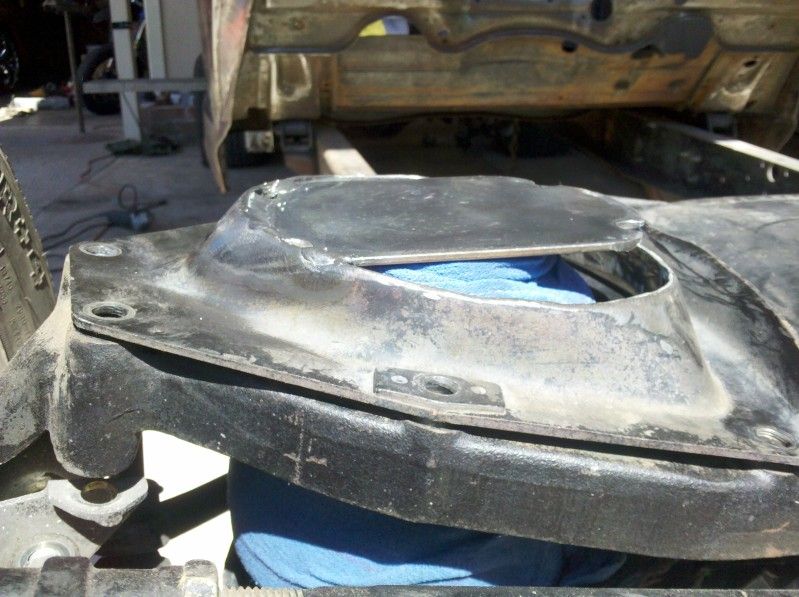
you did a killer job, however, a little concerned with safety, as that piece could get driven back into you in a crash... it looks pretty stout...

Enter your email address to join: