Smallfoot's AA

Rat Rods Rule

Help Support Rat Rods Rule:

This site may earn a commission from merchant affiliate links, including eBay, Amazon, and others.
Looking better all the time Smallfoot.
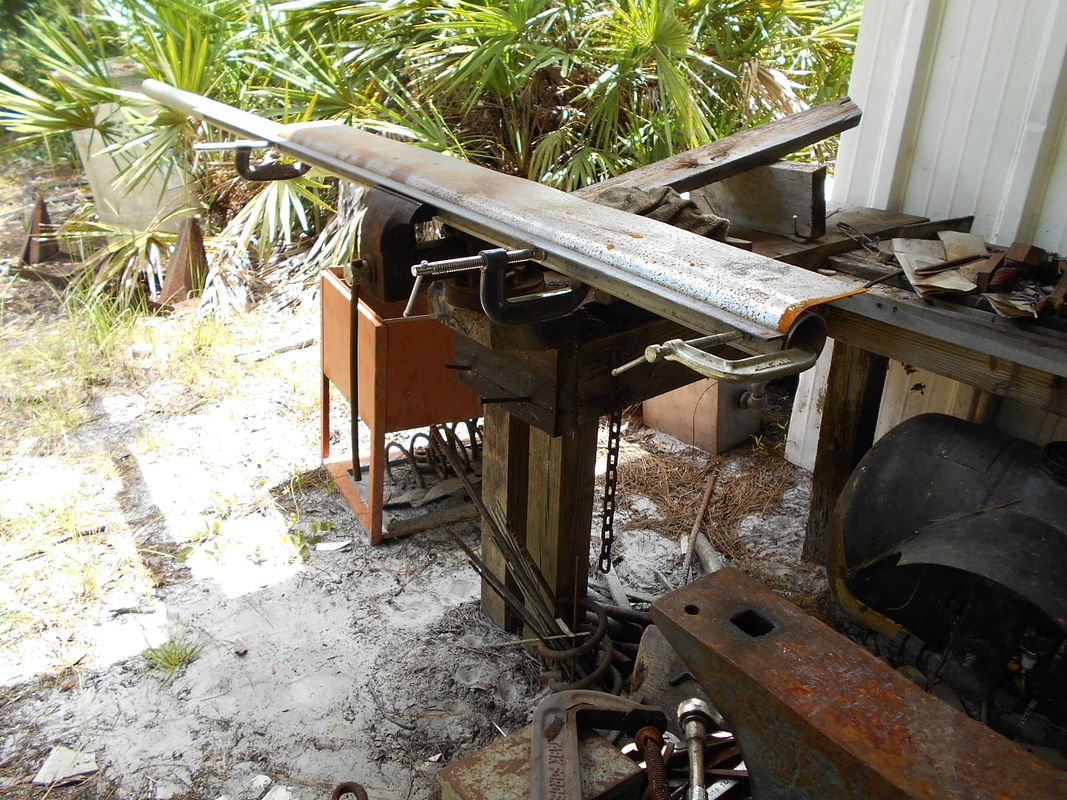
You already proved that you can curve metal using just a coffee can filled with sand. When I want to curve longer pieces of metal I have used everything from a tall empty gas cylinder to a 6 foot piece of 6 inch diameter thick wall PVC drain pipe.
I also have an old bowling ball as well as a soft ball that I use to shape metal over with a hammer.
What gauge metal are you using?
Torchie.
 
Ya'll make it sound like I have a chance with this. hoho! Thanks for the confidence. Torchie, I have some 18 ga. sheet now. If I totally re-do the top, I'll need another sheet anyway and I will use 16 ga. for the floors. The 18 ga will be easier to mess with for the top.
Just going slow and trying to get it looking fairly decent. It's actually looking a little better to me than I thought I could do to start with so I'm pleased. I am trying for solid and dry and if it looks fairly straight too, that'll be a bonus.
Thanks for coming along!
 
I'm familiar with welding and grinding, I tell my daughter that's the fun part[;), and you are far beyond "looking fairly decent" [cl
Keep it up [P
 
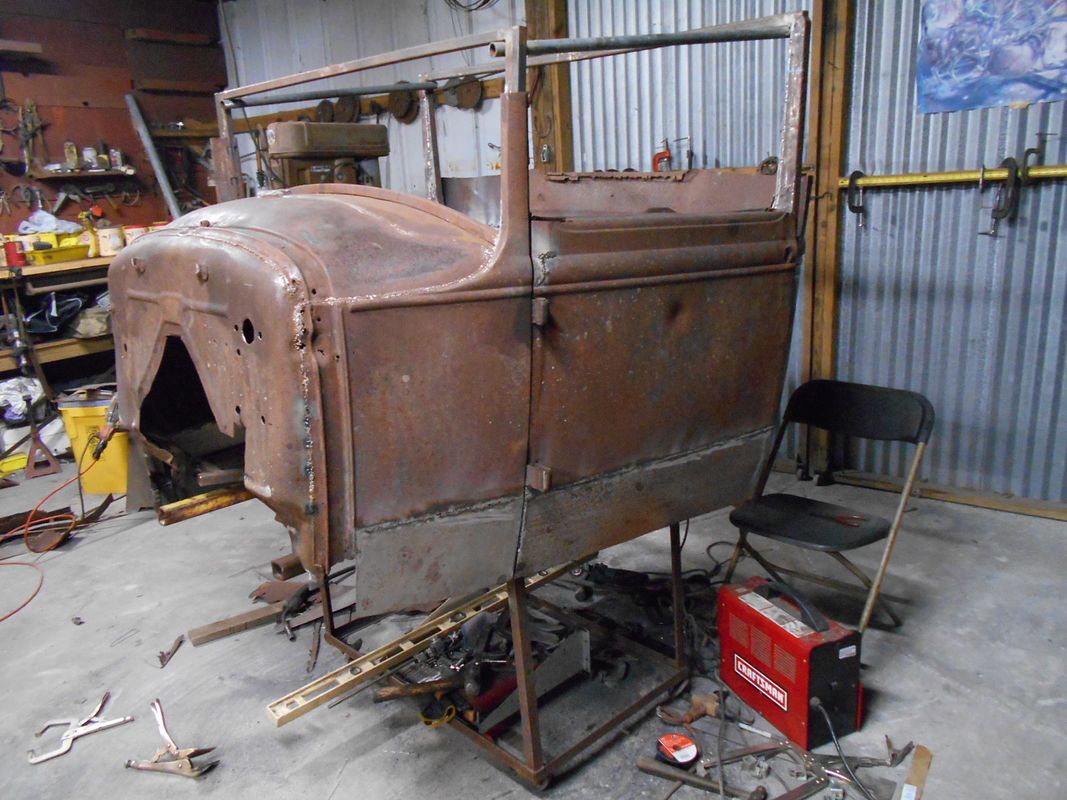
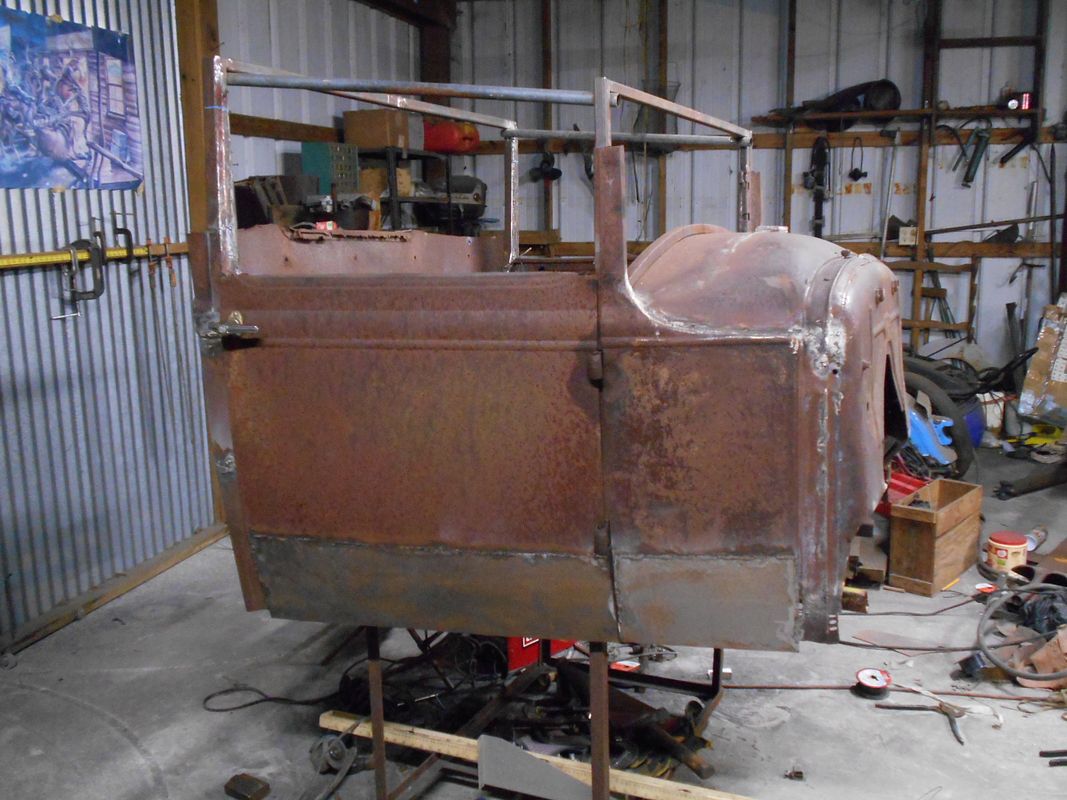
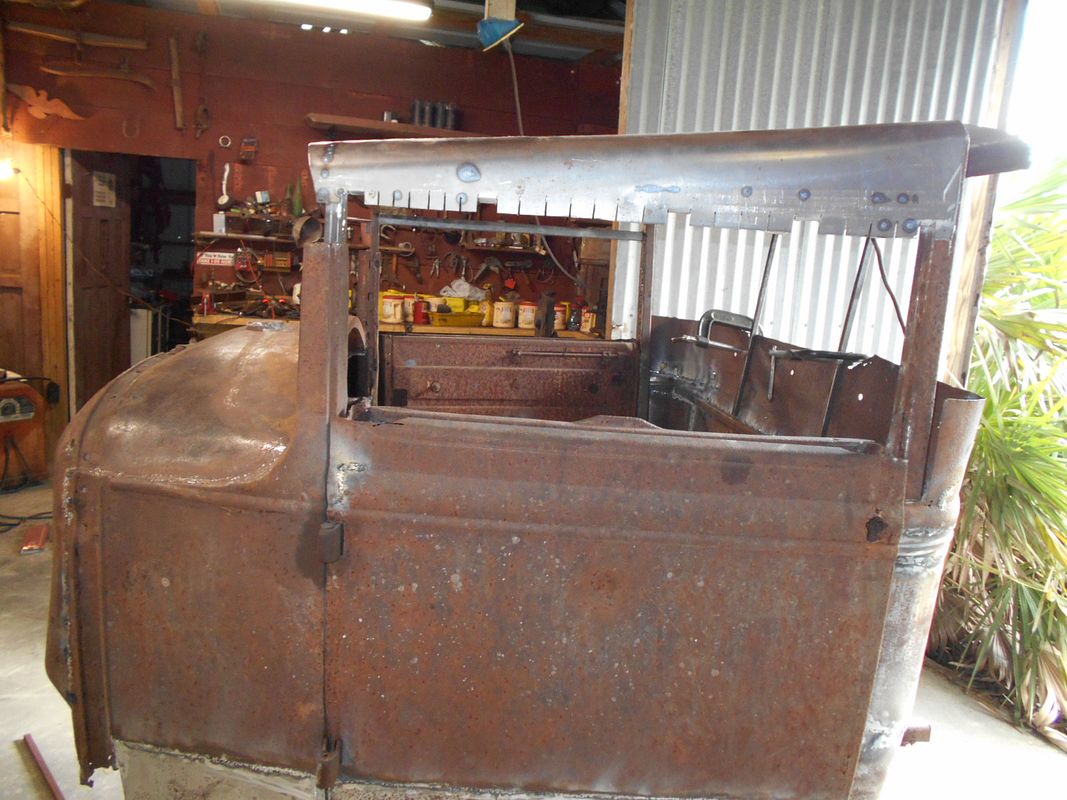
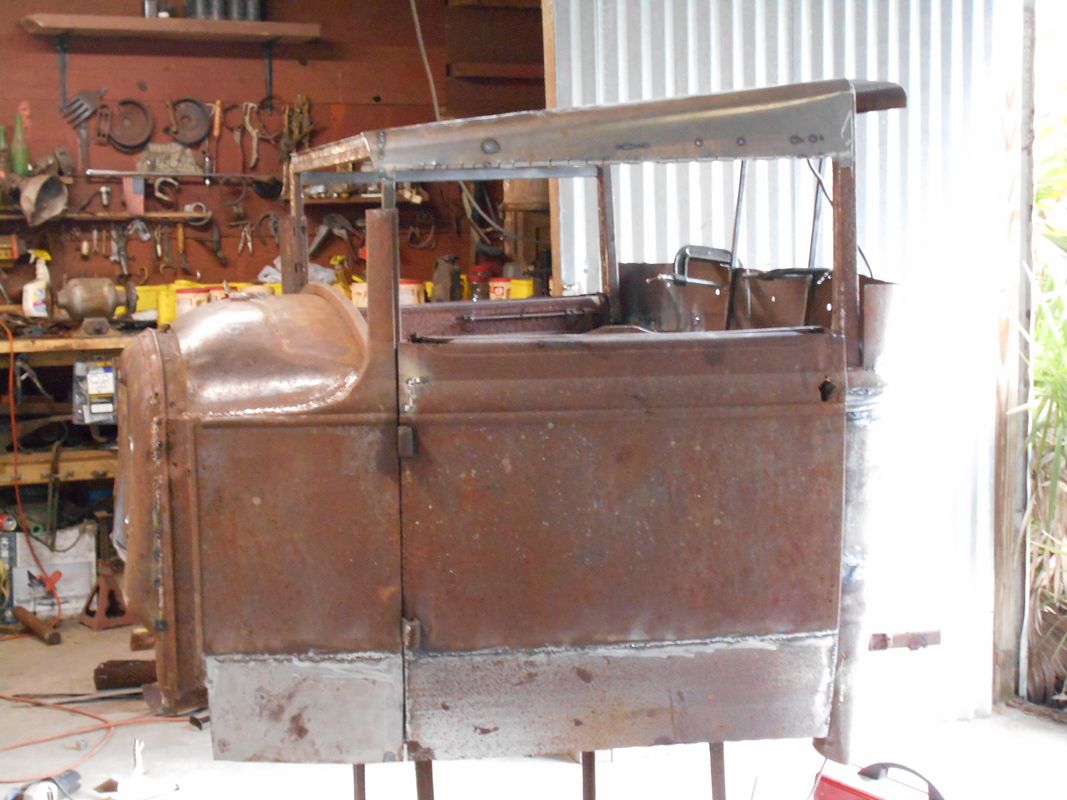
Still need to do a trim and will be filling and grinding for a while but the bottom edges are in place.

Pulled a boner yesterday. Cranked the motor up just to hear it run. Ran it for a while but noticed the gas color looked off in the filter and the motor wasn't running real good. I noticed the temp climbing above normal too so I shut it down. Hasn't cranked since. When I cleaned this tank out, I didn't seal it because it didn't leak. I just cleaned it out and then rinsed with diesel. By the contents of the filter, I'm picking up rust. That was the odd color in the gas. When I first ran this motor with this tank, the first thing I did was disconnect the fuel line before my filters and pump gas with the motor until I pumped a quart out in a jar. I just wanted to see what it looked like right out of the tank and through the new lines before I hooked it up. Looked fine then. Looks like time for a carb rebuild. Give me a break from grinding and welding.
 
Last edited:
your build is look'n great[cl. I have a jeep pickup frame and was thinking what to do with it, you've give'n me some inspiration, hope ya don't mind if I borrow a few of your ideas. I'm thinking a 48 Chevy coupe body on it.
 
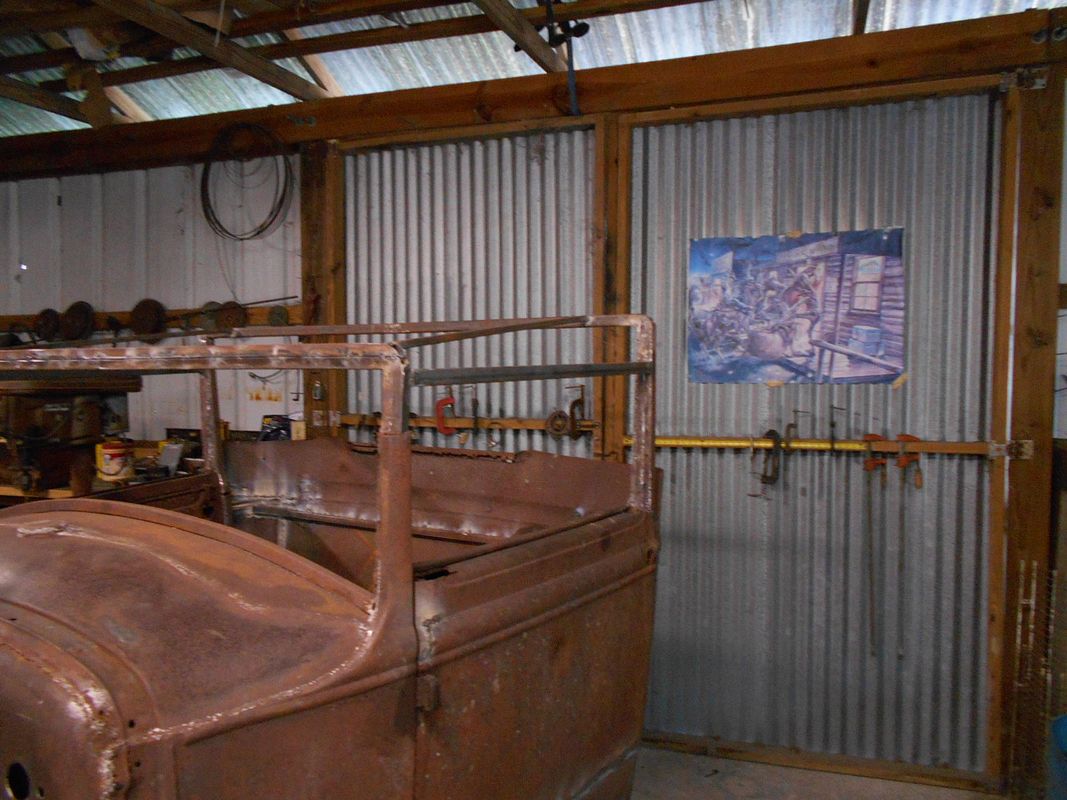
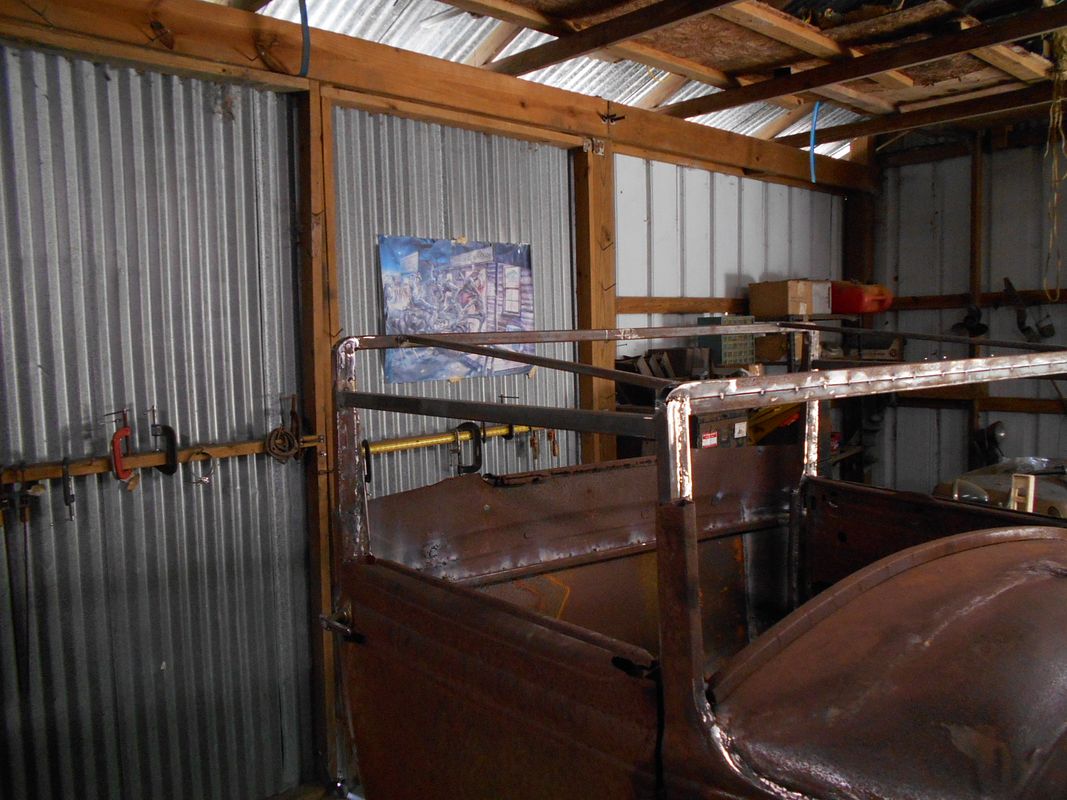
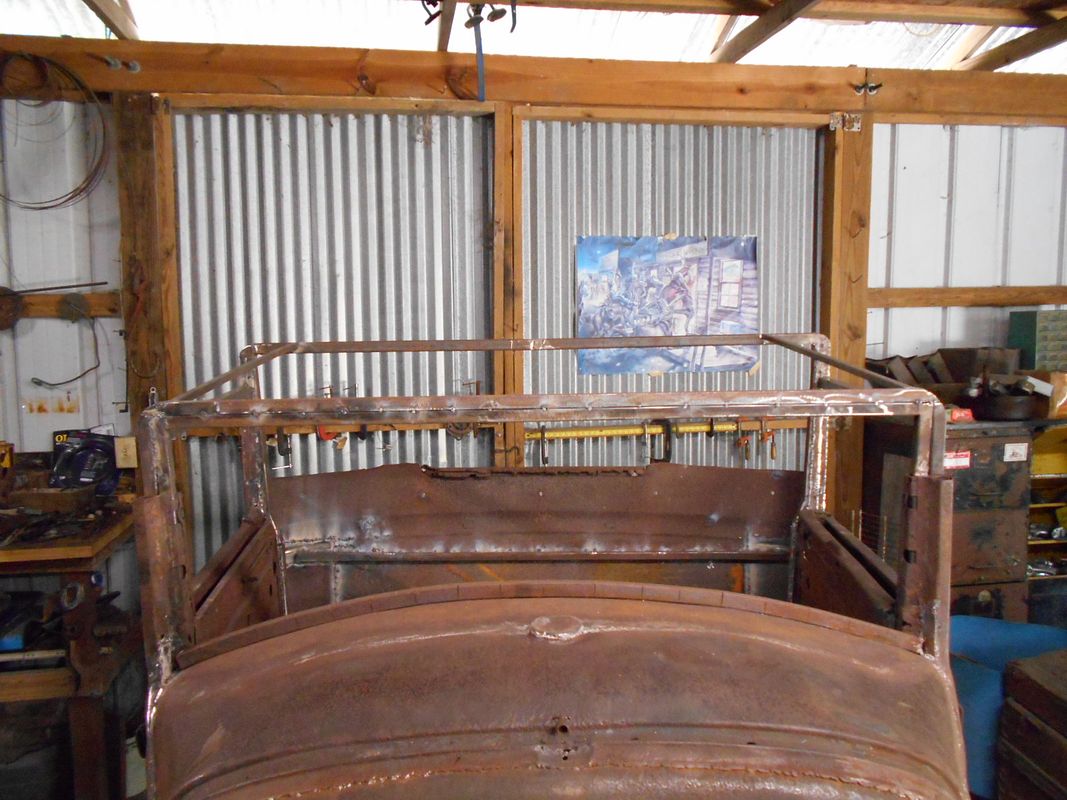
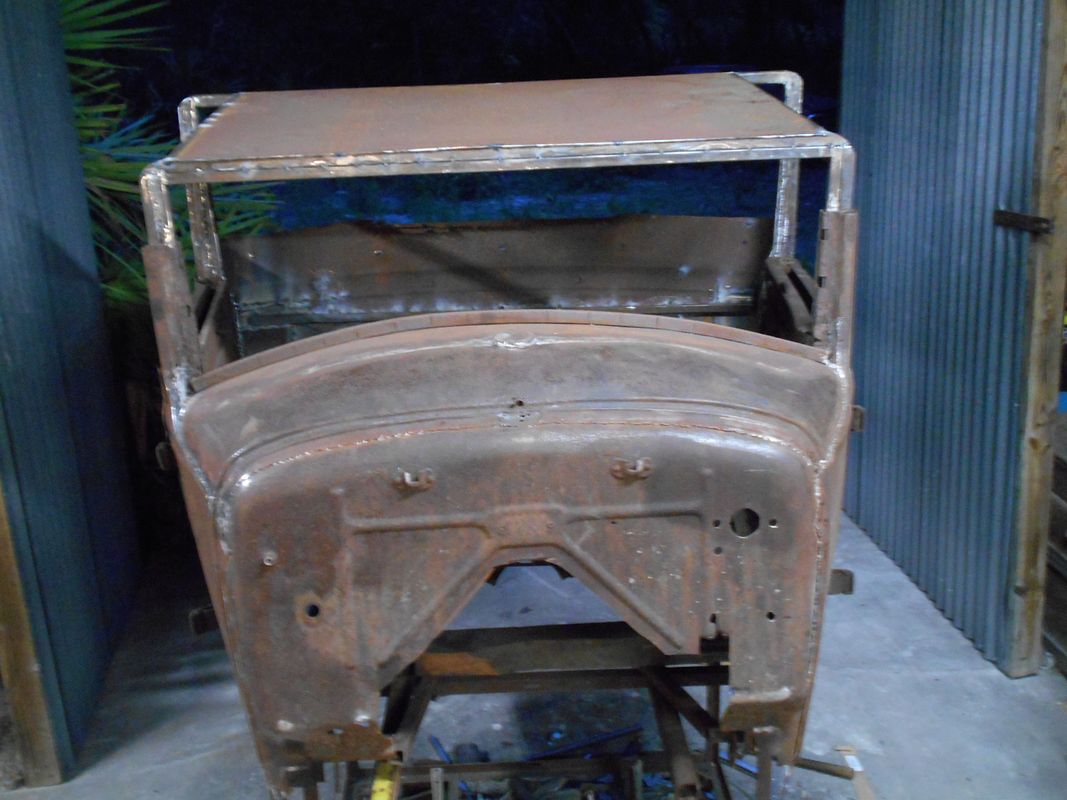
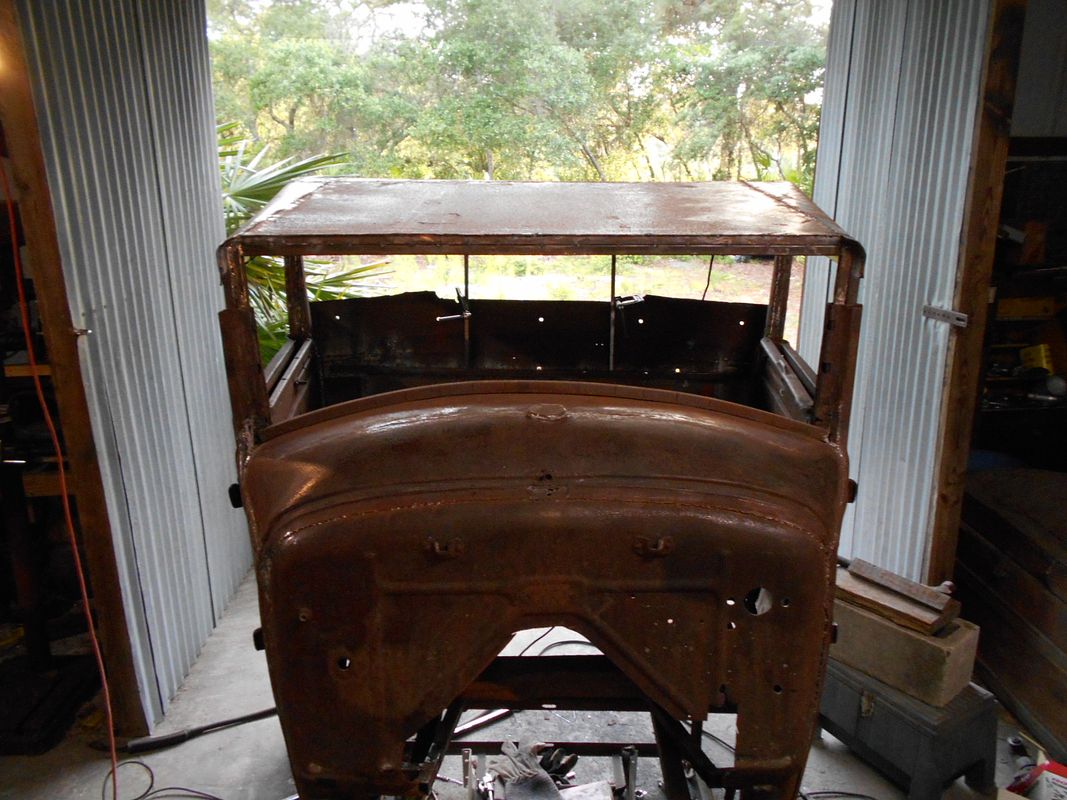
Temp braces off. This is what I'm going to do with the top. I laid some 1/2" square flush up to mounting surface on the back frame and squared it up with the front frame. Then I figured where I wanted the door way top amd laid some 1" square in there. By rolling a radius into a wedge shaped piece of sheet that will be about 5" wide at one end and 11" at the other (pix later). Hope it doesn't look too far off when I try it but my radius is different. All my seams will end up on bracing and I think I can make the curve ok. I'll lay those pieces in first. Next will be a straight strip across the back with radius bent in. That will attach to the window area of the back. This is how I'm thinking now...those pieces in place will leave me with nothing but corners left to complete the top. The best I can doodle out on paper and in my mind is two football shaped pieces of sheet and planished with opposing curves....hmmmm....heheh...somebody shoot me!:eek:

 
Didn't get much done today but any step is a step...Placed the center section. Might just have enough steel to get the top all closed in. I stopped here to closely consider what I need to do around the windshield. Gotta build about 5" of sheet metal height all around now and meet up at the top. Measured for the wiper. Got plans on wiring features now to make hiding wires easier soon. Just thinking my next steps out. Am also planning on a visor, so shaping that up in my head too....
anyway, one pic.
 
Last edited:
Thanks zz!
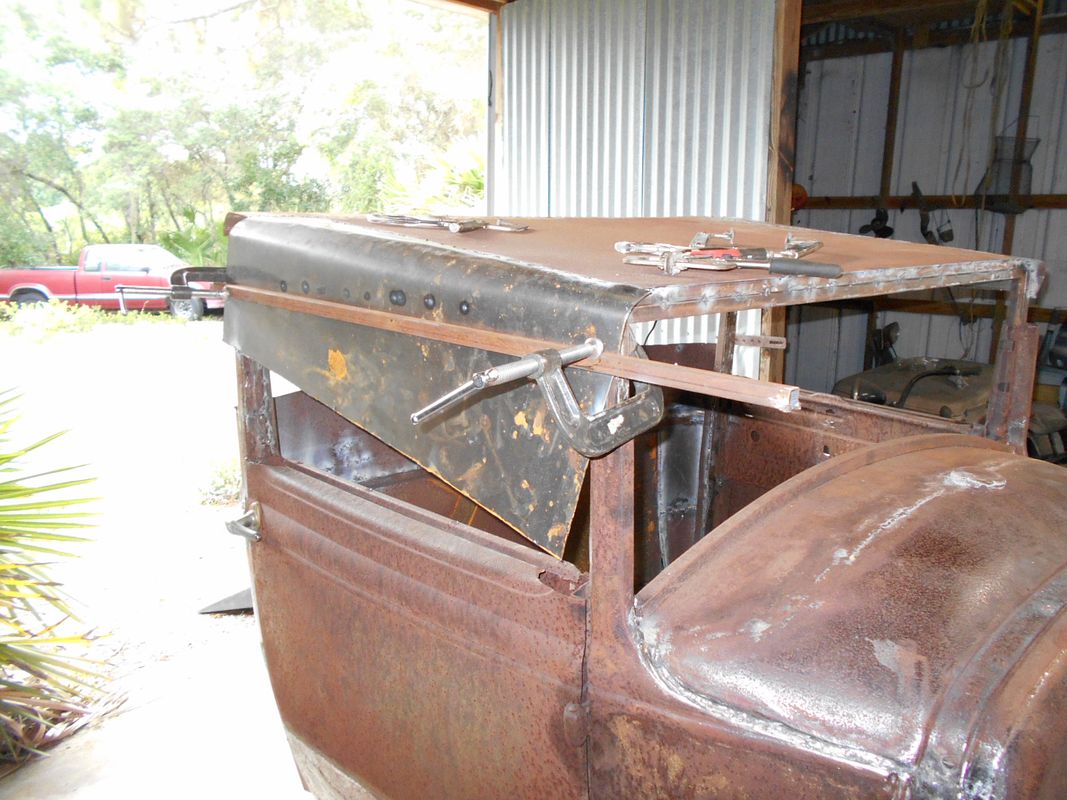
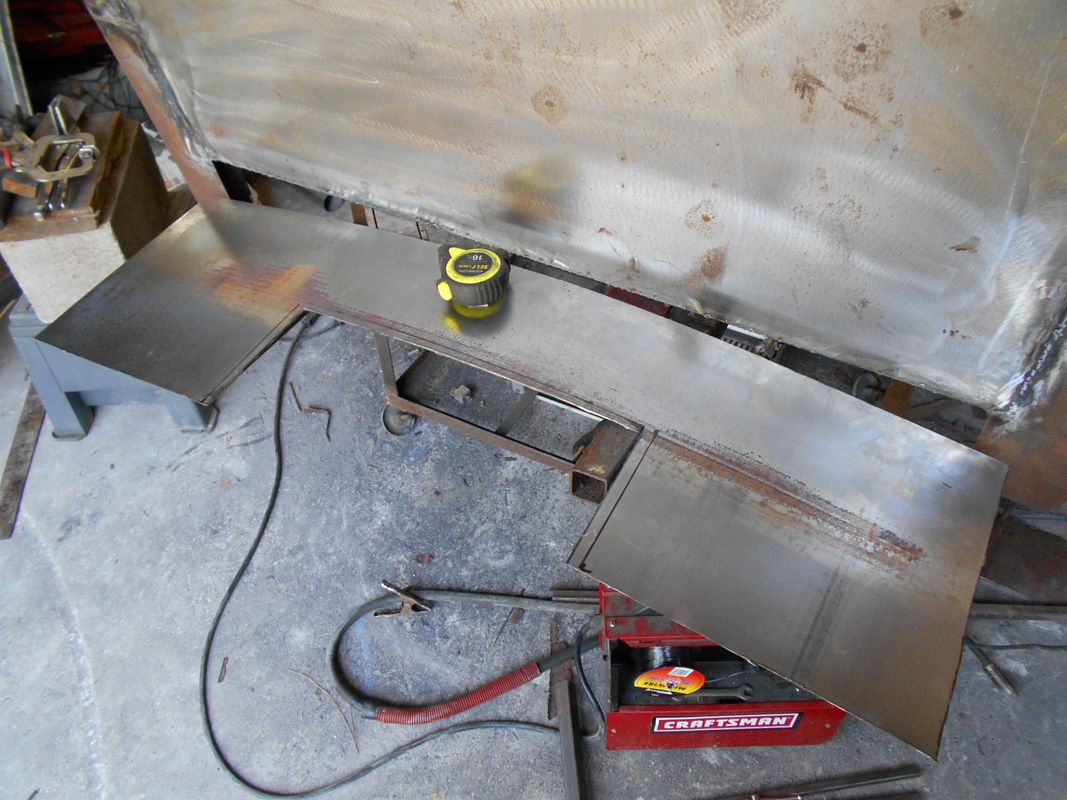
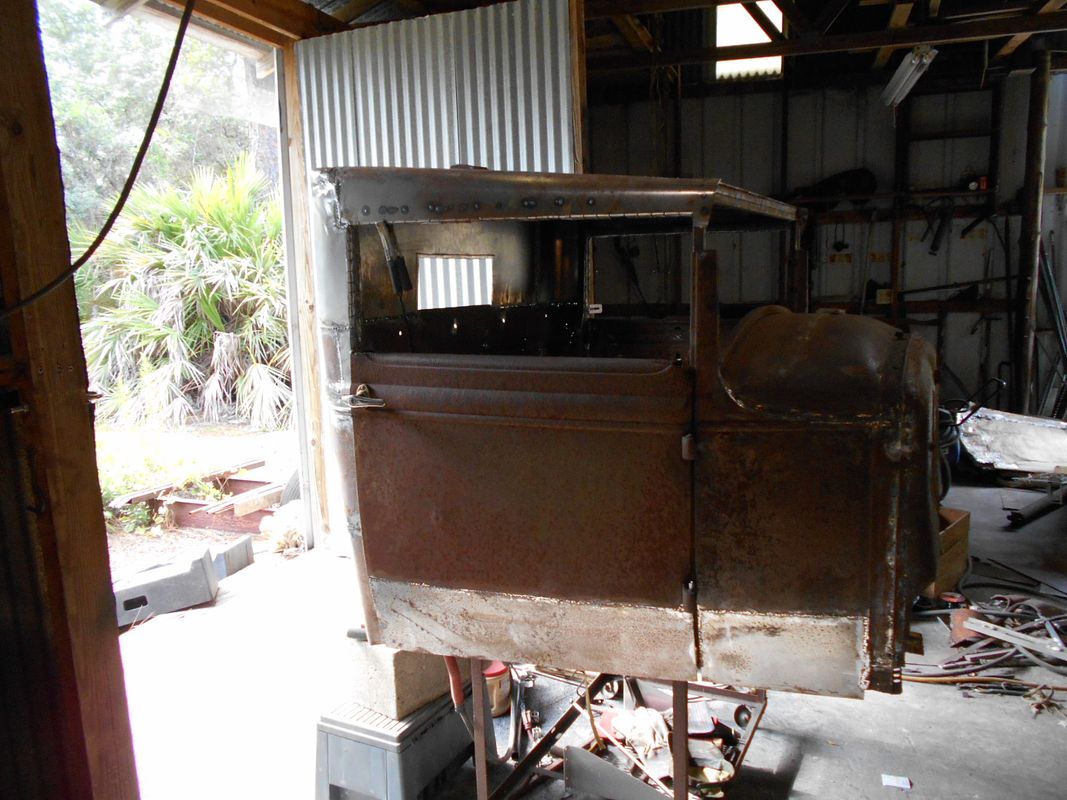
1st pic is using a pipe to shape the top rear piece.

2nd pic is top rear piece in place with temp braces.

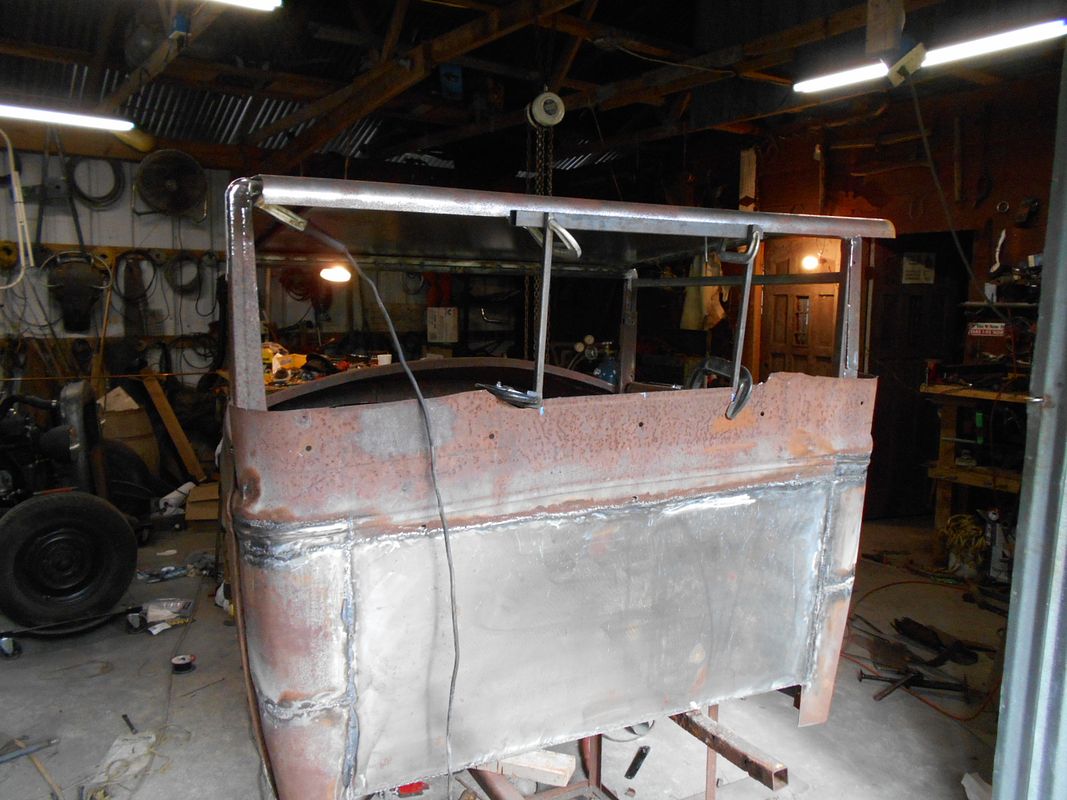
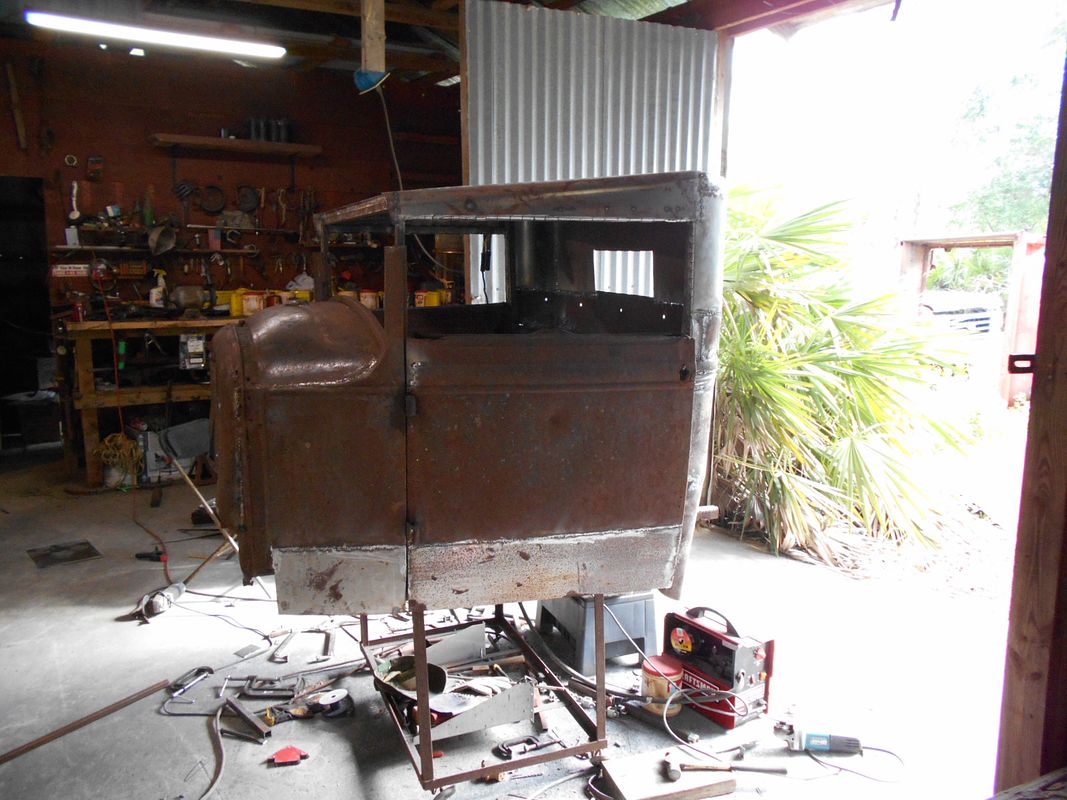
3rd is driver's side, broke on the same pipe and laid in place. Tabbed edges are bent and hammered flat and welded on the inside edge of the doorway.

last is all tabs bent.....still some welding to do. Need to make another steel run soon. I have enough to do the passenger side top piece, but not enough to make the window section in the rear.
 
Last edited:
Thanks guys. The vote of confidence keeps me leaning into it. I'm sure the before and after shots will be pretty drastic.
 
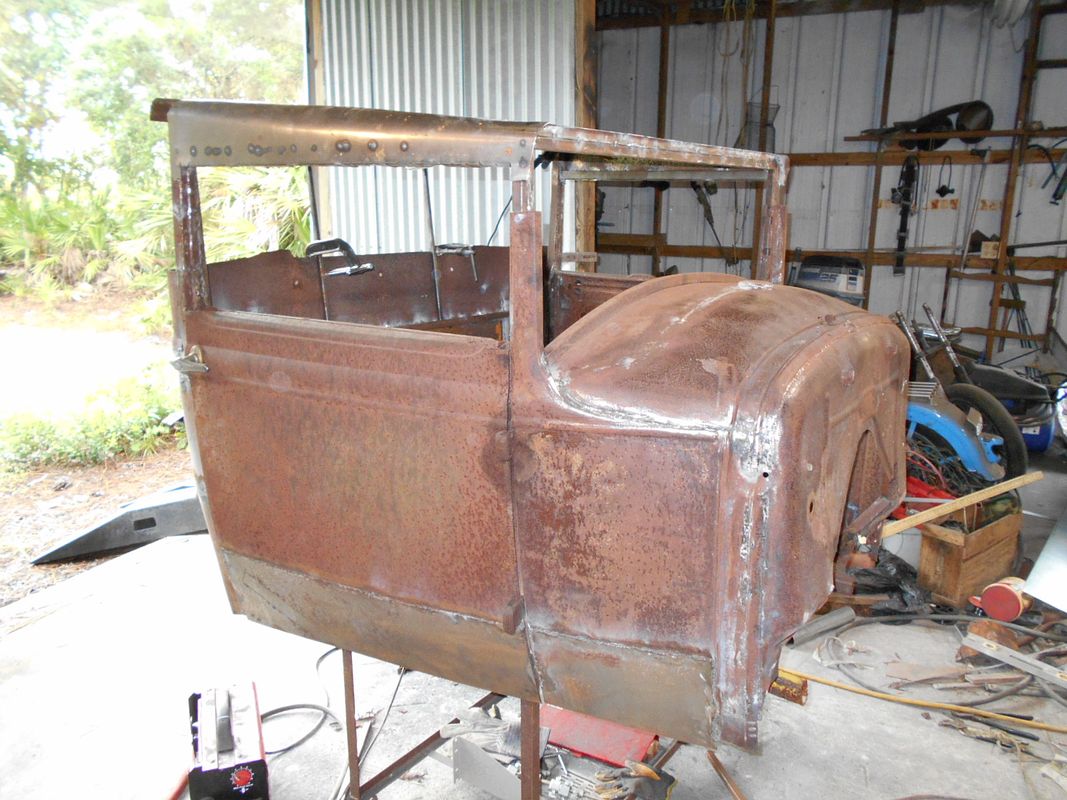
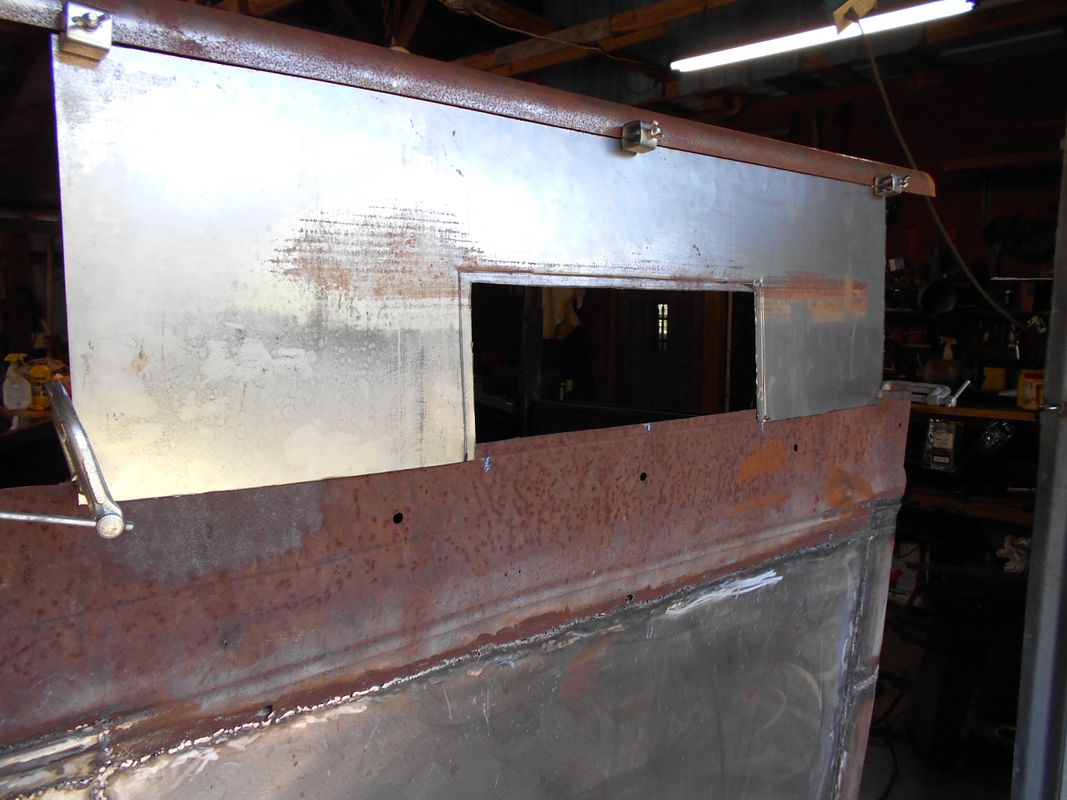
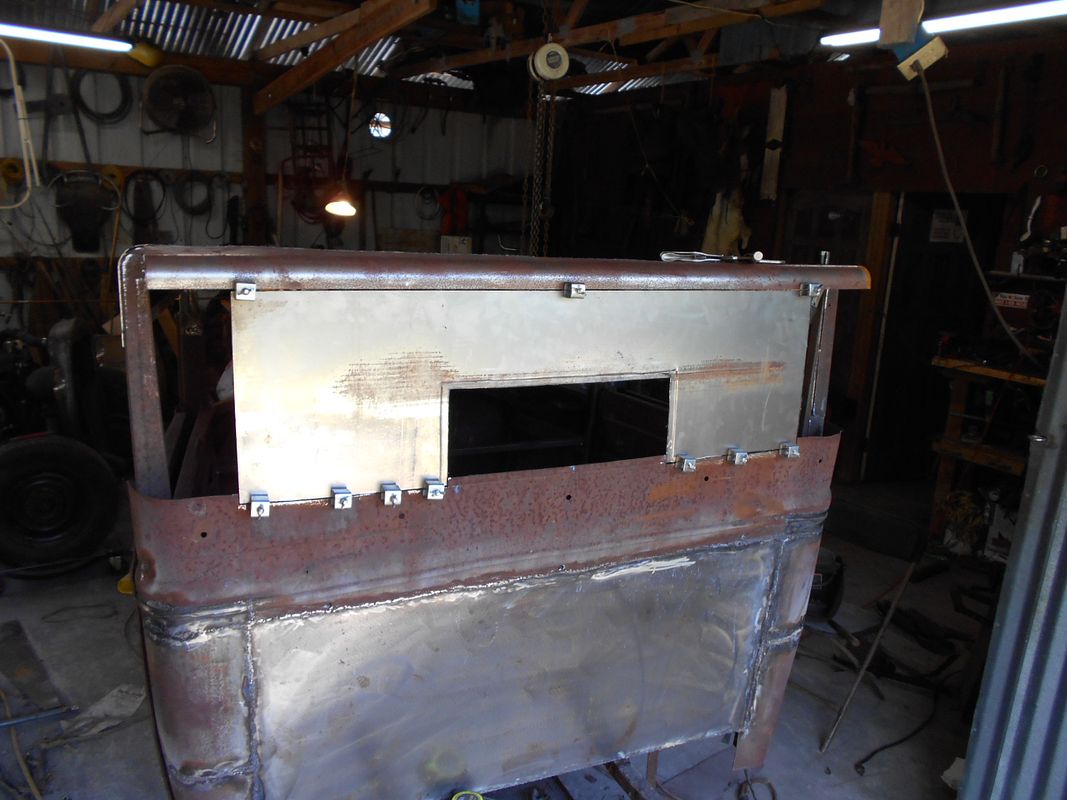
Lost alot of time having to go into town today but got the passenger side laid in this evening. Now I have enough steel to get the rest of this project done. Out here, it's really important to remember all the things needed when you go out. Anywhere, with anything, is a long way and any trip out will cost me a half day. I've been doing pretty good at catching errands and grabbing needed supplies as I go so no slow-downs due to running out of parts. Here's all I have from today. More tomorrow.
 
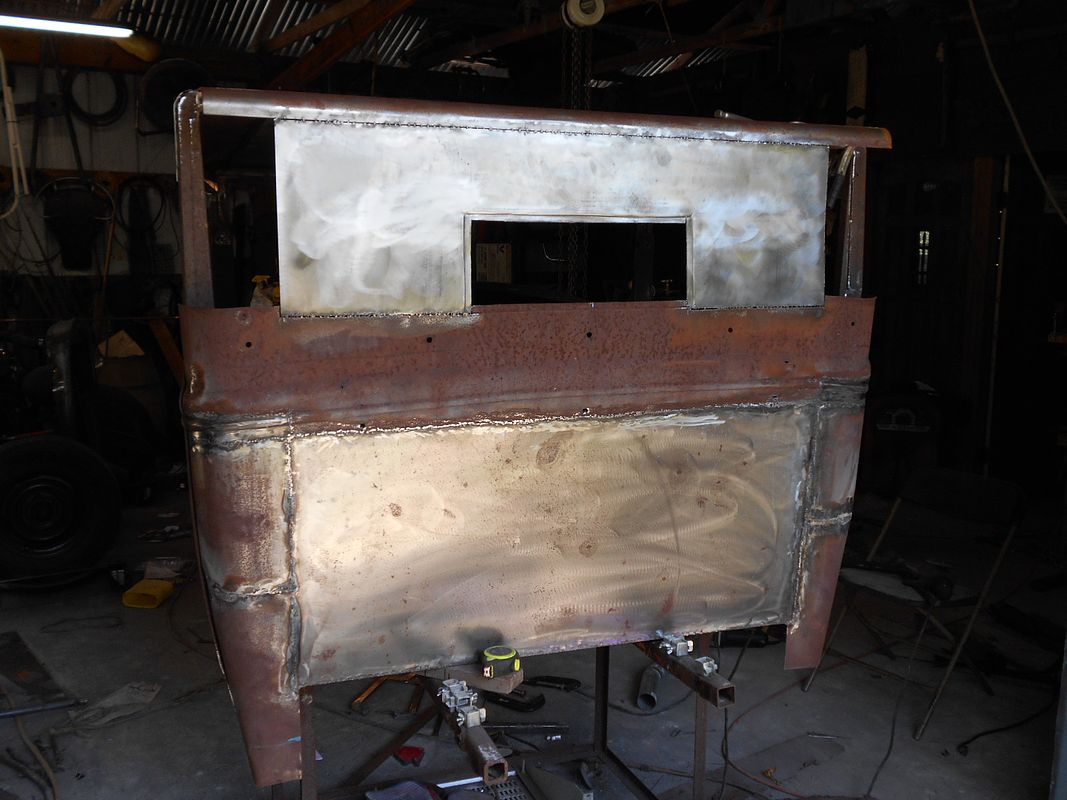
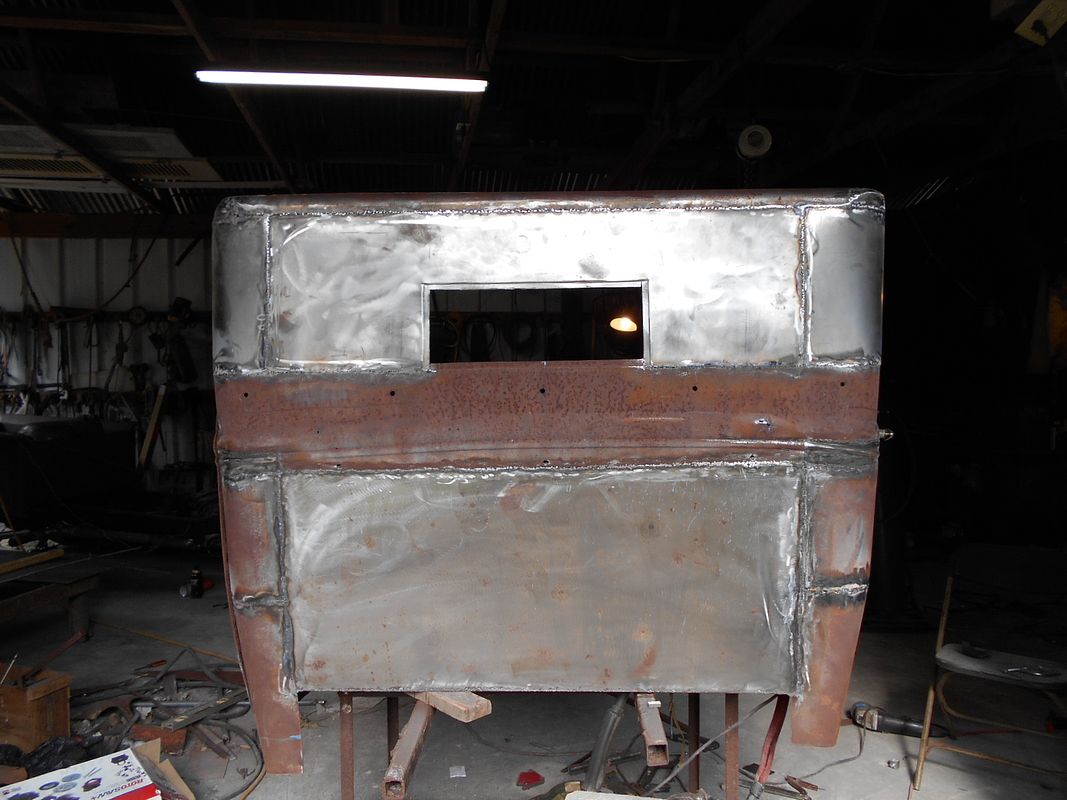
Laying out the bead for the rear window. Gonna be 6"x16". The way I'm cutting it, I'll be using the bottom edge of the original window opening and laying a lip to my piece to match the weather stripping I'm using. I'll go with laminated glass here. The rest of the pix I have show the patchwork. A Frankensteinian facsimile of a Ford....:D
 

Latest posts

Back
Top